Thanks gents - I'm glad you like it.
Thanks for pointing out the mistake

I have blackened the edges of the lights with a marker pen - it was all I could do since the lights are glued in place but it looks OK.
Quote:
|
Originally Posted by agamo
Would you mind telling us how you did it?
|
No problem, Ramon. Below is a description to how I did the hood (shown in the 2 photos. TBH it's all just one big experiment and combination of everything I could find on the web. If you have any questions, just ask and I'll try to answer them.
1.
The hood is primed and painted with satin black acrylic paint (Vallejo). It was then dry-brushed all over with a dark grey to add highlights and to age the finish.
The hood was thinned out from behind in a few places with my Dremel, held over a candle to soften the plastic and then dented with the handle of my hobby knife.
I added traces of bare metal at the bottom of the dents with Humbrol Aluminium Metalcote and the tip of a toothpick dots and scratches. This was followed up with little dabs of rust colored paint added to the dents and other places using the ripped off corner of a coarse dish washing sponge.
The whole hood was given a wash of artist oils paint (Raw Umber).
For this project I added some mud splatters using a mud colored paint and the same sponge techniques as for the rust color. Finally it was given a VERY light misting of heavily thinned Tamiya XF-Buff for a dusty kind of look.
2.
The underside was given more brutal treatment to reflect how these places really look they are NEVER washed or cleaned.
I gave the underside a coat of Vallejo Matte to start things because it gives a better key and finish to the dirty effect I want.
Bare metal and rust spots were applied as described above and then it was rusted with a product called Rustall 2-3 randomly applied coats allowed to dry between each. I tried to encourage it to gather along the edges and on the areas that had been Dremeled.
This was given a black wash to add depth and them the Rustall Matte stain was applied the same way was the main Rustall.
Light orange acrylic paint was applied with a toothpick around the edges of the rust holes and mud platters with a sponge.
Finally I applied a very light local application of rust colored MIG pigment and MIG dust pigment.
It might sound a lot but the whole operation lasted 30-40 minutes (admittedly with the help of a dehydrator to help speed up drying times)
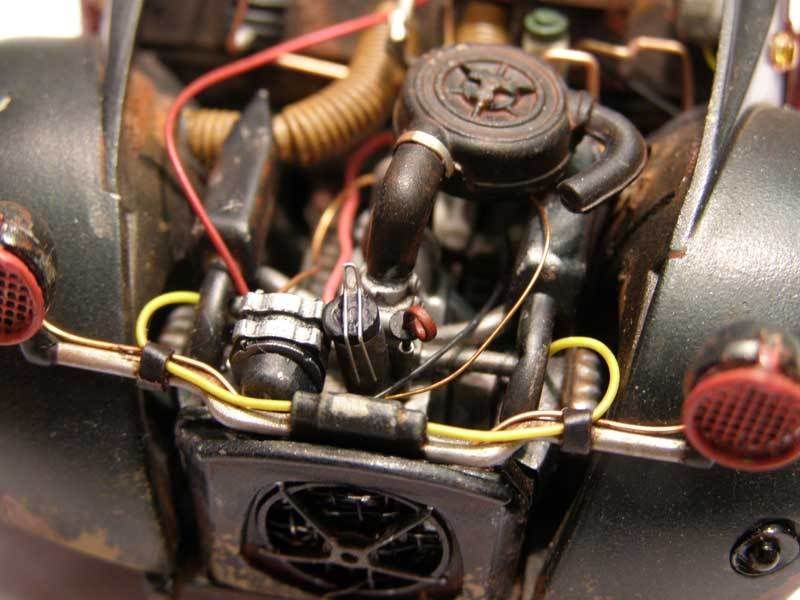
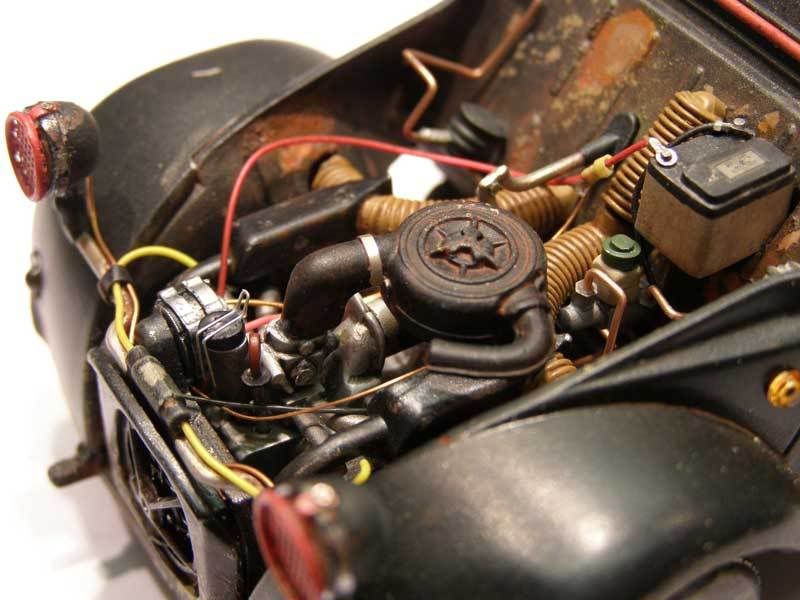
Here's where i am now more or less
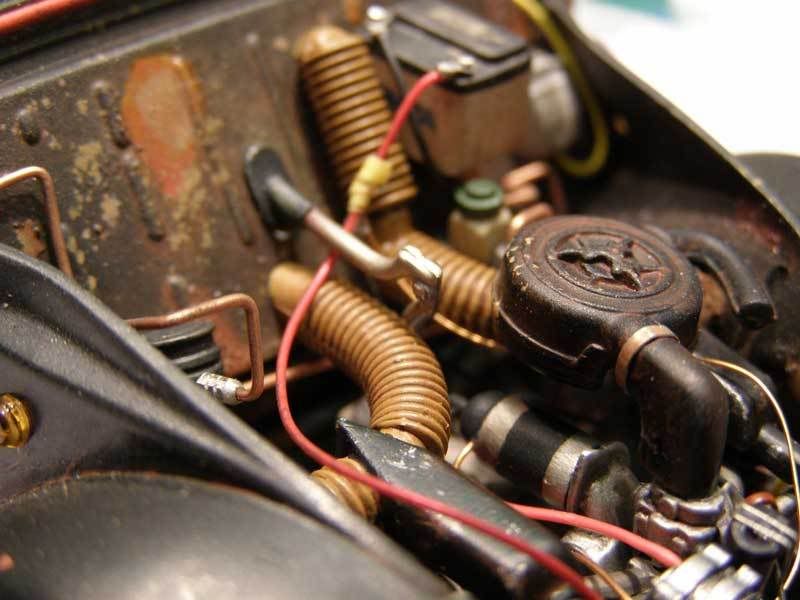
Head light guards added in place and detailed with some Czech 1/35. I have installed teh oil filler cap and working dipstick I made 2 years ago.
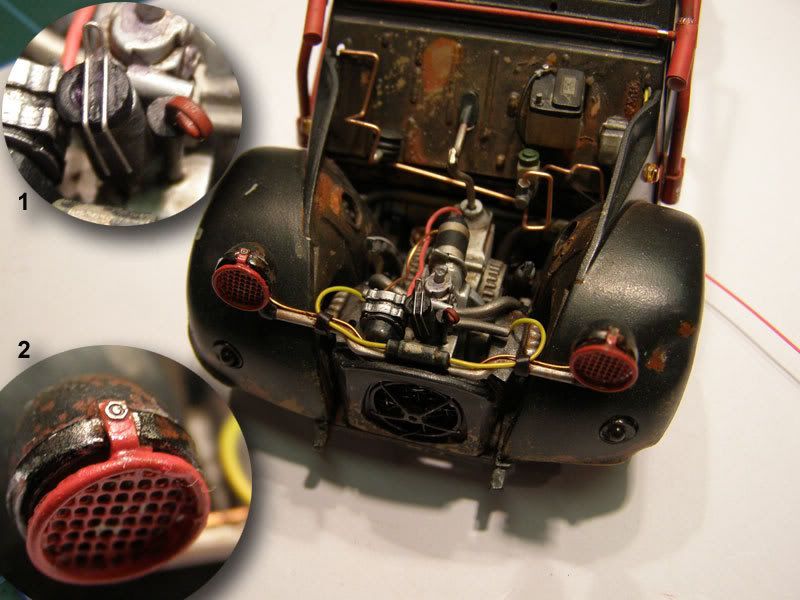
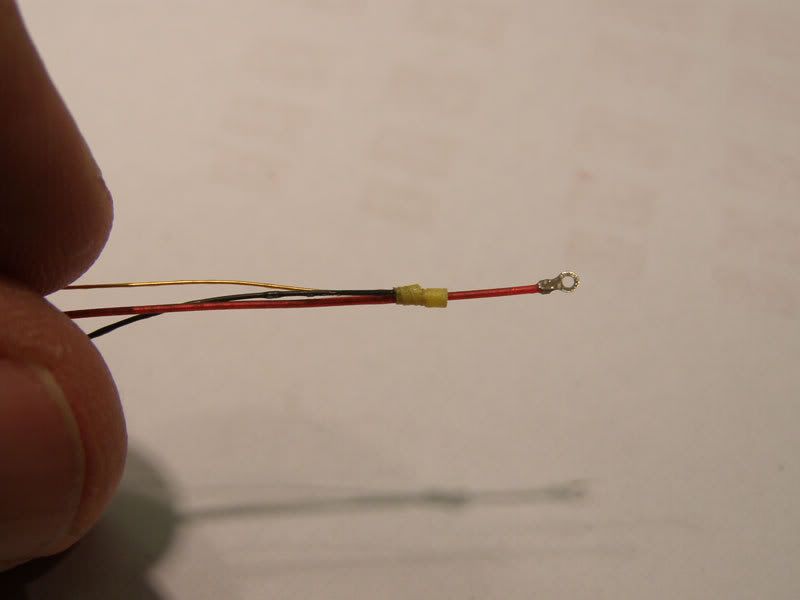
I have tried to reproduce a wiring splice on the main battery cable. The additional ires were CA-ed in place and insulated with a thin strip of Tamiya tape.
The engine bay has been wired up and th majority of remaining parts put in place. Just needs a final wash to even it out.

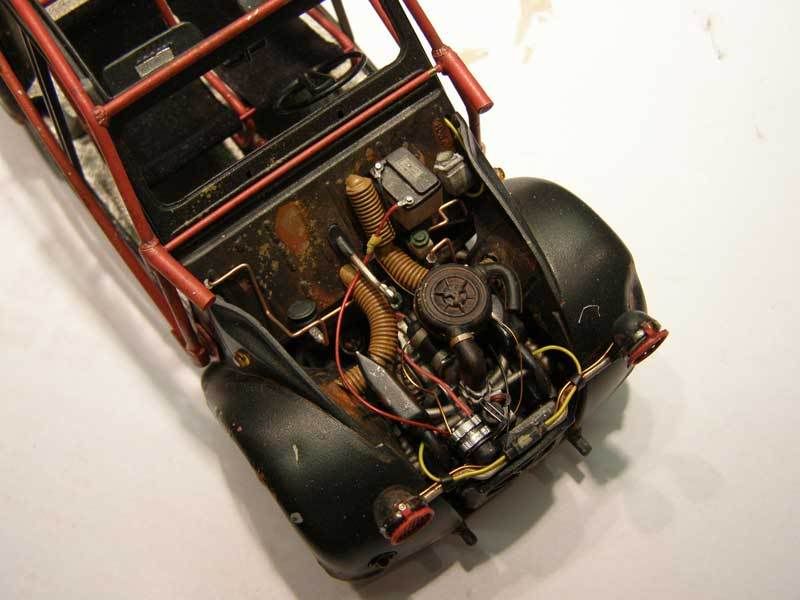
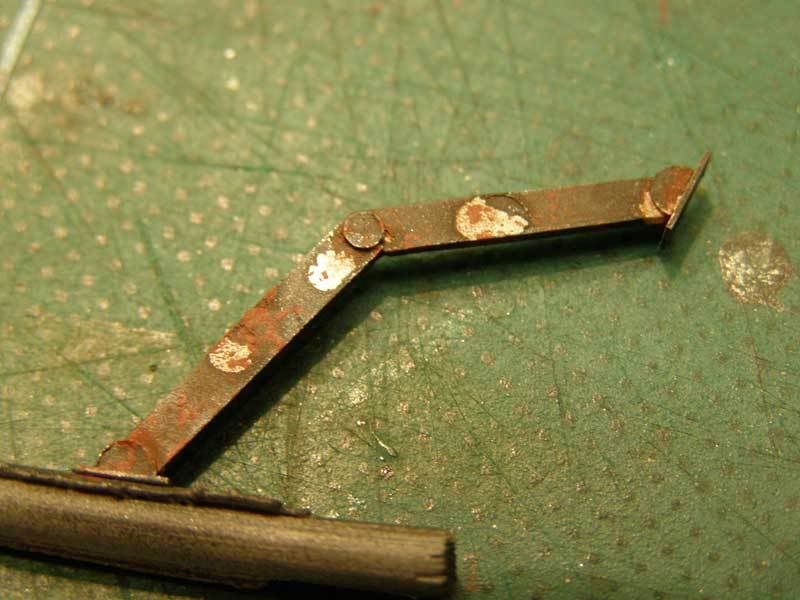
I am still debating what to do about the hood for display so in case I have it open in place I have made this psuedo-hinge to funtion as a temporary holding system. It will not be in place permanently, just fixed with white glue when needed (and look better than a bloody toothpick LOL). I think it looks quite good considering it is just one piece of styrene cut into a "chevron shape with circles and semi-circles glued on to look like hinge points. PE bolts were added after I too this photo. It is not intended to be based on a real 2CV hinge.
In place.
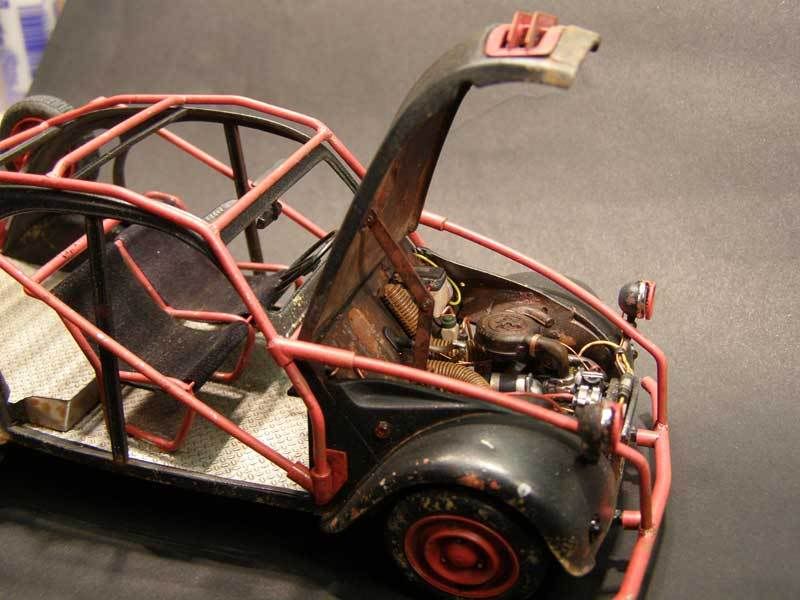
So close......
