I've been really busy recently so I haven't had much time on this. Plus a lot of the parts are still being painted so I don't have photos of them...
Anyway I started working on the brakes last night. The Tamiya kit brakes are very basic and don't really look the job so I bought a brake set from hiroboy instead

It turned out to be hours of fiddly work though...
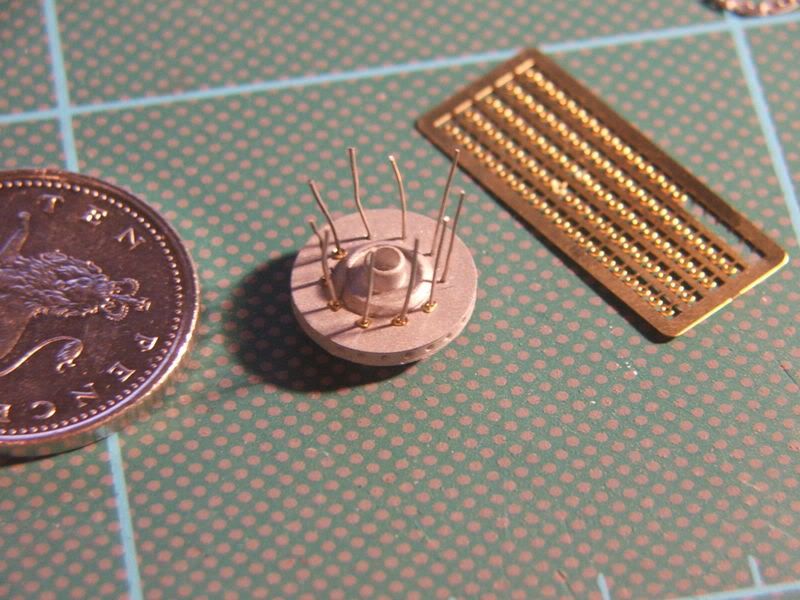
First off the discs were painted silver. The silver I've used isn't quite the right match but I might try and weather the disc a bit to make it look worn. Then there are 10 0.3mm dia holes around the centre and the vague instructions tell you to cut a length of solder and put it in the hole. It doesn't say what length though! I guessed 10mm as they gave me 60cm for 4 brakes. 10mm was a little big but not too bad. Anyway then tiny tiny gold rings were threaded onto each piece of wire and then a larger ring threaded over the top of all of this. 10 more tiny gold rings were then threaded over each wire. While I'm here I'll just point out that the rings were actually more like semi-circles because they were flat on one side and the flat side had to face outwards. So not only did I have to thread the rings on, I had to get them to face the right way as well. Now at this point the instructions say to put a sort of washer over the top as a guage to cut the wire at the same height for all 10 but I decided this would be far too fiddly and just guessed them. Anyway all that needs doing to finish the brakes now are the callipers which need to be sprayed gold and some more wire used
Anyway, pictures...
So this is halfway throught he first stage, the wires are in place and the first few gold rings have been slipped on. You probably know how big a 1/20 brake is but the 10p just shows how small those gold rings were!
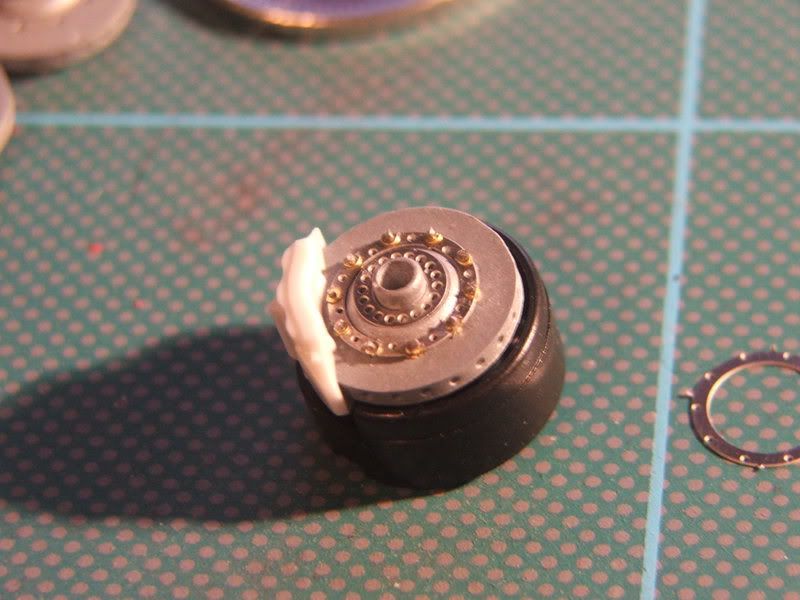
The finished brake. Notice the ring next to it. That's the washer that was supposed to be slipped over so the wires could be cut
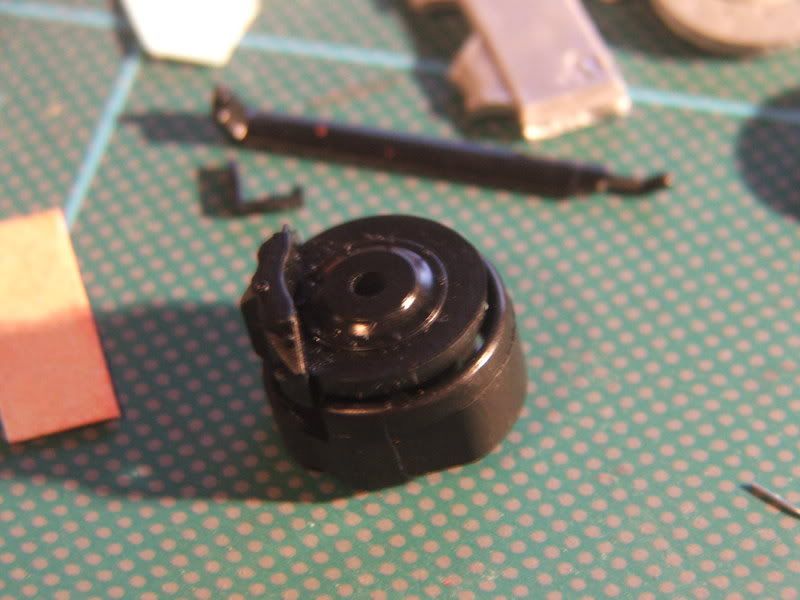
Here's the kit piece which is unpainted
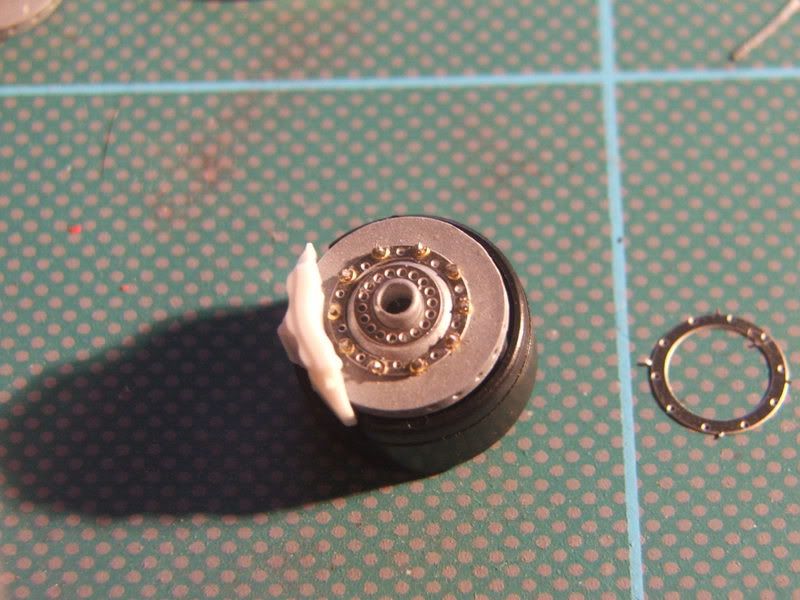
And a better picture of the brake
That's all for now, hopefully more to come soon though!