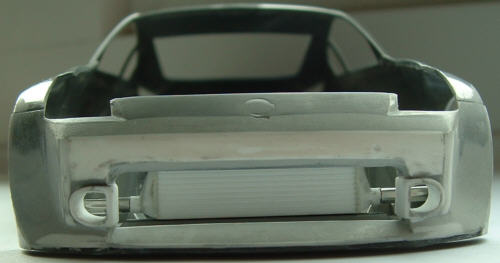
The purpose of this next stage is to help hide away the empty space behind the front intake of a curbside kit. So carrying this out depends on what model your adding your intercooler to and the size of the visable area.
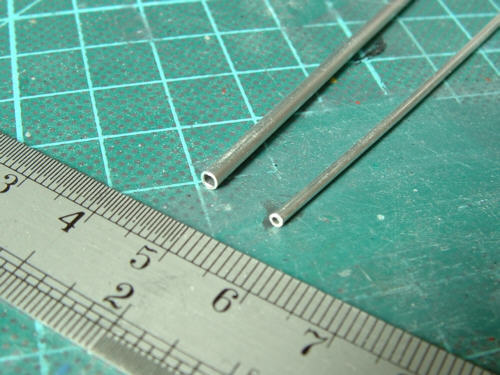
To make the pipes i'm using aluminium tubing which you should be able to get from good model stores. The smaller size is 1.7mm and the larger size is 2.4 which makes it about right for the 2.5 inch size tubing on the full scale items. This tubing is quite soft and easily cut through with a No11 blade.
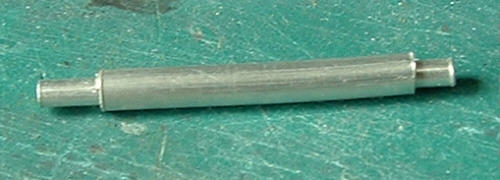
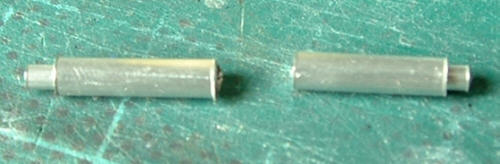
The next few pics are self explanatory but if you've sniffed too much glue and/or forgot to wear your respirator today, then i will point out that two lengths of tube are cut as desired with the smaller diameter cut slightly longer. This is so that it will form a plug to slot into the intercooler. They are then simply cut in two after inserting one into the other.

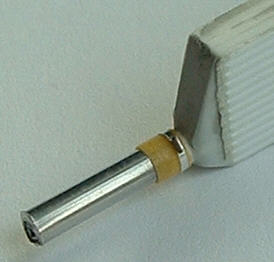
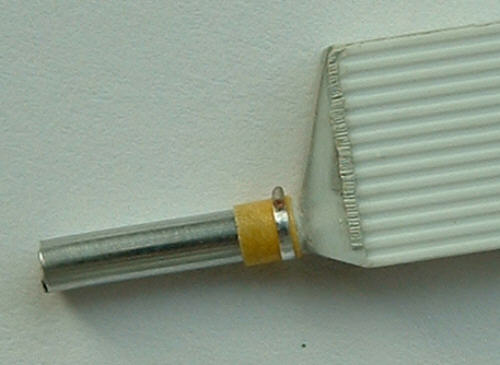
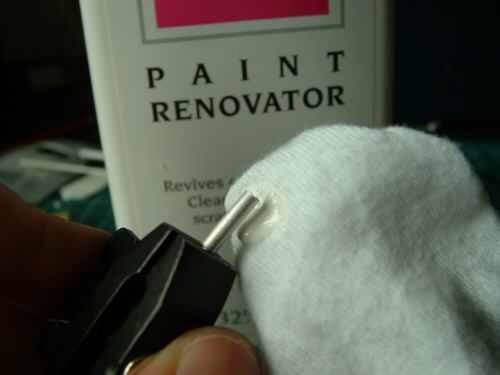
The reason for using metal is obviously for realism, the aluminium tubing can be buffed to a nice shine, so thats what i'm gonna do! I first gave the tube a light sanding with 1500 wet and dry then polished with Autoglym Paint Renovator but any polish will do.
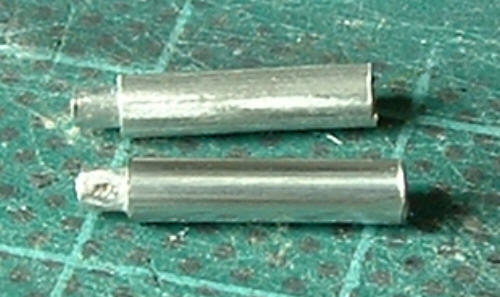
Polished tube below -
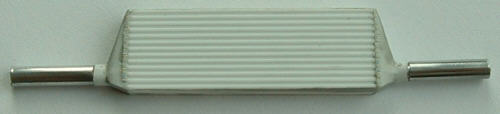
This will eventually be the intercooler's new home. With the help of some mesh infront it will disguise the fact that no engine exists now that the opening is alot bigger.
For the next stage i'll show how to add yet more detail to give it that extra realistic look, here's a sneak.