a little bit glueing sanding puttying has been done
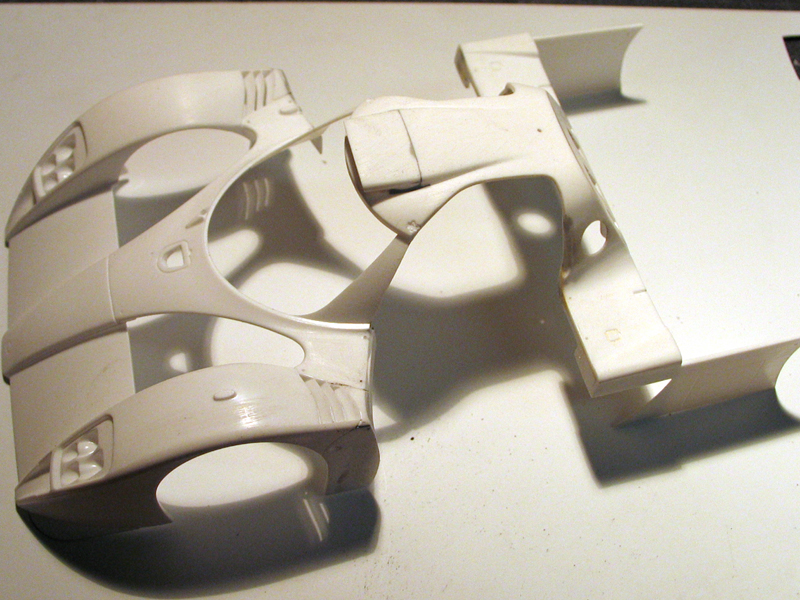
I already cut out both doors and added a little "thicknee" to the body.
You can see I added a little plasticcard on the right and left part of the door.
A big problem to deal with is to have the body, undertray and monocoque fit together without to much gaps that appear when cutting out doors and show what's (not) underneath.
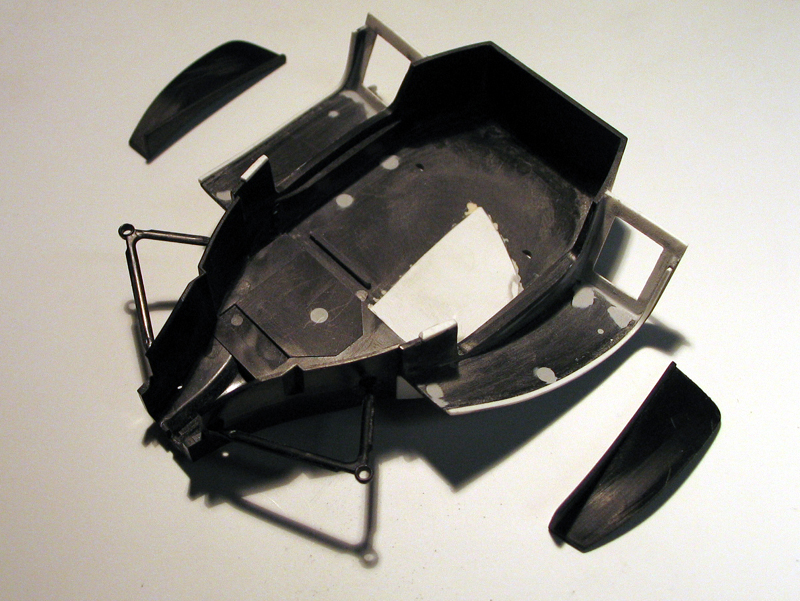
hier haben wir die fahrerzelle.
coolers have been cutaway. these will be scratched from plastic and mesh...hope that was a good idea !?!
the two loose parts are cout out from the monocoque and will be glued to the door...where they belong to !
I added small plasticard stripes to rebuild the part where I cut out the doors. I will also add thicker parts over it like on the real car...you will see that later
molded in detail on the floor has been cut out. those will be scratched
a big advantage is that it's much easier to CF and paint those parts.
now we need to make CF templates fot the whole monocoque :-( I never did any CF before.
die beiden türen belkommen noch die abgeschnittenen teile aus der fahrerzelle angeklebt, die entstehenden hohlräume werden mit plastik zugemacht.
a little bit has been done to the doors so far I added small plasticards to add a little thickness and make it look more interesting, more real.
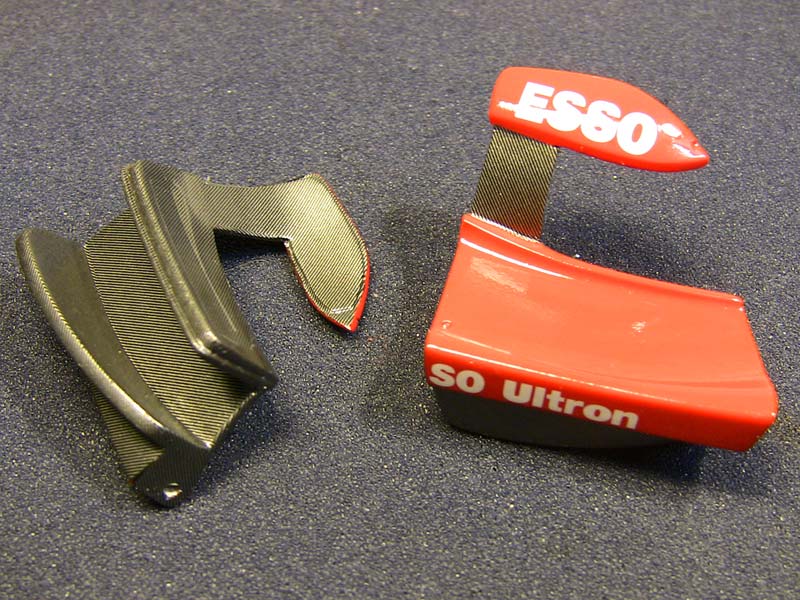
the lower and upper part of the doors are connected with plasticcard. problem was wehen you bend that material it will straighten out ijn a while....so here comes a tip
bent two parts and glue them together then they keep their form ;-)
the whole inside of the doors need CF as well
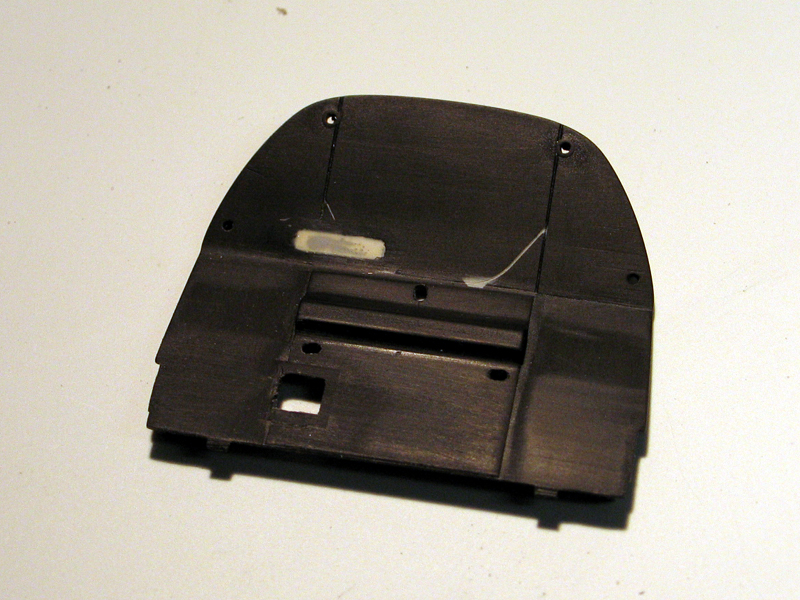
the firewall was sanded flat and molded detail was removed to be scrtched later.
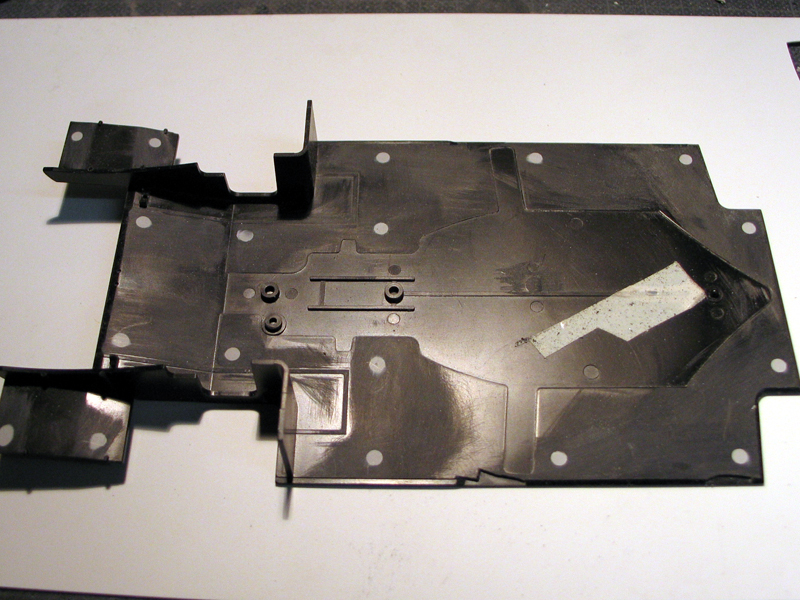
one thing many people seem to forget...sand away EVERY sinkmark :-) especially when it will be covered with CF. or everything will show through.
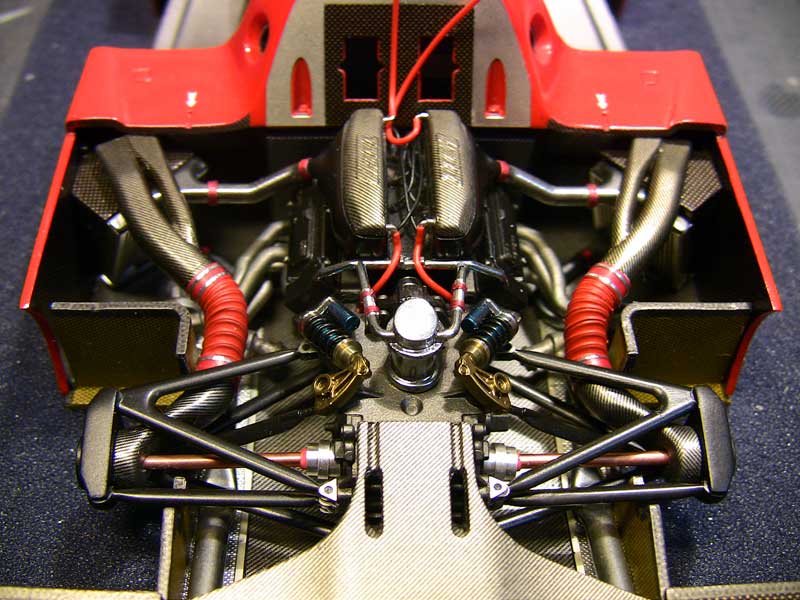
der hintere bereich wo die hitzefolie ist wird mit metallfolie und einem PE rahmen detailliert, ansonsten alles CF.
some bits and pieces

all the molded in cables have been removed including chrom plating
another miracle...why did the mold the small disk i cut out into the transmission ?!? It was to be painted silver like the other part on the left. so I cut it out and will glue those two parts together, sand the seam paint it and reatach it.
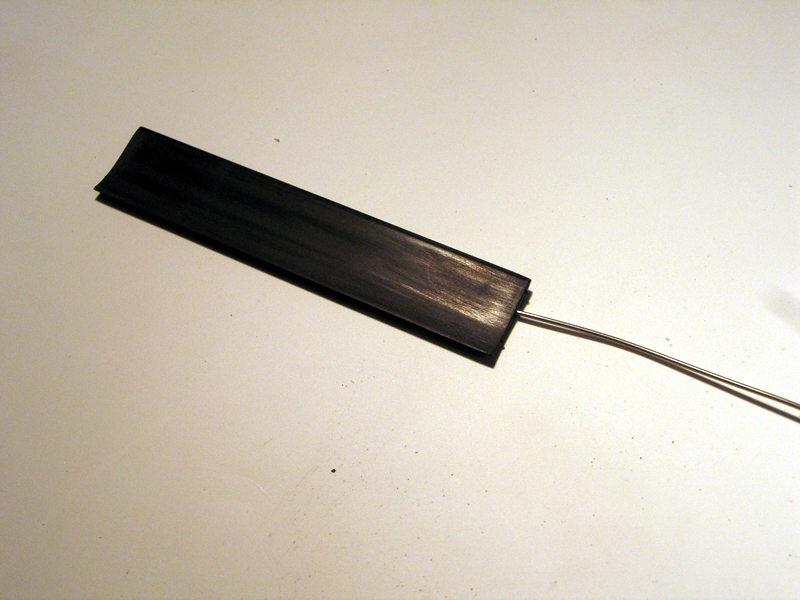
a small tip on how to get a handle on a part where no handle is :-) drill hole add wire..big deal..sorry for that tip
more to come
daniel
-germany-