Hi everybody
I have been absent from the forum for a good while. That was for a very simple reason. My company in all their wisdom decided to block photobucket and the likes. Because of that I couldnt access any forum threads that had pictures linked from such sources. So finally I arrived in 21st century and got internet at home and have full access again :-)
Im in the process of catching up with all the builds that have been going on in the mean time. Theres some great new stuff around!
I have also done some modelling (
but not really on my McLaren ) that I now wanna show you.
Its a BBR 1:43 scale kit of the 1998 Le Mans Porsche 911 GT1.
In the beginning it was supposed to be a little side project to my long time F1 project and I thought it would be nice to actually finish something in a reasonable time frame
but boy was I wrong :-)
I originally bought the kit when I saw it in a LHS and couldnt resist even though I also have a 1:24 version sitting in my stash . I thought a BBR kit should be a good teaser for the big one that I wanna fully detail
.one day :-) Well it turned out the kit needed more help than I anticipated! Lets start
.
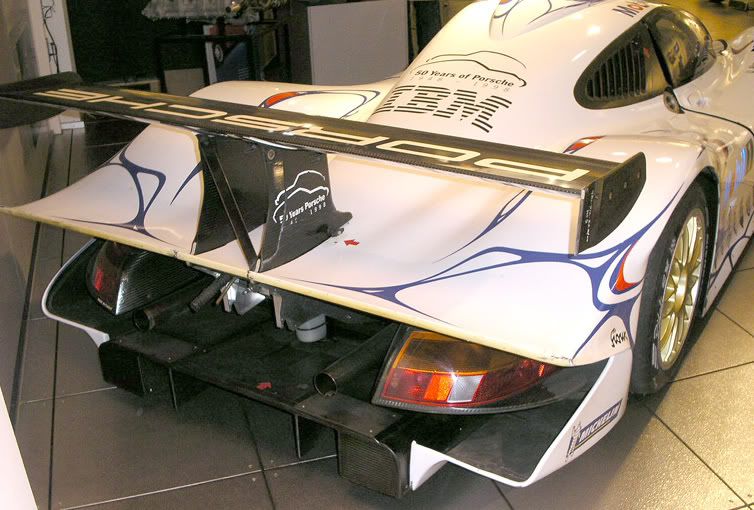
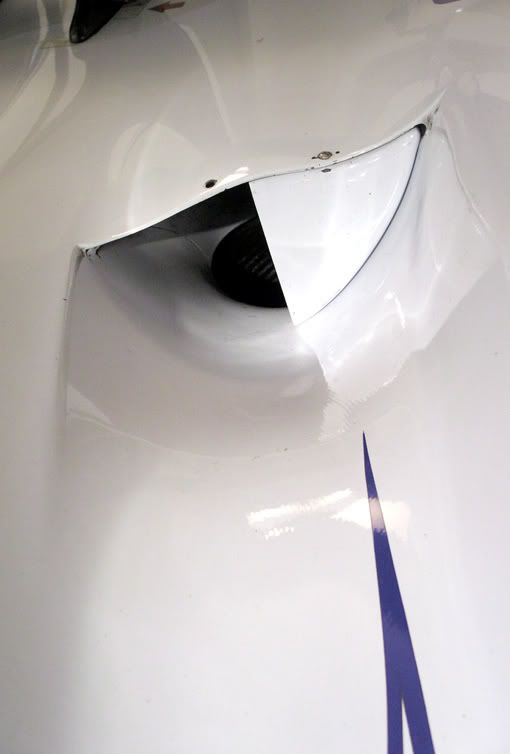
First heres a picture of the real thing in the Porsche Museum in Stuttgart that I took a while back. Ill add a couple more throughout the build report.
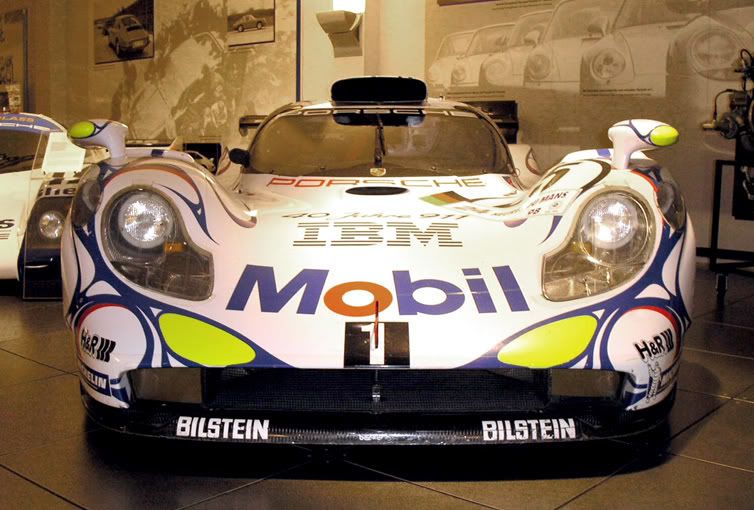
This is not the 1998 Le Mans winning car but the sister car that came in second just one lap adrift. 1998 was the last year the Porsche factory ran the 24h and won overall. It would be time to come back
..!
This car differs from the winning car with fluo yellow markings instead of fluo red ones ( plus driver names and numbers of course :-)
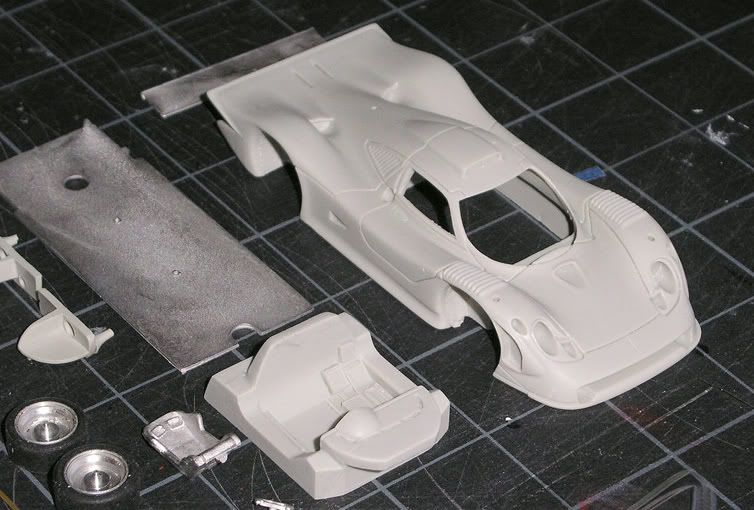
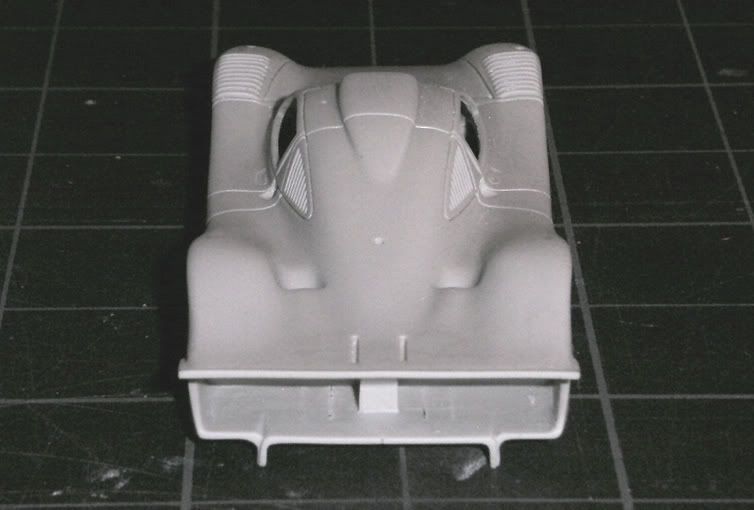
Next up a picture of the kit contents. Nothing spectacular but a good starting point. Obviously there was room for improvements ( more than I thought in the beginning ). My goal was to get a result that was at least better detailed than a good die-cast model.
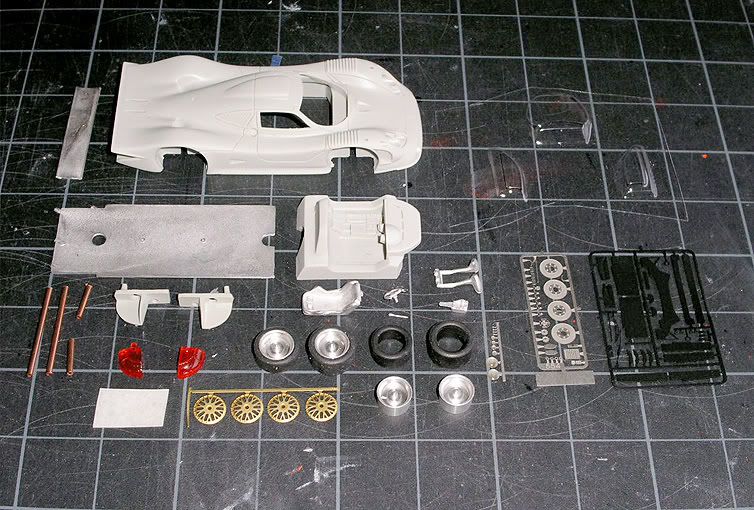
I started by cleaning up the body. I quite like the grey resin BBR used. Its harder than the yellow stuff you get from many other manufacturers, which makes it quite good to model small details with clean edges and thin walls. Also the grey colour is much better for reading the surfaces than the yellow resin.
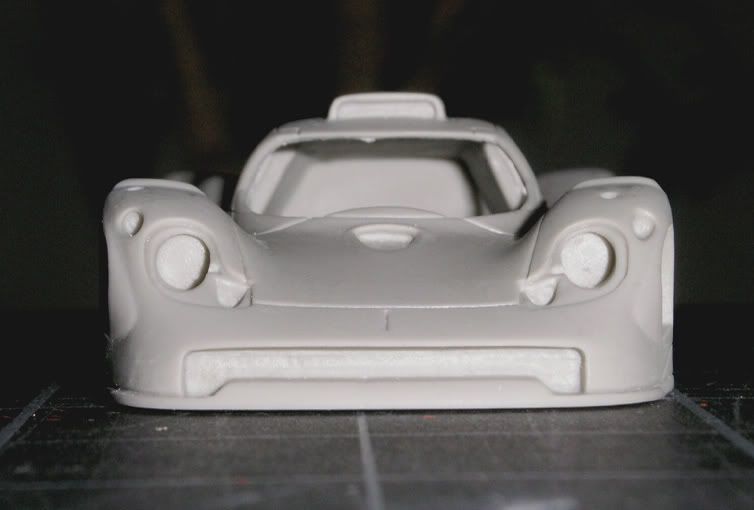
The first major problem were the headlights. They were too small, wrong positioned and the shape was only a rough interpretation of the real ones.
Funny enough
or not
the 1:24 kit by Modelers/Scale Production has the same problem
.just worse:-)
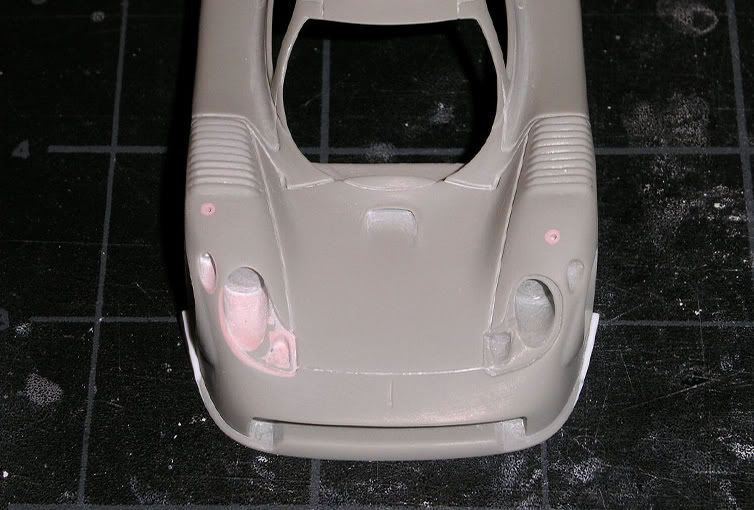
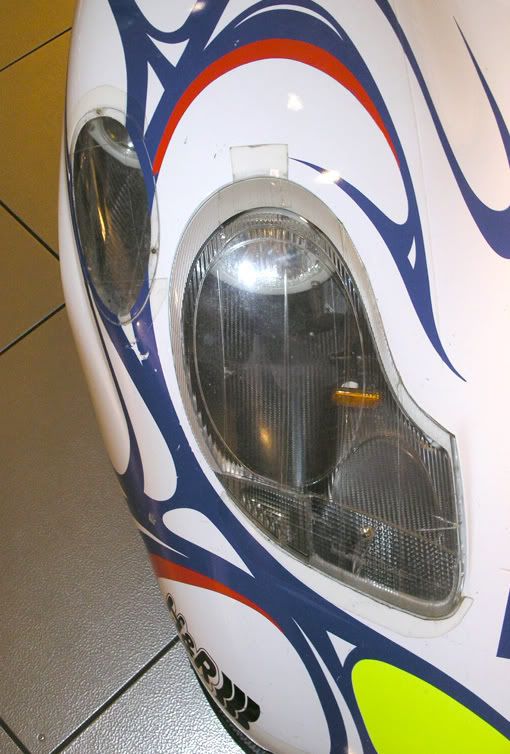
I enlarged the lights and moved them out and up and improved the shape ( on the real car the headlight glasses are taken from the production 996 ). The small extra lights also moved to the outside.
Here you can see the new shape compared to the kit shape:
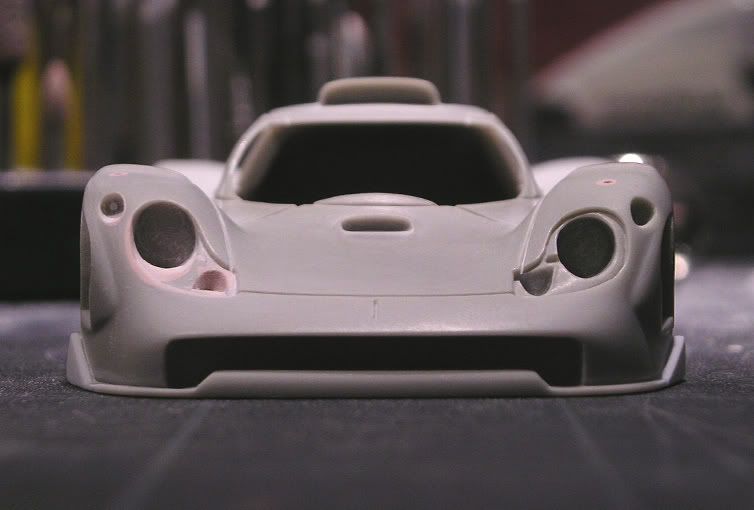
and from another perspective:
and the real one for comparison:
I may not have hit it 100% but I think its an improvement. It was a lot of work for sure.
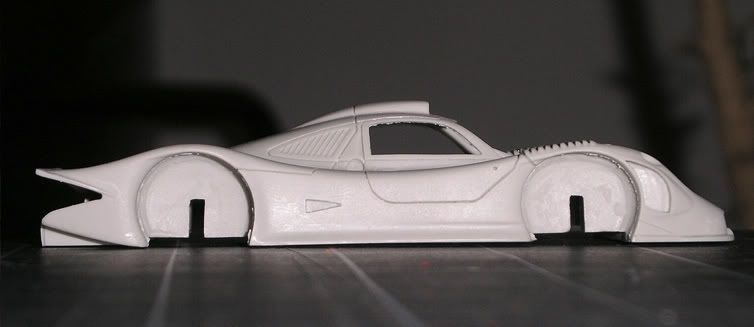
The next area that needed some attention were the body sides behind the front wheel arches. They were too edgy. On the real car these areas are smoother for aerodynamic purposes.
Heres a closer picture of the original kit shape:
and again the real car for comparison:

The NACA-ducts in the sides were also more like wedges and the air outlet ducts in front of the front wheels needed attention. ( Youll see that later :-)
First another area that I wasnt happy about
the rear end. Thats about the only area to show a few tech details and I wanted to improve that.
Thats the box stock look ( sorry
blurry picture
.):
The real one for comparison:
The diffusor in particular needed changing. Thats the first part that had to go! The remaining body panels were cleaned and thinned ( time consuming and tricky to get in the corners
but that was necessary :-)
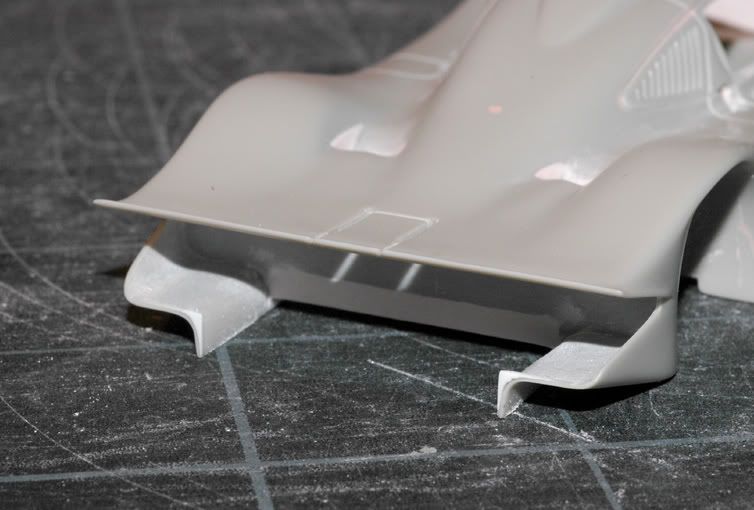
The white edges are added with styrene sheet.
On top of the body I deepened and thinned the top surfaces of the brake ducts.
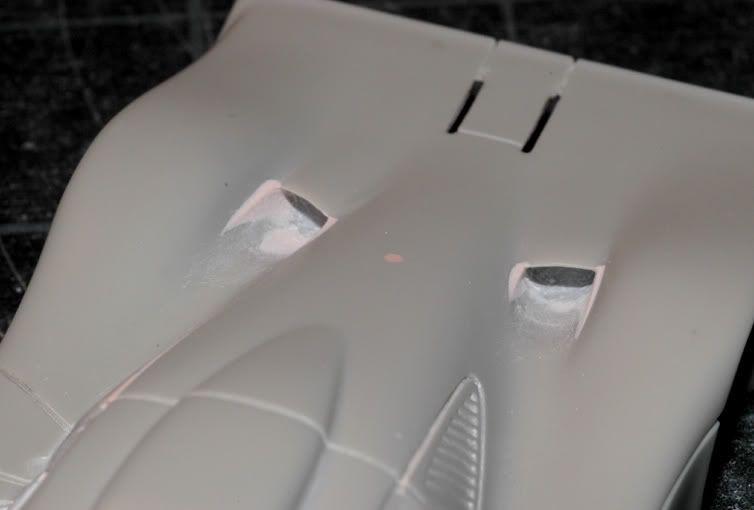
They will later be half blanked, for in LeMans the cars need less brake cooling than on short twisty circuits. See again a real one:
Thats it for the moment. More progress will follow soon :-)
Cheers
Jaykay