This was supposed to be a step by step WIP, but the wife found a way to rewrite a lot of the process photos

But, here´s what I can share so far...
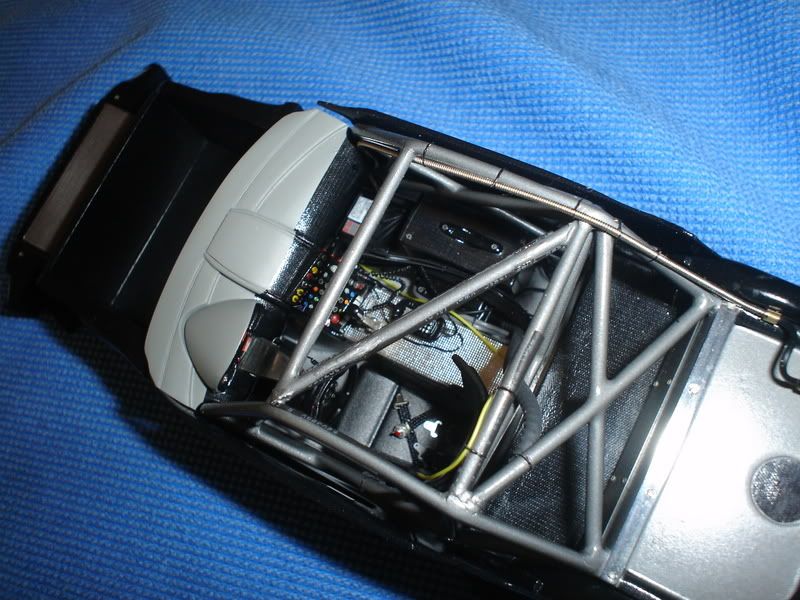
Some chassis/interior pics.
-You can see I added a couple pins to give more strength to the union of this part and the chassis.
-It is a MUST to weld the roll cage pieces. The weight of the finished cage makes it impossible to glue the parts using cyano or epoxy (if you don´t want to end up with a mess of debonded pieces when you try to install the finished cage in the chassis)
-TEST FIT!! The parts fit is very tight (specially the roll cage over the chassis), so be prepared to do some sanding and fitting.
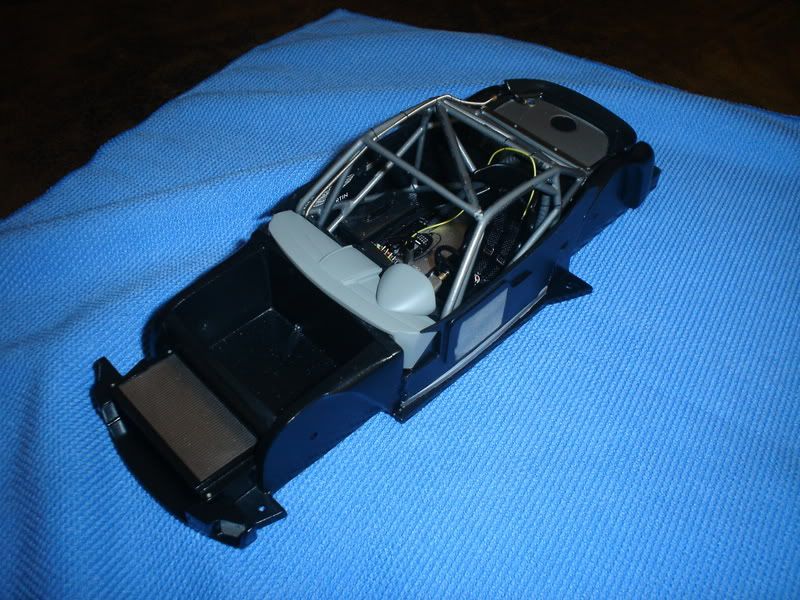
-The proposed seat position is wrong. It won´t let the roll cage sit in the chassis. You will have to move it to the front, just to clear the roll cage.
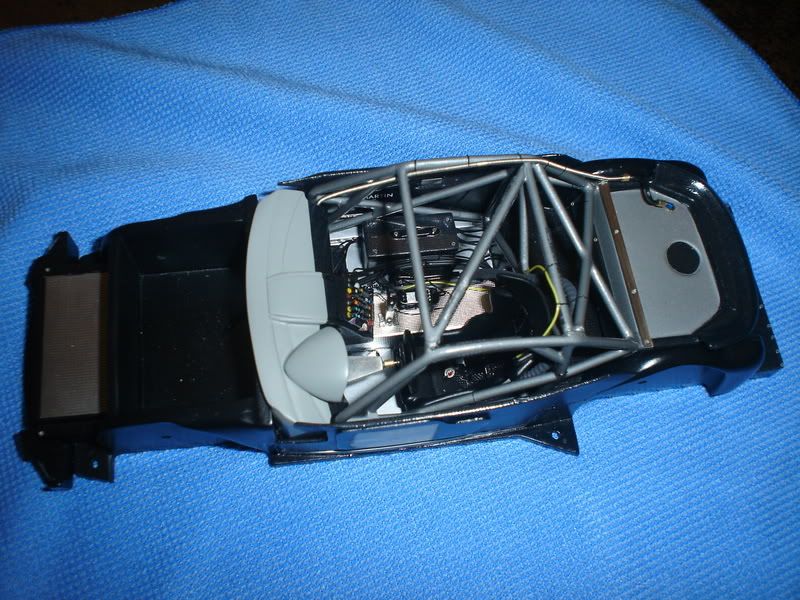
I used MFH Heat shield to cover the transmission tunnel.
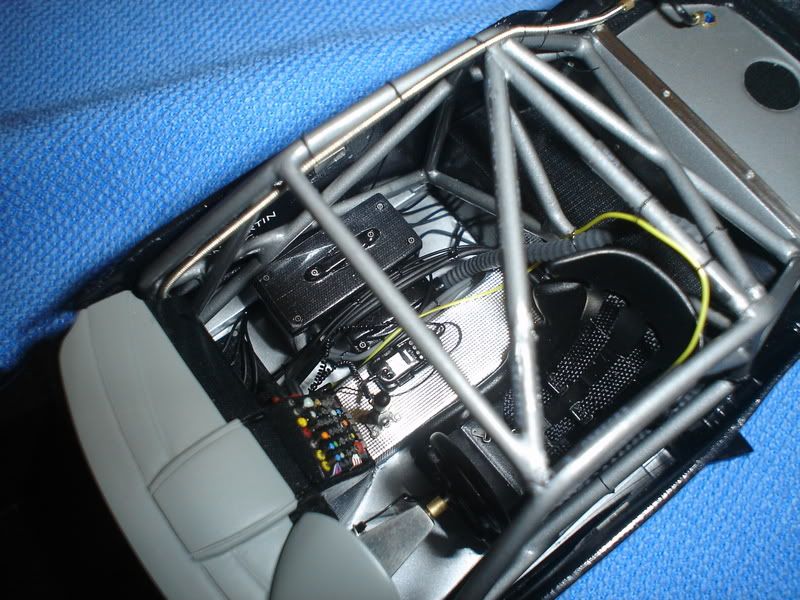
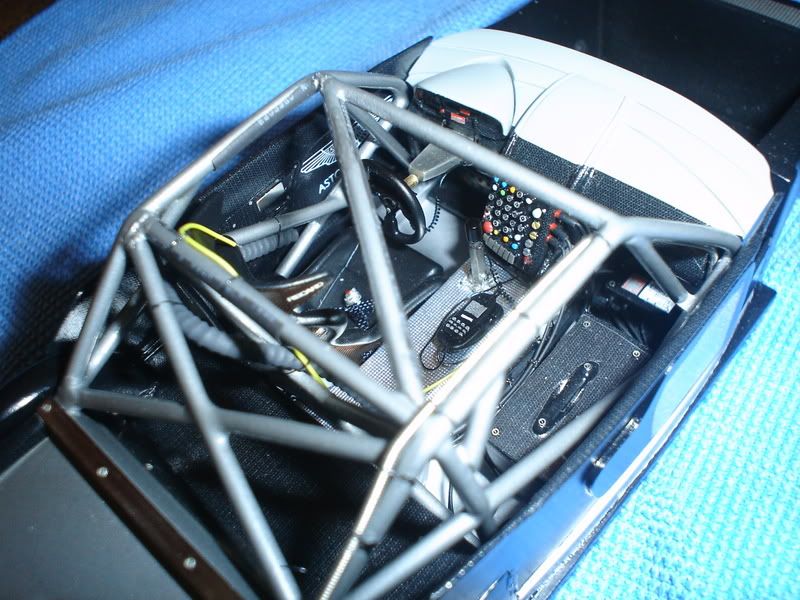
I used a lot of SMS carbon fiber (the 3d stuff), and tried to wire everything I could to make the cockpit look busy, like in the 1:1 car.
-Carefully plan all you connections, and do all your wiring holes before gluing the interior parts.
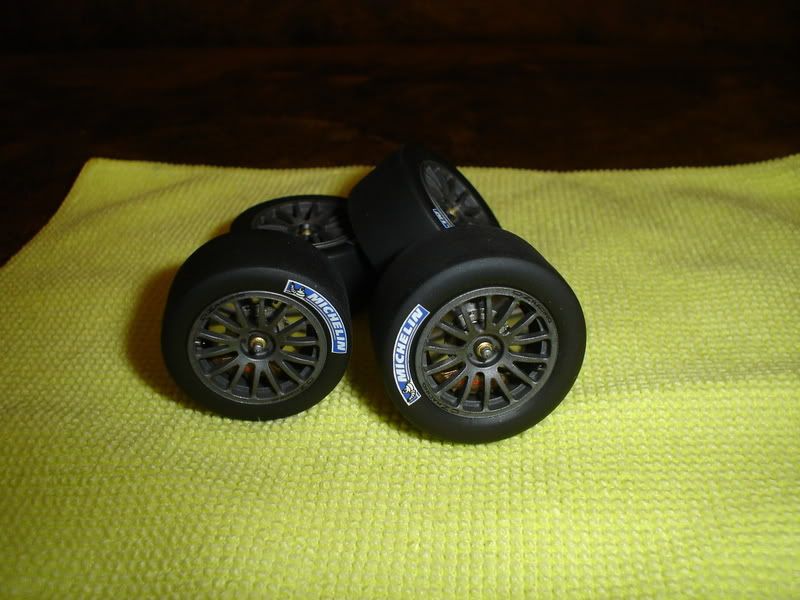
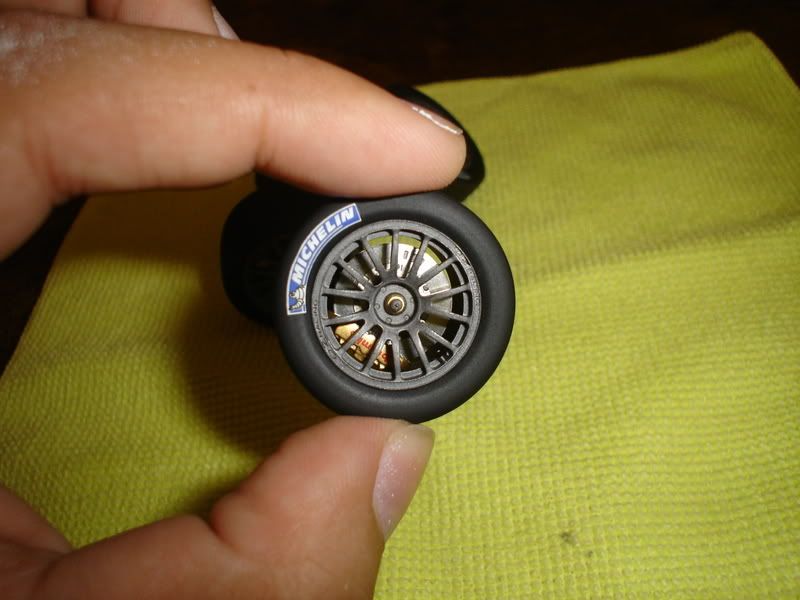
Now, the wheels...I added valve stems and applied the decals using the flat clear thechnique.
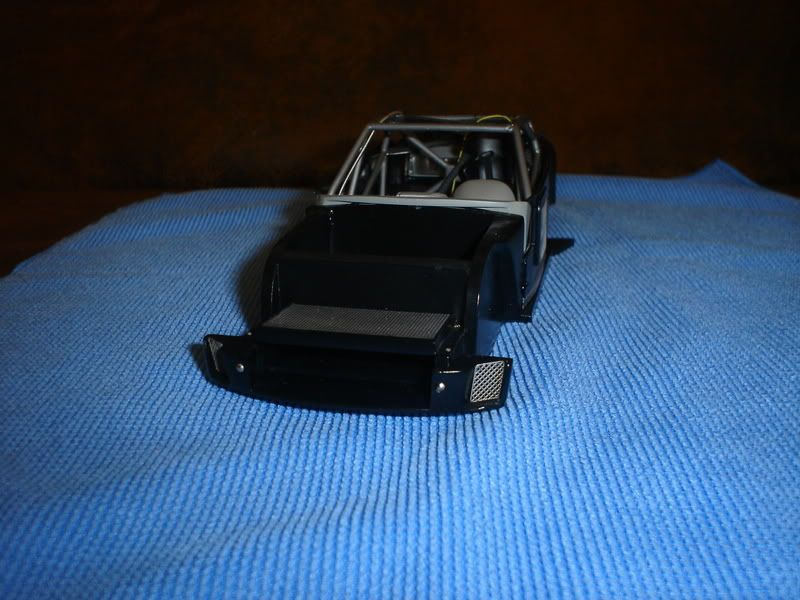
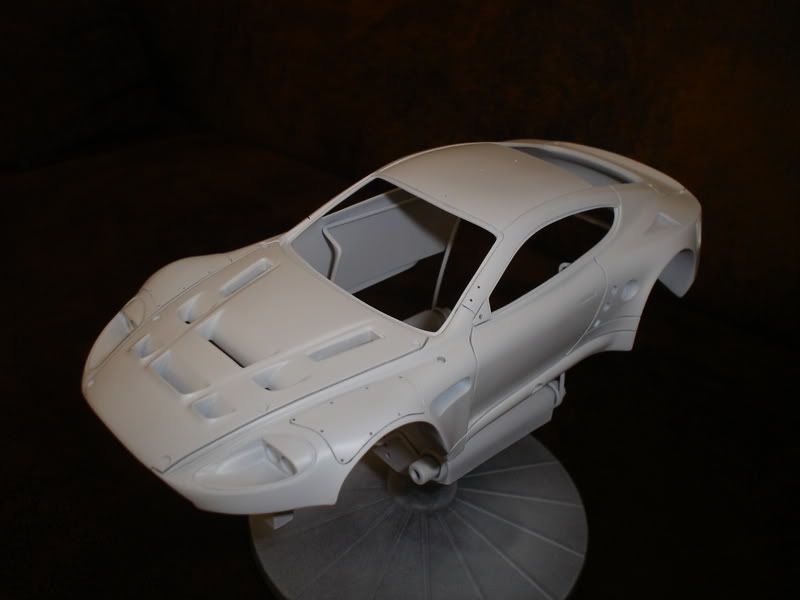
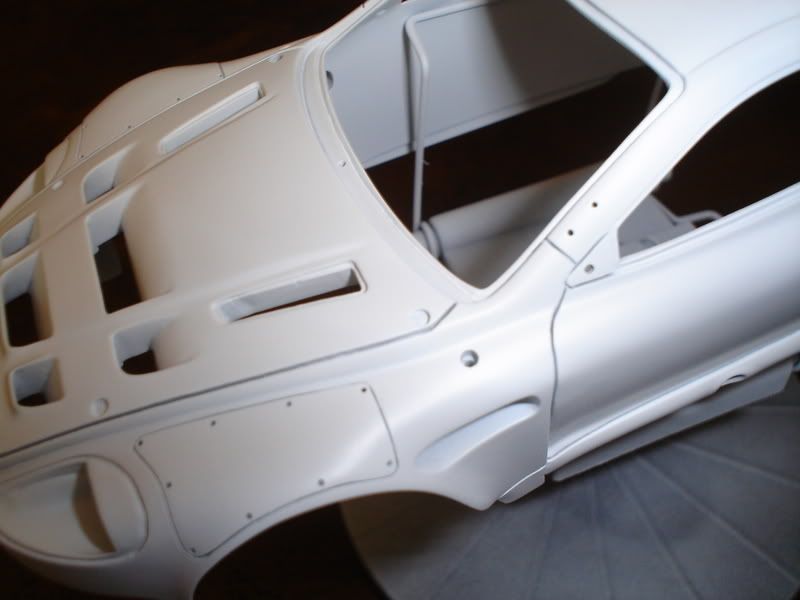
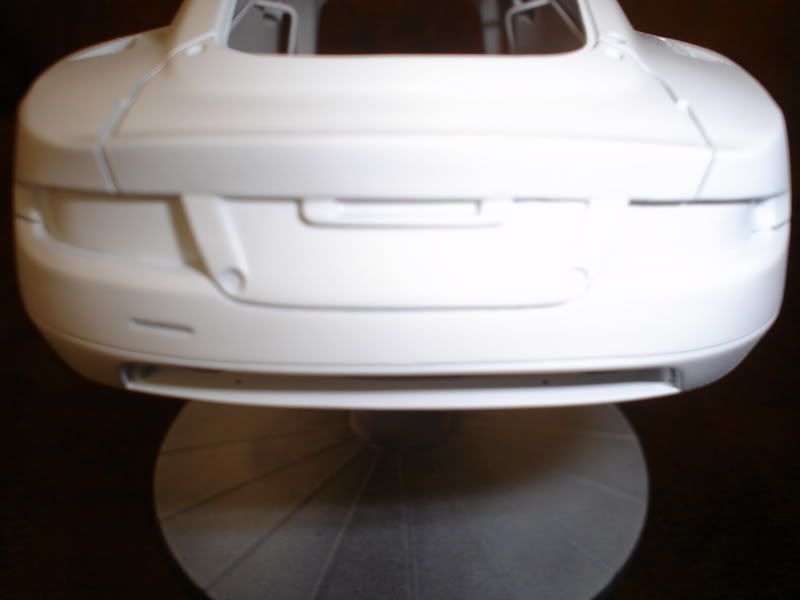
On to the body...I drilled the air jack holes (I was planning to put pins there, but kluts syringe needle idea is just great), and all the vents. Since the body is VERY thick, I opted to sand away the central fin in the vent located in the rear quarter panels and add it as a separate piece. That way, I can apply a dark wash first and then add the central fin. I´ll show you the result in the near future.
- The body looks great in the box, but you will have to correct tiny bubbles and imperfections. It is a must to shoot a primer guide to locate those imperfections.
- The fit of the door handles and front suspension access panels is very tight, so be sure you don´t loose those panel lines when shooting primer and paint. I had to rescribe those lines after each primer/paint application.


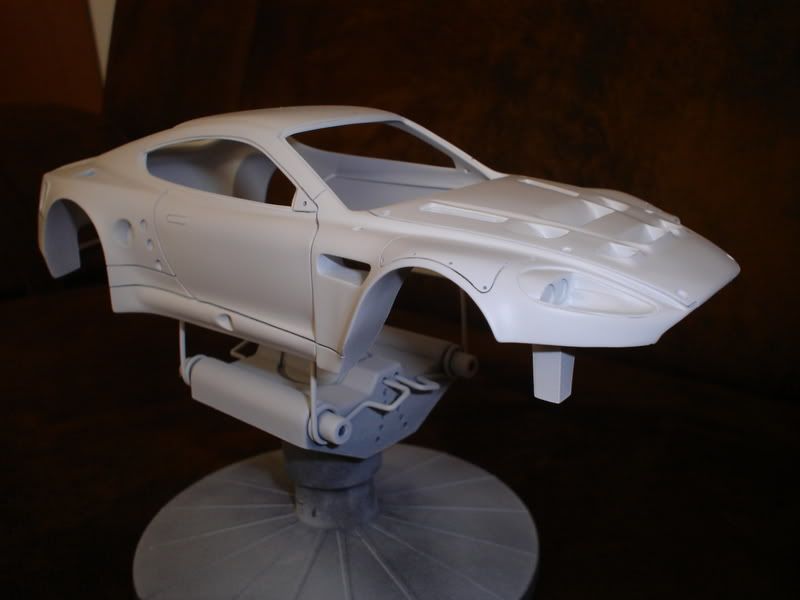
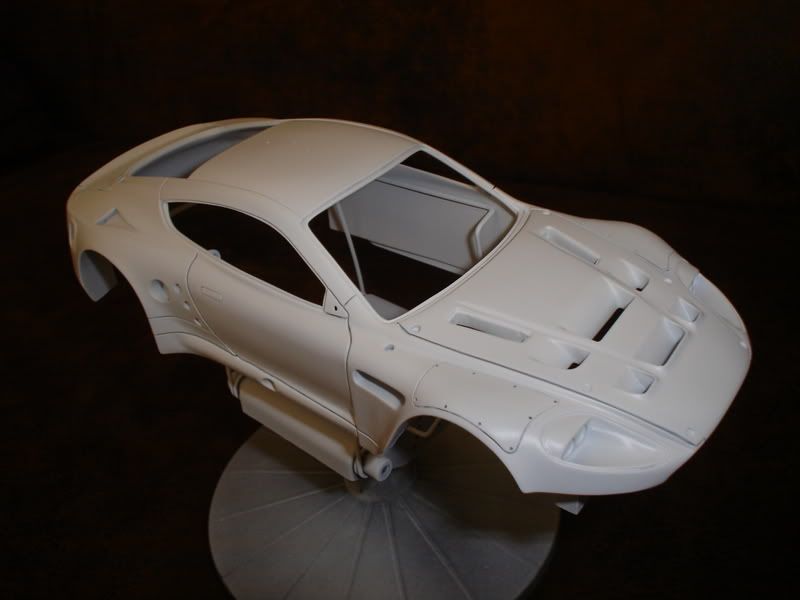
Well, that´s it for the moment...The body is ready for the metallic green (ZERO paints), and while the paint cures, I will prepare all the body details (rear wing, tow hooks, etc)
Hope this info helps!! Thanks for watching!
