I started this Tamiya kit about 5 years ago. I'd take it with me on vacations and trips when I thought I'd have some down time and wanted to do some model work. Figured I could clean it up and ready it for paint. Never worked on it for more than an hour at a time so not much really got done on it, just racked up a ton of miles on it...
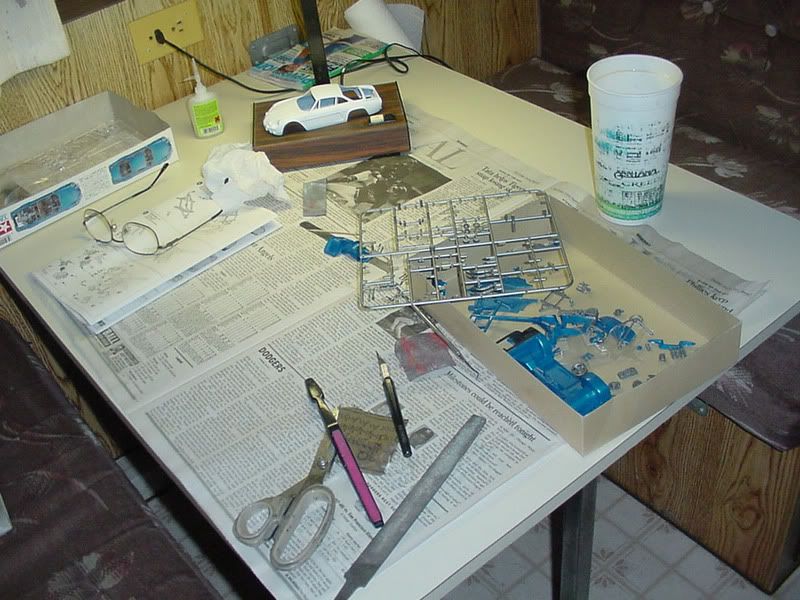
Recently we had to have our home fumigated, so I took it with me and worked on it in the old trailer I lived in for a few days. Limited to "clean" work, I prepped every part in the kit. I did bring a can of Tamiya primer and was able to prime the body parts for painting later. The body is visible on the desk lamp base.
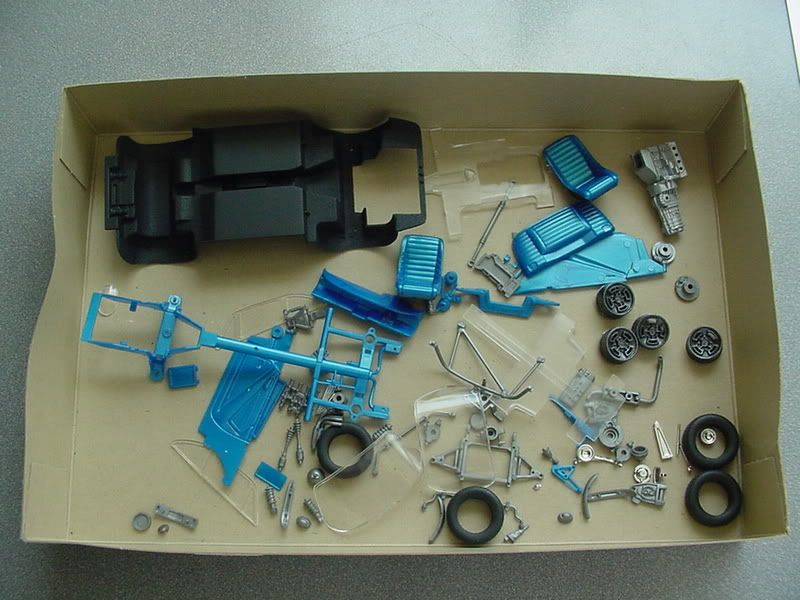
Here's almost all the parts removed from the sprue and cleaned up. This kit lends itself to cutting all the parts loose as they are easily identifiable even without the part numbers. The chassis pan, wheels and engine have been painted their base colors here.
Here are body parts painted TS-22 Green. Best rattle can job I've done to date, (I'm more of an airbrusher), even though arguably it is a somewhat homely color....
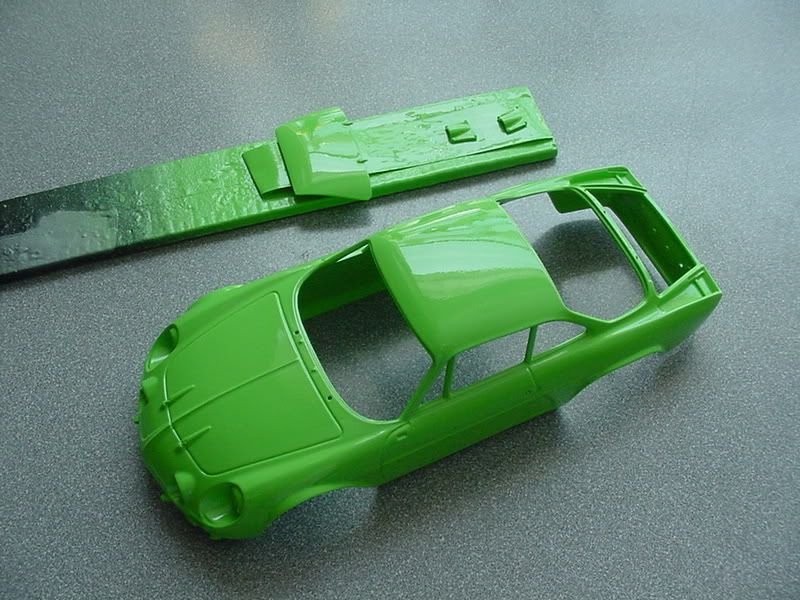
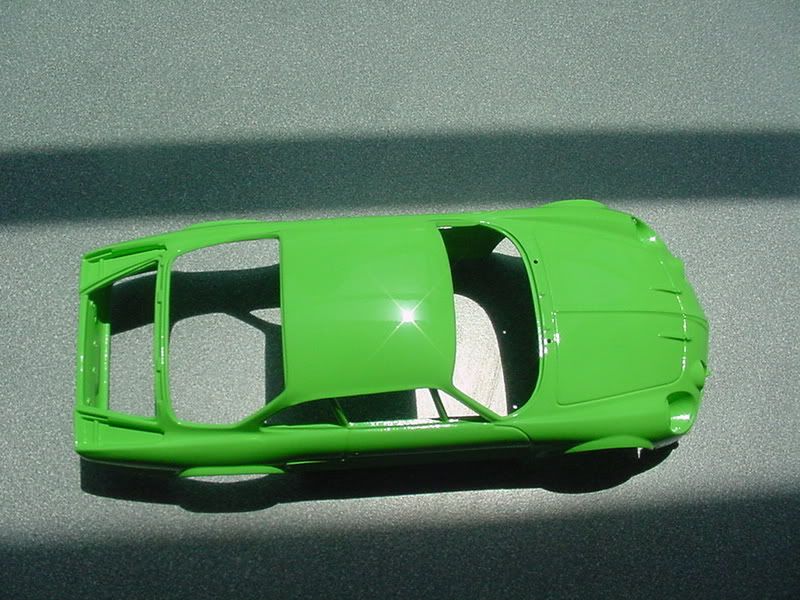
A couple days later I noticed a little defect in the top of the front fender. It is barely visible it the above pictures, but stood out to me in person. Just a tiny nit or bubble, not sure exactly, but no worries... Went after it with polishing cloths and removed it, but it was too deep and affected the color density/uniformity.
Had to paint some touch up. I thought by heating the can (TS-22) in warm water would allow me to lay on a thinner coat of paint. Well... I don't know if it made it any thinner, it may have, but it really made the propellant active, and a bit angry too. Tons of those little pin hole bubbles and a bunch of instant runs, and that particular paint apparently dries very fast.
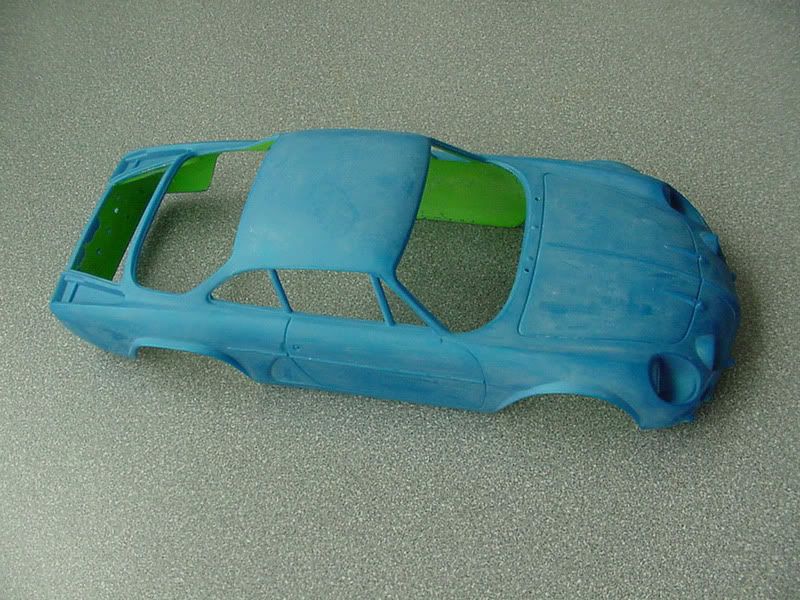
I decided to strip it, no other way to salvage it. What a Bummer! But the 100% denatured alcohol only made it worse, just a gooey mess. Normally it works as a great quick and clean stripper for Tamiya lacquers. Even left it to soak for over an hour, way longer than any other stripping exercise I've performed in the past.
Then I grabbed a box of baking soda, and plugged my little Badger media blaster (looks like a single action airbrush) into the outside compressor and went to town. I spent the same amount of time (or maybe even less) using it as I had spent trying to chemically remove the paint (not counting soaking time) and ended up with a fully stripped yet detail salvaged body. And my personal ph level had been adjusted too... I did look a bit like Neil Young in a scene from Rust Never Sleeps though...
Ready to prime, again...
Had another good experience shooting from (the room temperature) can, actually second can, of TS-22.
I have been attempting to paint as much as possible before assembling the parts. Again, this approach may not work well for some kits, but this one appears to fit well too...
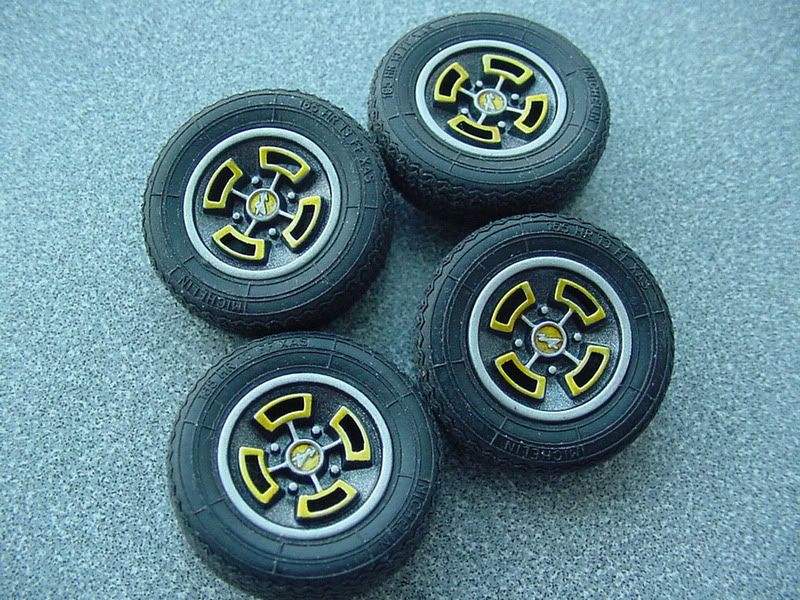
The wheels were sprayed TS Gunmetal and details/trim were brush painted silver and acrylic transparent yellow.