 10-20-2006, 07:56 AM
|
#25
|
|
AF Newbie
Thread starter
Join Date: Sep 2006
Location: ping
Posts: 6
Thanks: 0
Thanked 0 Times in 0 Posts
|
Re: Ping & Pong present: Two VERY Red Ferraris
OK time for Mr. Ping to show hes been doing something (nothing so fance as my friend, Mr. Posh Pong!!)
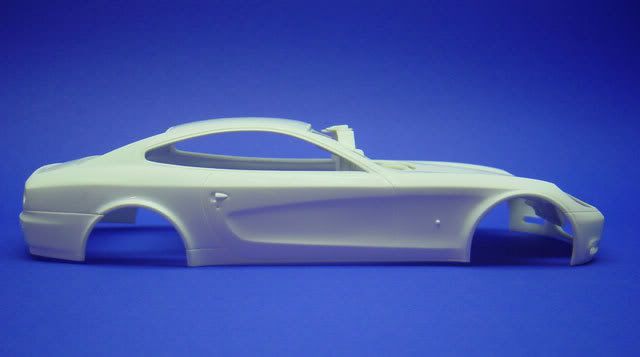
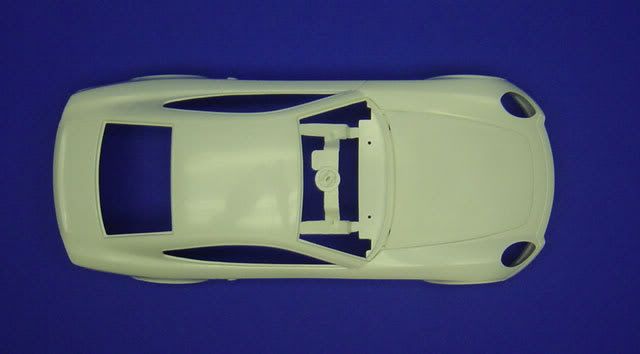
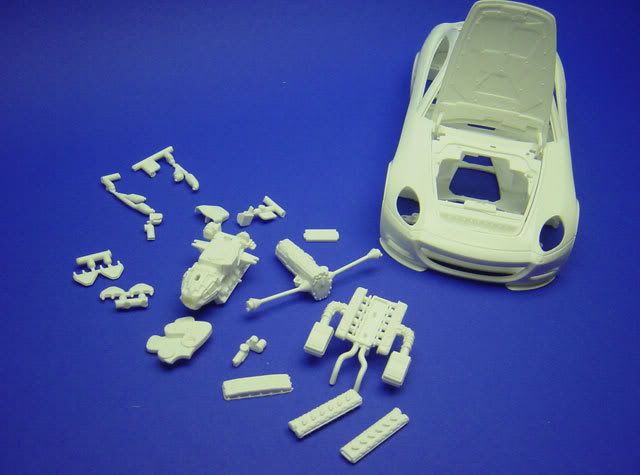
IMO this is a pretty good kit. It is full-engine, fairly well molded, there is minimal flash/mold lines and ejector pin marks have been well placed to be out of sight.
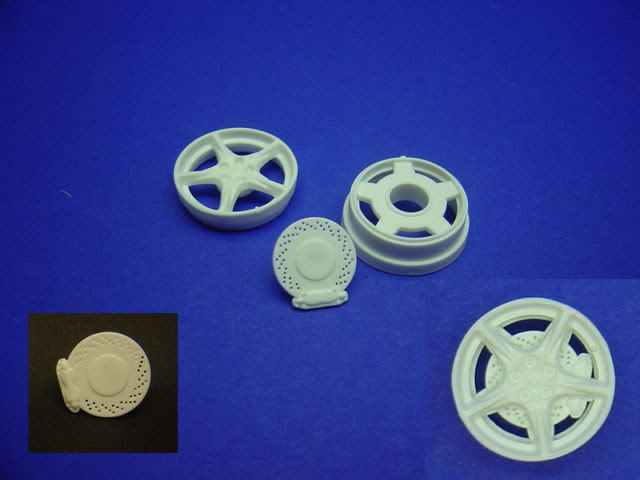
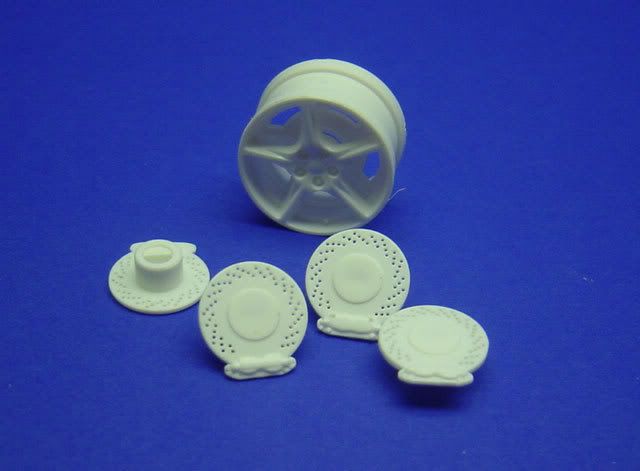
 The only rather strange thing about the kit I have noticed so far are the wheels/rotors.
They are a strange sandwich design with the wheel in 2 halves and the rotor sandwiched between. My original plan was to replace these but I think that the results might not be too bad so I will be going with the stock parts.
The only rather strange thing about the kit I have noticed so far are the wheels/rotors.
They are a strange sandwich design with the wheel in 2 halves and the rotor sandwiched between. My original plan was to replace these but I think that the results might not be too bad so I will be going with the stock parts.
 Here is a shot of the engines parts and a dry test fit.
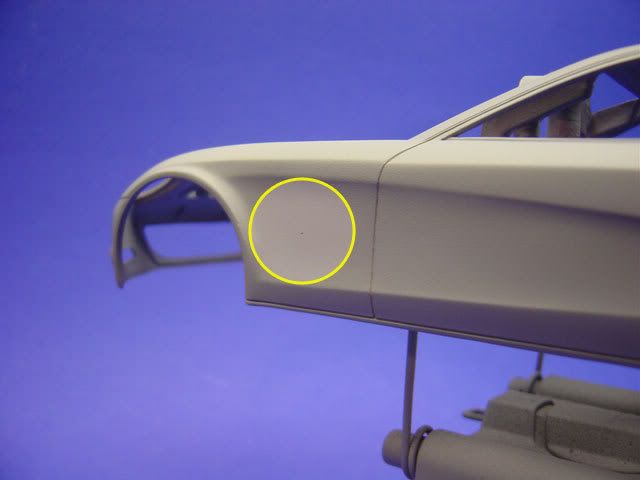
 I will not be modifying the body in any way but I decided to do something abort the little side indicators the Revell pips will be too hard to point well
  I drilled out a little marker hole and then sanded off the pip. I have not decided yet how I will replace them maybe clear sprue maybe pin head
?
I drilled out a little marker hole and then sanded off the pip. I have not decided yet how I will replace them maybe clear sprue maybe pin head
?
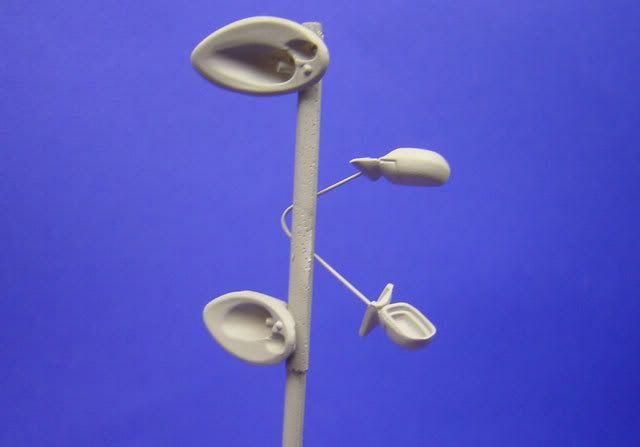
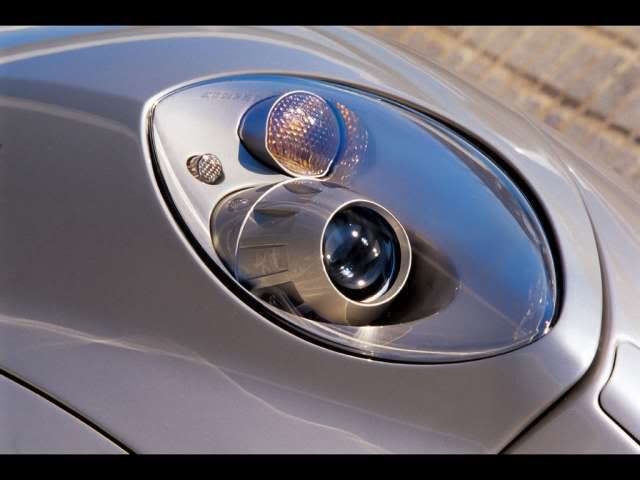
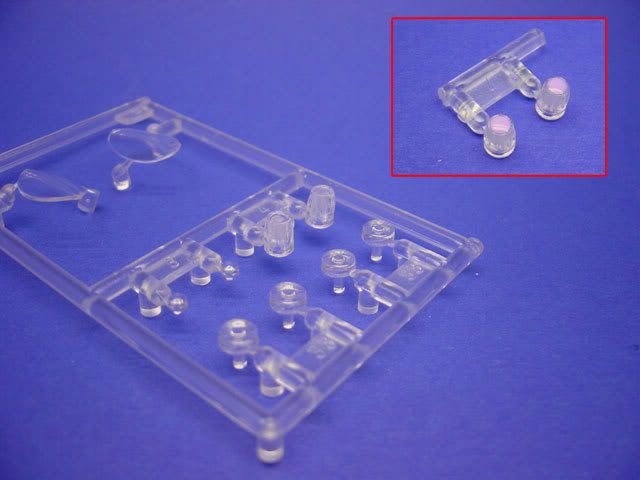
 An interesting part of painting the 612 is the headlight luster. They are to be painted in body colour as is the stick with the light bulb. These sticks are clear parts so I put a drop of maskol on the top to keep it clear during painting.
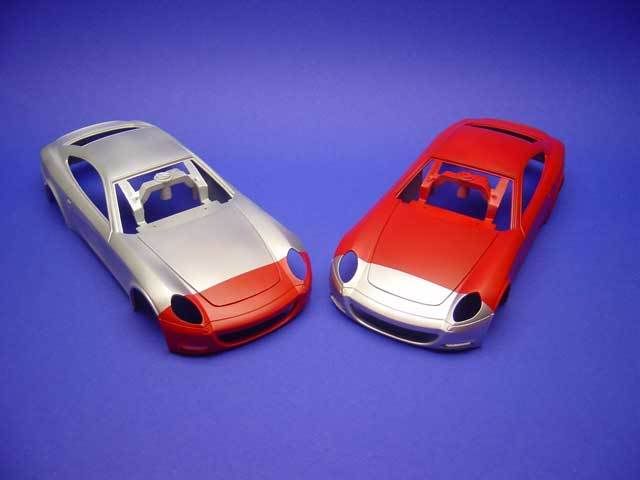
 Bodys with color base coat
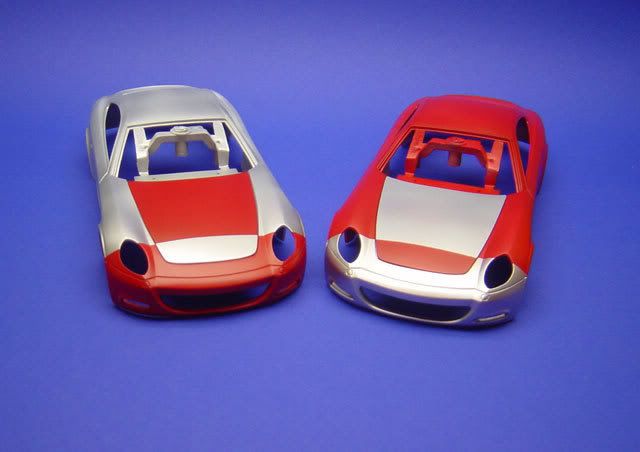
 and for fun
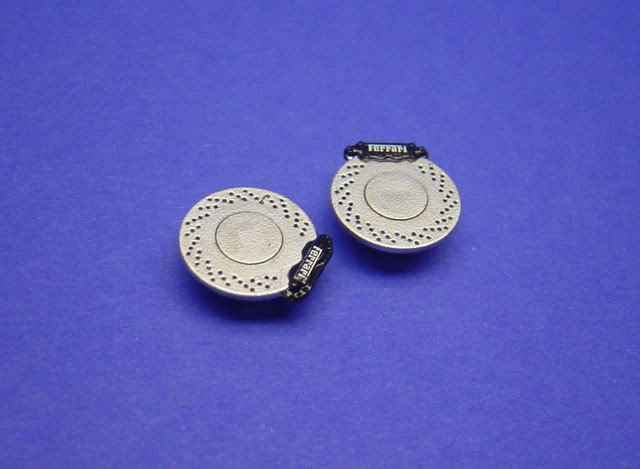
 I have started to do some detailing and detail painting and have started to use the decals from our set. I have to say Im mighty pleased and impressed with them J - the detail/resolution of the printing is very high and they go down really easily.
The calipers are painted with Tamiya gloss acrylic and some Ferrari decals applied (the set includes quite a few of these - in both white and black). Tamiya black acrylic wash applied.
I have started to do some detailing and detail painting and have started to use the decals from our set. I have to say Im mighty pleased and impressed with them J - the detail/resolution of the printing is very high and they go down really easily.
The calipers are painted with Tamiya gloss acrylic and some Ferrari decals applied (the set includes quite a few of these - in both white and black). Tamiya black acrylic wash applied.
 Next was the engine head.
This was probably the most complicated part I have ever painted in my short modeling career. It took 4 colors, BMF, decals, detail painting and wash - and it is all molded in one piece. I did think about cutting it up beforehand, but fortunately I decided against it.
First of all the whole part was primed in white and then painted with Alclad White Alu.
I then applied BMF over the ribs on the cylinder head, masked off and airbrushed heavily thinned Tamiya Flat Red from a distance to get the rouch/crackeld effect.
Following this, I re-masked to paint the hoses from the air filters with Vallejo Black and finally re-masked yet again to paint the two I-dont-know-what-they-are hoses at the front with a mix of Tamiya X-18 and a couple of drops of German Grey (this color mix came out perfectly IMHO).
After the painting, I used a chisel shaped toothpick to scrape the red paint off of the BMF to bring out the effect of ground down ribs.
I applied a metal transfer Cavallino from the Crazy Modeler set (I strongly recommend this set to Ferrari Fans!!)
Ferrari decals from my China set were placed to the air filter boxes. I had originally planned to apply P/E scripts before painting but I didnt have anything suitable. In the final result though, I think the color of the decal is spot-on and the effect is fine with me. A china set data decal was also applied to the hose.
Finally acrylic black was was applied.
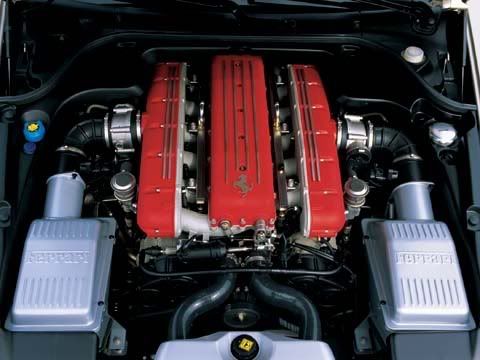
Reference picture:
Next was the engine head.
This was probably the most complicated part I have ever painted in my short modeling career. It took 4 colors, BMF, decals, detail painting and wash - and it is all molded in one piece. I did think about cutting it up beforehand, but fortunately I decided against it.
First of all the whole part was primed in white and then painted with Alclad White Alu.
I then applied BMF over the ribs on the cylinder head, masked off and airbrushed heavily thinned Tamiya Flat Red from a distance to get the rouch/crackeld effect.
Following this, I re-masked to paint the hoses from the air filters with Vallejo Black and finally re-masked yet again to paint the two I-dont-know-what-they-are hoses at the front with a mix of Tamiya X-18 and a couple of drops of German Grey (this color mix came out perfectly IMHO).
After the painting, I used a chisel shaped toothpick to scrape the red paint off of the BMF to bring out the effect of ground down ribs.
I applied a metal transfer Cavallino from the Crazy Modeler set (I strongly recommend this set to Ferrari Fans!!)
Ferrari decals from my China set were placed to the air filter boxes. I had originally planned to apply P/E scripts before painting but I didnt have anything suitable. In the final result though, I think the color of the decal is spot-on and the effect is fine with me. A china set data decal was also applied to the hose.
Finally acrylic black was was applied.
Reference picture:
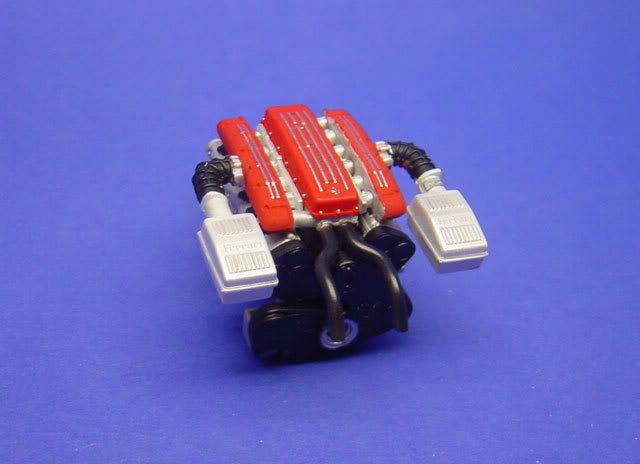
 My parts:
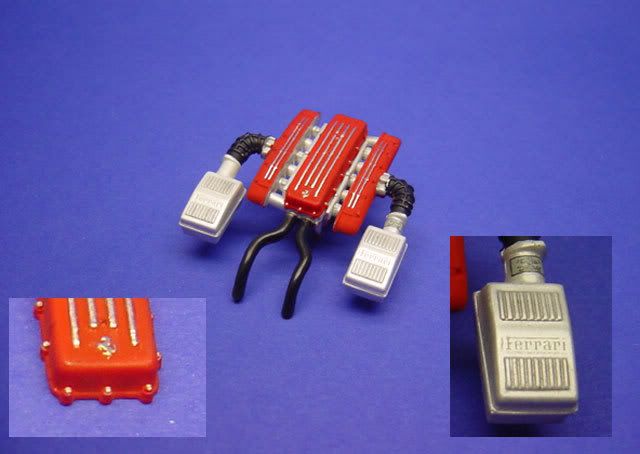
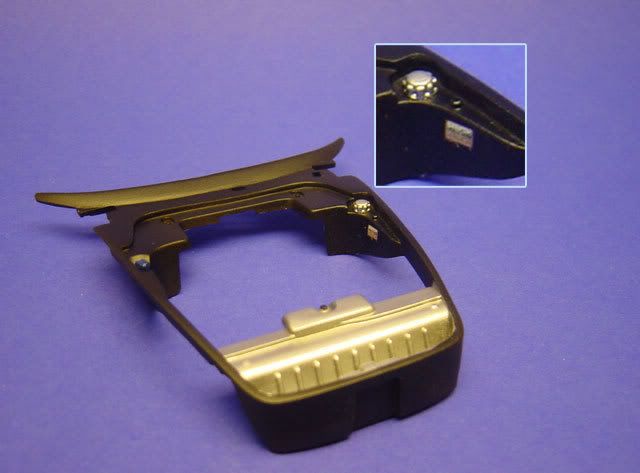
 The engine bay surround (if I can call it that) was painted with a base of Tamiy semi-gloss black (X18). The front part was masked off and then painted with Alclad Aluminium. The two reservoir caps were masked off with maskol and detail painted.
Finally, another one of the data plates from the China set was applied as per reference photo.
The engine bay surround (if I can call it that) was painted with a base of Tamiy semi-gloss black (X18). The front part was masked off and then painted with Alclad Aluminium. The two reservoir caps were masked off with maskol and detail painted.
Finally, another one of the data plates from the China set was applied as per reference photo.
 Thank you!
Mr. Ping
Thank you!
Mr. Ping
|

|

|