Hi all,
pettercardoso: excellent reference pics, there's a couple there I've not come across before, and every little bit helps with this particular project!
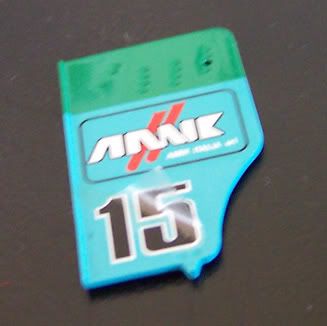
mickbench: Hi-tech decals function basically the same as regular decals, only when they've properly set and dried you can peel a very thin protective film from them. This leaves only the also very thin coloured decal left behind, and helps to give it a much more painted on look. I've found that Micro-Set/Sol works fine with this type of decal and causes no problems. I didn't actually realise these decals I'd bought were the hi-tech variety until I accidentally found that I'd pulled the film off one and my heart about stopped...!
It's not the best pic (it was damn hard to take a good shot!), but you can sorta see below where I've partially peeled the film from the No. 15 decal...
Update time! Well a small update anyway...
It was time for me to break out the CF decals for the first time, and I'm getting some reasonable success from it! Here's the process I took:
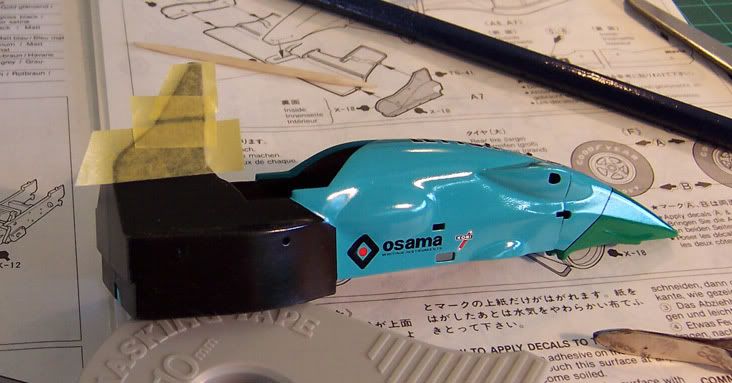
First I had to make a template from Tamiya masking tape. You can see below I've put the tape on the area I want to have the CF decal put on. The tape must be cut to shape, so I simply used a pencil to trace the outline I needed, which wasn't hard as I just followed the plastic piece around as required. It's hard to see the pencil line in the pic, but you get the idea.
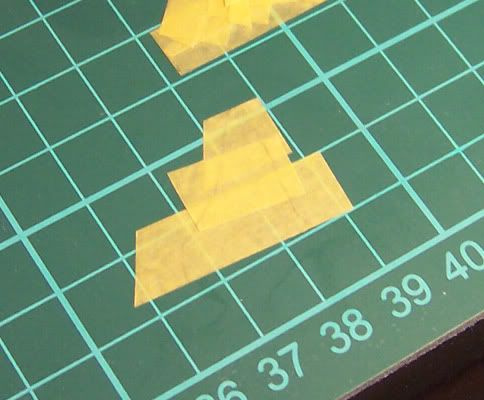
I then carefully peeled the tape from the model and placed on my cutting mat. Again, hard to see the pencil, so I just went over it again to make a definite line, then used my modeling knife to trim off the excess.
Once I had the exact template I was after (this process is very similar to the BMF process shown on the previous page), I stuck the tape directly to the CF decal sheet, and used my knife to cut the decal to the exact shape I was after. Forgot to get a piccy of this step, but it's not hard to figure out.
Then it was just a matter of peeling the tape from the cut out decal, soak the decal, and place it on the model. A bit of MicroSol and we're all done!
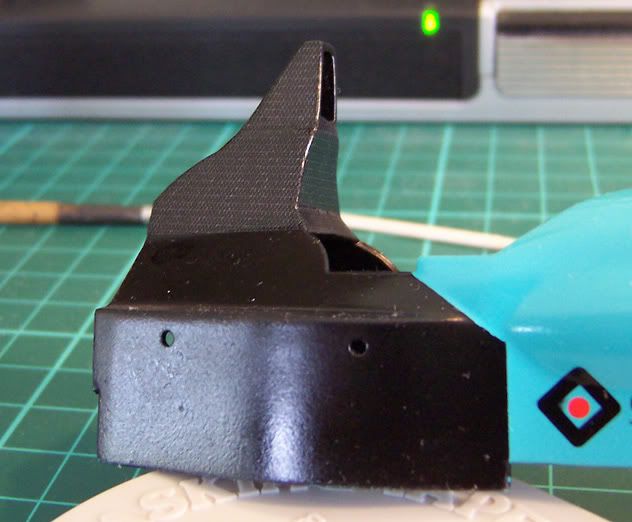
It's only partially complete so far as you can see, and looks a bit dodgy all peice-meal like this, but I think it's going to come up great when it's complete and some other parts are attached, etc.
I'm hoping to get this kit finished by about the end of November, so hopefully the updates will keep coming thick and fast!
Cheers all,
M