Thanks for the comments guys:-) So far my nerves actually haven't been tried on this one. As i said i kind of know now where trouble most probably will strike from building the MP4/8 ( which isn't finished yet ) and others like a Lotus 25 that has stalled after it's 3rd set of scratchbuilt exhaust pipes that still don't work ( dohhhhh!!).
After a weekend with some good modeling time though here comes another update:
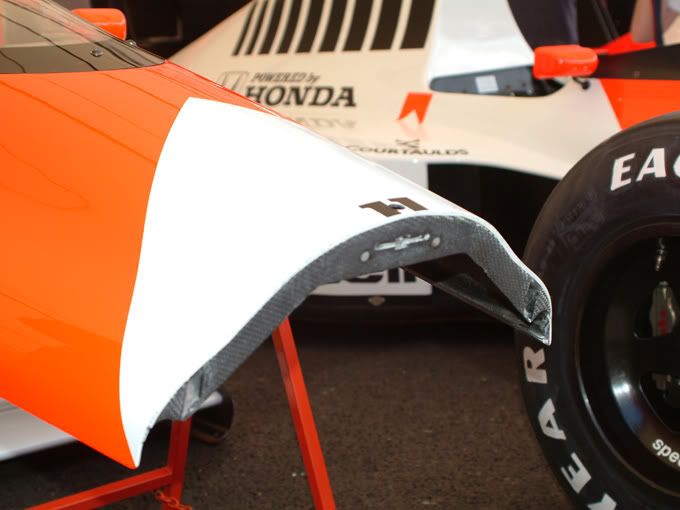
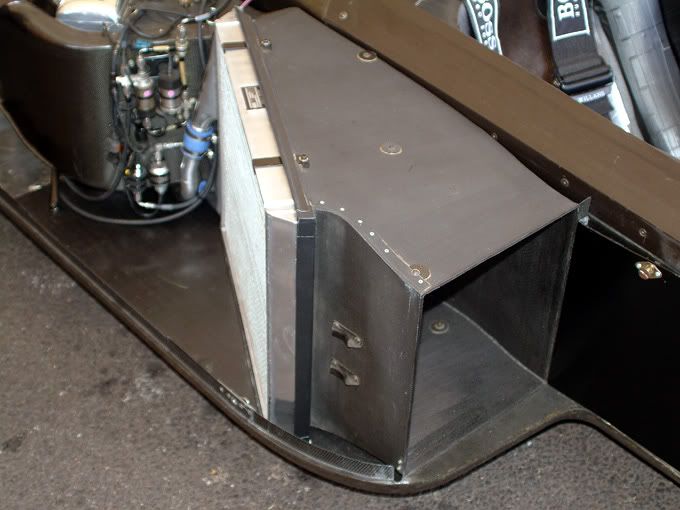
First up a reference picture of the cowling frontend i forgot in my last post:
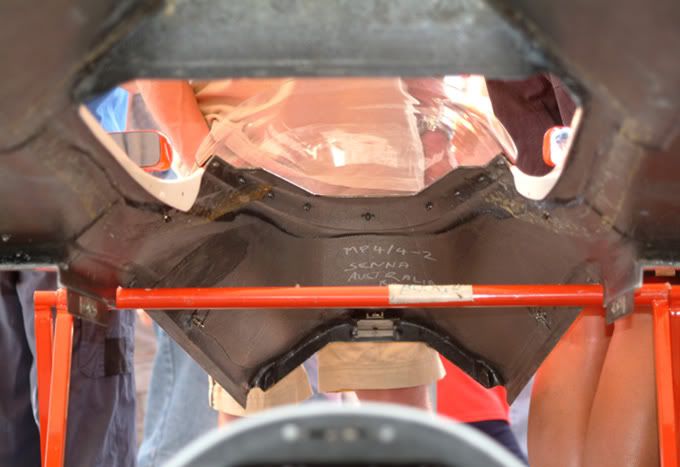
I carried on with the inside of the cowling and added some surface details ( i.e. dodgy CF layup ). Here's a picture of the real one:
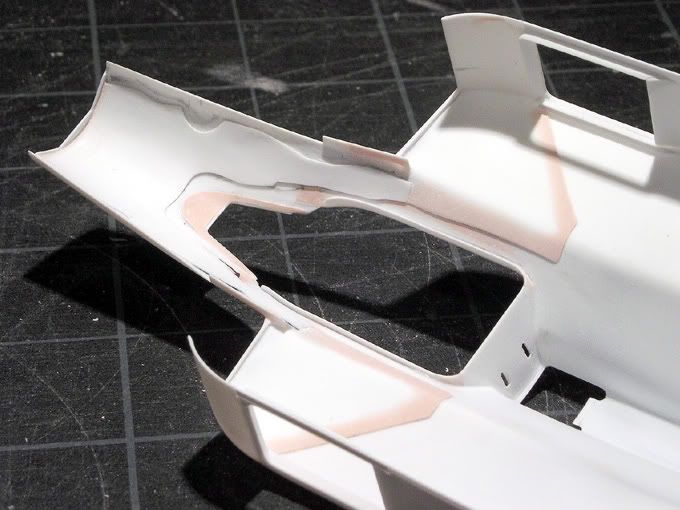
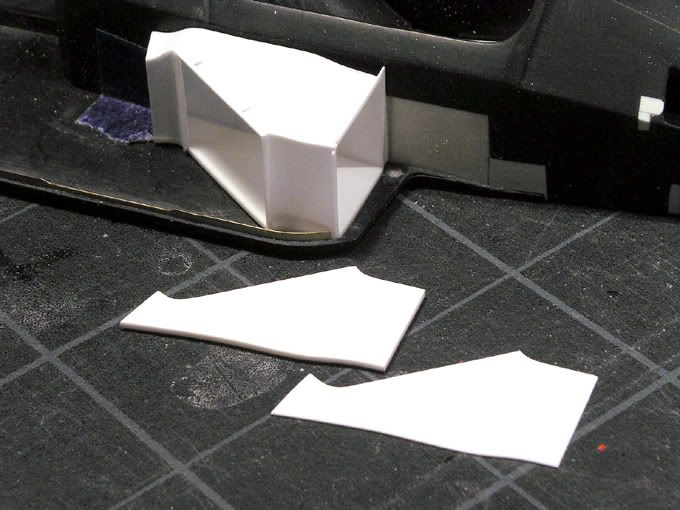
...and this is the model. I added a piece of 0.2mm plastic sheet in the front and some polyester putty. It does make me feel quite stupid to first sand those surfaces nice and smooth and then mess them up again....but that's the way it goes:-)
In the rear part of the cowling i added those two pieces made from 0.8mm plastic sheet.
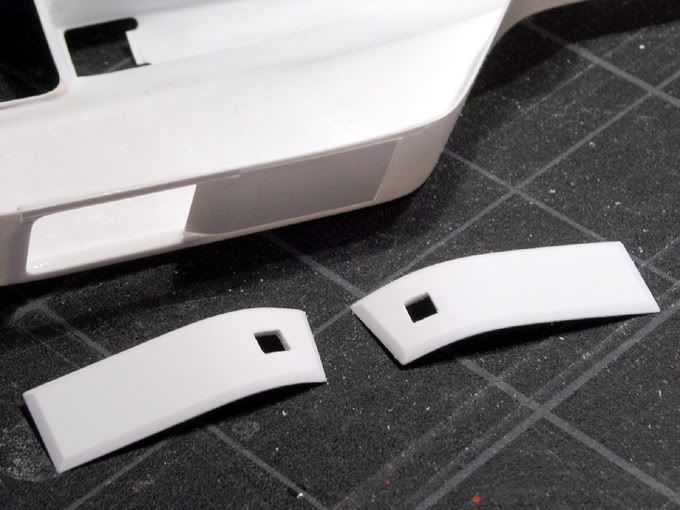
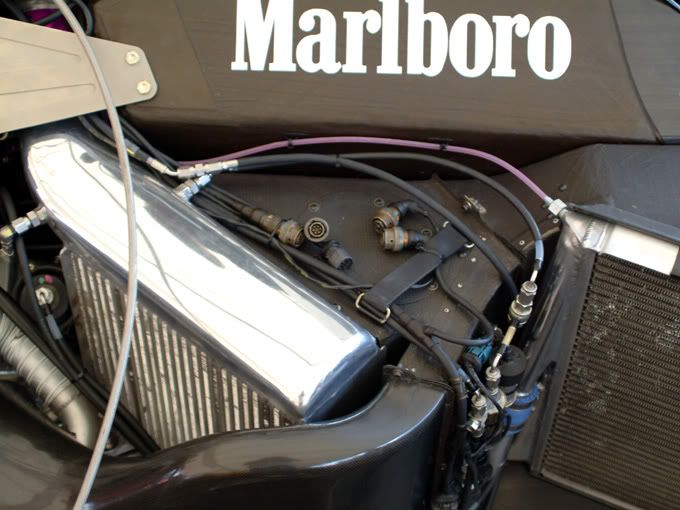
They seem to be heat shields and will later be covered with chrome foil. I forgot the picture where they are mounted but here is one of the real car:

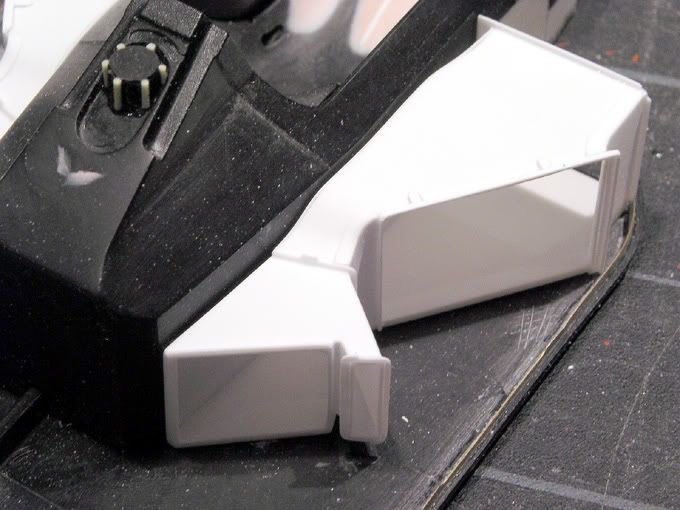
The cowling is now ready for some primer but first i'll build some more bits. First up were the sidepods. After cutting off the kit pieces in the beginning i scratchbuilt them from various thickness plastic sheets. I do two pieces per side as on the real car.
The real one on the right hand side:
...and the built up piece with the top and bottom bits copied for the left hand side:
Now this is the major difference between the early season MP4/4 as it comes in the kit and the late season version i'm building. Instead of the periscope airducts sticking out of the cowling the turbos are fed internally. The turbo intercoolers are smaller and the intakes run around them on both sides of the car so the sidepods are different here:
This is a picture during buildup:
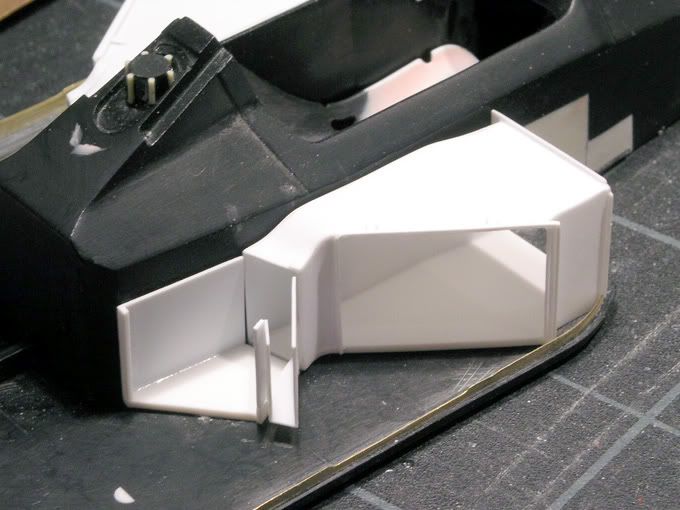
And this is the finished bits with some tiny flanges:
Finally an overall view with all sidepods done.
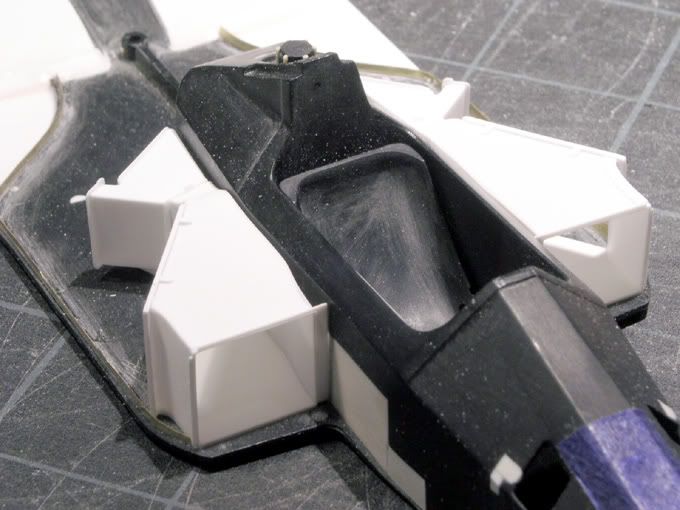
They took longer to make than i first expected....but in fact that happens most of the time :-)
Next up in this area i have to build the radiators and connect them to the engine but there's more to do on the monocoque first!
Cheers