Thanks RallyRaider....i hope:-)
Here we go with some more progress:
After cutting the rear end pieces off i filed and sanded the middel part thin to about 0.3mm ( very annoying job with PS but there will be more...) and started replacing the pieces with 0.3mm sheet-PS using the old pieces as templates. This creates a more realistic undertray and diffusor thickness.
In the background you can see i also started filling holes on the monocoque with sheet-PS superglued in and then i sanded all surfaces to get them straight and even.
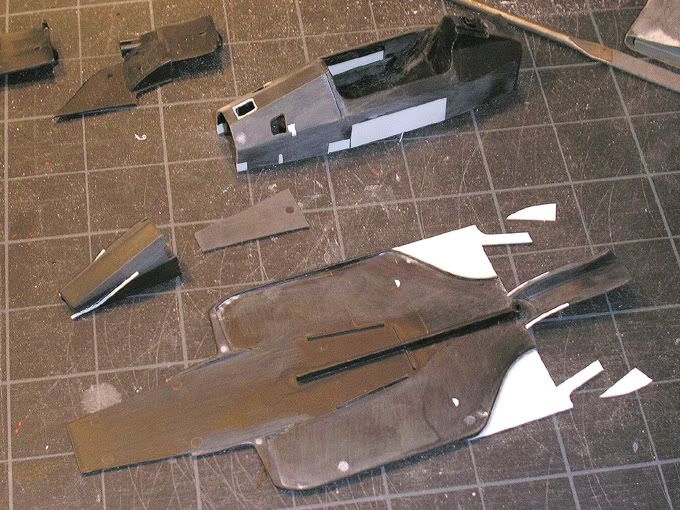
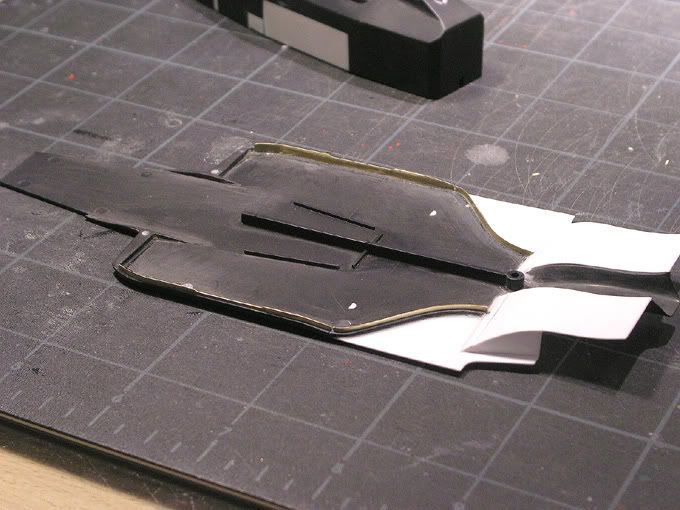
In the next photo you see the diffusor in an advanced state. The middle fins are missing. They will be seperate pieces also from 0.3mm PS and follow later.
Around the sides you see a 0.15mm thick brass strip. This is also superglued and creates a flange like on the real car that will later fix the body. My first try to do this on the MP4/8 was with a plastic strip but that didn't last. Metal is the much better solution here:-)
In the rear part where the body tapers that flange on the real car has a kink downwards. In the kit that's just a straight edge so i filed it about 0,7mm lower. I'll also have to change it on the body part.
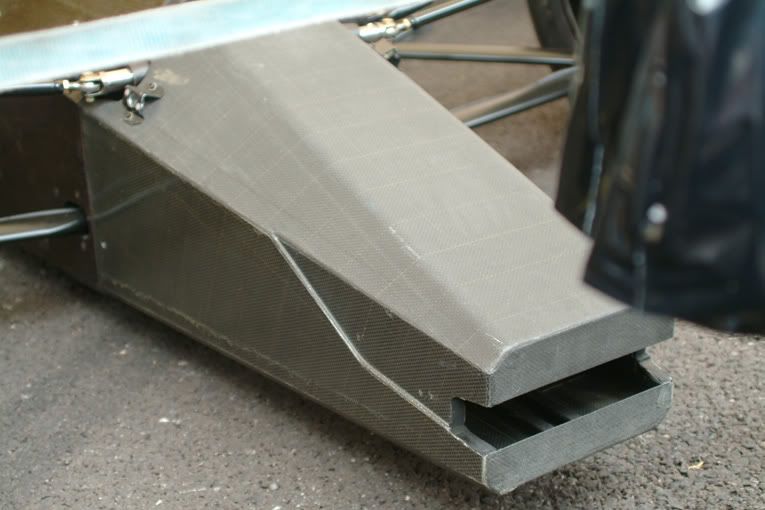
This is the real nosecone:
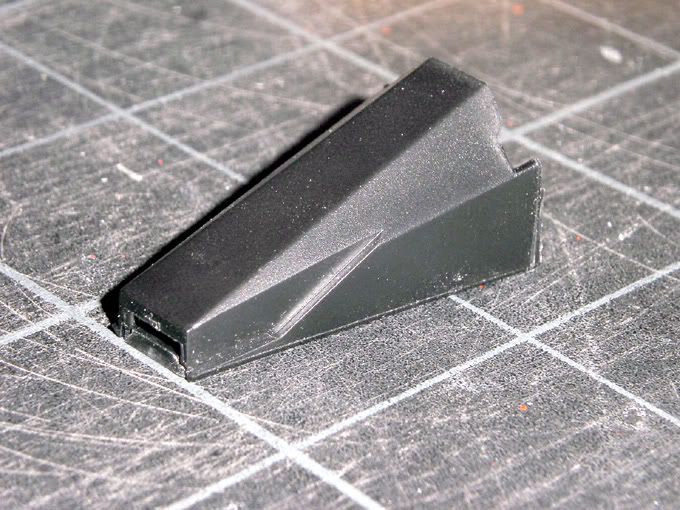
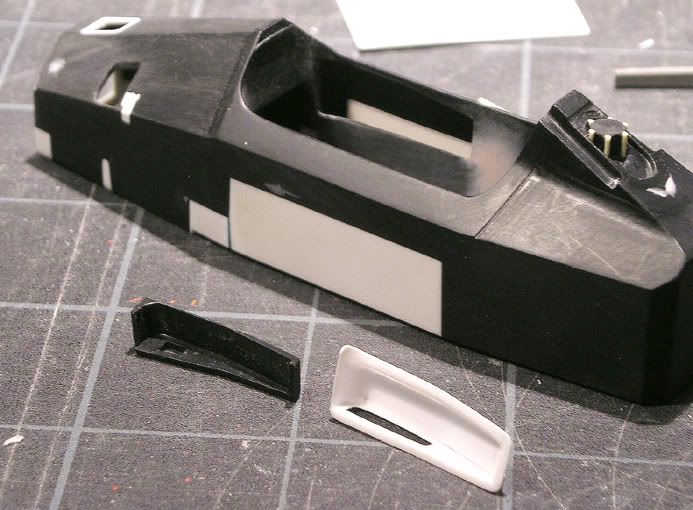
The kit piece looks like this and needs changes:
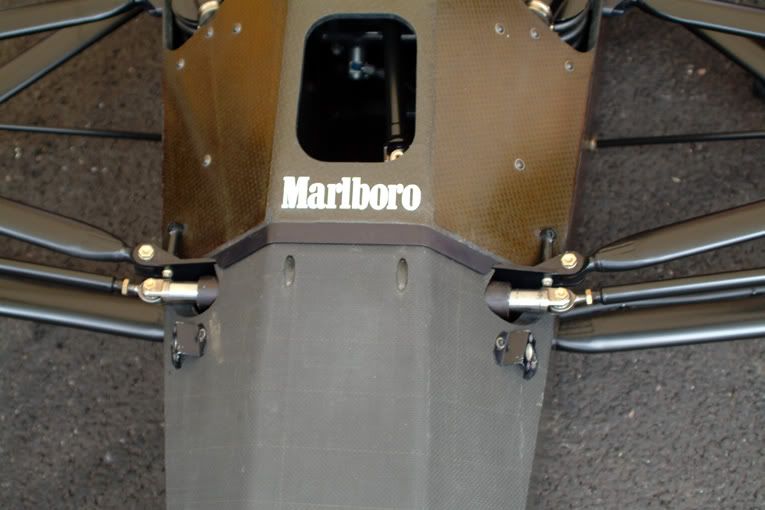
This is another view of the nose where the nosecone meets the monocoque. You can see the black piece in between that also has the mounting points for the upper front suspension arms.
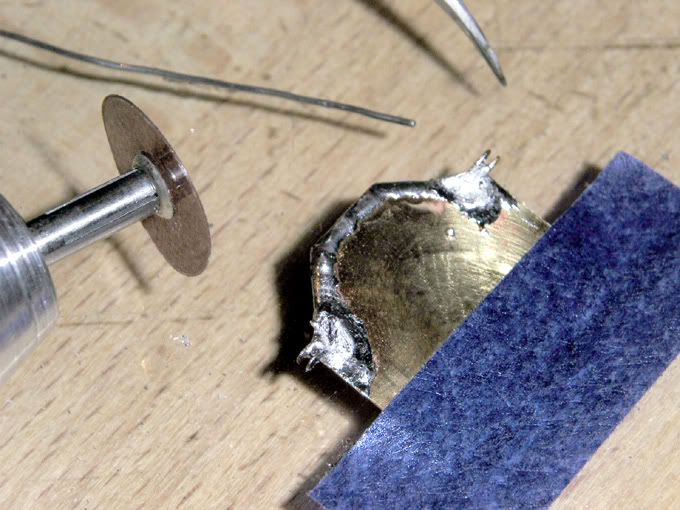
I built this from 0.15mm sheet brass and a brass U-profile ( soldered together and then filed a lot....). Plastic again doesn't do the job ( yes i tried before :-)
It now looks like this:
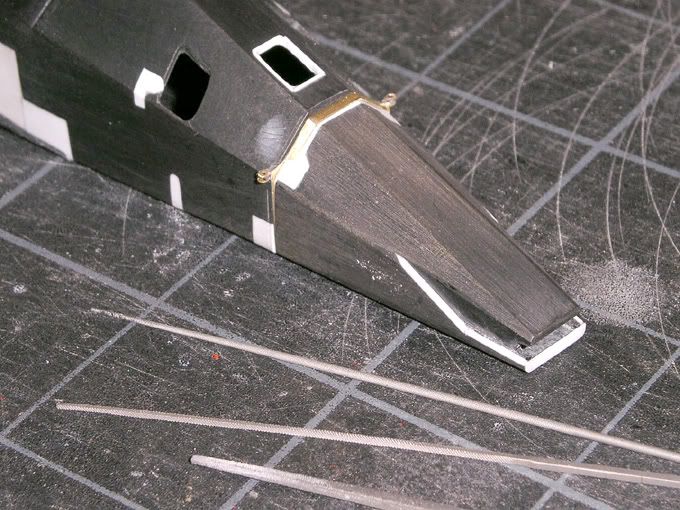
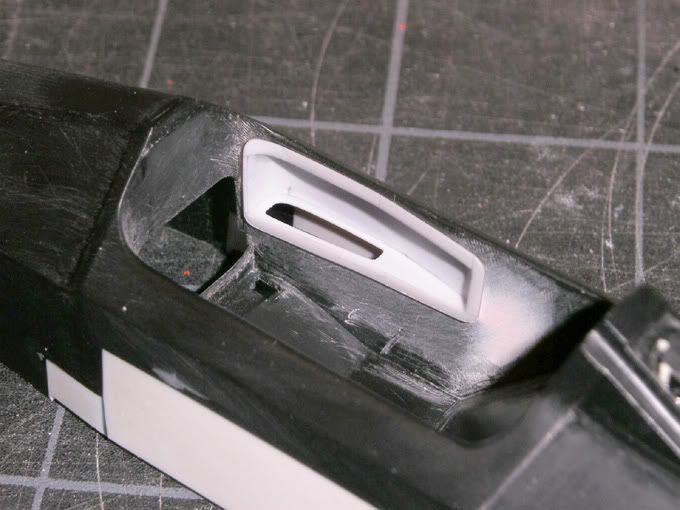
The white bits show where i added material to fill the holes or change the shape ( nosecone....to get it right...see original ).
The hole on top through which the pedals and steering column will be visible later was too big. The openings for the pullrod dampers in turn were to small and i changed the shape slightly. I cut the molded in dampers off to replace them with extra bits in a deeper hole later ( that's gonna be tricky in fact because i want to do it after CF-decaling and painting to get seperate pieces like in reality ( see next picture ). I'll see how i get that done:-)
Next is a picture of the real cockpit:
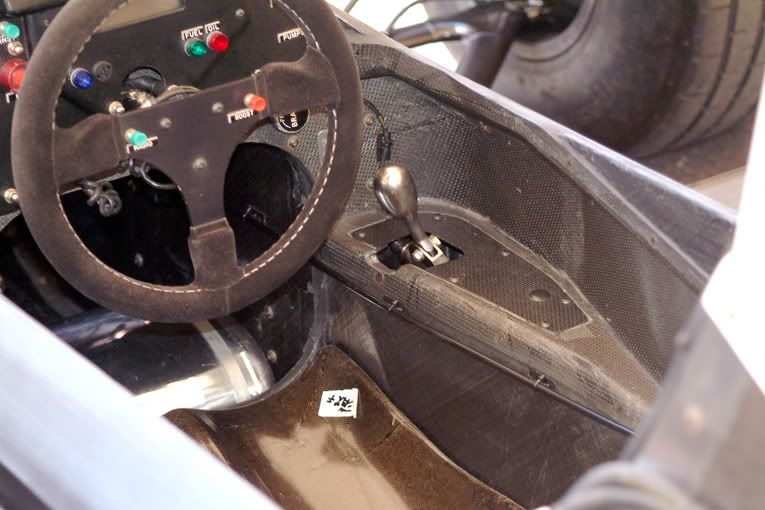
The armrest/gearshift in the kit ( the black piece ) is way too rough so i cleaned the sidewall and scratchbuilt one from 0.3mm ps ( step by step always with superglue ). It has a bigger hole like in reality and will get an insert with the gearshift. They will stay extra bits through painting and CF-decaling. This will make that job much easier:-)
This is the piece in place:
That's it for the moment. I had some holidays which gave me more time to model so now i need to carry on ( job permitting :-)
Don't expect daily updates:-)