Here're some updates on the body work.
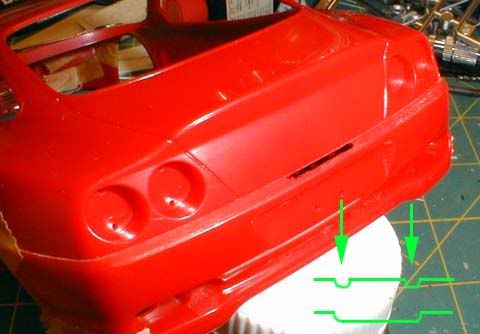
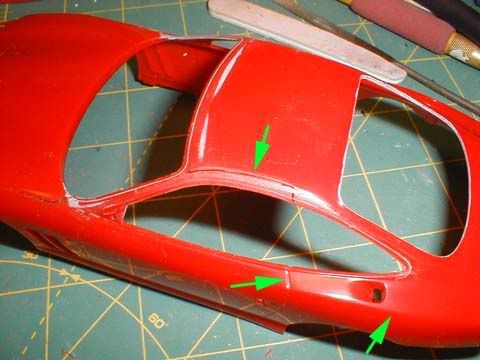
Fujimi missed a few spots. They're all minor, and easy to fix. The center part of the rear bumper should be lower, and if my calculation is correct, it should be about 11 mm wide. Use a round file to make two "gutters" and then a flat file to remove the remaining part.
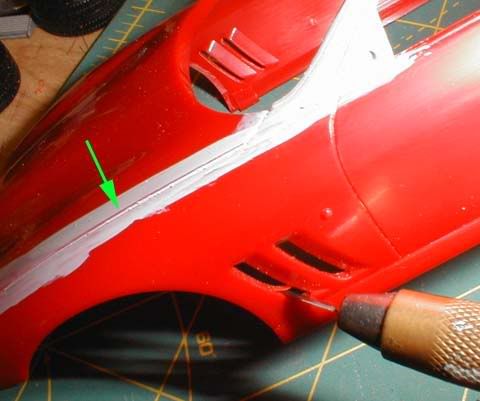
Another omission is the panel lines near the A-pilars (green arrow). The line from the hood should extend to the door. Place a ruler and scribe the omitted lines using the back of a hobby knife.
I decided to remove the window sealing strips to minimize the steps caused by the thickness of the body part. I engraved a line along the raised sealing strip detail, and then filed it off.
I sanded a portion of the roof so that the edge makes a smooth curve (top). Then, I applied GSI's Mr. Surfacer to fill scratches.

Here is the result It's a little hard to see, but now the step is less than 0.3 mm. The rear window frame was treated the same.
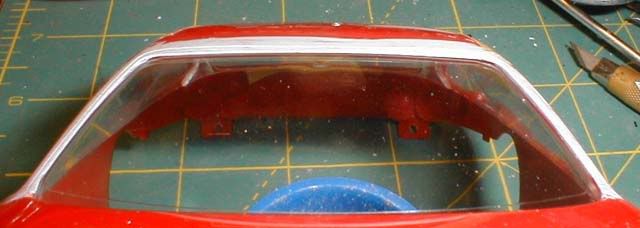
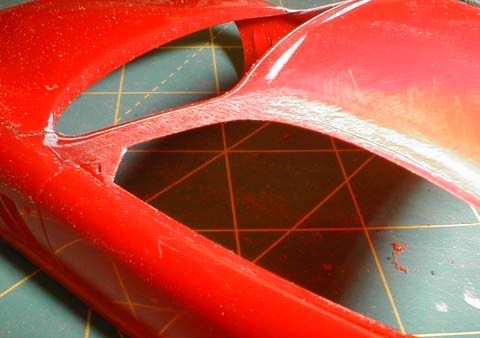
I placed the clear part, and drew lines to see how much sanding was necessary. In some areas (especially around the top of the rear quarter window), the offset is almost 2 mm!
I engraved a line along the rubber strip just like I did earlier. Because the kit is still new and the condition of the mold is good, the seam lines are very fine and hard to see (green arrows).
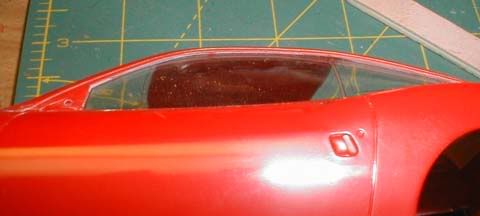
I got frustrated by the amount of sanding I had to do, so I used one of the coarsest nail file, knowing that I could remove large scratches using medium and fine files successively. But OOPS, I accidentally erased a part of the engraving and ended up re-scribing it again. This is the classic case of "Haste makes waste."
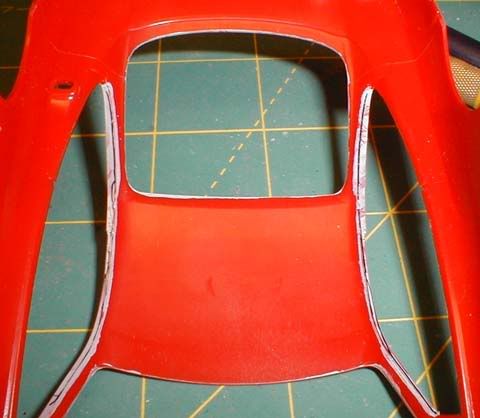
This is the result. The step is now less than 1 mm, and for the amount of work and time spend on this correction, it looks fairly decent.
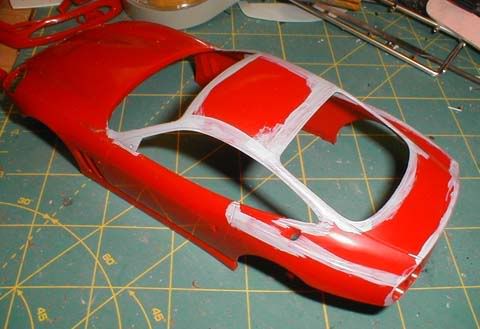
After major sanding was done, scratches had to be filled with primer. Locally applied primer should be sanded and polished to match the bare plastic, or the brush-strokes will be noticeable primer is sprayed later.
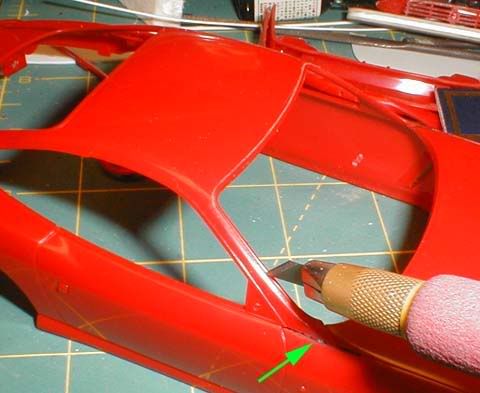
There's a fairly noticeable step along the panel line between the hood and the front fender, so I filed and leveled the step (green arrow). Also, I enlarged the air outlets using a sharp hobby knife.
Although not shown here, the body has been already primed. While waiting for the primer to dry, I'll work on the interior.