|
|
|

|
|
| Search | Car Forums | Gallery | Articles | Helper | AF 350Z | IgorSushko.com | Corporate |
|
| Latest | 0 Rplys |
|
|||||||
| WIP - Motorsports Post topics for any "Work In Process" motorsports vehicles in this sub-forum. |
 |
 Show Printable Version | Show Printable Version |  Email this Page | Email this Page |  Subscribe to this Thread
|
|
|
Thread Tools |
 04-10-2016, 06:27 AM
|
#1 | |
|
AF Newbie
Join Date: Sep 2014
Location: Quezon City
Posts: 5
Thanks: 2
Thanked 1 Time in 1 Post
|
Just another F1 GTR longtail (Image Heavy ;) )
Hi all, This would be my first post here on the forums. Though I have been watching WIP's here for a couple years now, I only had the courage today to post my work. Am still fairly new to automotive modeling, so any tips and critics would be greatly appreciated and taken creatively.
 First off, I would be building Aoshima's 1997 F1 GTR Longtail Pre-Season testing version. I also have Aoshima's Detail-up set with the kit. I am also thinking of ordering S27's CF decal set or just get the SMS decal sheets and create my own patterns from different weaves. But for now, I'd start of with the build. 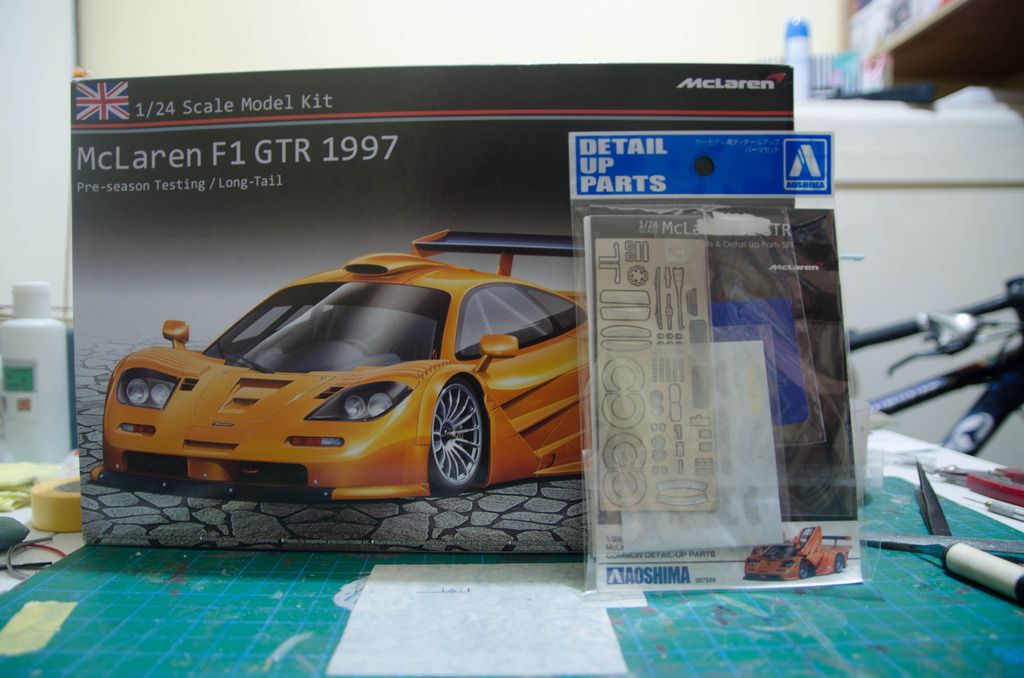 This is such a well-built kit. I was amazed at the engineering that went through making it. Although there are little things that would have gotten a better treatment like the electronics on the interior and the door mechanism to name a few. 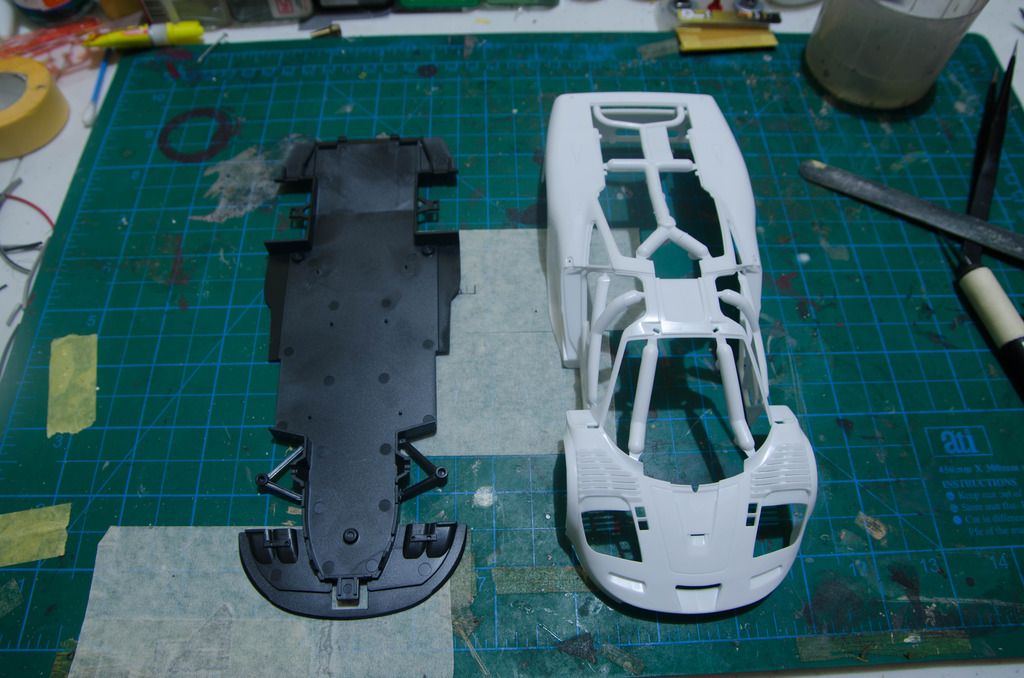 I start of the build by mocking things up, mostly main parts like monocoque, chassis, engine bay and the body it self. Trying to look for any imperfection. so I sand the mold lines. Fill injection marks and so on. 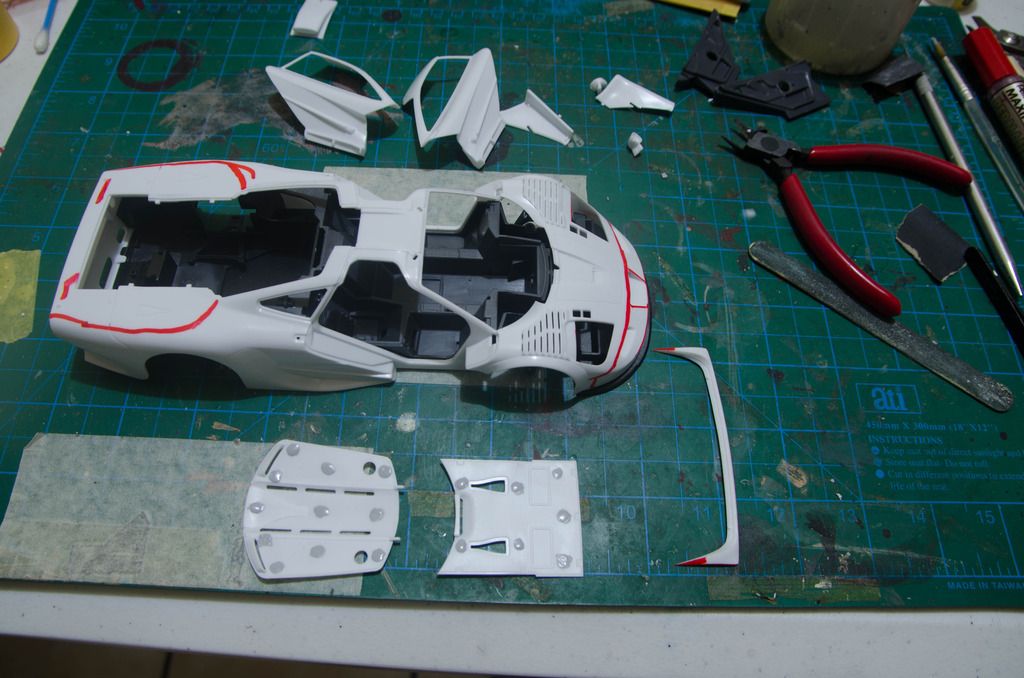 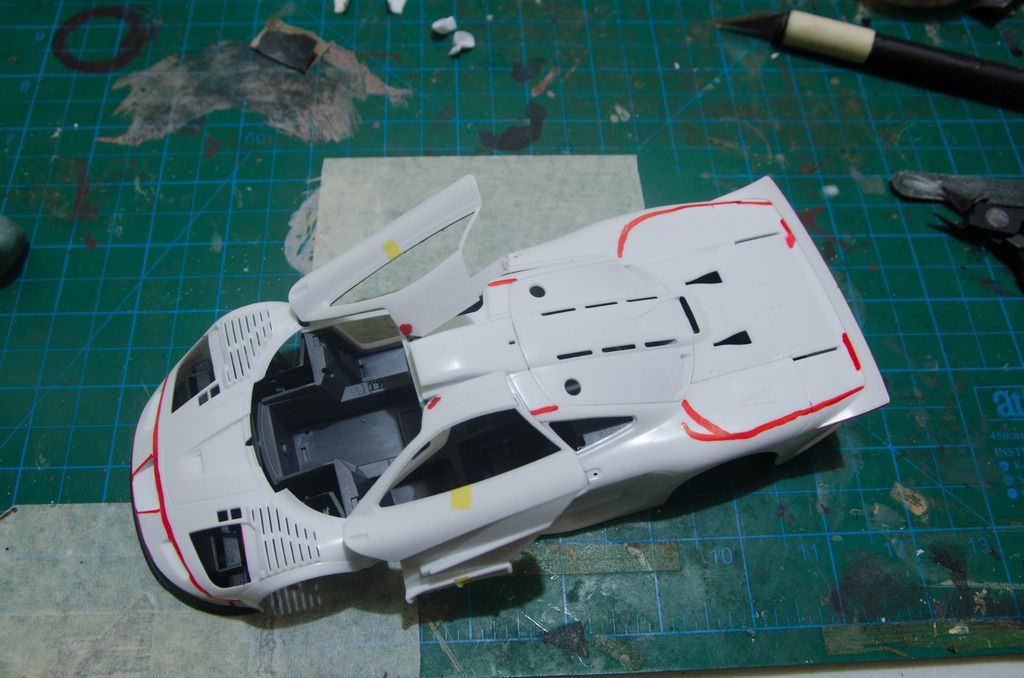 |
|

|

|
|
04-10-2016, 06:37 AM
|
#2 | |
|
AF Newbie
Thread starter
Join Date: Sep 2014
Location: Quezon City
Posts: 5
Thanks: 2
Thanked 1 Time in 1 Post
|
Re: Just another F1 GTR longtail (Image Heavy ;) )
This build was inspired by sam01contact's build, I've studied how he built his and based my build off that. It was such a great learning experience.
With that being said, I move on the interior. Cut out the molded-in electronics. Going to scratch build those later. 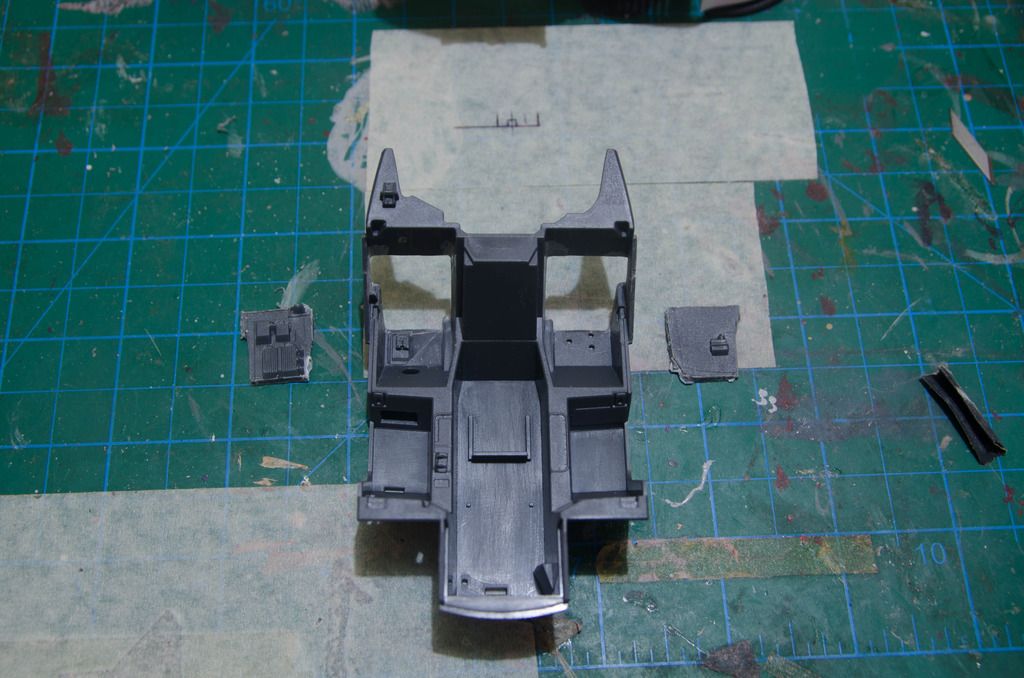 Then made replacement parts for the ones I cut out using 0.3 plastic sheets. 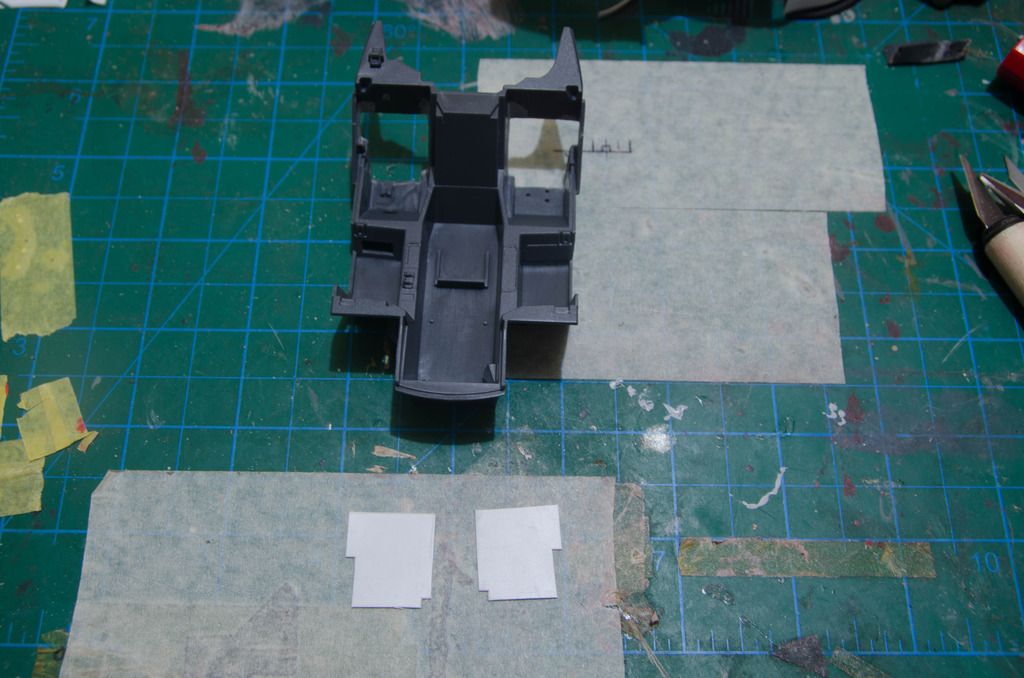 Finally, I drilled out some holes for wiring, detailed them and fitted some resin connectors from Hobby Design. 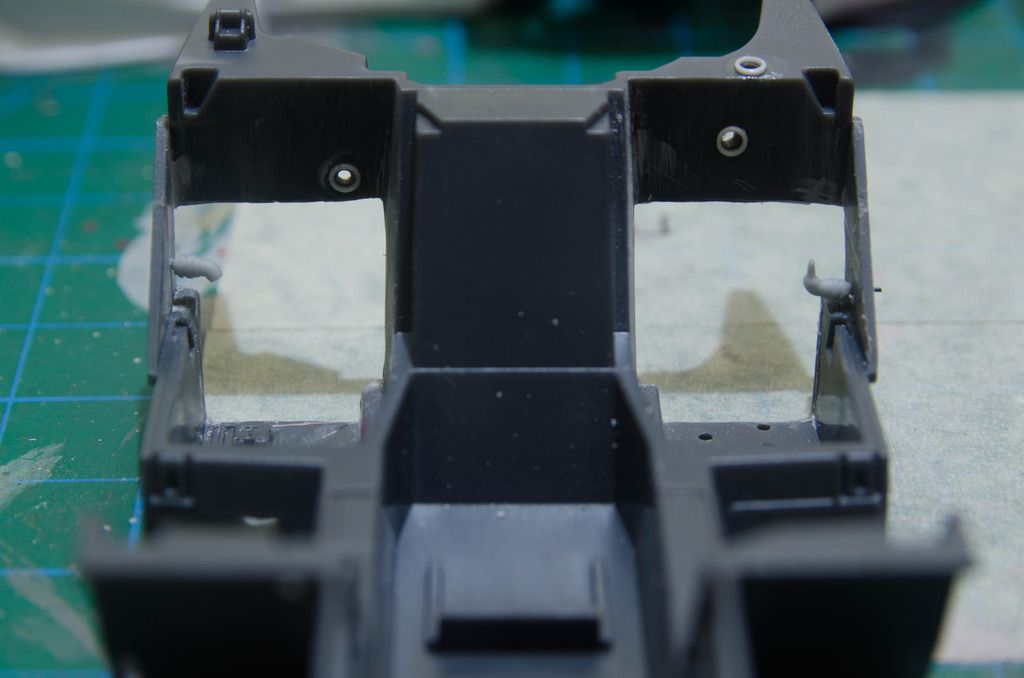 Another thing I saw from sam's build were the muffler springs. And that really got my attention. So I made these springs from Brass wire and fitted them on the muffler. Again I used sam's technique with the tubes covering the seamline that was made by the muffler. *Note: These things were so small that I had to use my 105mm Micro lens just to get a detailed shot of it.* 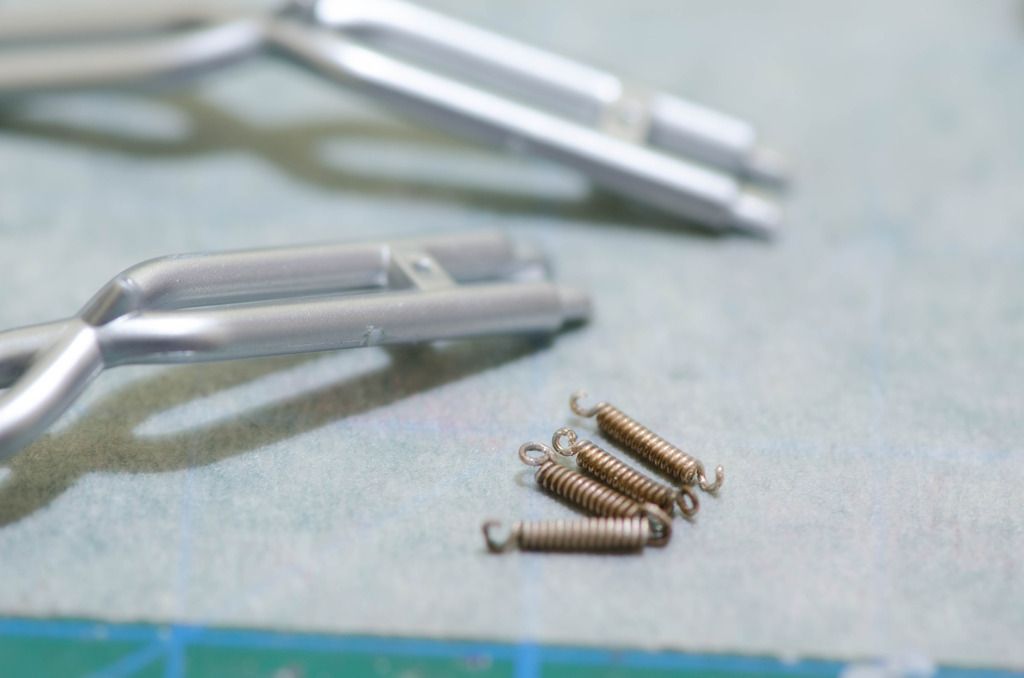 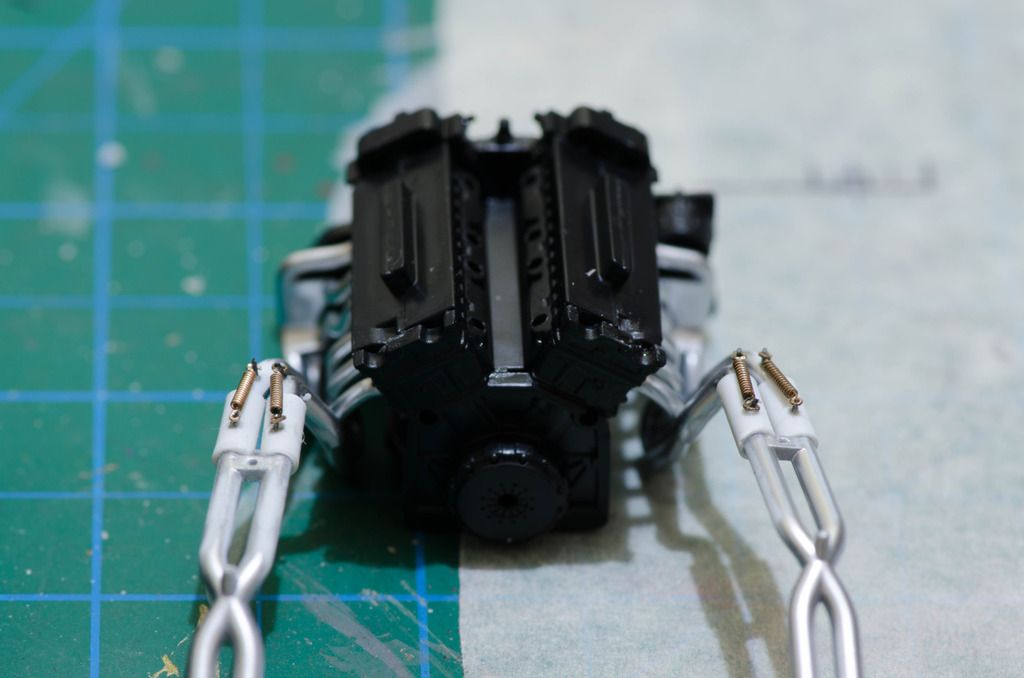 That would be all for now! Sorry if I am jumping all over the place, I really can't keep my hands still with just one part of the build. I need to work on several sections at the same time to keep my hands satisfied |
|
|
|
|
|
04-10-2016, 07:44 PM
|
#3 | |
|
AF Enthusiast

Join Date: Oct 2008
Location: Auckland
Posts: 2,761
Thanks: 51
Thanked 136 Times in 134 Posts
|
Re: Just another F1 GTR longtail (Image Heavy ;) )
Great work so far!! Sam definetly build one of the best F1s Ive ever seen!!!
__________________
 It's Not wheather you Win or Lose, its how you look while you play the Game |
|
|
|
|
| The Following User Says Thank You to da_ashman For This Useful Post: |
Pichicoy (04-15-2016)
|
|
04-11-2016, 12:23 AM
|
#4 | ||
|
AF Newbie
Thread starter
Join Date: Sep 2014
Location: Quezon City
Posts: 5
Thanks: 2
Thanked 1 Time in 1 Post
|
Re: Just another F1 GTR longtail (Image Heavy ;) )
Quote:
|
||
|
|
|
|
04-11-2016, 05:00 AM
|
#5 | |
|
AF Newbie
Thread starter
Join Date: Sep 2014
Location: Quezon City
Posts: 5
Thanks: 2
Thanked 1 Time in 1 Post
|
Re: Just another F1 GTR longtail (Image Heavy ;) )
Got some work done on the F1 this weekend. About half of the planned mods are done. Might do more if I get a hold of other references
Most of the updates for now would be on the engine. Added these things. If I am not mistaken, I guess these are fuel rails. 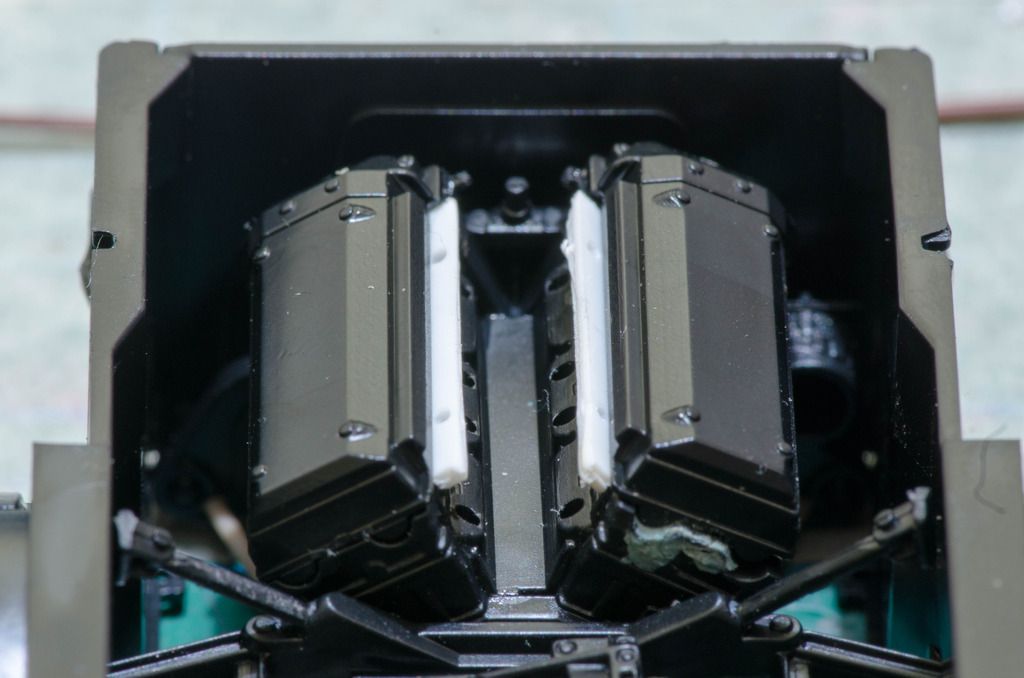 Then planned out most of the wiring, drilled holes for the resin connectors, also scratch built some electronics and sensors. 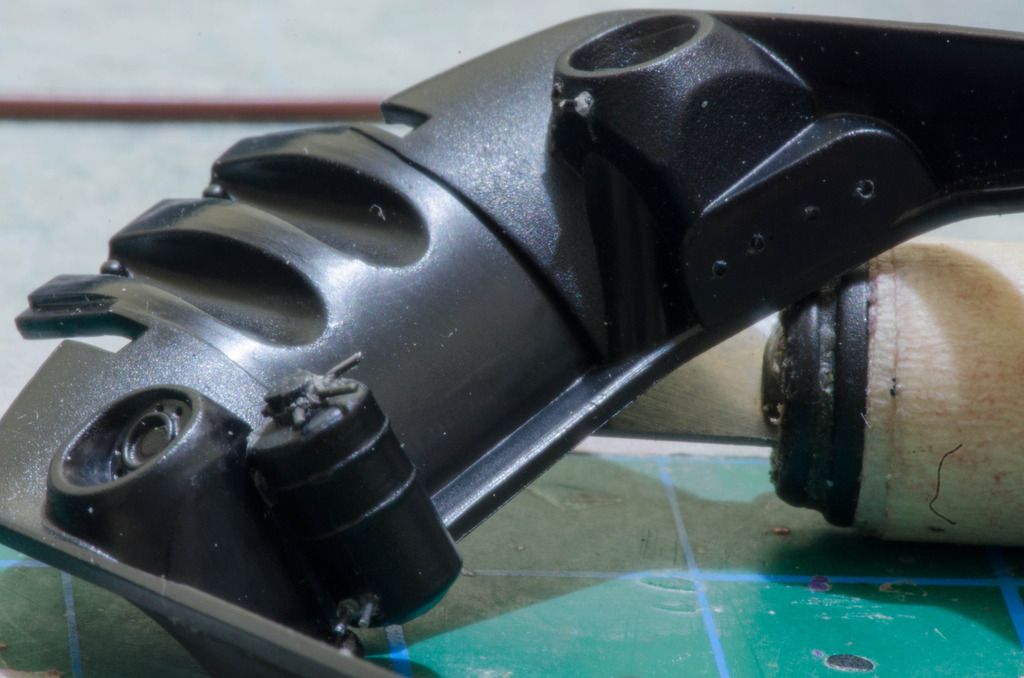  And now for the pièce de résistance. A scratch built throttle body. it's not the cleanest part I've built. Would maybe try and make it look better. But I'm happy with it at the moment. 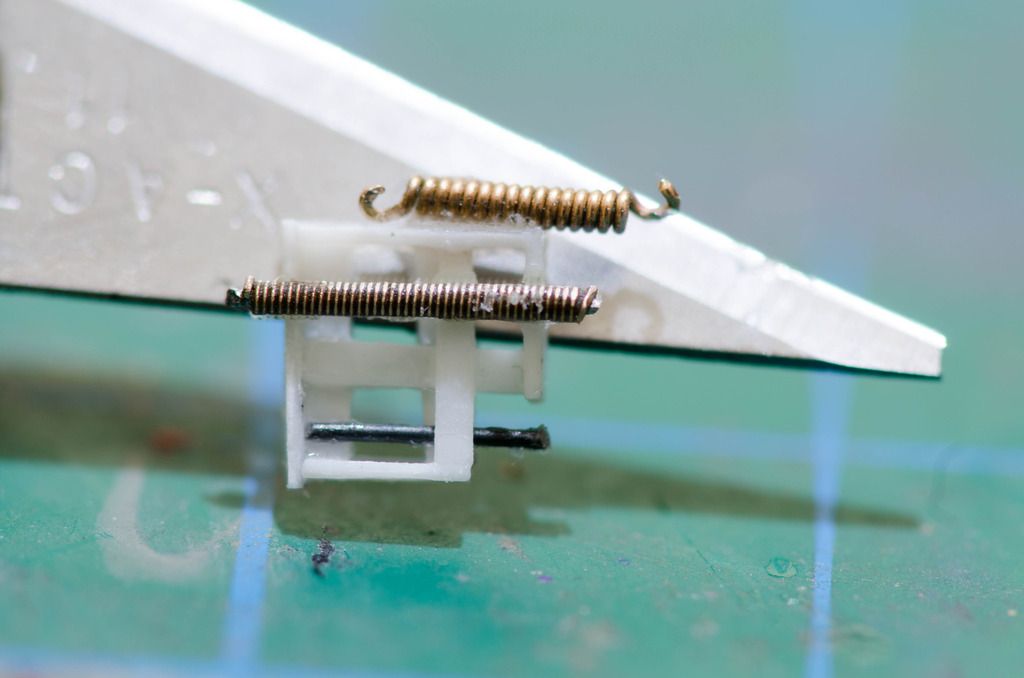 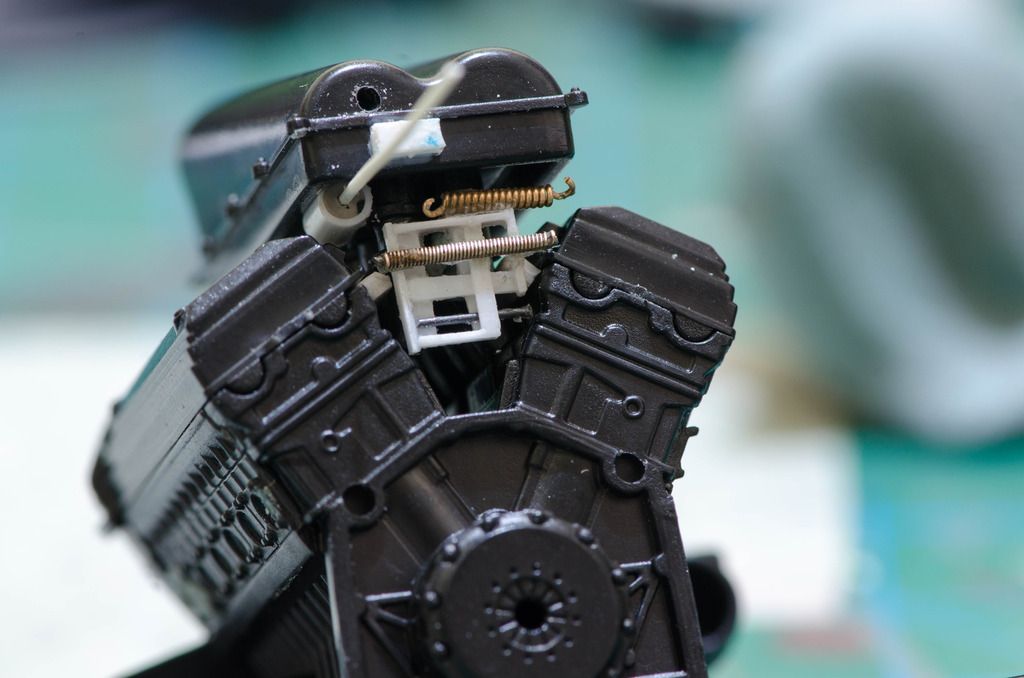 Till next time!  |
|
|
|
|
| The Following User Says Thank You to Pichicoy For This Useful Post: |
Aras (04-11-2016)
|
|
04-15-2016, 08:02 AM
|
#6 | |
|
AF Enthusiast

Join Date: Apr 2004
Location: mexico
Posts: 601
Thanks: 9
Thanked 30 Times in 27 Posts
|
Re: Just another F1 GTR longtail (Image Heavy ;) )
Friends, thank you for your words about my model.
Pichicoy, you are doing a great job with this model! Nice work on the throttle! I am looking forward to your next post. |
|
|
|
|
| The Following User Says Thank You to sam01contact For This Useful Post: |
Pichicoy (04-15-2016)
|
|
04-15-2016, 11:10 AM
|
#7 | |
|
AF Newbie
Thread starter
Join Date: Sep 2014
Location: Quezon City
Posts: 5
Thanks: 2
Thanked 1 Time in 1 Post
|
Re: Just another F1 GTR longtail (Image Heavy ;) )
Thank you Sam!! That meant a lot to me.
Anyway here are a couple of updates on this build, Still working on that throttle trying to make it as close to the real thing since this is going to be really visible when the engine is exposed. 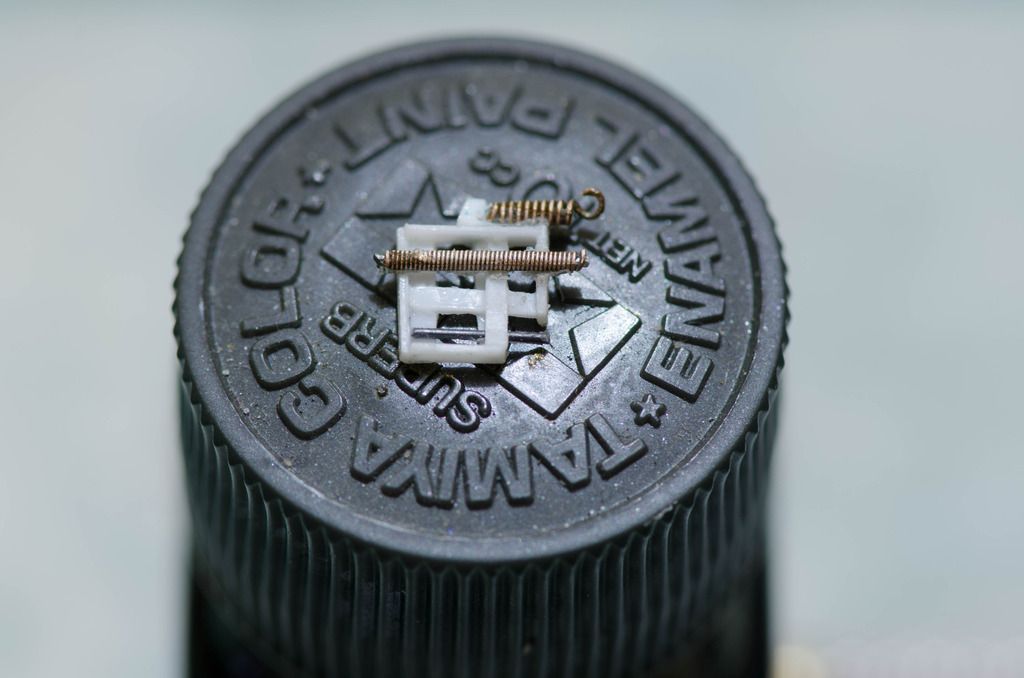 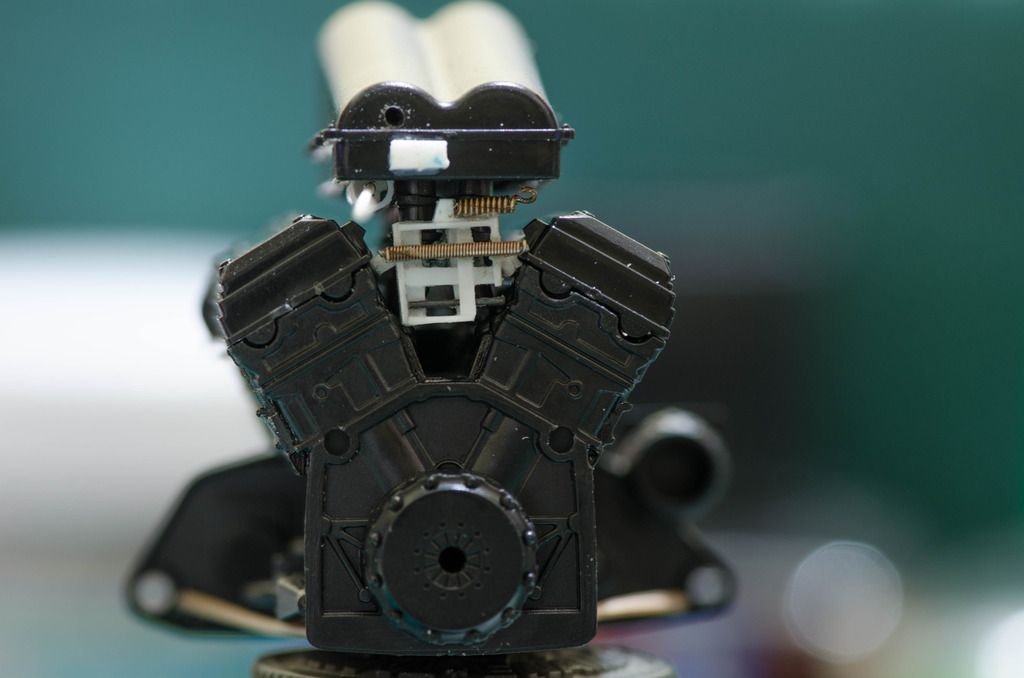 Then I worked on the suspension and cooling ducts 1. Wound up some soft wire on a cotton swab. I use these cotton swabs a lot on scratch building, so I save most of them after using. (Note: These weren't used to clean ears or anything, that's just plain wrong. lol!. I have a separate set for the hobby) 2. The damper itself, made of some styrene rods, stretched sprues, cotton swab "rods" and a WD40 tube. 3. Here it is assembled. 4. also made some for cooling ducts. 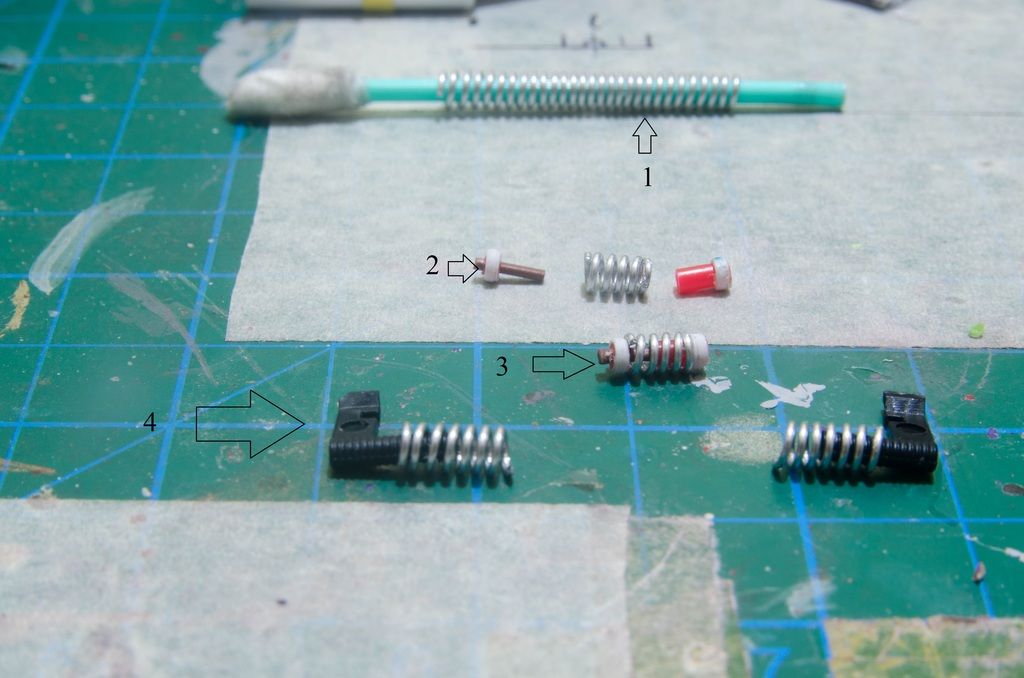 and the last would be the brake cooling duct for the rear.  I wanted to change the rear suspension as well but the fit and assembly on the kit was too tight and I didn't want to mess it up. Though if it would be seen after the whole rear assembly, I would have to change it for it to get better detail. That's about it for now Just a couple more modifications to be done and I am going to paint parts soon so I could move on with more wiring and plumbing |
|
|
|
|
|
|
POST REPLY TO THIS THREAD |
 |
| Thread Tools | |
|
|


