|
|
|

|
|
| Search | Car Forums | Gallery | Articles | Helper | AF 350Z | IgorSushko.com | Corporate |
|
| Latest | 0 Rplys |
|
|||||||
| WIP - Motorbikes Post topics for any "Works In Progress" motobikes projects in this sub-forum. |
 |
 Show Printable Version | Show Printable Version |  Email this Page | Email this Page |  Subscribe to this Thread
|
|
|
Thread Tools |
 07-06-2011, 06:56 PM
|
#1 | |
|
AF Newbie
Join Date: Jul 2011
Location: São Paulo
Posts: 9
Thanks: 0
Thanked 2 Times in 2 Posts
|
Yamaha YZR-M1 Valencia 2005
Hello everybody AF!
 I'm a Brazilian modeler and my favorites are motorcycles kit scale 1/12. While monitoring the work of the Forum for a while now, this is the first topic that I display my assemblies. How not mastered the language, I will use a translator, but I hope you can understand my writing. Today I share with you my current mount, the beautiful YZR-M1, presented at the end of the 2005 season at Valencia, piloted by Valentino Rossi - already known here in the Forums by other beautiful works. To start, the kit used and the major enhancements, including the Super Detail-up set of Top Studio. The kit is Colin Edwards but the decals will be exchanged for the VR46. 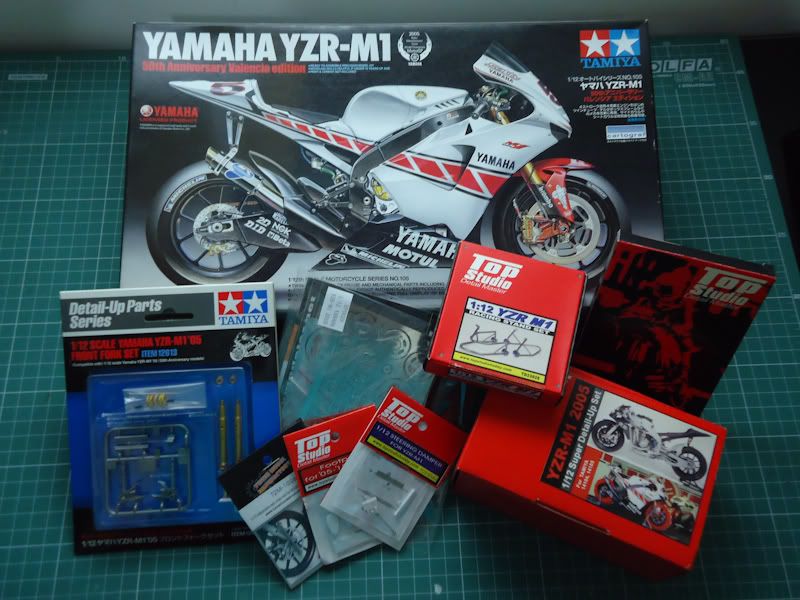 Here the main reference for how I plan to leave the motorcycle  Particularly for these bikes (M1's), seeing many kits assembled by the world, especially when presented without an enclosure, as in the version I intend to do, a piece especially draws much attention, especially for golden highlights to the engine, which is the cap clutch. Thus, I decided to start applying some technical improvements to this part: Original part of the tree 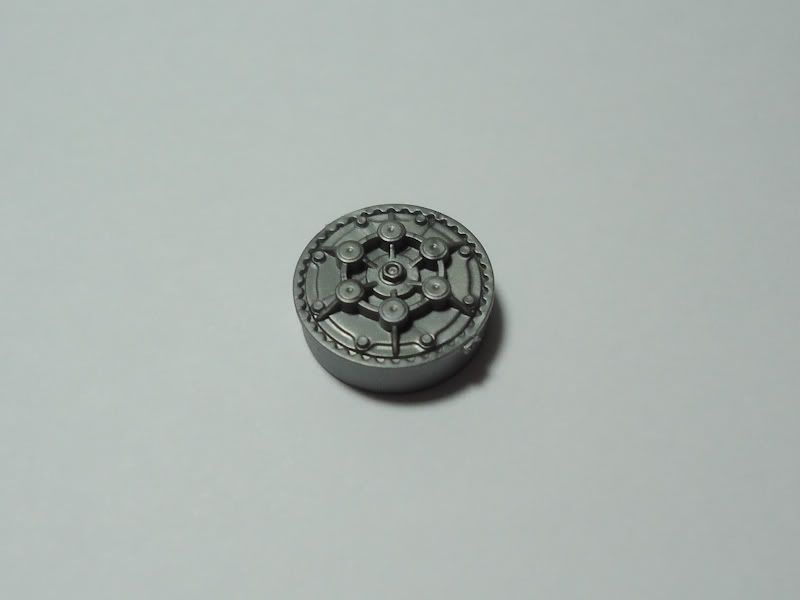 Opening of the bolts gradually to maintain a thin plastic along with the new finish 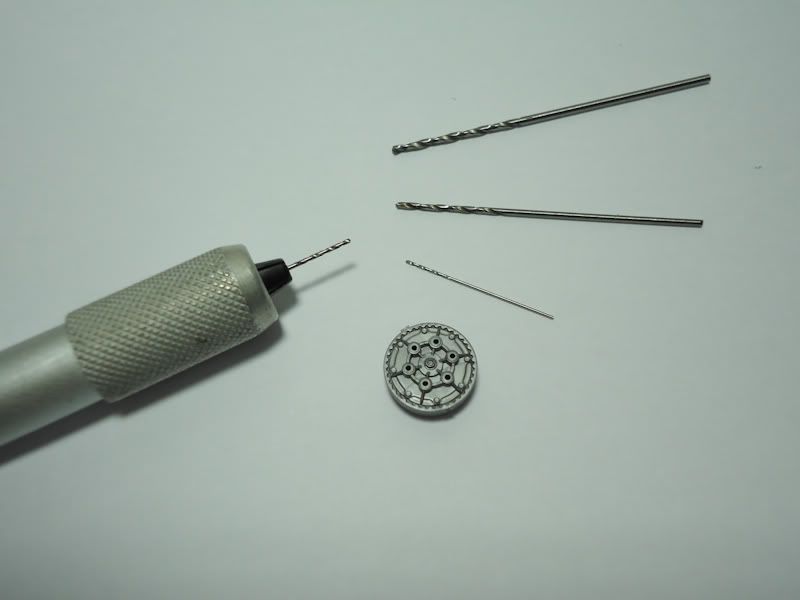 Application of tape in PE with ventilation holes 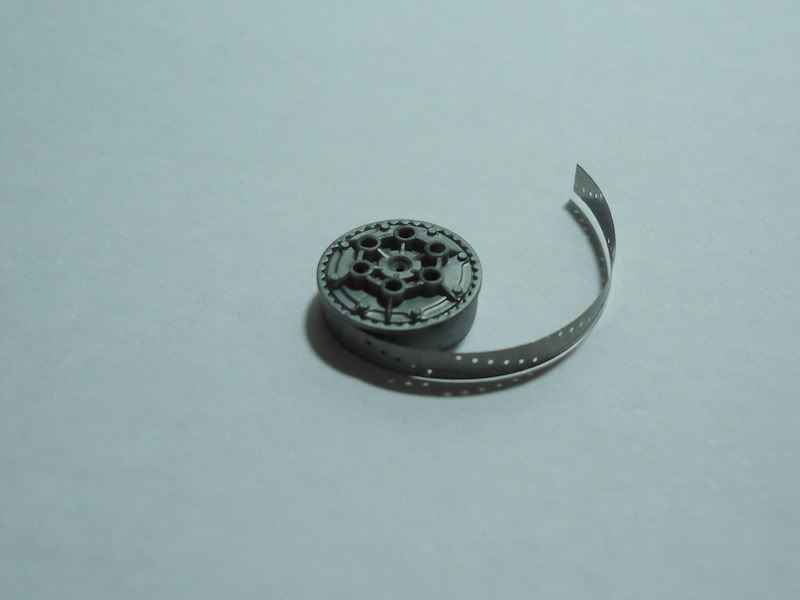 Order now and perforated PE applied. The plastic center screw was also removed. 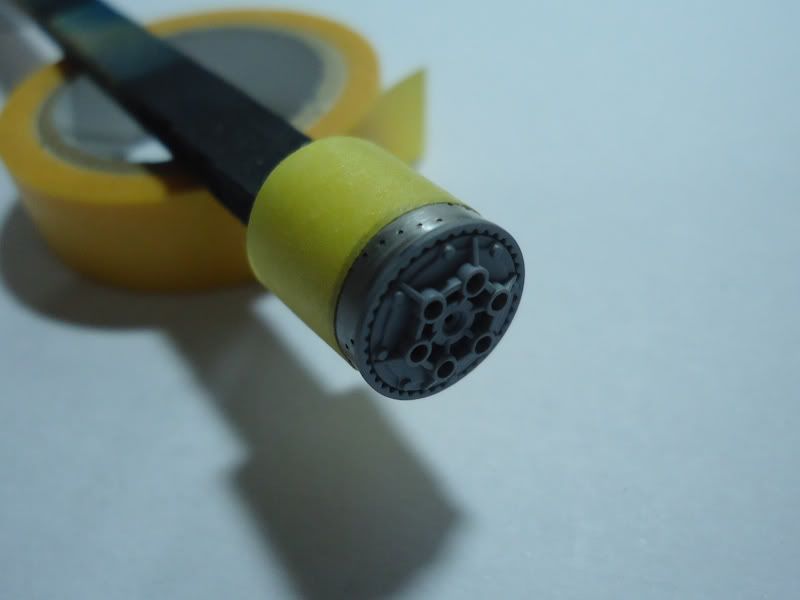 Platelet in gold paint and application of light to highlight Clear Orange 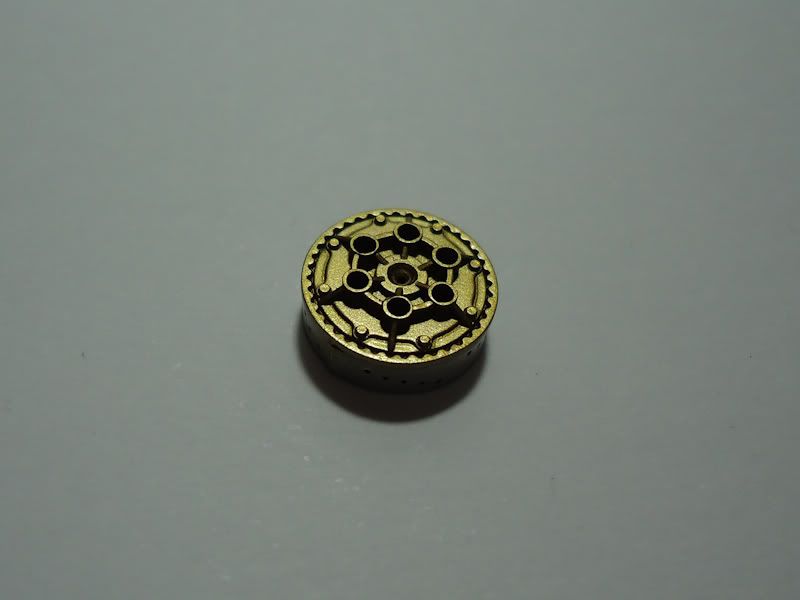 Modeling clay mask to receive the new color on body 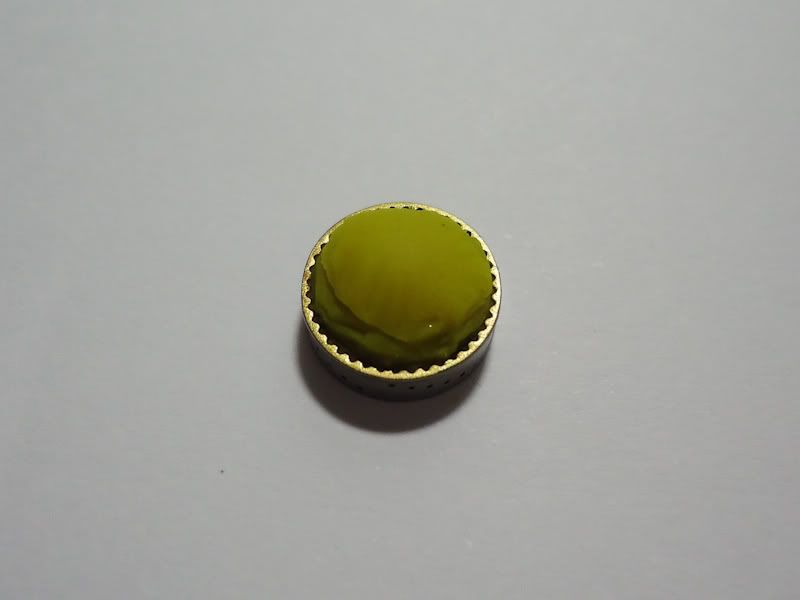 Paint Gun Metal Metalizer of Model Master 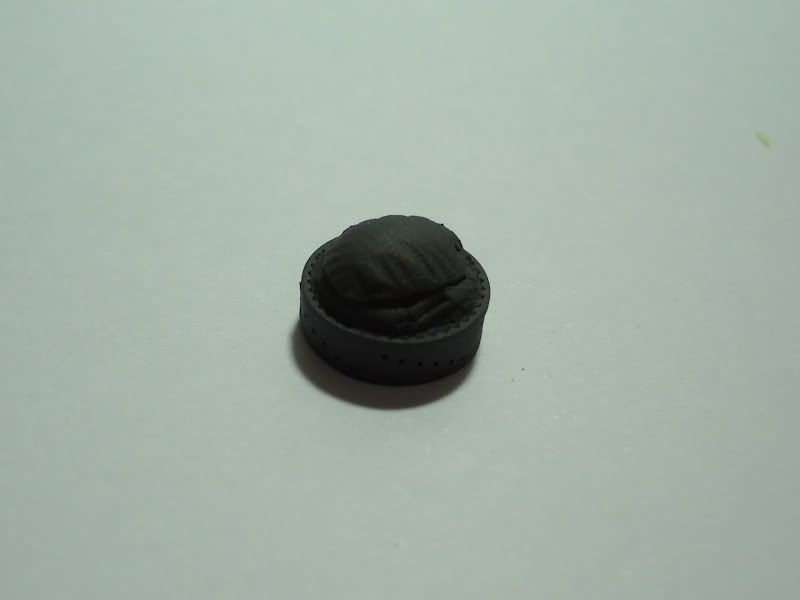 Here components of terminal T2M completion of cables that will replace the screws on the plate 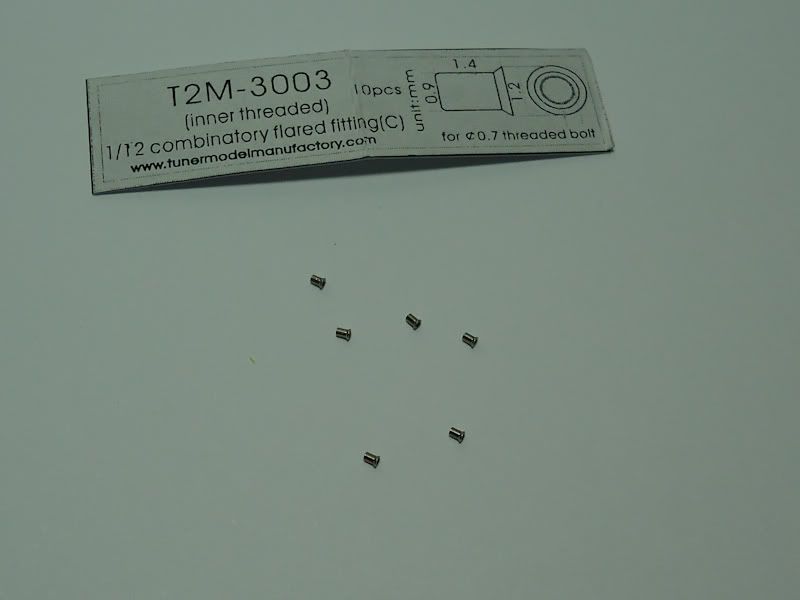 For best finish, the pieces were "polite" in micro-grinding 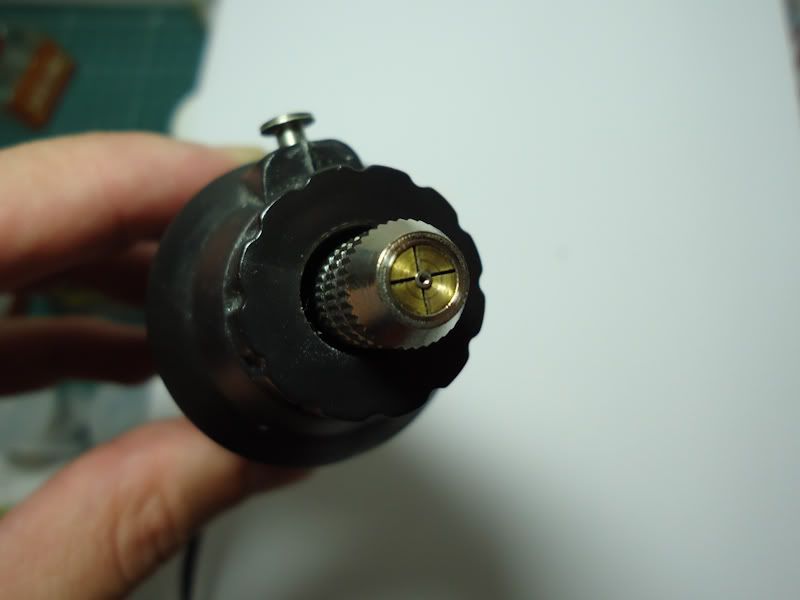 Difference between the original pieces (3 left) with polished (3 right) with sandpaper 2000) 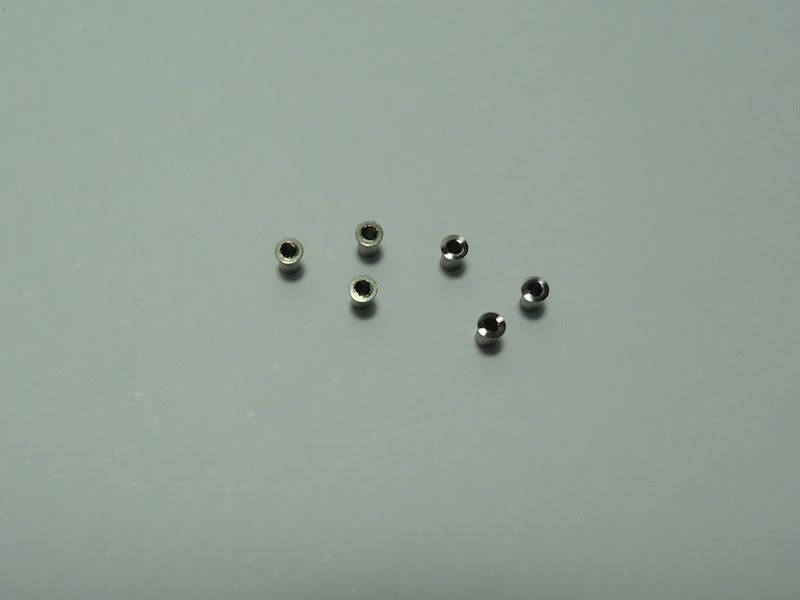 New "components" ready for mounting. Central axis of hypodermic needles and 1.0mm nut T2M "extended" the bit and painted red and clear. PE rivets already pasted. 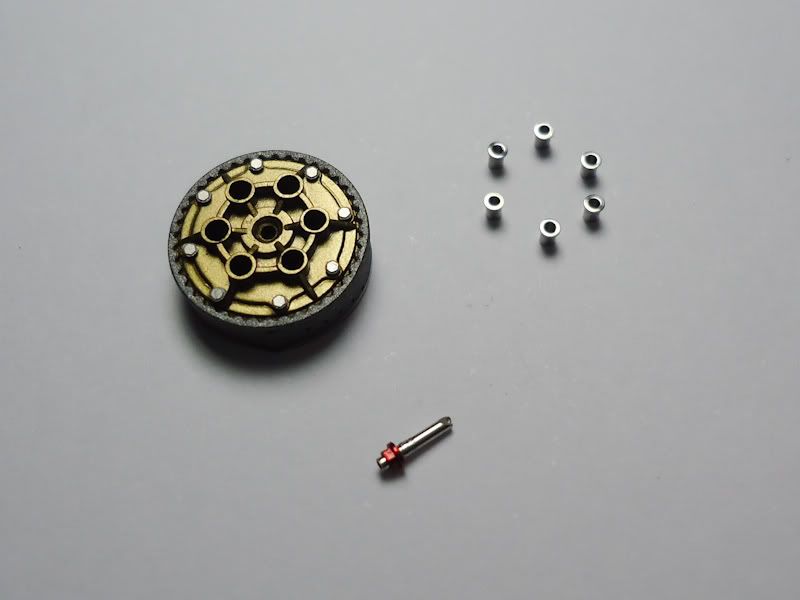 Finally the "new" clutch mounted 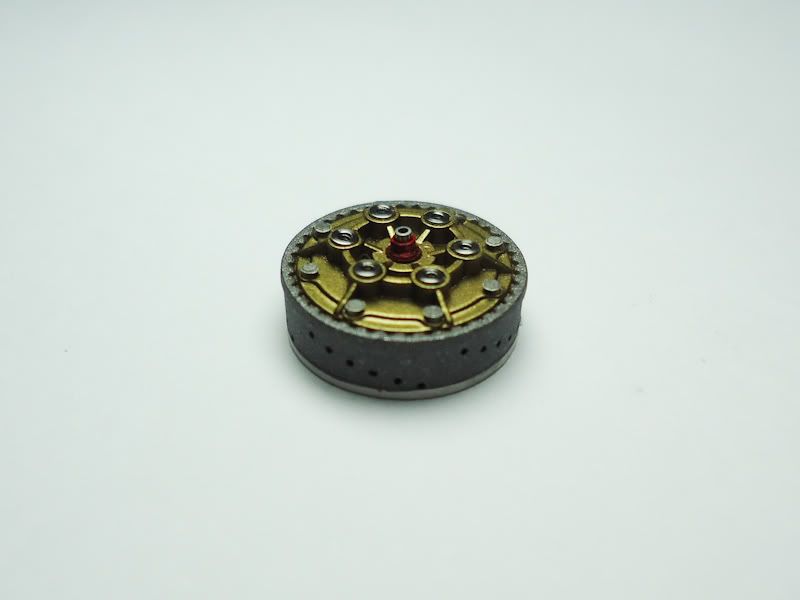 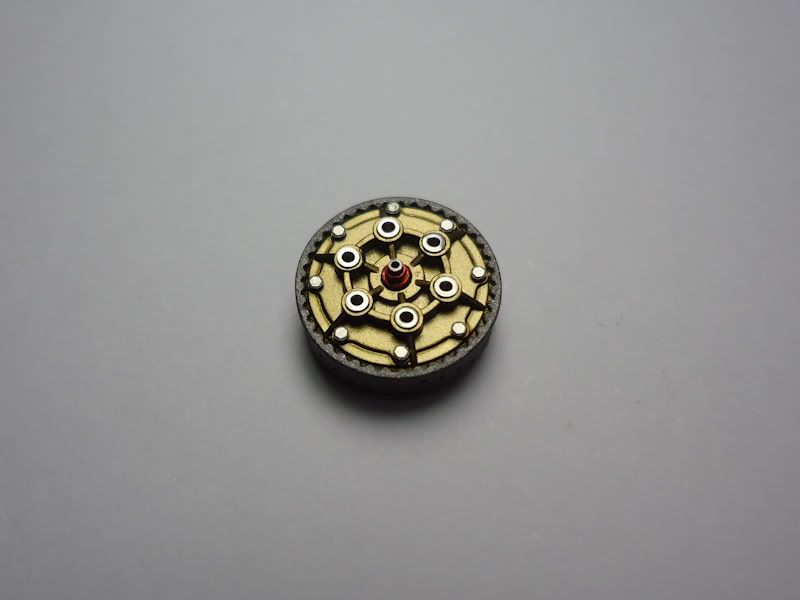 Comparison 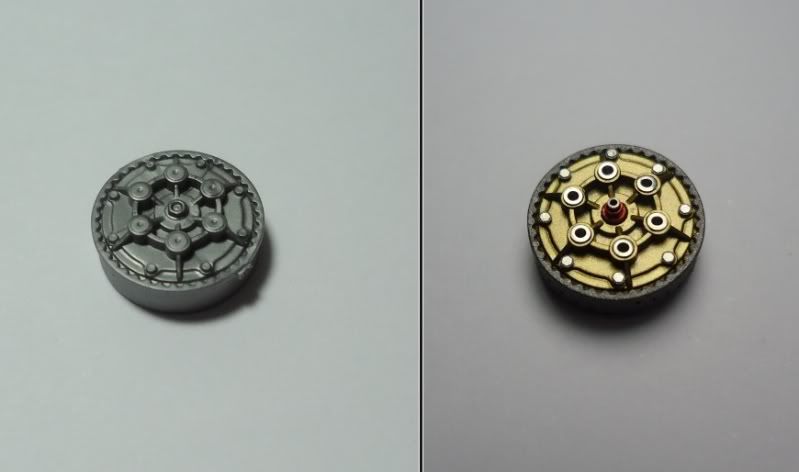 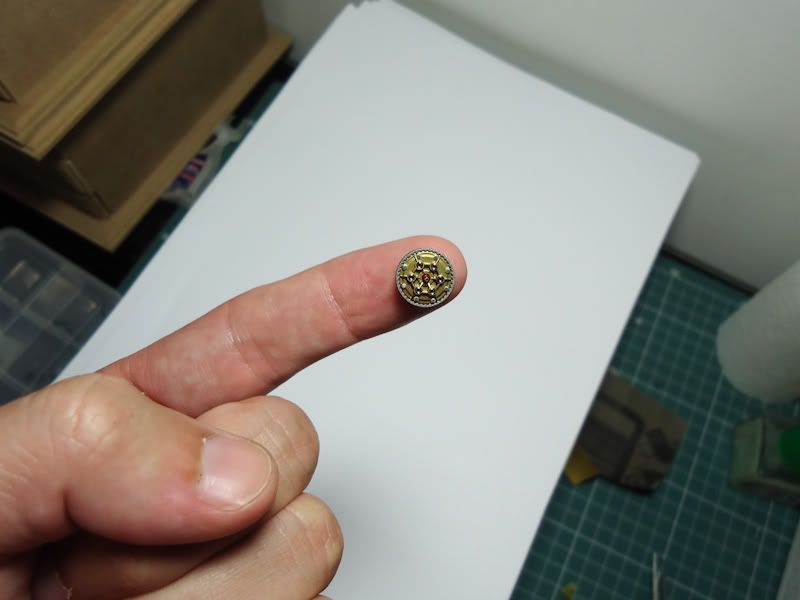 Here an update of the assembly, after the clutch, I decided to face the desk set, handlebars and grips. 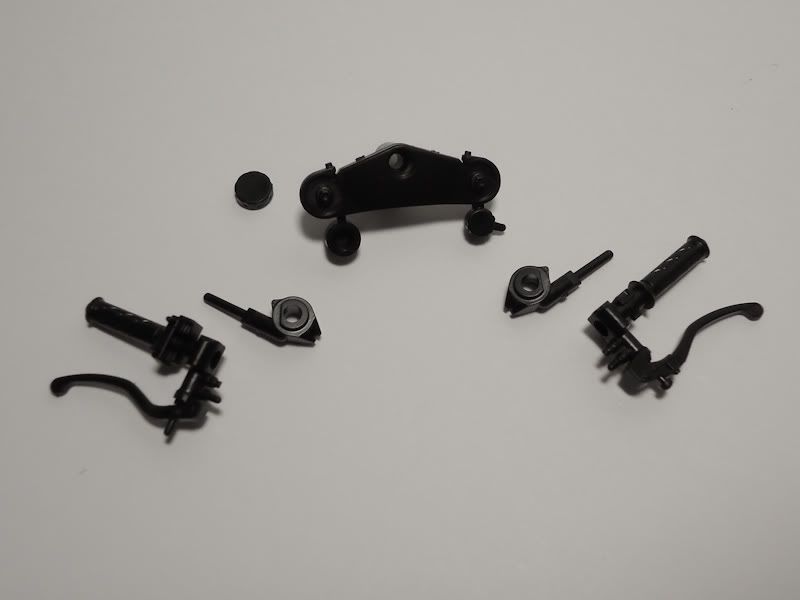 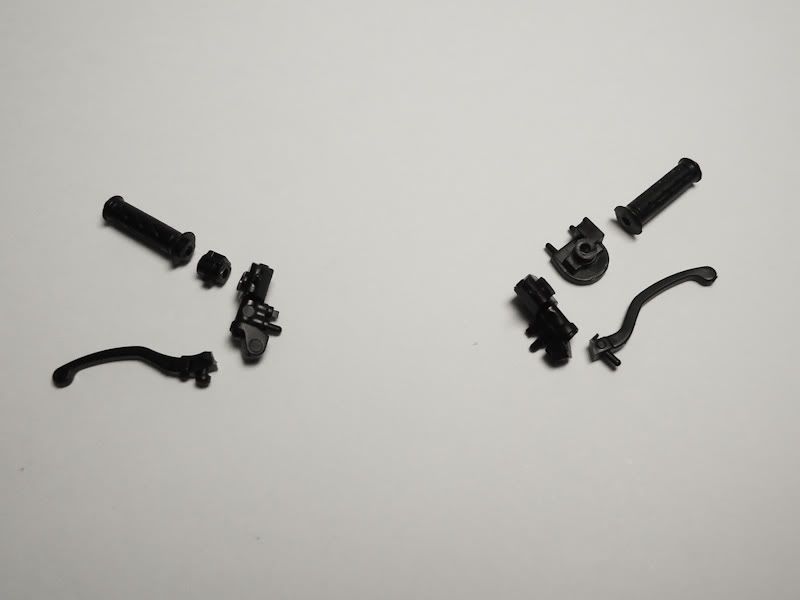 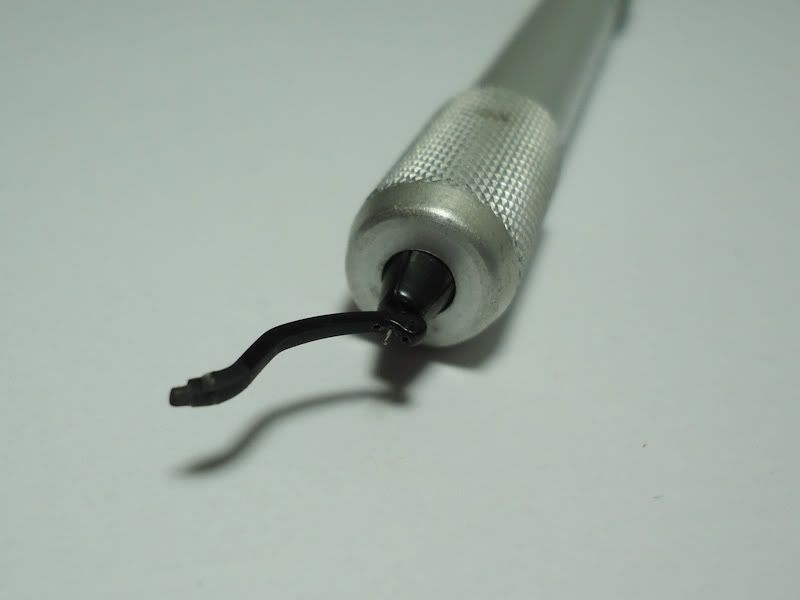 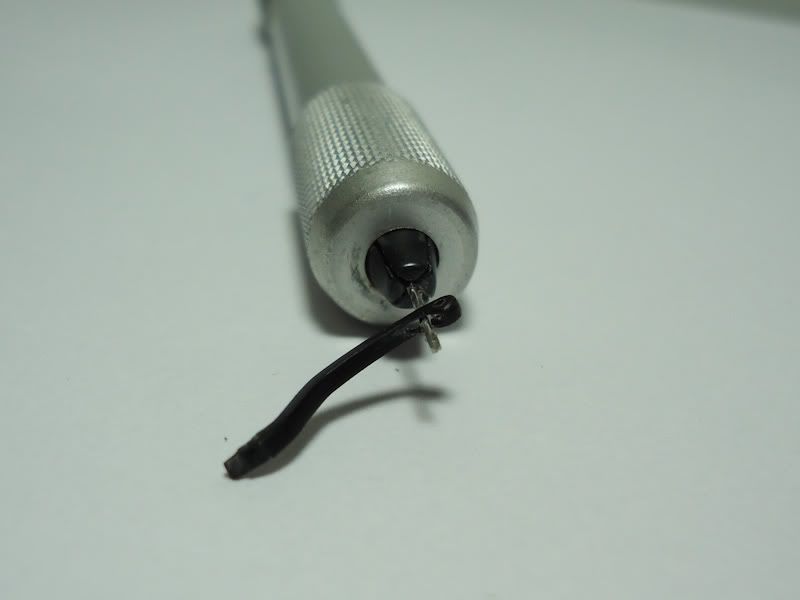 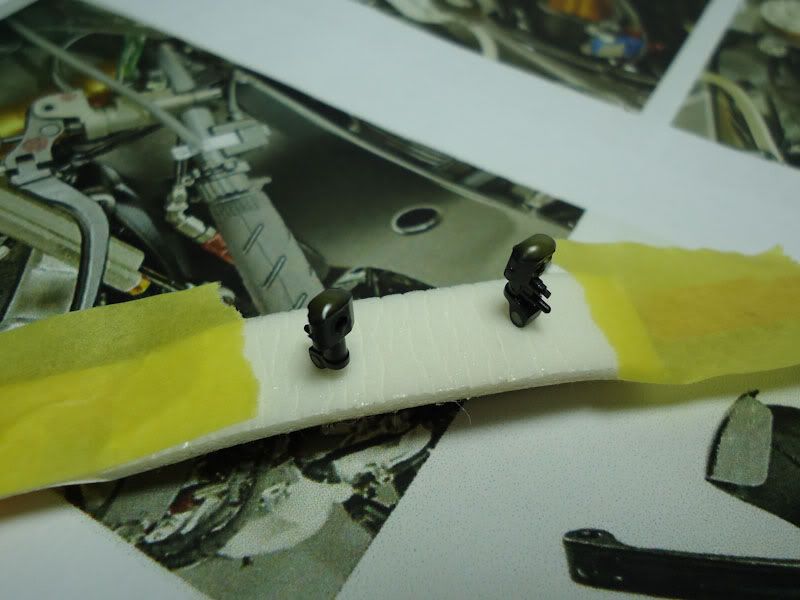 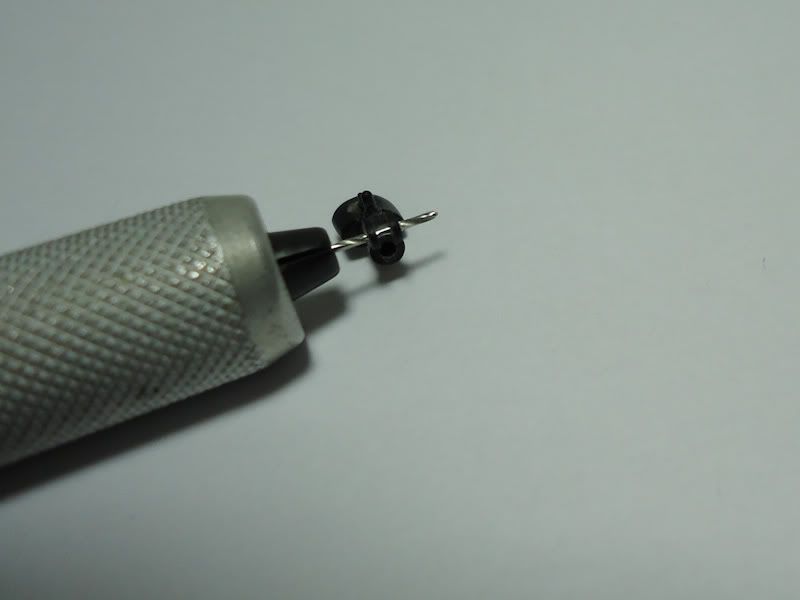  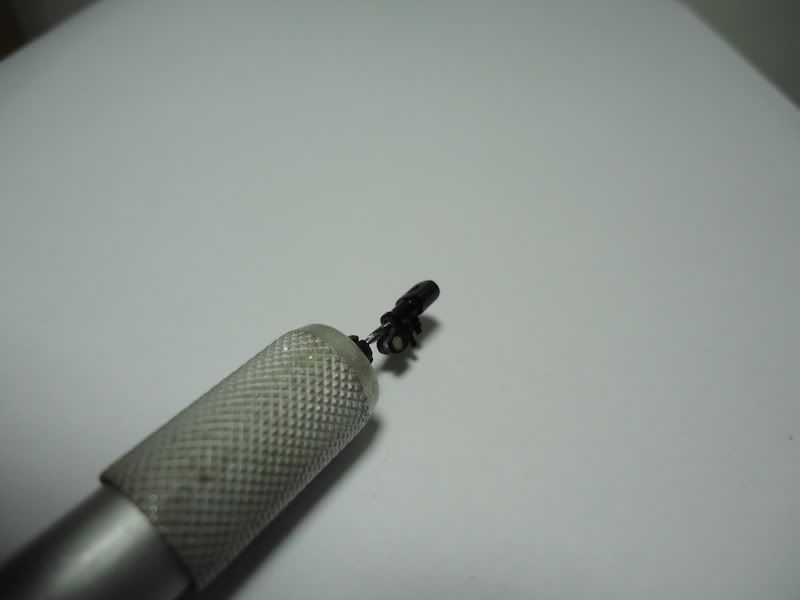 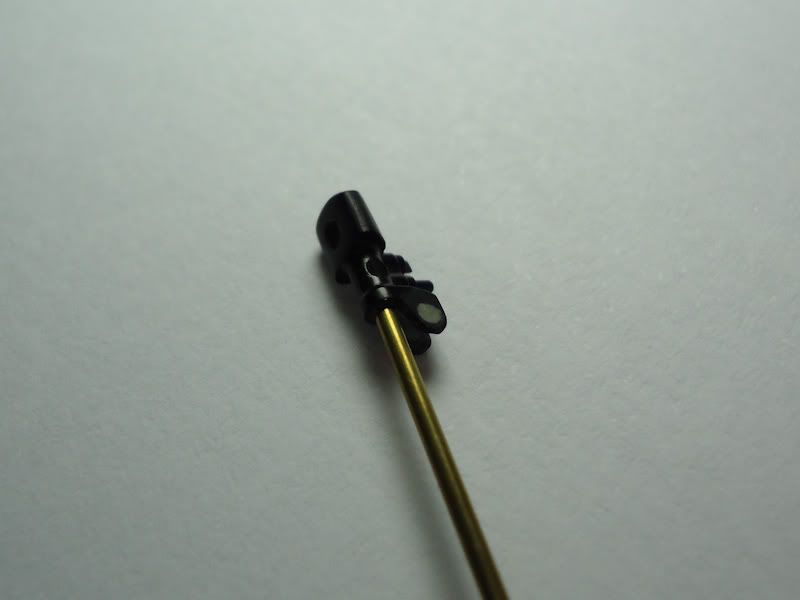 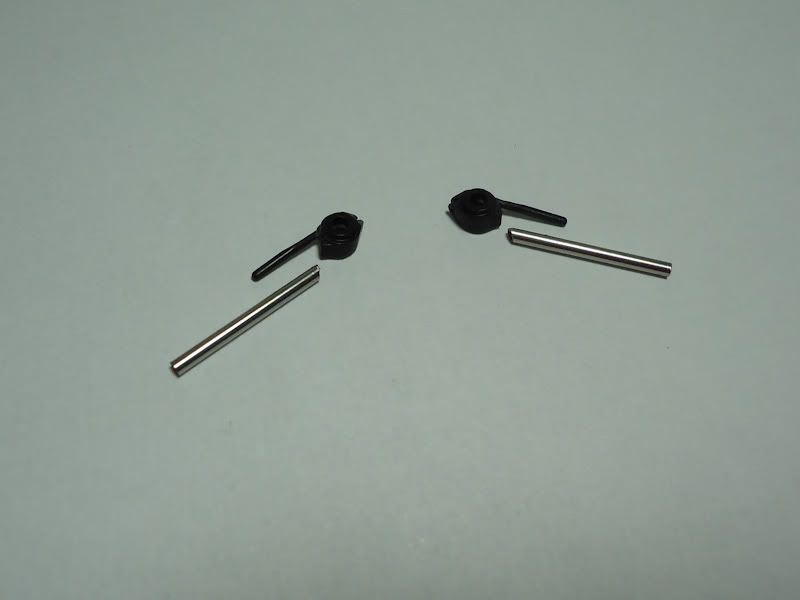 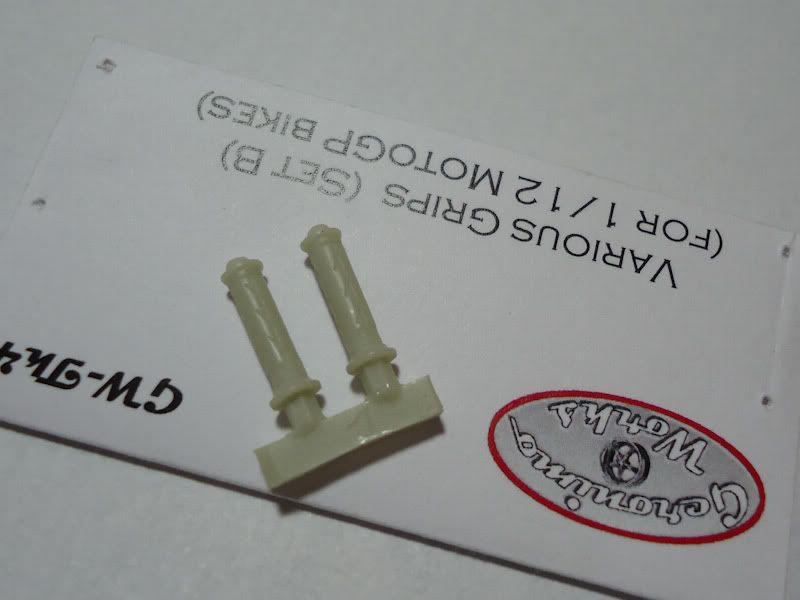 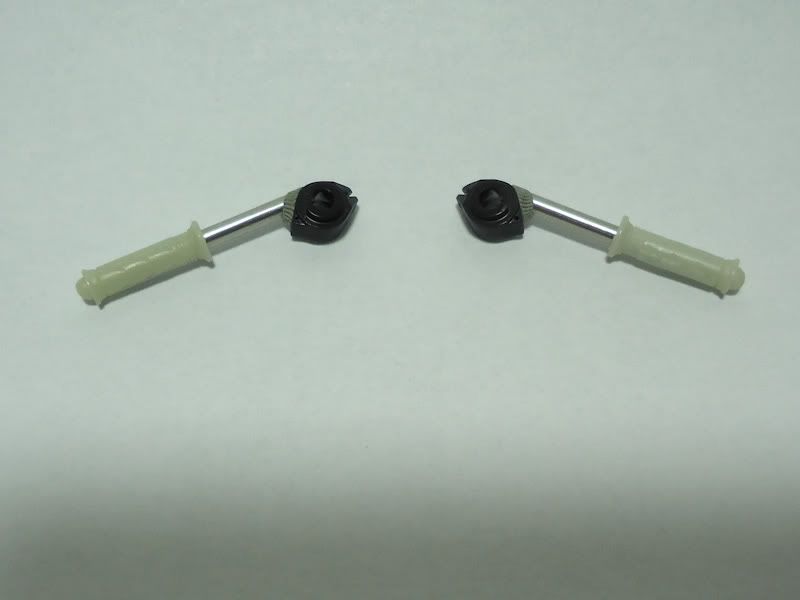  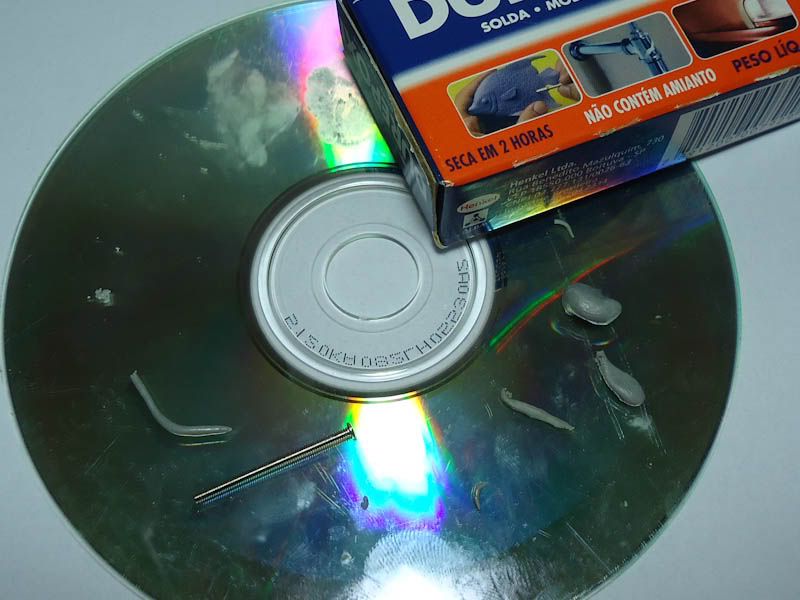 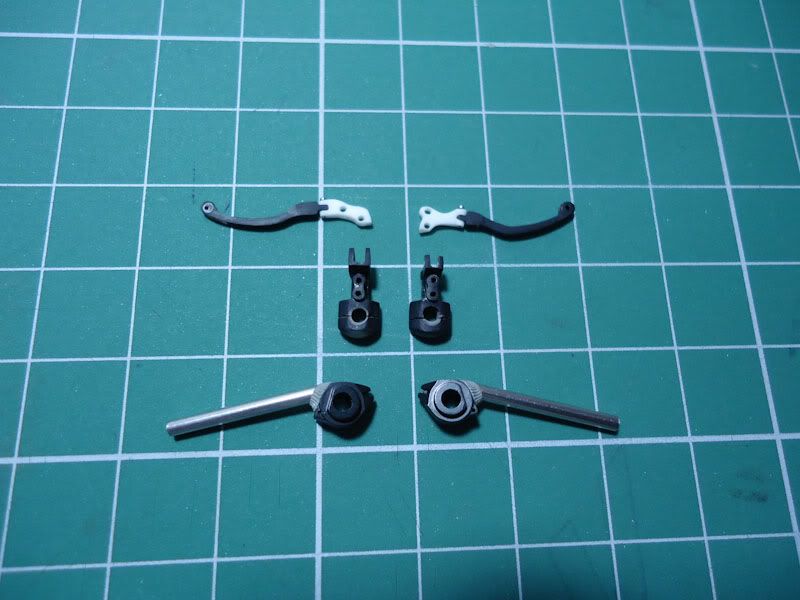 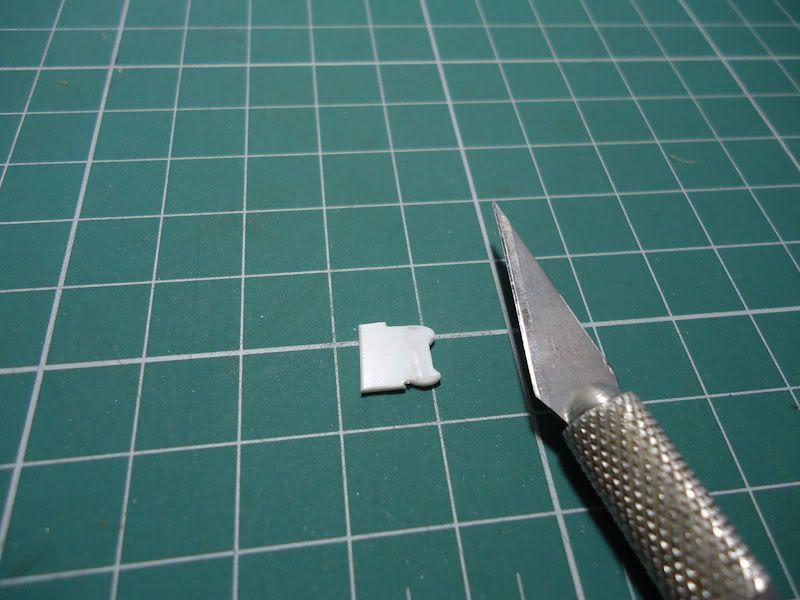 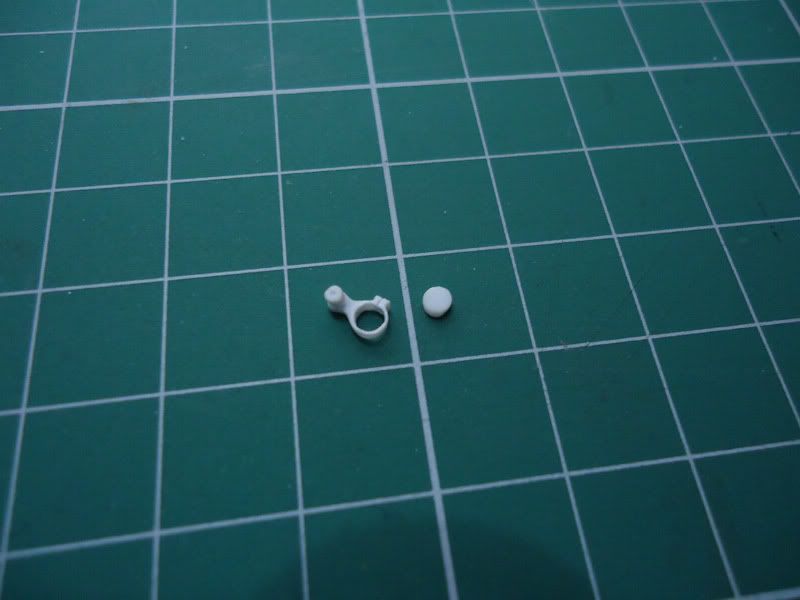 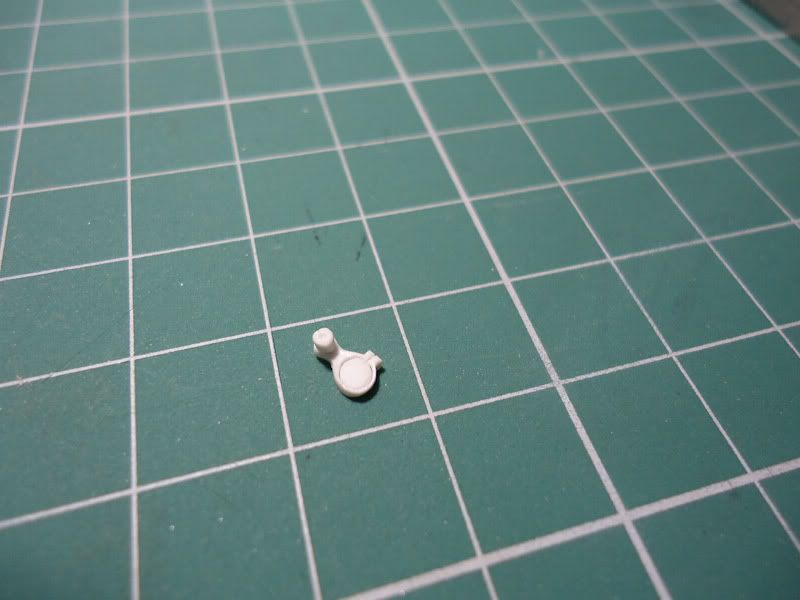 Finally, the first pre-assembly (no screws and PE) with all parts made / worked and comparison with the original parts Levers open ... 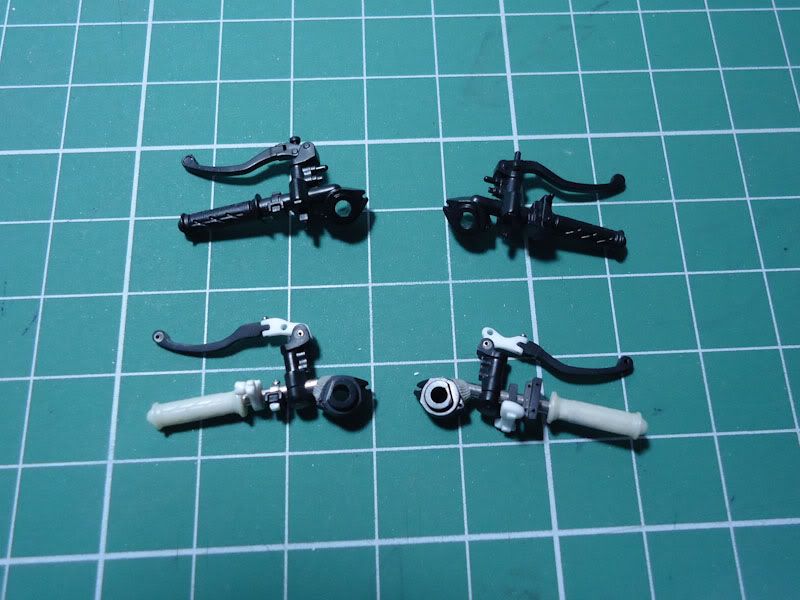 Levers closed ... 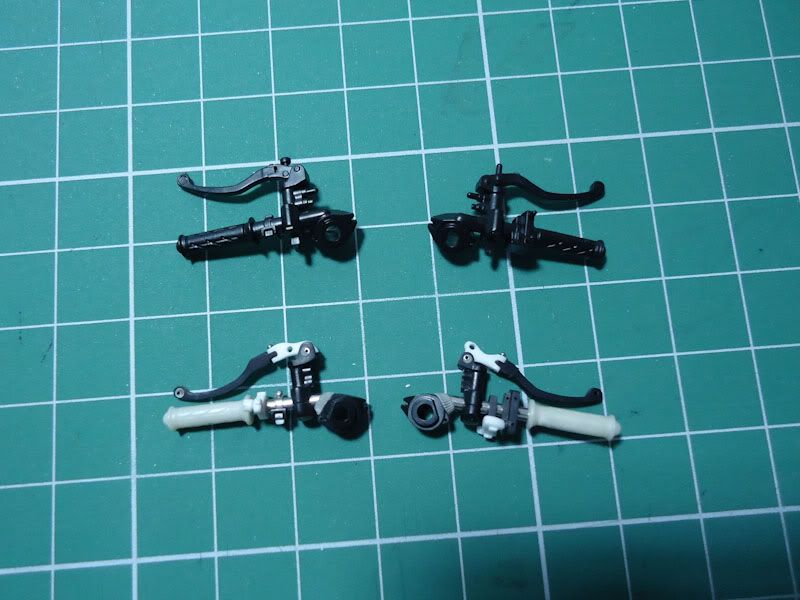 Hope you enjoy and that the difference in language does not hinder our knowledge exchange. As I said, not mastered the language then use a translator for this, but if anyone has any questions let me know that I will be pleased to answer, OK. Beto (Brazil) |
|

|

|
| The Following User Says Thank You to BetoBrazil For This Useful Post: |
markiii (07-06-2011)
|
|
07-06-2011, 09:40 PM
|
#2 | |
|
Registered User
Join Date: Nov 2009
Location: Seoul, South Korea
Posts: 174
Thanks: 0
Thanked 3 Times in 3 Posts
|
Re: Yamaha YZR-M1 Valencia 2005
WOW... looks great.
|
|
|
|
|
|
07-06-2011, 09:41 PM
|
#3 | |
|
AF Newbie
Join Date: Oct 2008
Location: Temecula, California
Posts: 9
Thanks: 2
Thanked 0 Times in 0 Posts
|
Re: Yamaha YZR-M1 Valencia 2005
Very nice! Where did you get your reference photos?
|
|
|
|
|
|
07-07-2011, 04:47 AM
|
#4 | |
|
AF Newbie

Join Date: Jan 2008
Location: Poznan, Poland
Posts: 68
Thanks: 0
Thanked 3 Times in 3 Posts
|
Re: Yamaha YZR-M1 Valencia 2005
Awesome start!!! Excellent details!!!
Looking more progress. |
|
|
|
|
|
07-07-2011, 06:04 AM
|
#5 | |
|
AF Newbie
Join Date: Jan 2011
Location: Verviers
Posts: 37
Thanks: 0
Thanked 0 Times in 0 Posts
|
Re: Yamaha YZR-M1 Valencia 2005
Pfiouuuu, it makes THE difference.
Amazing job, can't imagine the final step ! |
|
|
|
|
|
07-15-2011, 04:54 PM
|
#6 | |
|
AF Newbie

Join Date: Aug 2008
Location: Miami, Florida
Posts: 93
Thanks: 0
Thanked 5 Times in 5 Posts
|
Re: Yamaha YZR-M1 Valencia 2005
Bom trabalho Beto, se precisar sou muito bom de ingles e um pouco de portugues...
Keep up the great work |
|
|
|
|
|
08-16-2011, 09:27 AM
|
#7 | |
|
AF Newbie
Thread starter
Join Date: Jul 2011
Location: São Paulo
Posts: 9
Thanks: 0
Thanked 2 Times in 2 Posts
|
Re: Yamaha YZR-M1 Valencia 2005
YongGun Park, markiii, Mr. Jekyll, hildengarde and Doc305
Thank you for the comments and compliments!  markiii All photos are from Internet references and Pit Walk Photo Collection. If you need any details let me know Doc305 Por favor me corrija sobre qualquer erro na escrita. Obrigado! Guys, new update. Set of handlebars 95% ready, lacking only the reservoirs, wires and cables. After you run the idea of the hoods, it was time to paint and detail the set screw. Basically all the pieces went to Primm, painting, drilling and fixing. The first thing I thought needs to be addressed was the tip of the suspension (canes) on the table, despite being regulated according to track conditions, the references I have for this race shows that the scale they would be much lower than the reference kit for the Tamiya FrontFork Set. The parts are aluminum and I decided to lowered. 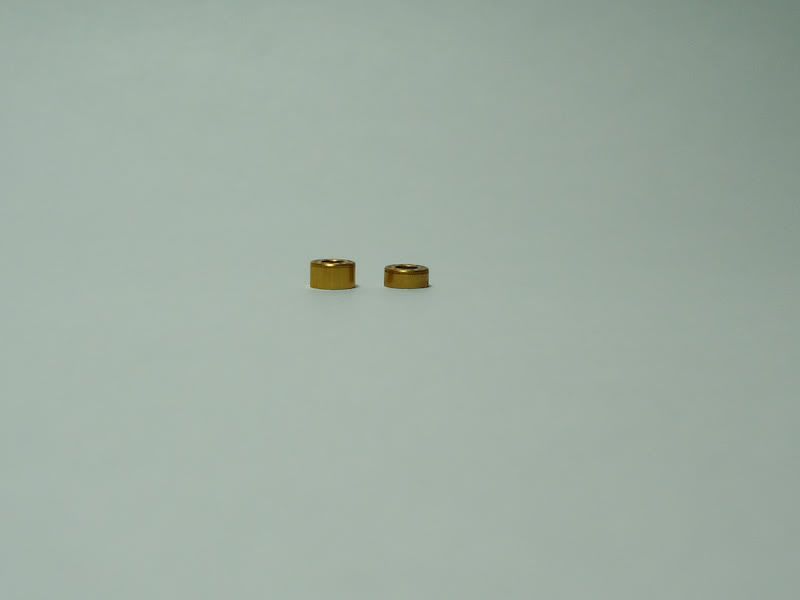 Compared the pre-assembly 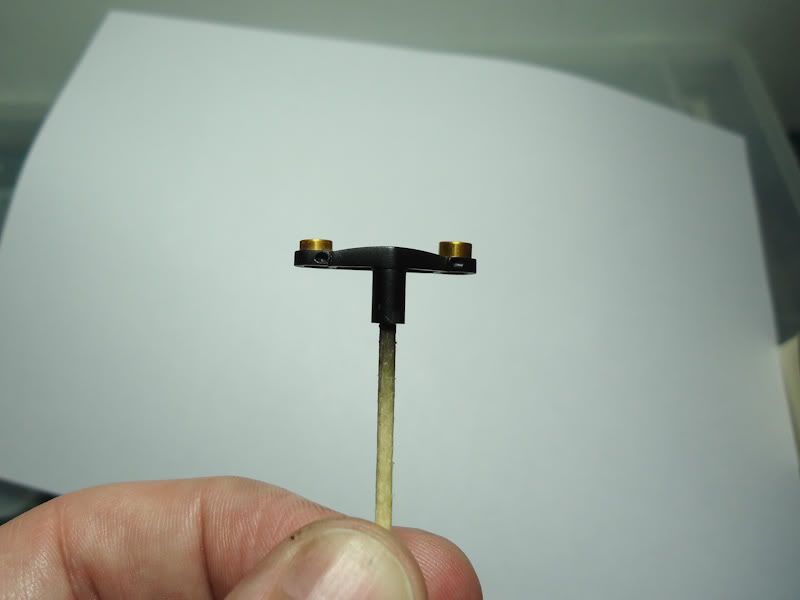 After glued a plate and screws philips PE of 0.7 are posted 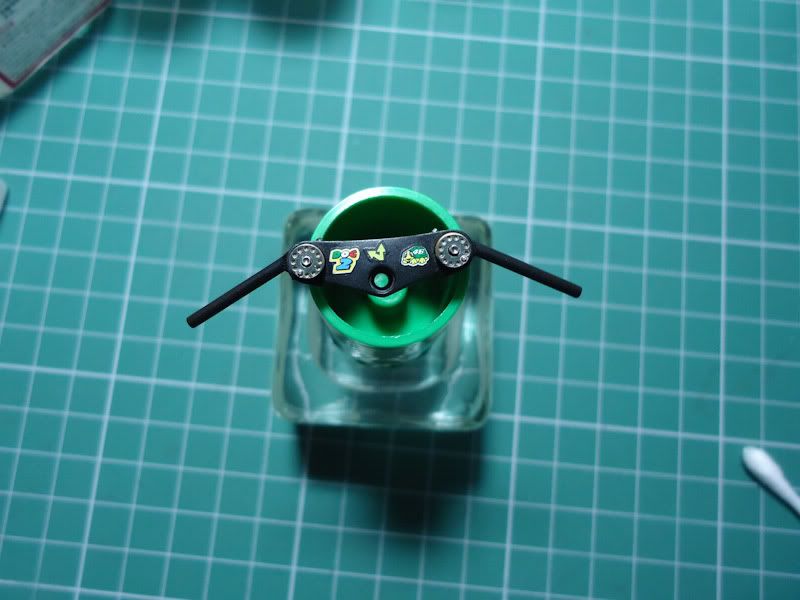 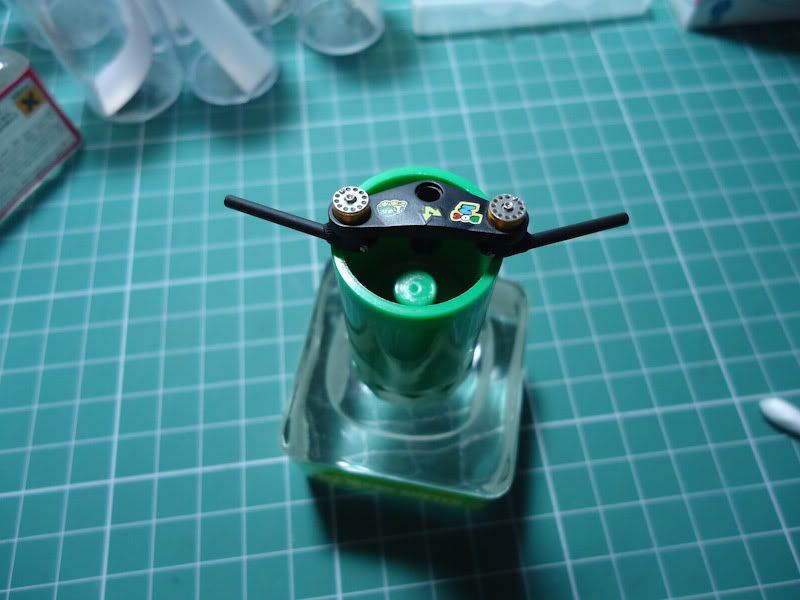 Mounting the levers. Spring + shaft + pin. 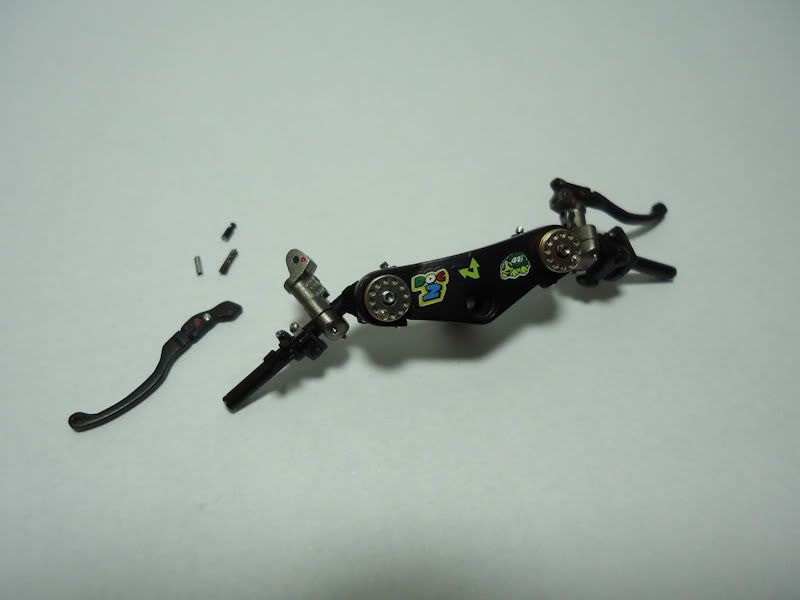 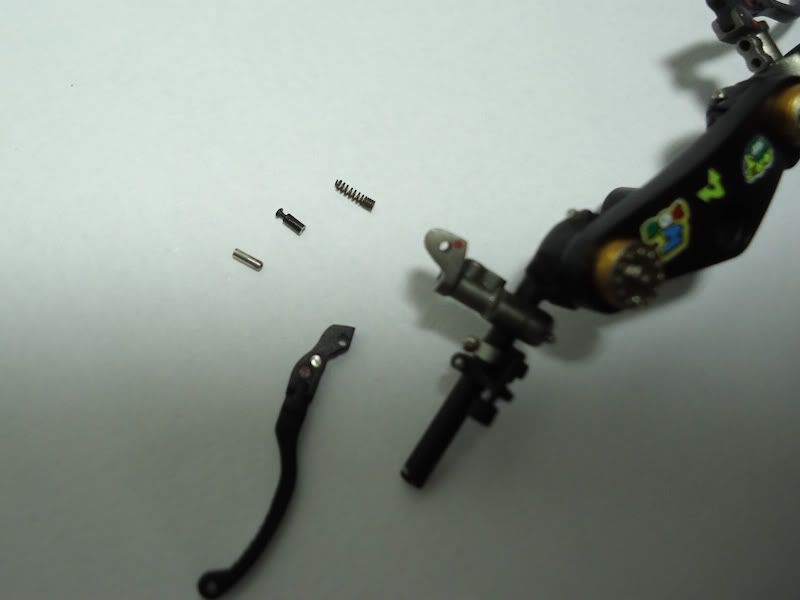 Final result 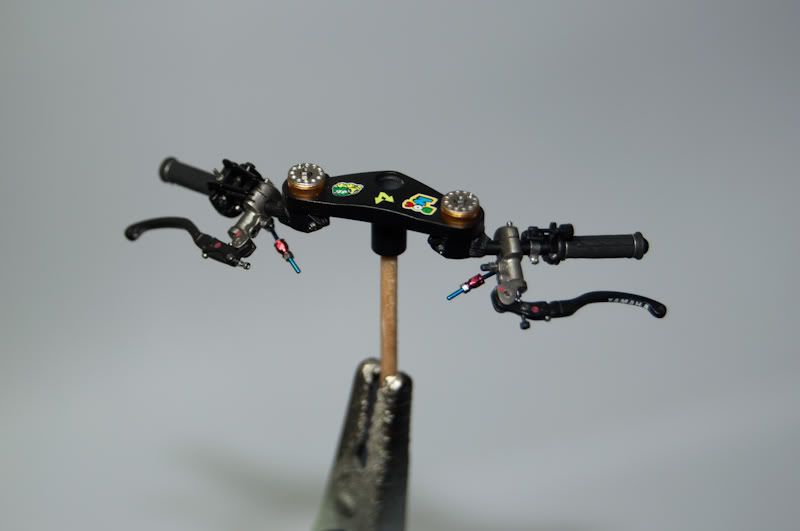 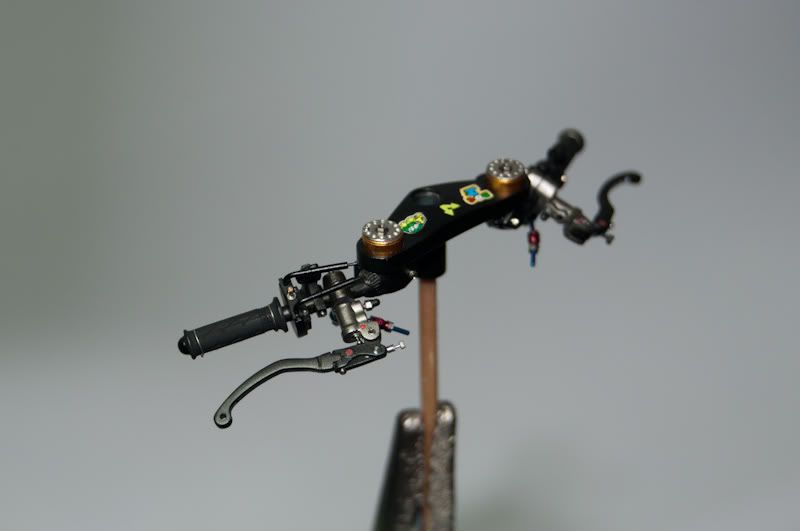 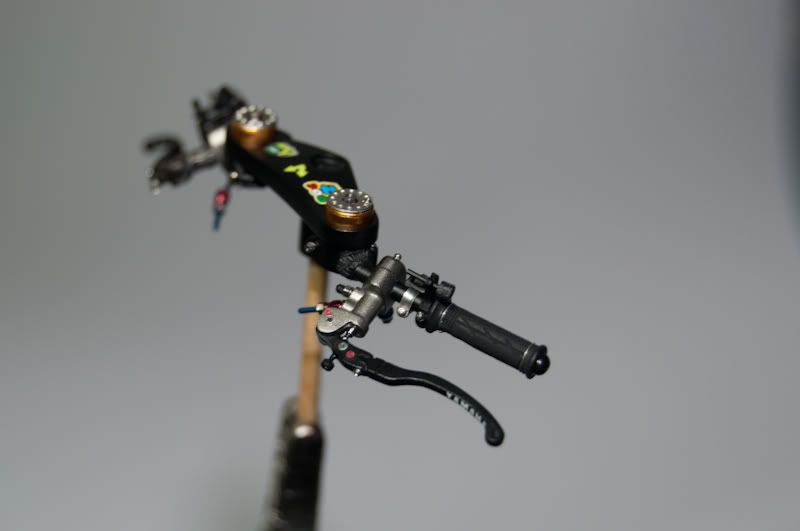  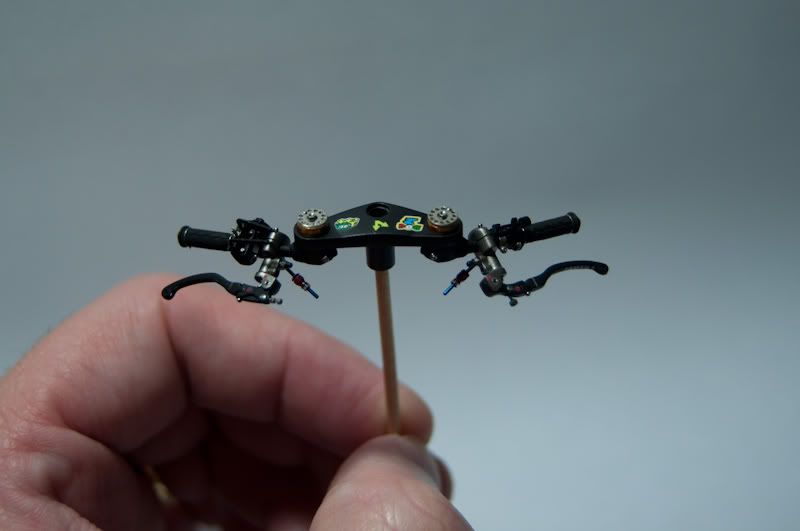 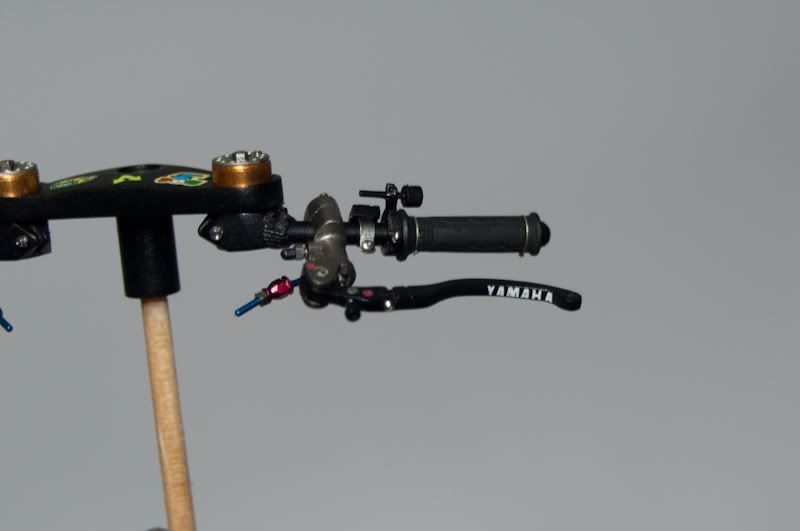 To conclude, I thought the best way was to show how the idea of the hoods would be a video. Click on the link to view YouTube. Hope you enjoy.  http://www.youtube.com/watch?v=8hoa9szS6WY Beto |
|
|
|
|
| The Following User Says Thank You to BetoBrazil For This Useful Post: |
markiii (08-18-2011)
|
|
08-16-2011, 04:51 PM
|
#8 | |
|
AF Enthusiast

Join Date: May 2003
Location: Sunshine Coast, AUSTRALIA
Posts: 2,215
Thanks: 16
Thanked 8 Times in 8 Posts
|
Re: Yamaha YZR-M1 Valencia 2005
Great work!
__________________
Rob 
|
|
|
|
|
|
08-17-2011, 02:04 AM
|
#9 | |
|
AF Newbie

Join Date: Jan 2011
Location: Prague
Posts: 49
Thanks: 0
Thanked 1 Time in 1 Post

|
Re: Yamaha YZR-M1 Valencia 2005
Excellent work!
 |
|
|
|
|
|
08-18-2011, 04:32 PM
|
#10 | |
|
AF Regular

Join Date: Mar 2010
Location: Adell, Wisconsin
Posts: 457
Thanks: 48
Thanked 43 Times in 43 Posts
|
Re: Yamaha YZR-M1 Valencia 2005
wonderful work !
above and beyond anything I've seen done to a motorcycle kit. looking forward to the whole build. Paul |
|
|
|
|
| The Following User Says Thank You to Martini Man For This Useful Post: |
modellerone (08-29-2011)
|
|
08-19-2011, 12:03 AM
|
#11 | ||
|
AF Newbie
Join Date: Oct 2008
Location: Temecula, California
Posts: 9
Thanks: 2
Thanked 0 Times in 0 Posts
|
Re: Yamaha YZR-M1 Valencia 2005
Quote:
And how is the PitWalk Collection for 2005? I wanted to buy a copy, but too expensive or hard to find. I wanted details of the motor, especially behind the cylinder bank. |
||
|
|
|
|
08-19-2011, 02:25 PM
|
#12 | |
|
AF Regular
Join Date: Nov 2009
Location: Obrigheim
Posts: 102
Thanks: 6
Thanked 4 Times in 4 Posts
|
Re: Yamaha YZR-M1 Valencia 2005
hey,
great work, what spring did you use? Marcel |
|
|
|
|
|
08-20-2011, 01:44 AM
|
#13 | |
|
AF Enthusiast

Join Date: Dec 2004
Location: Germany
Posts: 3,431
Thanks: 28
Thanked 79 Times in 73 Posts
|
Re: Yamaha YZR-M1 Valencia 2005
WOW, what you make on the levers are models themselves !! Fantastic !!
__________________
Micha       
|
|
|
|
|
|
08-20-2011, 02:03 AM
|
#14 | ||
|
AF Newbie
Join Date: Jan 2008
Location: Poznan, Poland
Posts: 68
Thanks: 0
Thanked 3 Times in 3 Posts
|
Re: Yamaha YZR-M1 Valencia 2005
Quote:
Absolutely brilliant!!!  |
||
|
|
|
|
08-20-2011, 12:34 PM
|
#15 | |
|
Captain Over Engineer
 Join Date: Feb 2003
Location: New York, New York
Posts: 6,711
Thanks: 27
Thanked 29 Times in 23 Posts


|
Re: Yamaha YZR-M1 Valencia 2005
I can't believe the amazing realism and attention to detail. I think that is the most detailed set of handlebars I have ever seen. Between the clutch, and the handle bars, I think each part will be a model in itself.
__________________
-Mike AF Director of Media / Photographer  mike.lawrence@automotiveforums.com | AutomotiveForums.com | Flickr Gallery |
|
|
|
|
| ||||||||||||||||||||||||||||||||||||||
|
POST REPLY TO THIS THREAD |
 |
|
|


