|
|
|

|
|
| Search | Car Forums | Gallery | Articles | Helper | AF 350Z | IgorSushko.com | Corporate |
|
| Latest | 0 Rplys |
|
|||||||
| WIP - Motorbikes Post topics for any "Works In Progress" motobikes projects in this sub-forum. |
 |
 Show Printable Version | Show Printable Version |  Email this Page | Email this Page |  Subscribe to this Thread
|
|
|
Thread Tools |
 06-17-2012, 11:04 PM
|
#16 | |
|
AF Newbie
Thread starter

Join Date: Apr 2012
Location: michigan
Posts: 70
Thanks: 0
Thanked 2 Times in 2 Posts
|
Re: Honda manga
Hello,
Some progress, First off the story of the rear shocks,Here's a comparison pic, the shock on the left is basically stock, in the middle is the best I could do to modify it, not that great. But on the left is the great shocks from RB motion. 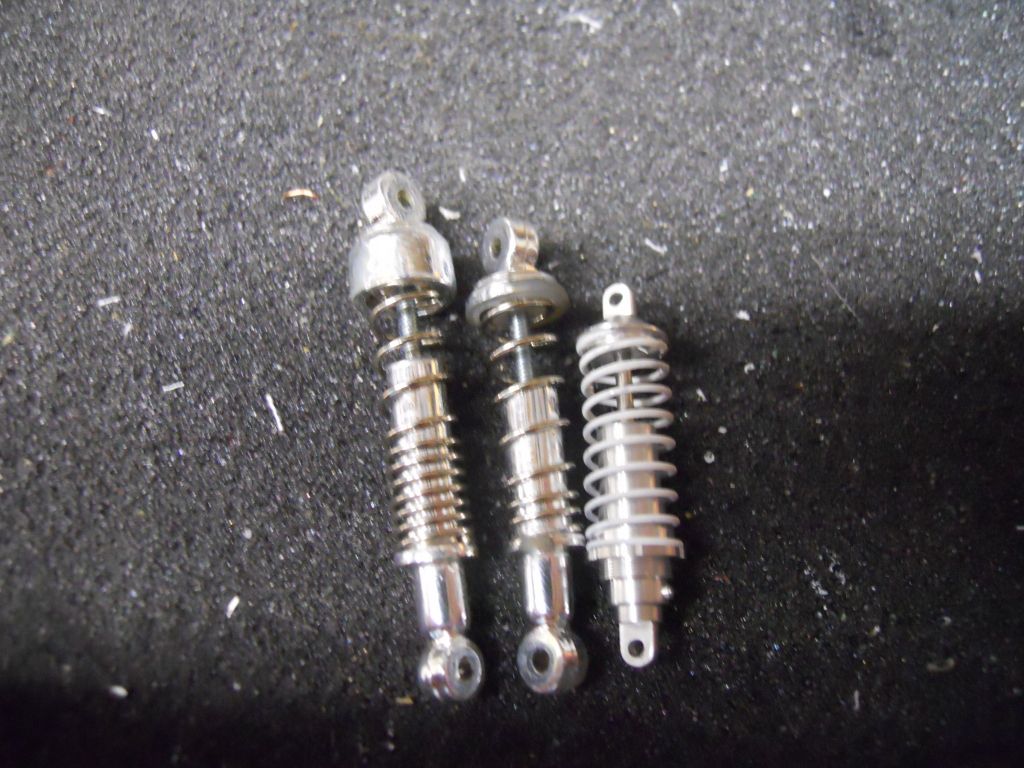 Then installed and so on. 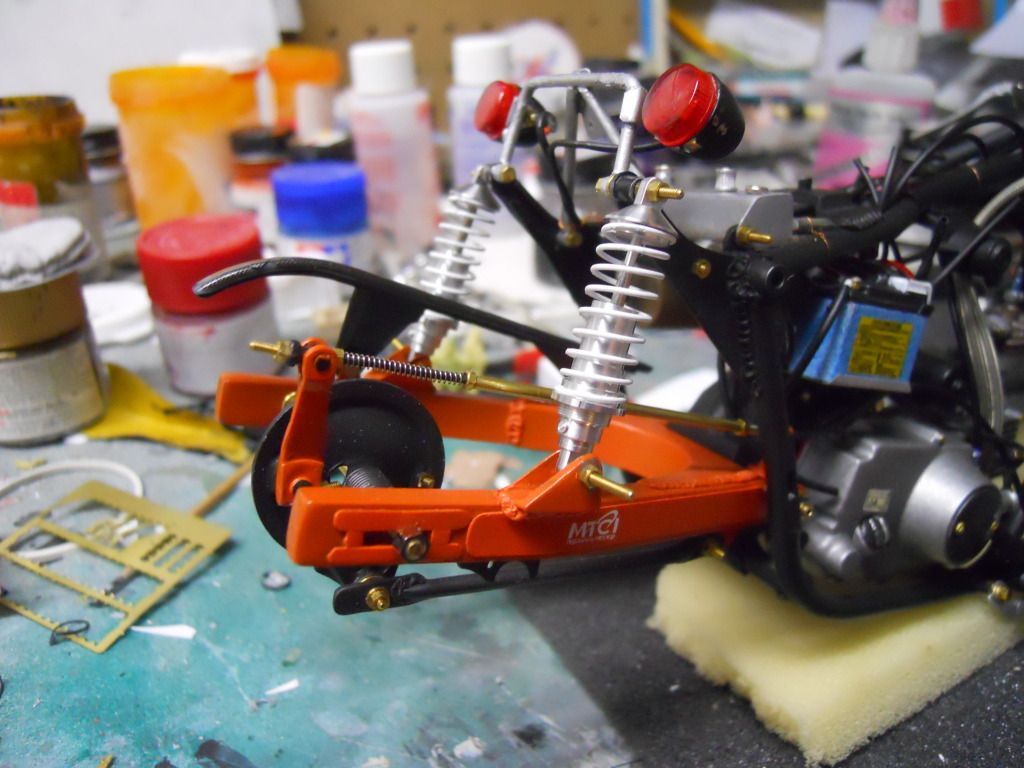 The foot controls shown before have also been completed and installed: 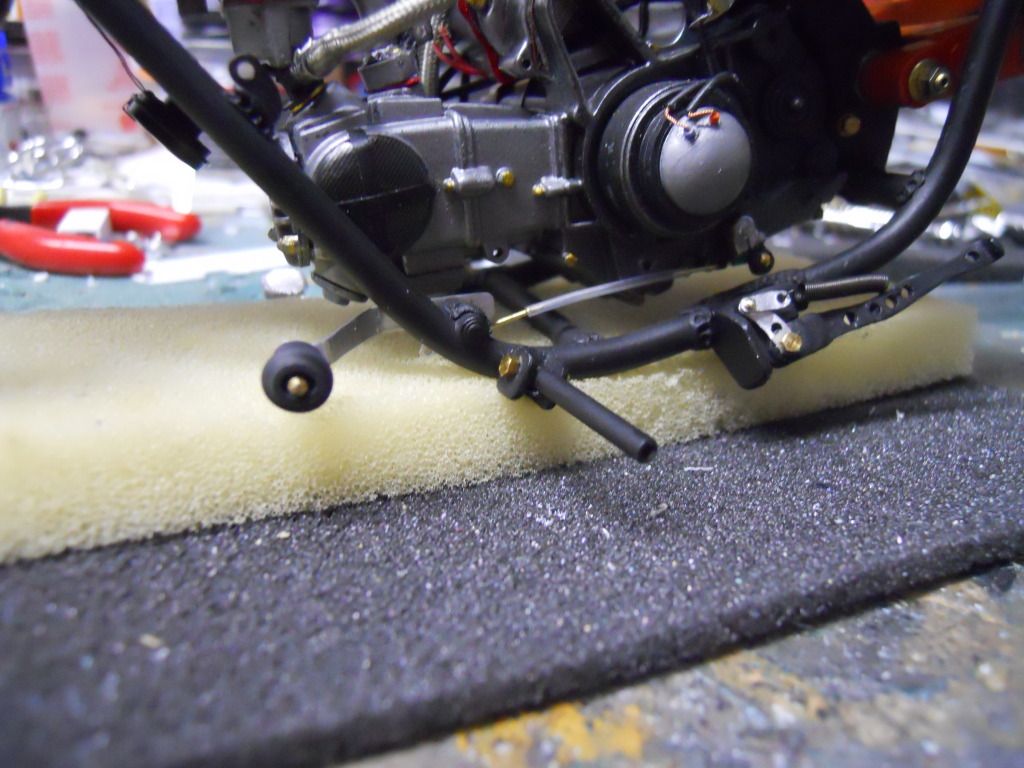 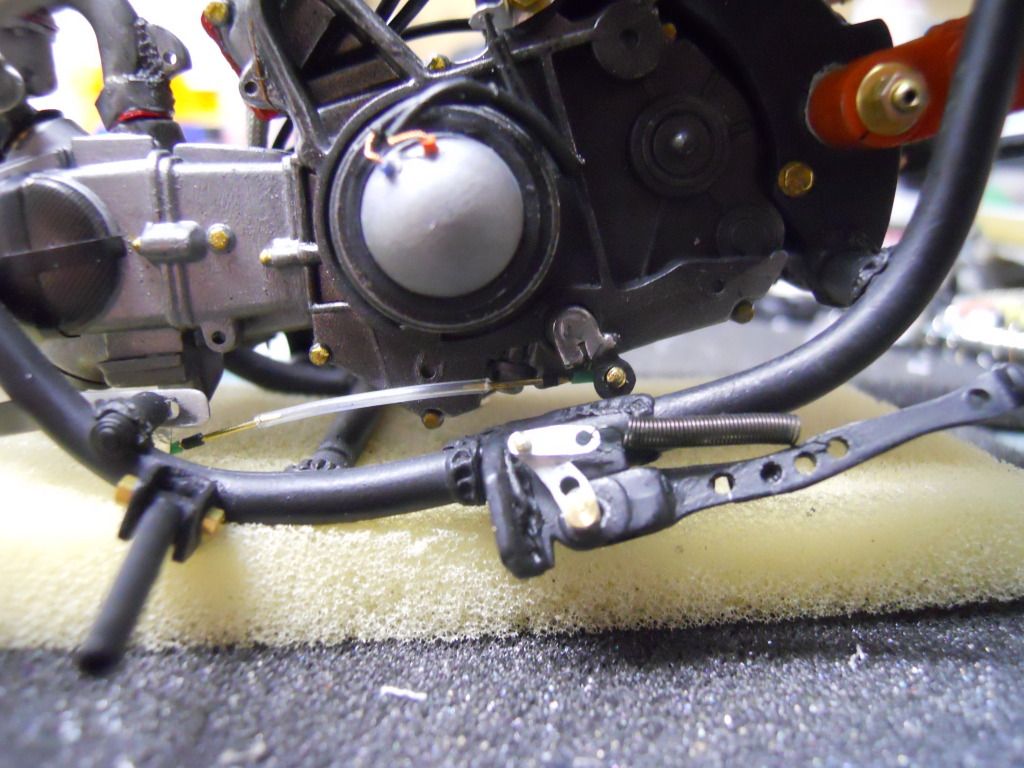 The other side was also built, on this side some of the pieces are still Tamiya's plastic just messed with, then some other scratch built stuff was added. 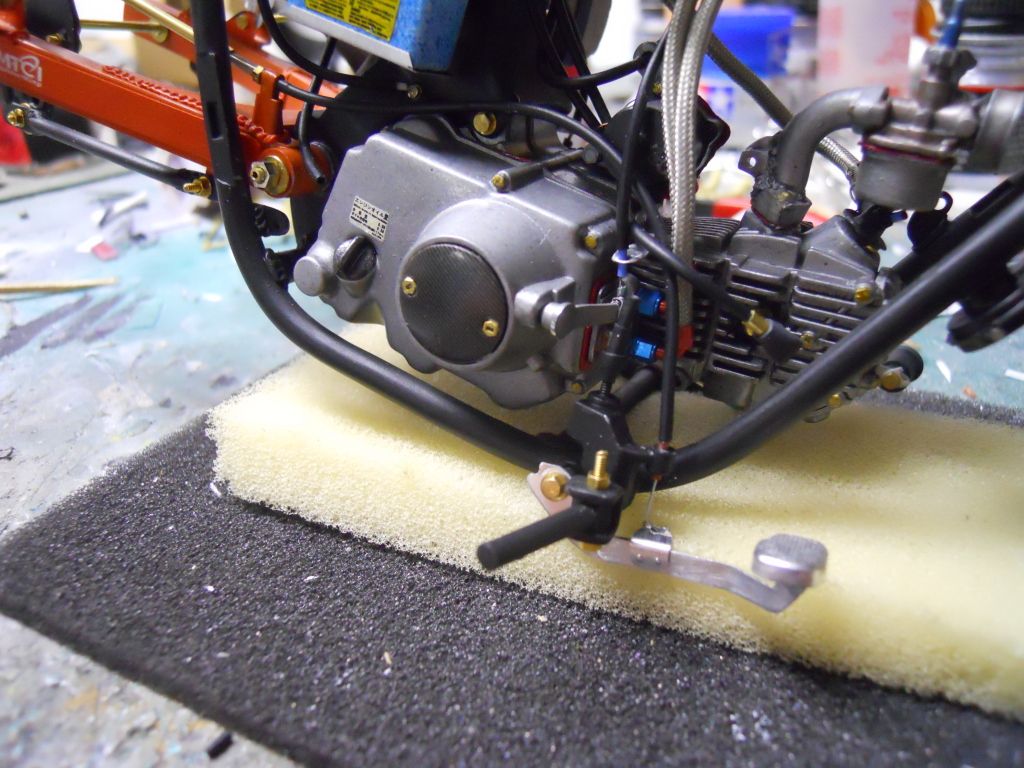 |
|

|

|
|
06-17-2012, 11:06 PM
|
#17 | |
|
AF Newbie
Thread starter
Join Date: Apr 2012
Location: michigan
Posts: 70
Thanks: 0
Thanked 2 Times in 2 Posts
|
Re: Honda manga
a bit more.......
An oil overflow tank is a popular addition in 1:1 so I built this, The braided line appears to travel in a weird path, but it must do this to clear the air cleaner. 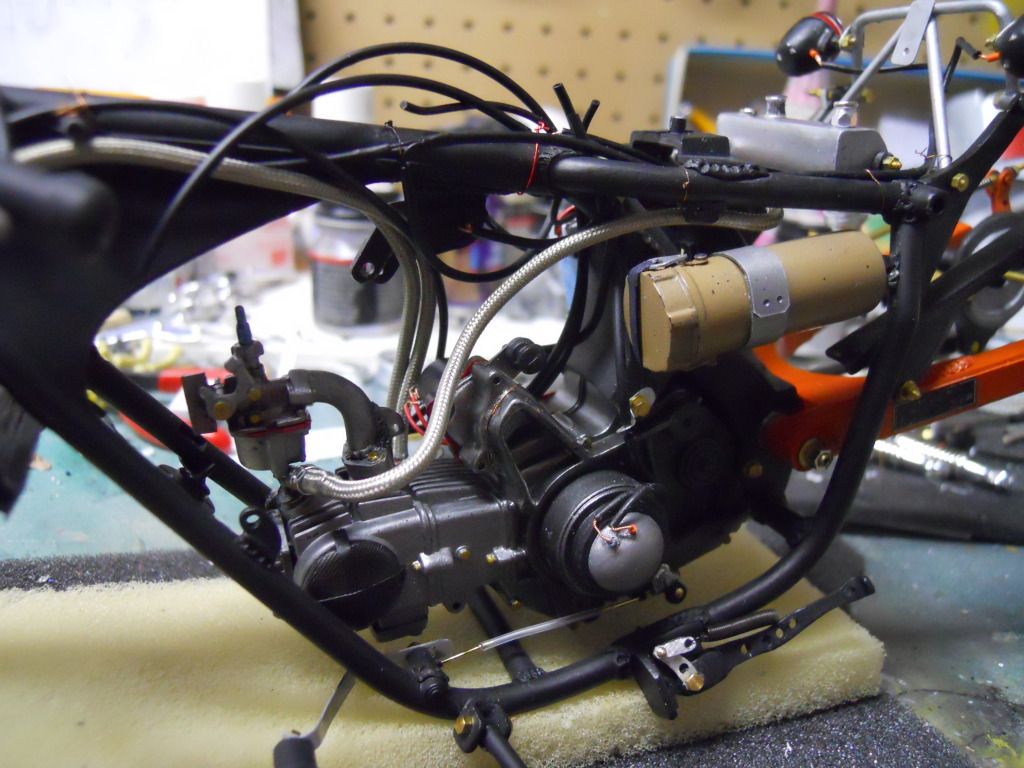 And the tank it's self was scratch built then just bolts in and then was accented with some Pro Tech breathers, and some detail master fittings. 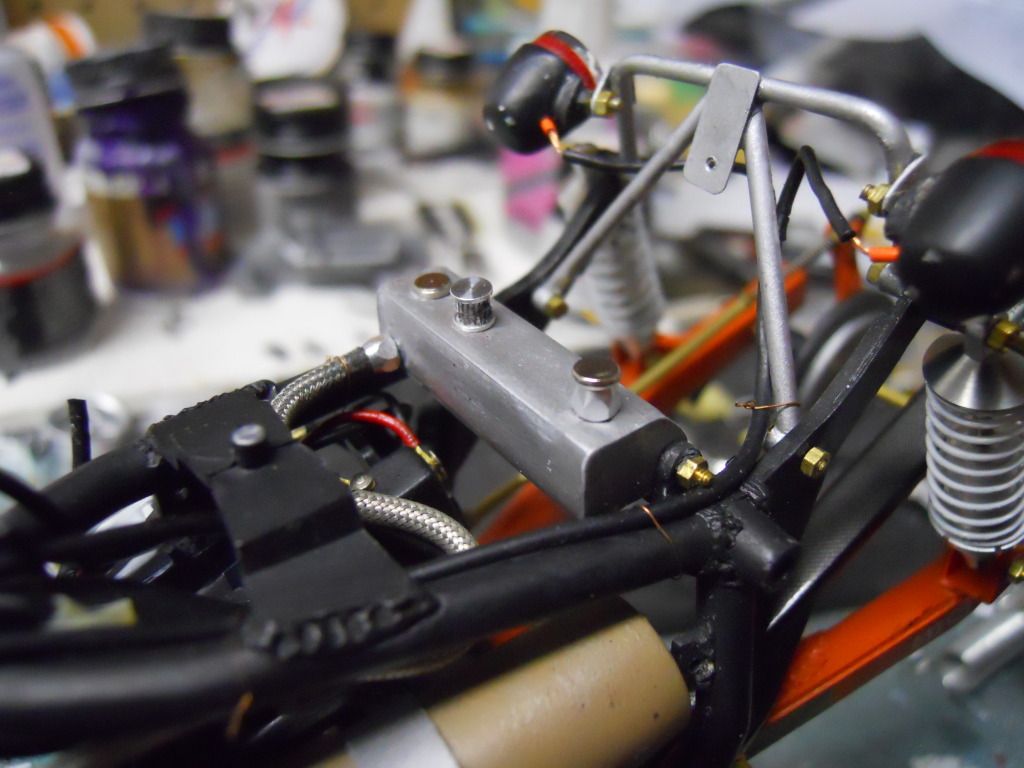  Then the horn was built up, I added a mount for this early on when the frame was first built but forgot about it till now.....  Then comes the seat, this ended up being a bit of a project, I carved out some foam then covered it in some white fabric, then added a million rivets(at least it felt like it) then weathered and beat it up. 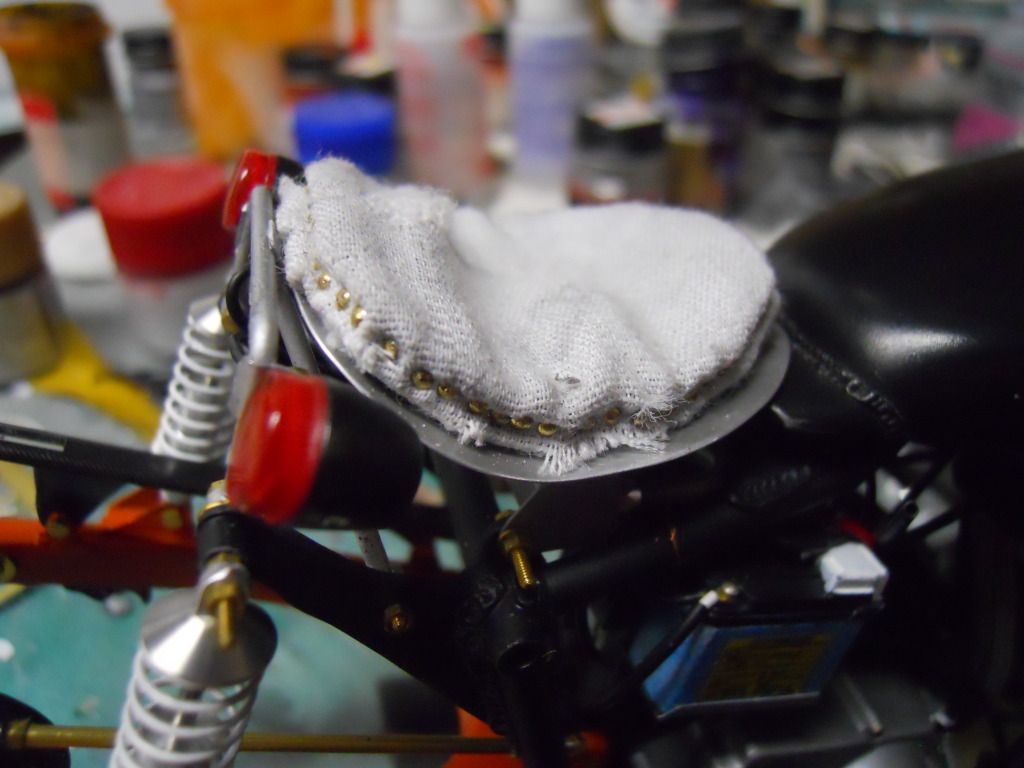 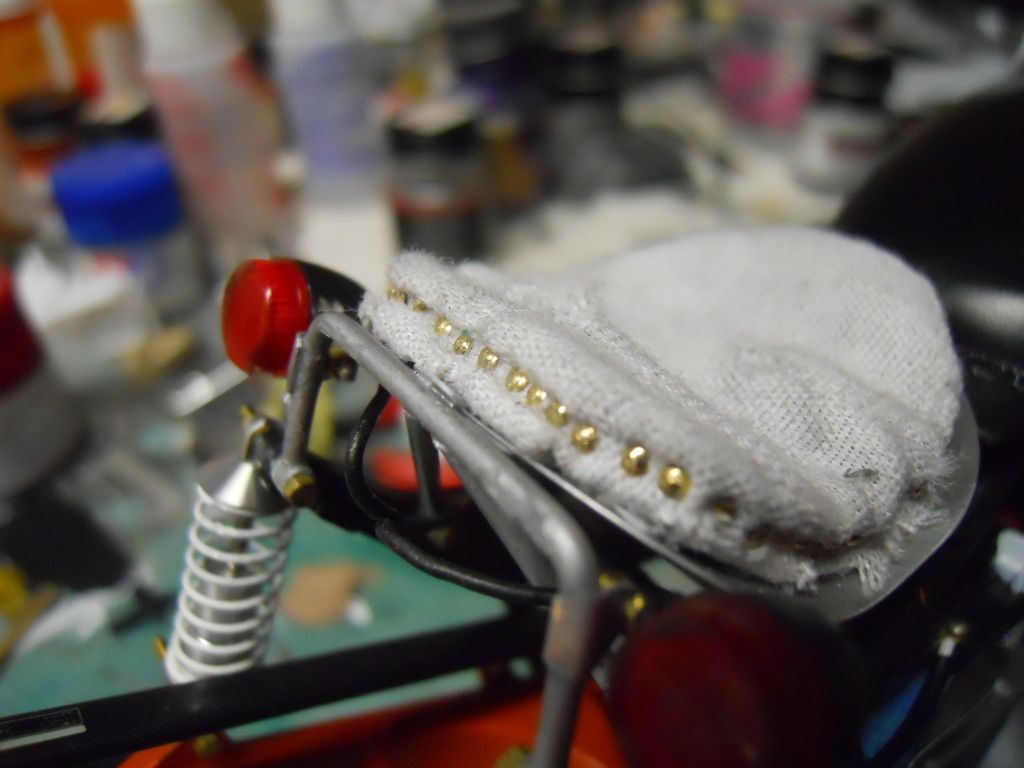 |
|
|
|
|
|
06-17-2012, 11:10 PM
|
#18 | |
|
AF Newbie
Thread starter
Join Date: Apr 2012
Location: michigan
Posts: 70
Thanks: 0
Thanked 2 Times in 2 Posts
|
Re: Honda manga
still a bit more.....
Back a while I showed the chrome accent for the tank, have since decided that it wasn't very cafe looking, so I cut it down and have reshaped it since. 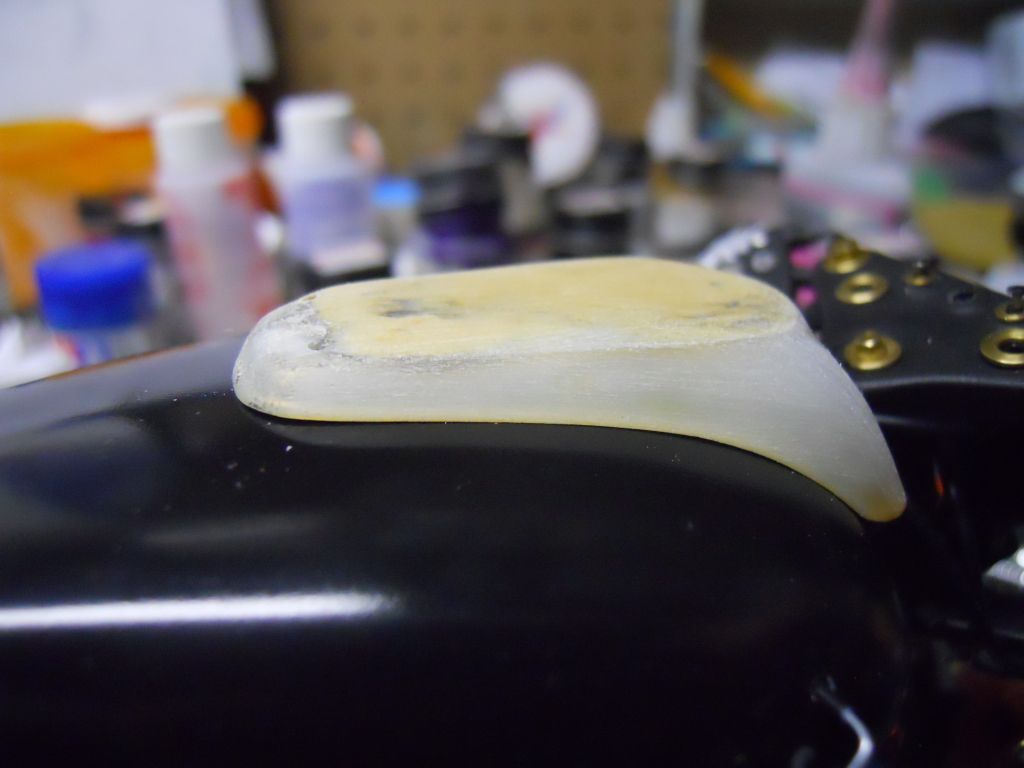 Then on top two gas/oil caps will go, yes there isn't a oil tank in the tank but it looks cool.... 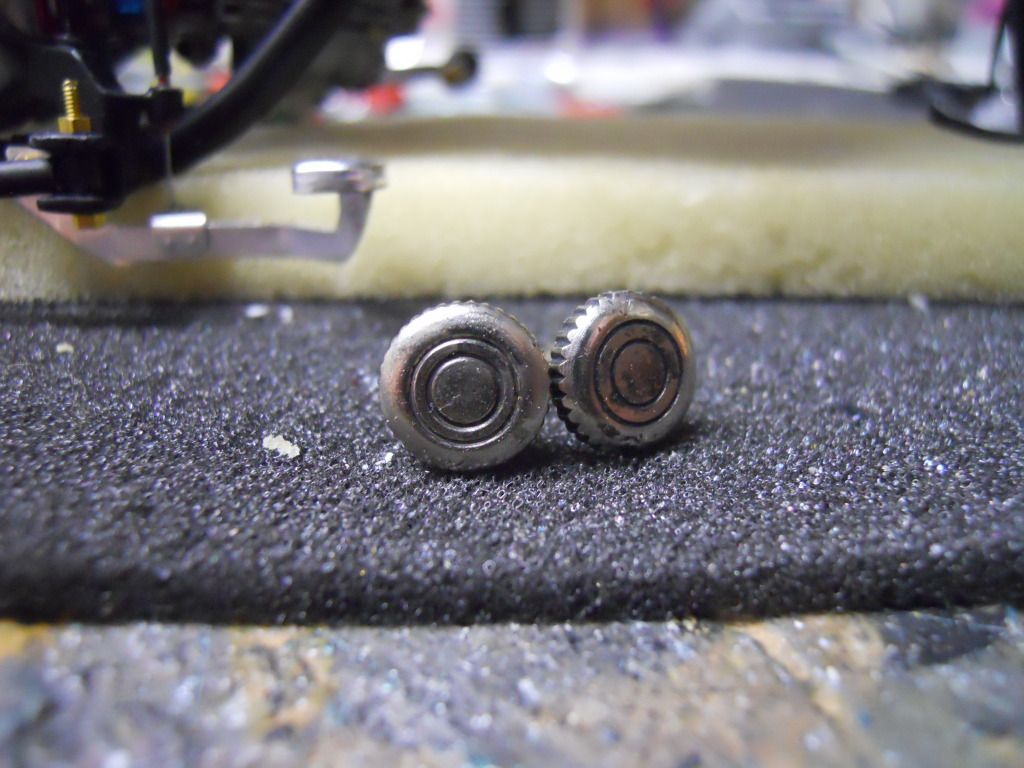 Also got these cool 1/6th scale boots to go with it all, weathered them a bit before this pic and added some initials to the back. 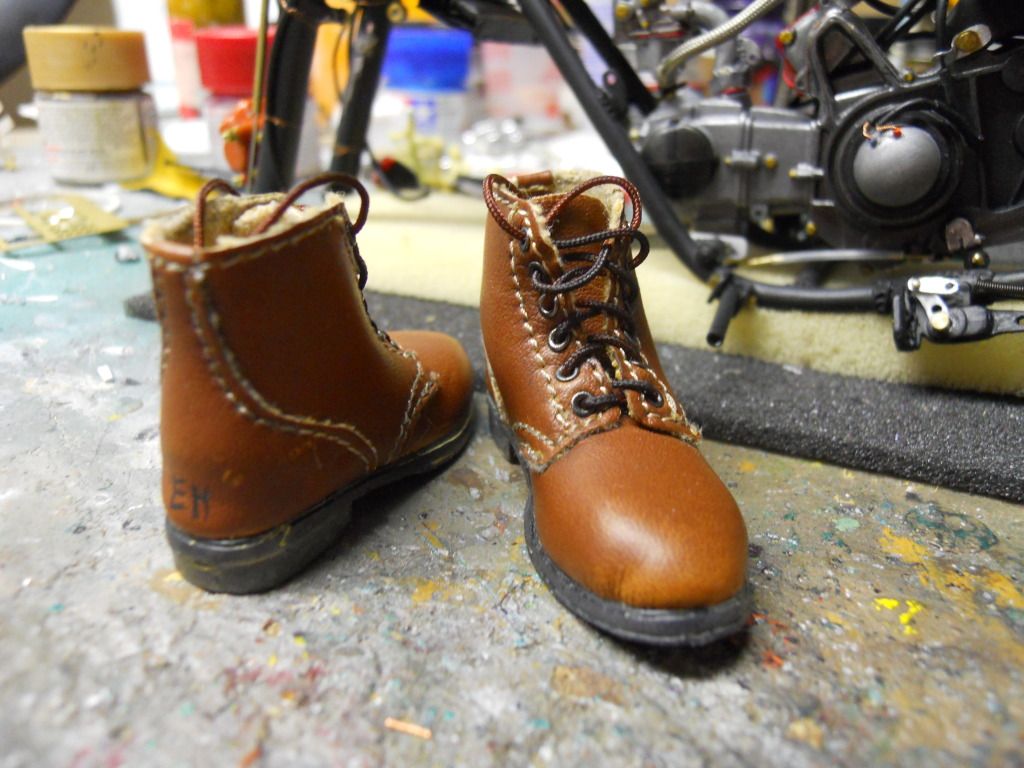 When you get um' by the bike it really puts in to perspective how small this bike really is. 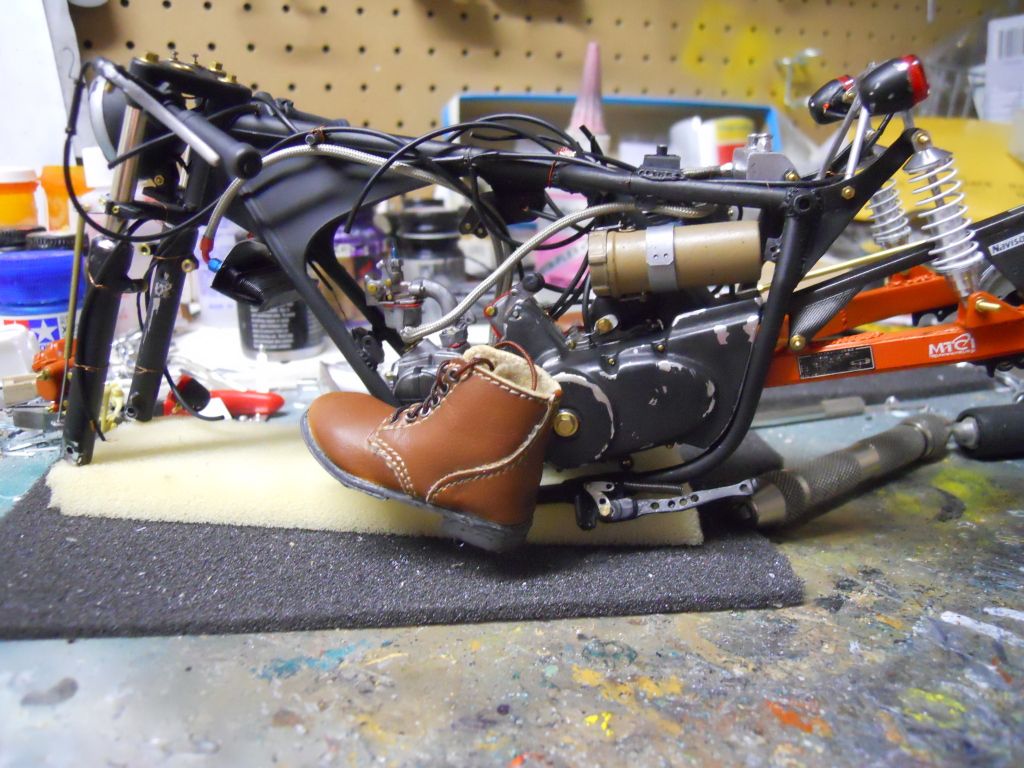 And here's a overall shot with the new shocks: 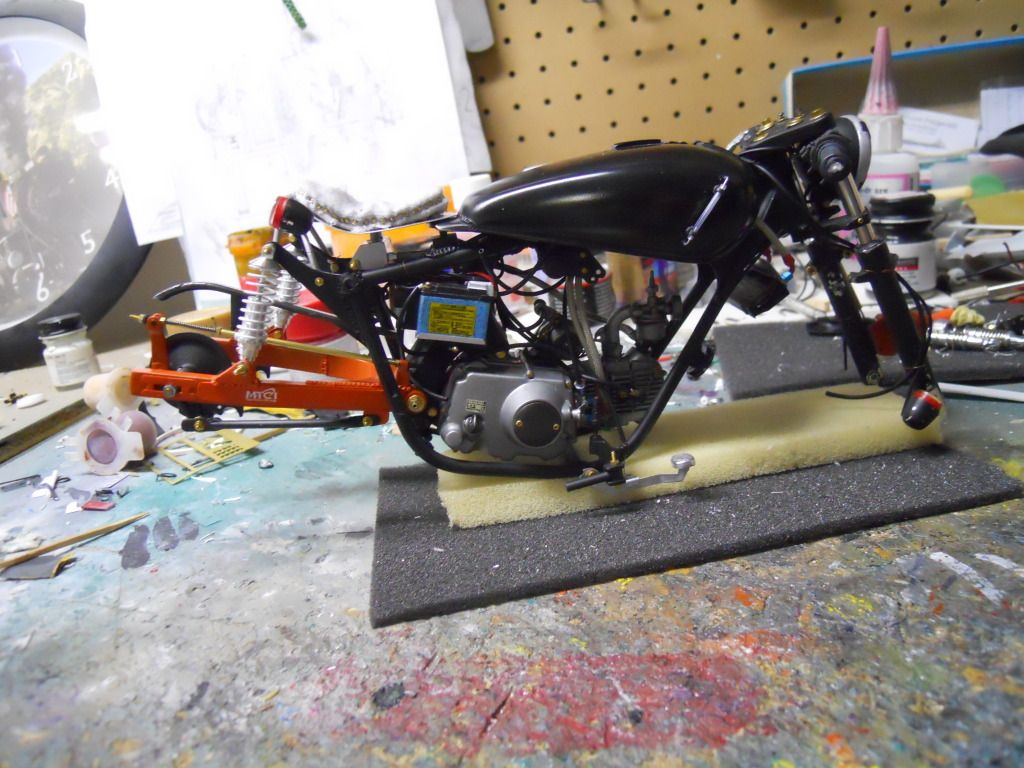 Anyway thanks for looking everyone, any comments are appreciated, and if you have any question feel free to ask... |
|
|
|
|
|
07-19-2012, 01:45 AM
|
#19 | |
|
AF Newbie
Thread starter
Join Date: Apr 2012
Location: michigan
Posts: 70
Thanks: 0
Thanked 2 Times in 2 Posts
|
Re: Honda manga
Hello again, time for a small update, the Nissan has been taking up much of my time but I got a bit done..
Got one of the side pods on, scratch built some brackets and pins to hold the panel up, it comes off and the pins work..ect. Also added the license plate bracket 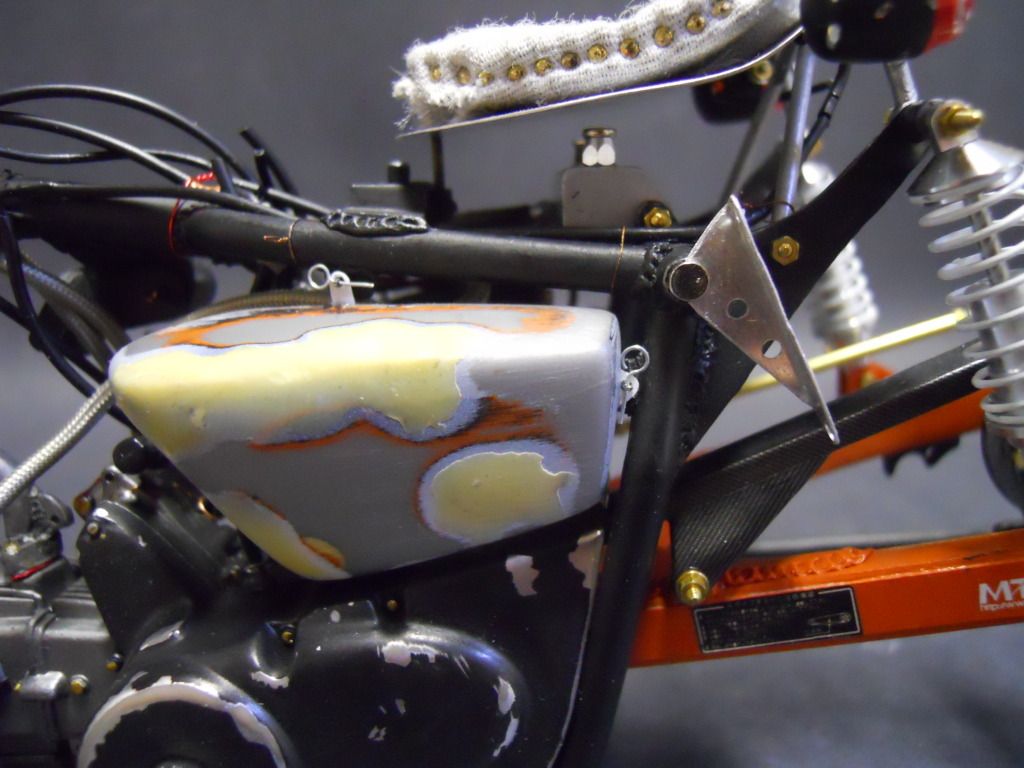 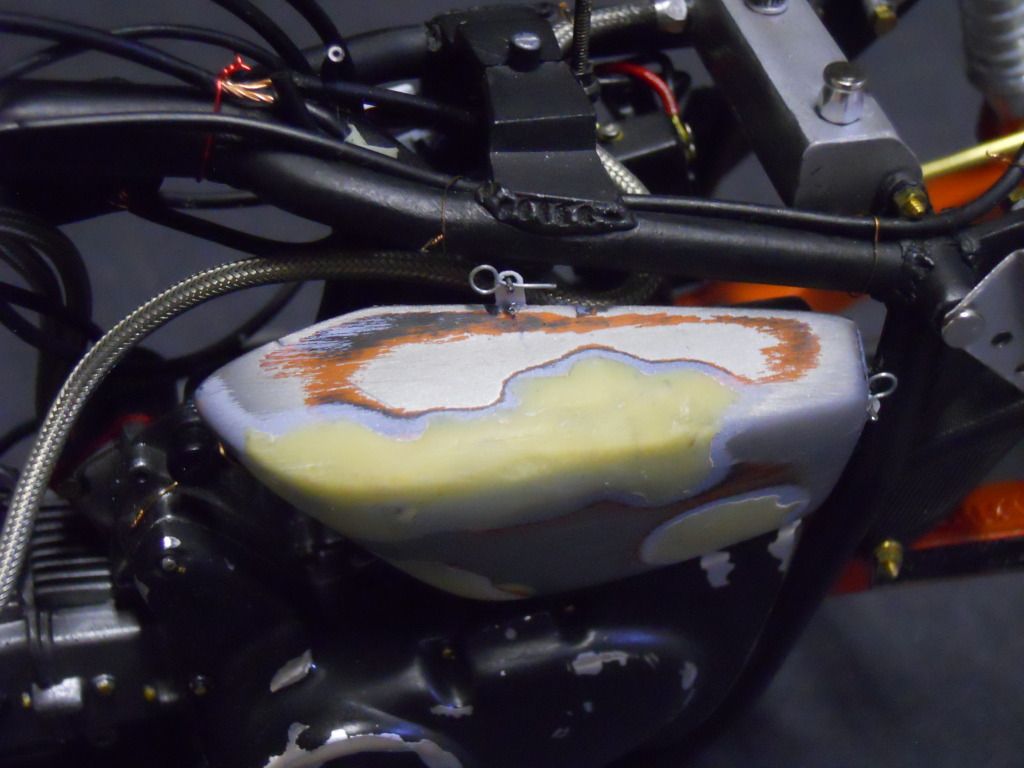 And i decided that the stock brake wasn't gonna cut is so I scrachbuild a new front rotor, it still needs to be painted. 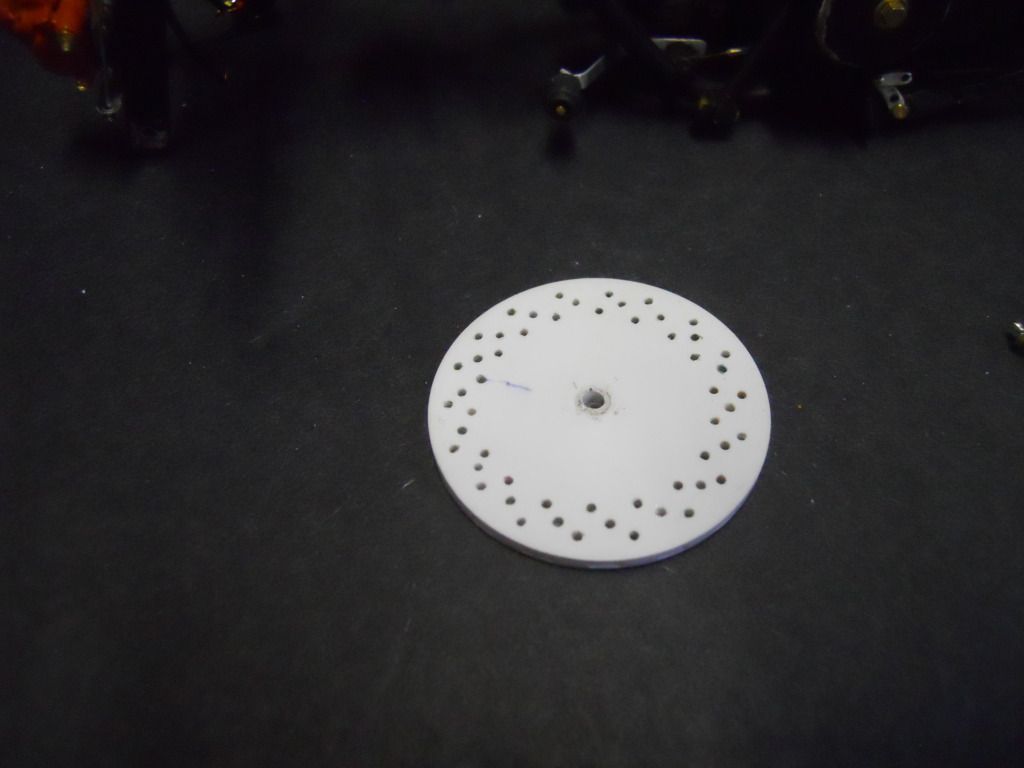 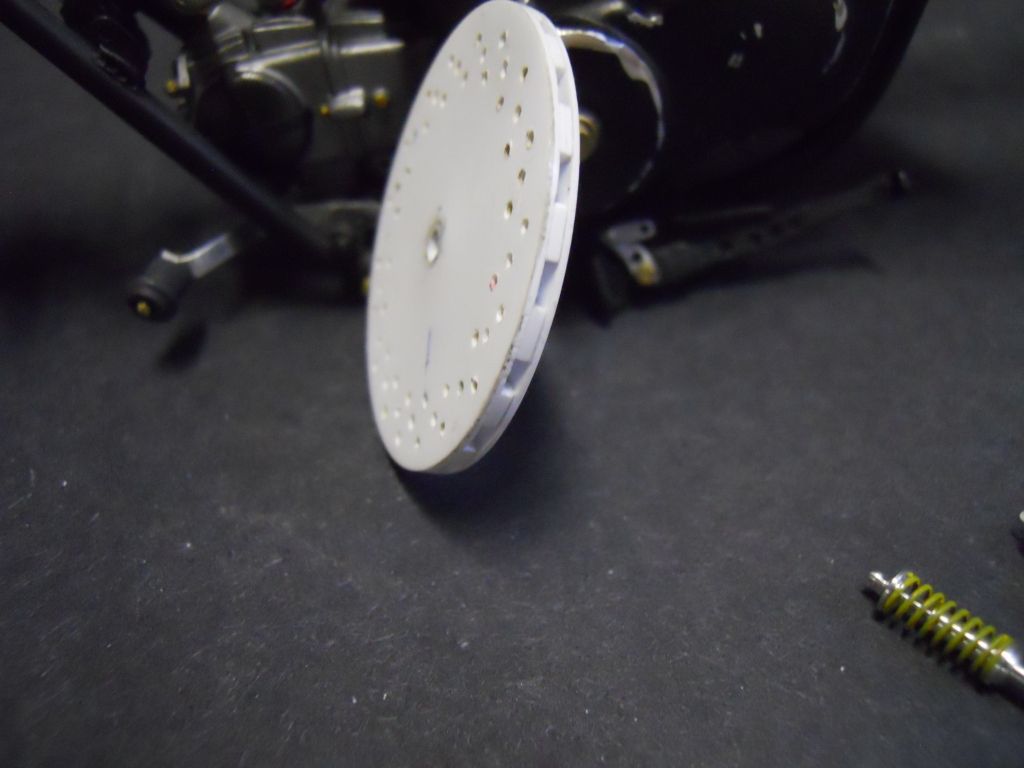 also build a frame for the seat to sit on out of some plastic strip, painted it all black, then used some brass rivets to attach the frame to the aluminum seat pan, this was then all connected with some of RBmotion's 1/24 scale shocks, sorry this pic. seriously sucks, I'll try to get new ones quick and replace um' 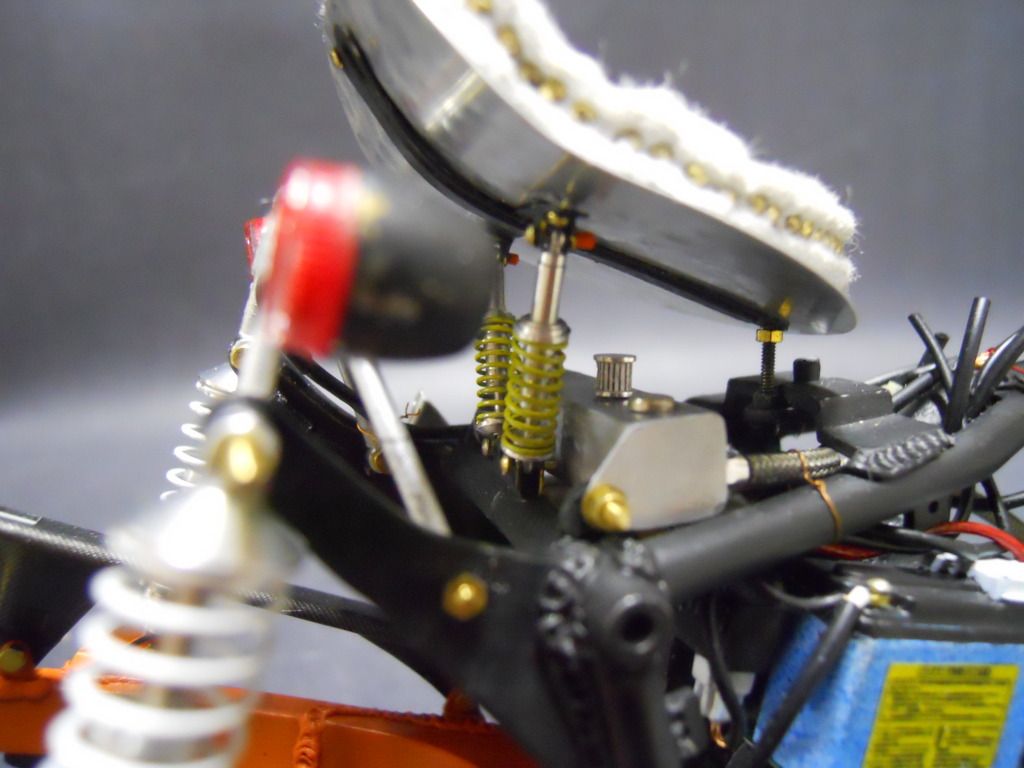  Thanks for looking!!.............. |
|
|
|
|
|
08-07-2012, 12:44 AM
|
#20 | |
|
AF Newbie
Thread starter
Join Date: Apr 2012
Location: michigan
Posts: 70
Thanks: 0
Thanked 2 Times in 2 Posts
|
Re: Honda manga
Hi, back to work, realized a few days ago that this build been going on for more than 6 months! So I figure I need to get it done.........
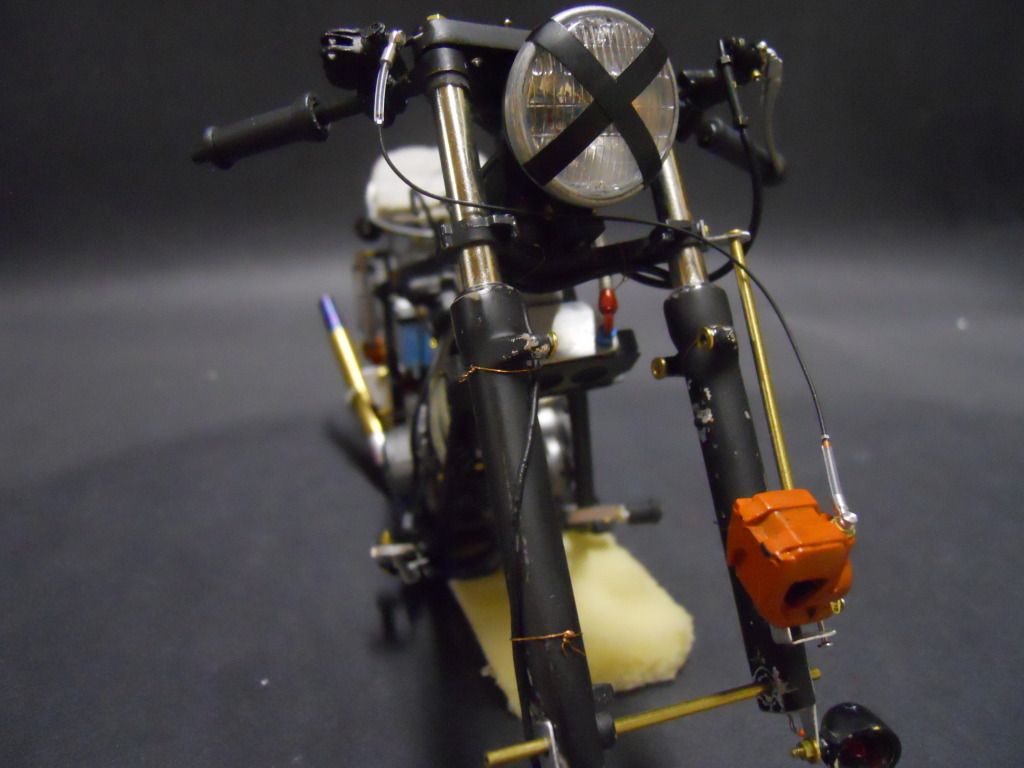
First off I got the exhaust done and all mounted up: 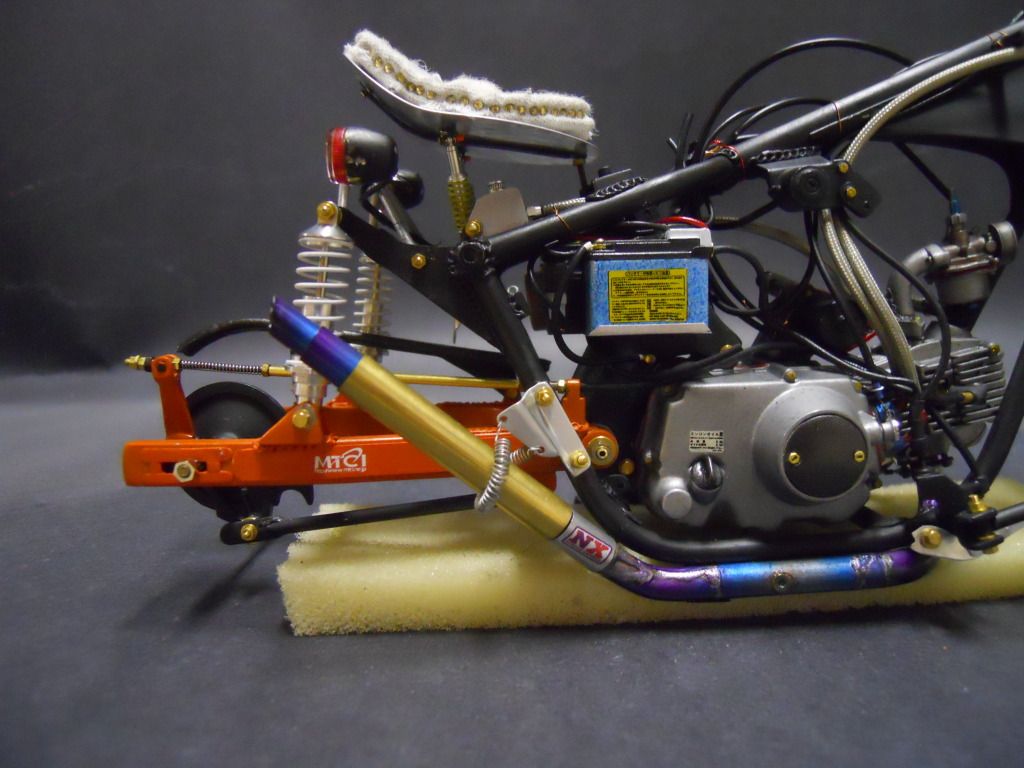 Then I mounted the seat, built a new plastic frame that attached to the seat pan then used some rivets to connect the two, then lastly used some rbmotion shocks to attach it to the car, Here's the modified shocks:  Then all mounted up:  This is kinda a stupid thing to point out but it took some time: I went back and filled all the bolts that had been added so far and added more washers and stuff, an example of all that work would be the shock mounts before they where just one nut, now a bit different: 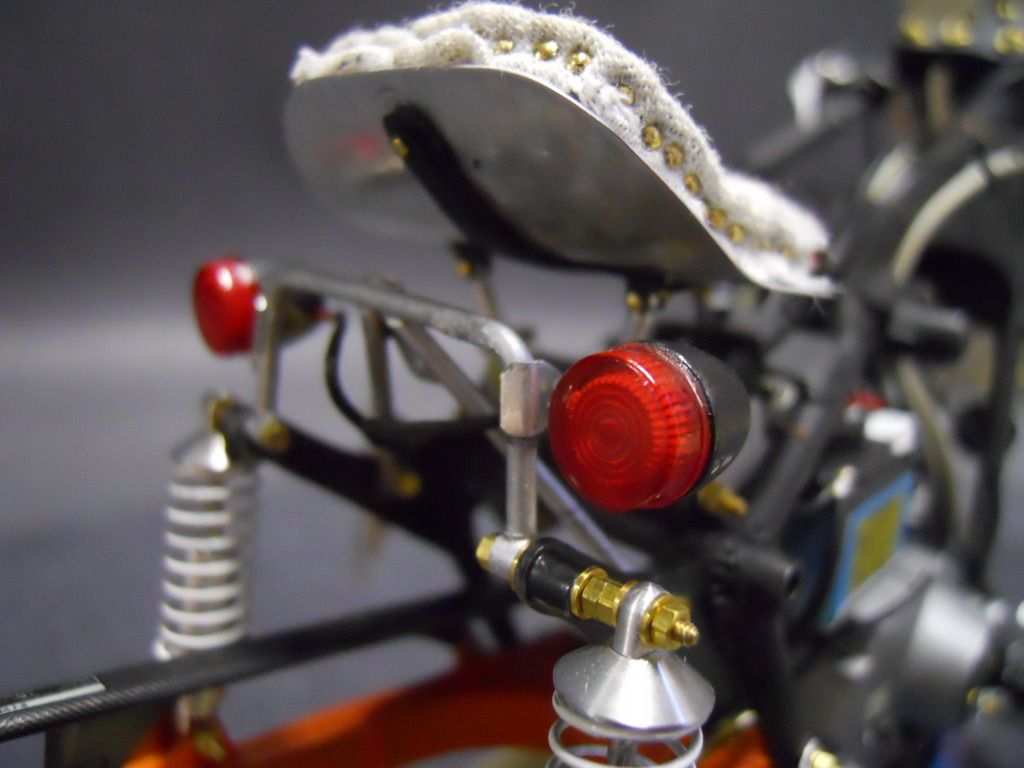 Also did more on the electronics basically got all the wires in that lead up the the circuit boards, and electrical boxes, main thing was the kill which, witch almost everything needs to be connected to, 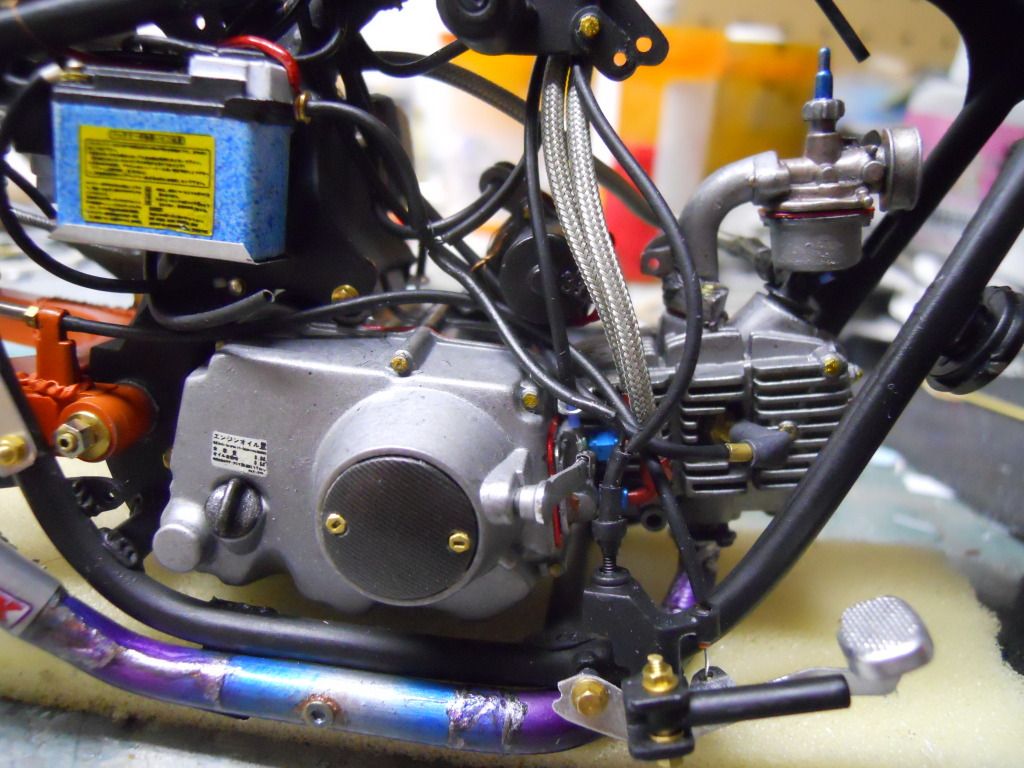 The other electrical stuff was the front head light and all the switches behind that, also got part of the hand controls and brakes on... 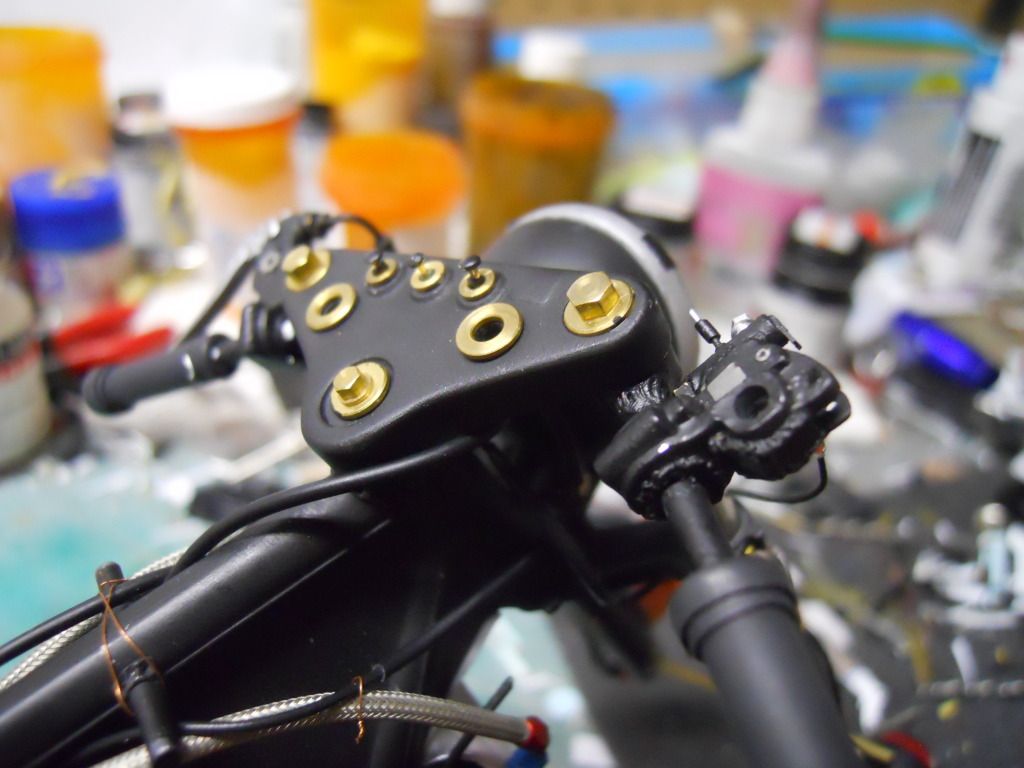 |
|
|
|
|
|
08-07-2012, 12:47 AM
|
#21 | |
|
AF Newbie
Thread starter
Join Date: Apr 2012
Location: michigan
Posts: 70
Thanks: 0
Thanked 2 Times in 2 Posts
|
Re: Honda manga
The front brake line was run,
 sorry this is kinda silly but, look at the tinny bolts, smallest I've ever used.....  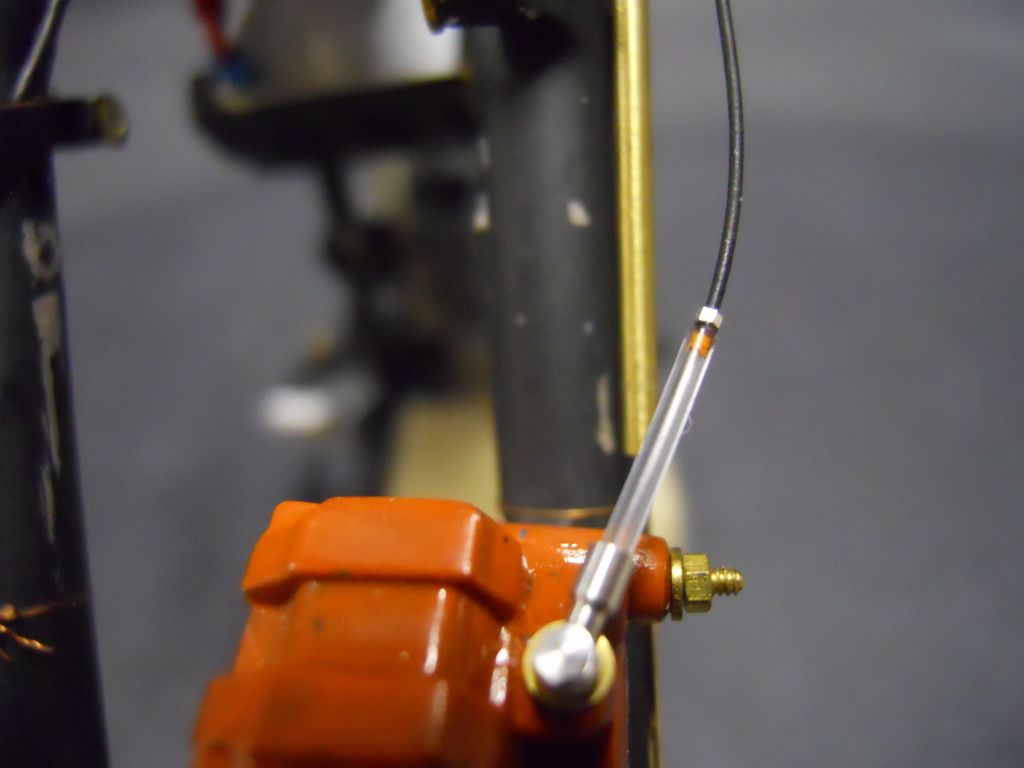 And not much in the way of progress but in the styling department I've decided to move all of the electronics out of the side pods and remove the side pods all together..., so were I had all the mounting point I just filled then with empty screws..... 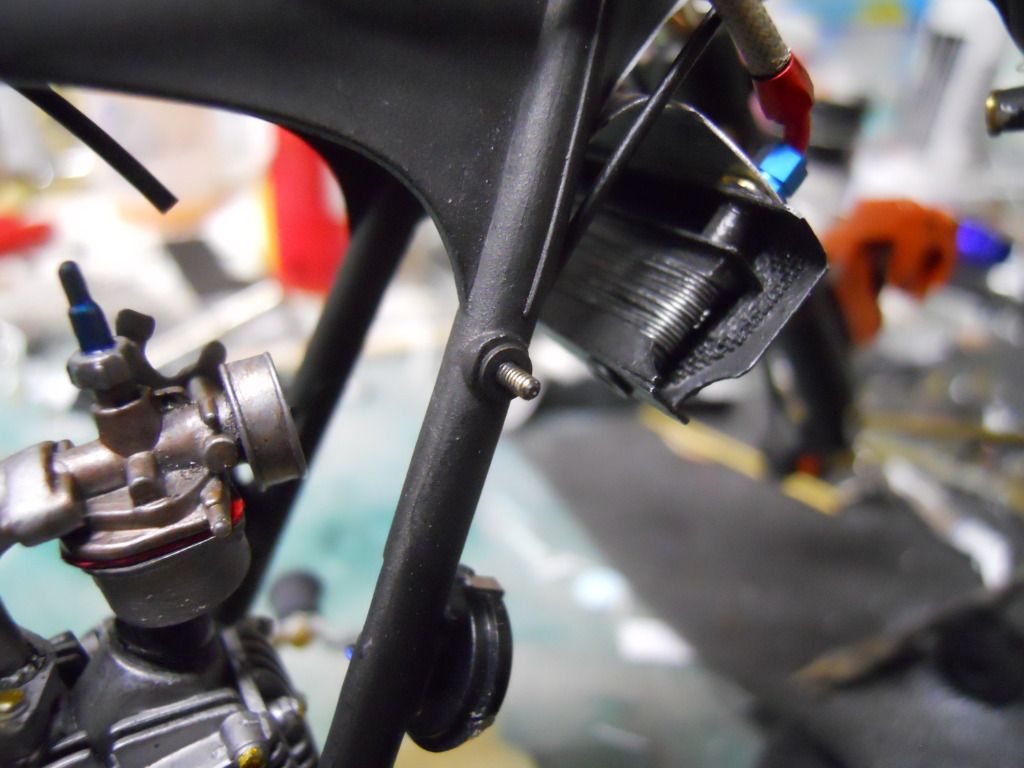 And the next project showed up in the mail.....  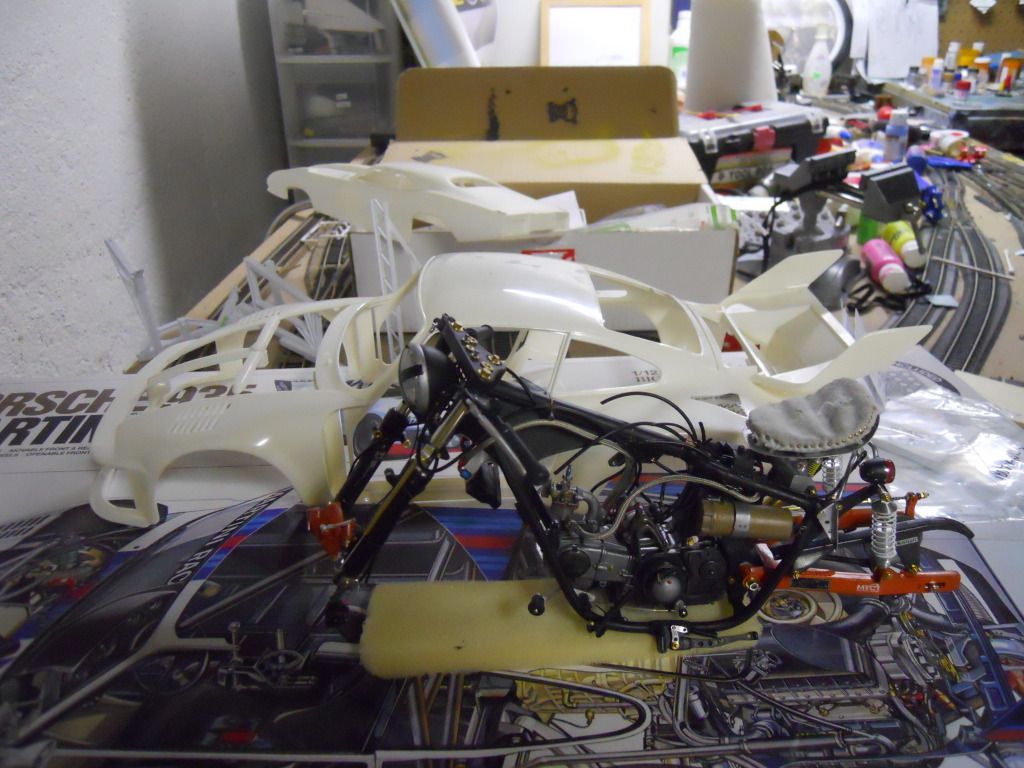 Thanks for looking, I realize this isn't much in the terms of an update but it took a lot more work then it looks like, thanks... also I hate to be rude, but a comment once in a while would be nice, I'm not asking for praise, if you want to tell me it sucks then that's fine, just say what sucks so I can try to fix it....... |
|
|
|
|
|
08-07-2012, 10:48 AM
|
#22 | |
|
AF Enthusiast

Join Date: Feb 2006
Location: London
Posts: 1,158
Thanks: 2
Thanked 1 Time in 1 Post
|
Re: Honda manga
Wow, your attention to detail is stunning and I love how realistic the weathering looks. The boots are a lovely touch as are the tool bag.
Before I saw your last note I did want to say how I'm surprised how few comments this thread has. I know pretty much nothing about bikes but just reading through your progress I feel I've learned a lot about them! Does the exhaust really get that colourful from heat staining? It looks a little over done to my eyes but again I'm not the most experienced on this. I'm really looking forward to your upcoming Porsche build! Please don't stop with the updates on this. Great job on the detailing, photos and explaining everything out.
__________________

|
|
|
|
|
|
10-10-2012, 01:20 PM
|
#23 | |
|
AF Newbie
Thread starter
Join Date: Apr 2012
Location: michigan
Posts: 70
Thanks: 0
Thanked 2 Times in 2 Posts
|
Re: Honda manga
thanks man. means a lot, Here's the porsche build if ya haven't seen it, http://www.automotiveforums.com/vbul....php?t=1081405, (thanks to everyone who has helped!!)
anyways I'm almost done with this, all i got do is get all the spacing right on the front and rear tires, and find a air cleaner I decided to leave off the big air filter boxes, and moved the electronics to the frame, figure out the a lot of the stuff on the the stock tamiya piece was just fuses and I already had these in the line so I just had to do the coil... 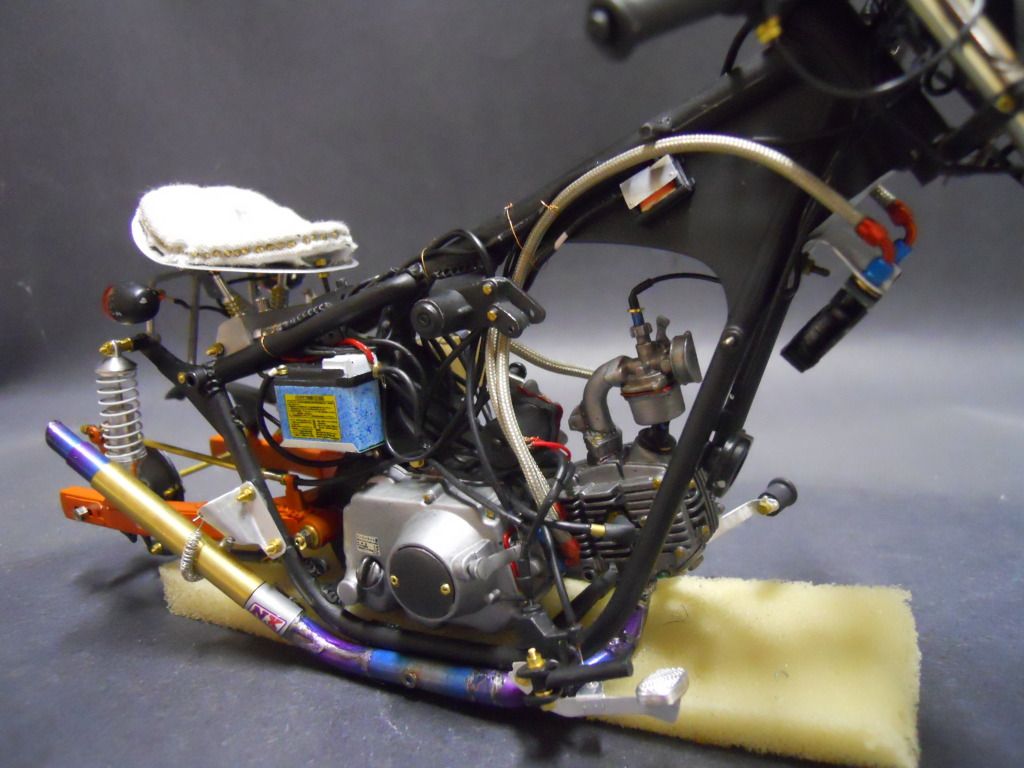 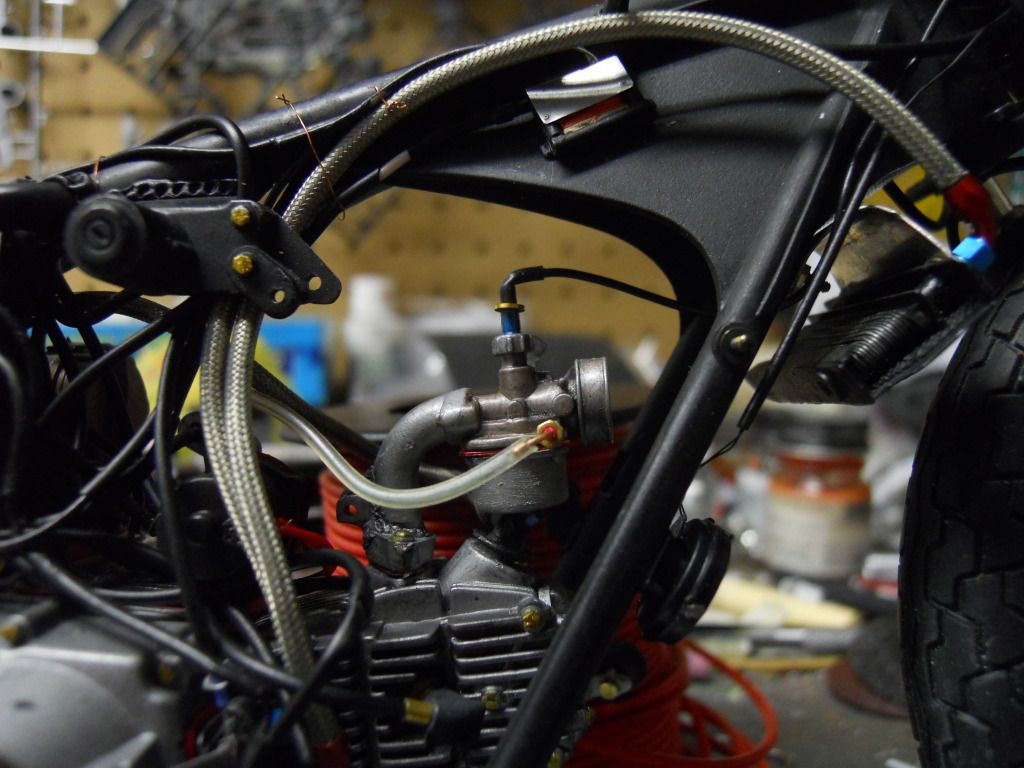 also finished the hand controls 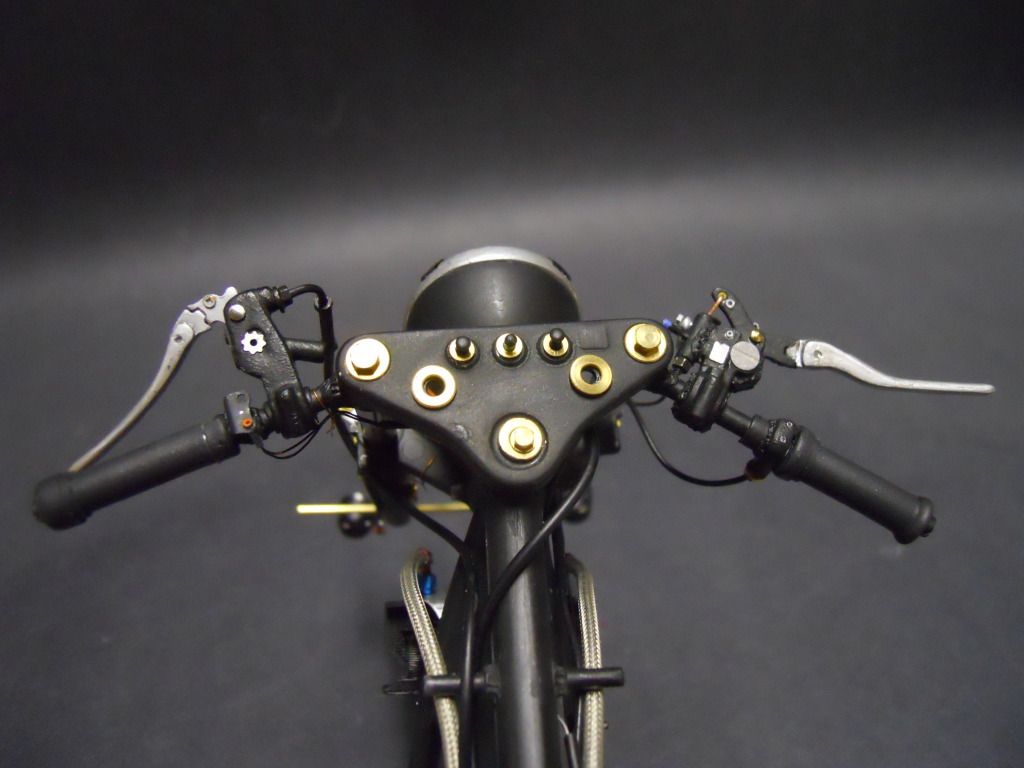 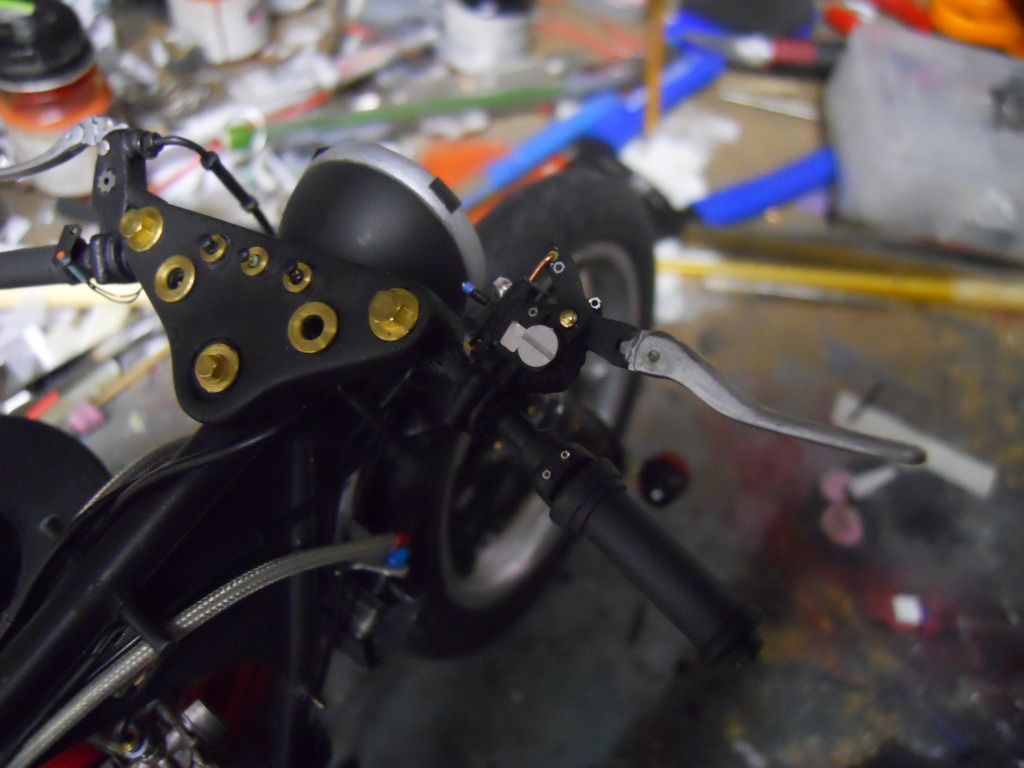 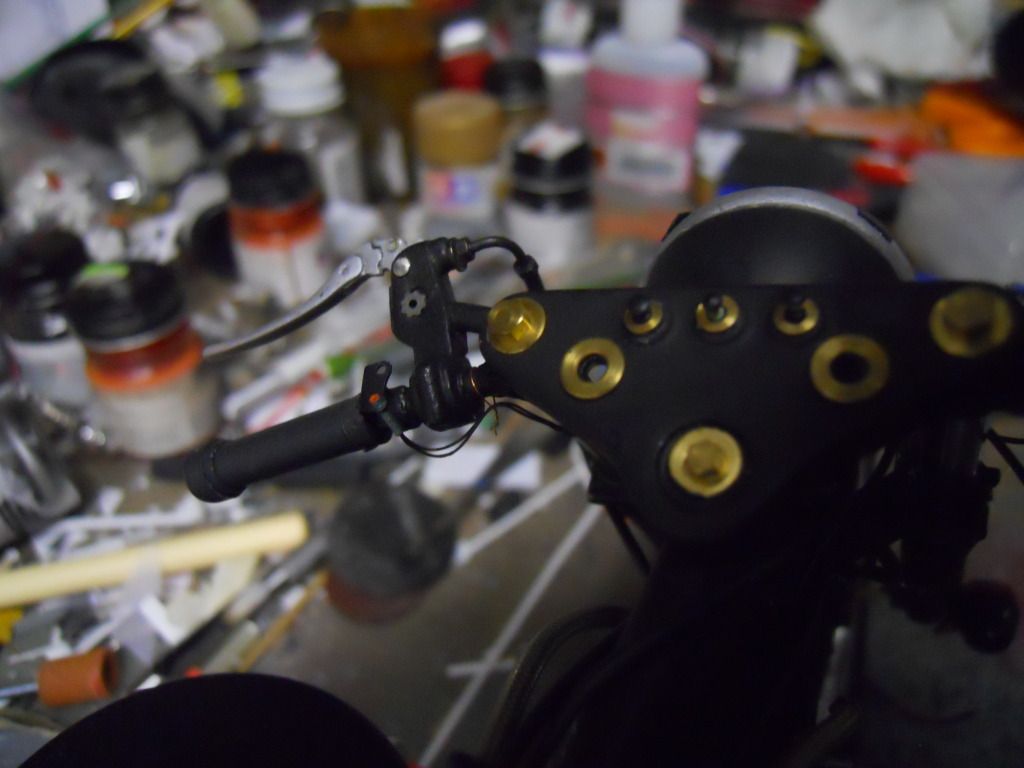 and here's the top of the tank, kinda made it look like a work in progress.... 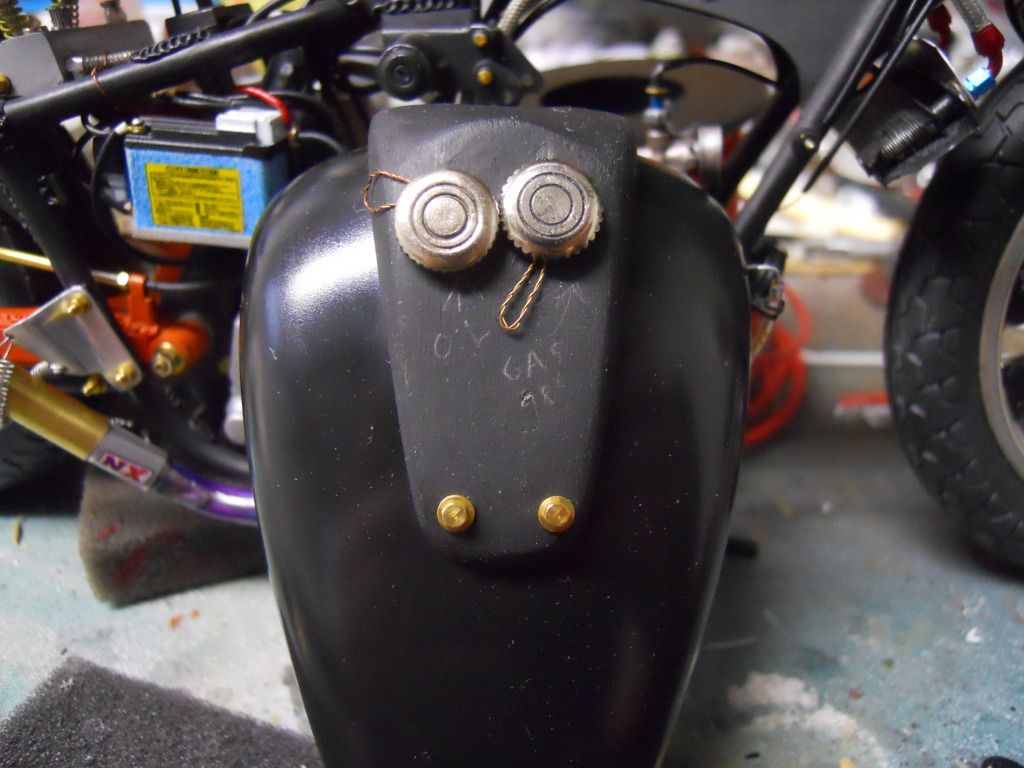 And here's the stance I'm aiming for.... 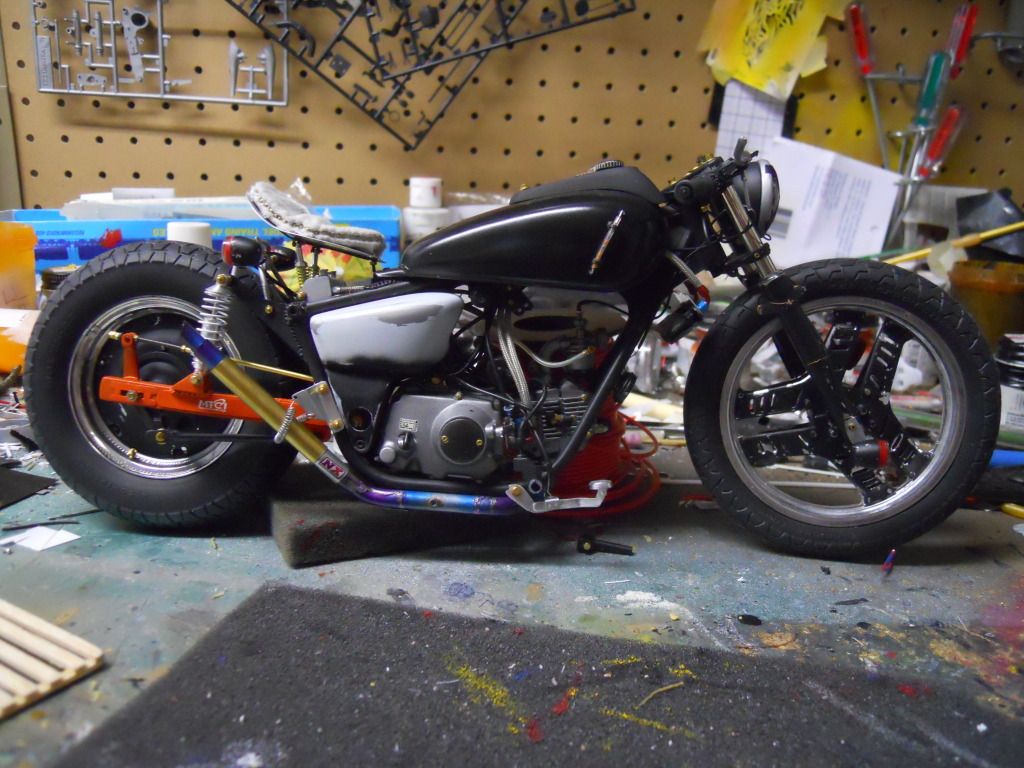 Thanks for looking!! your comments would rock........... |
|
|
|
|
| The Following User Says Thank You to HIPPIE2 For This Useful Post: |
miguel s (10-10-2012)
|
|
10-10-2012, 01:51 PM
|
#24 | ||
|
AF Regular

Join Date: Jun 2008
Location: mallorca
Posts: 122
Thanks: 9
Thanked 9 Times in 9 Posts
|
Re: Honda manga
Quote:
thank you very much for showing pictures of the process.
__________________

|
||
|
|
|
| |||||||||||||||||||||||||||||||||
|
POST REPLY TO THIS THREAD |
 |
|
|


