|
|
|

|
|
| Search | Car Forums | Gallery | Articles | Helper | AF 350Z | IgorSushko.com | Corporate |
|
| Latest | 0 Rplys |
|
|||||||
| WIP - Street Post topics for any "Works In Progress" street vehicles projects in this sub-forum. |
 |
 Show Printable Version | Show Printable Version |  Email this Page | Email this Page |  Subscribe to this Thread
|
|
|
Thread Tools |
 03-10-2016, 03:18 PM
|
#1 | |
|
Loser

Join Date: Aug 2007
Location: Moscow
Posts: 1,170
Thanks: 110
Thanked 248 Times in 195 Posts
|
Peterbilt 379
Finally, I have decided to build a truck. It is an iconic truck of the last millennium, the Peterbilt 379 with long hood. As a donor the Peterbilt 378 Long Hauler from Italeri was choosen.
                   I have started with a frame.  The front suspension was lowered.  Then the rear suspension was lowered too.    I have bought some additions from the Czech Truck Model (CTM).   
__________________
Best regards, Mikhail   
Last edited by stratos75; 03-11-2016 at 07:45 AM. |
|

|

|
|
03-10-2016, 03:52 PM
|
#2 | |
|
Loser
Thread starter
Join Date: Aug 2007
Location: Moscow
Posts: 1,170
Thanks: 110
Thanked 248 Times in 195 Posts
|
Re: 1/24 Peterbilt 379
Numerous marks of pushers were filled with a Tamiya putty.
 The most of the chromed parts were cleared.  The cabin.  The windshield washer tank have an incorrect shape and place.   The air intake hole has an incorrect place too.   The muffler ends were a bit changed to have clear exits.  Some putty on the front end.  Assembling of air filters and fuel tanks.  A rework of the firewall. 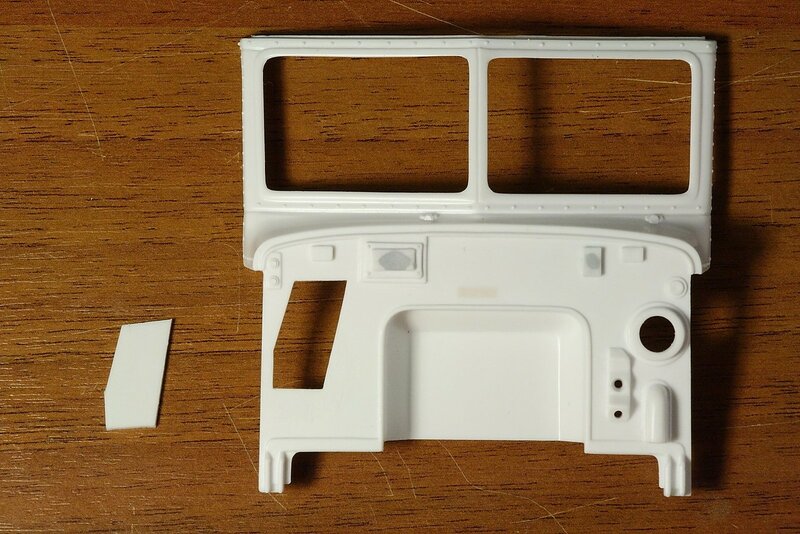 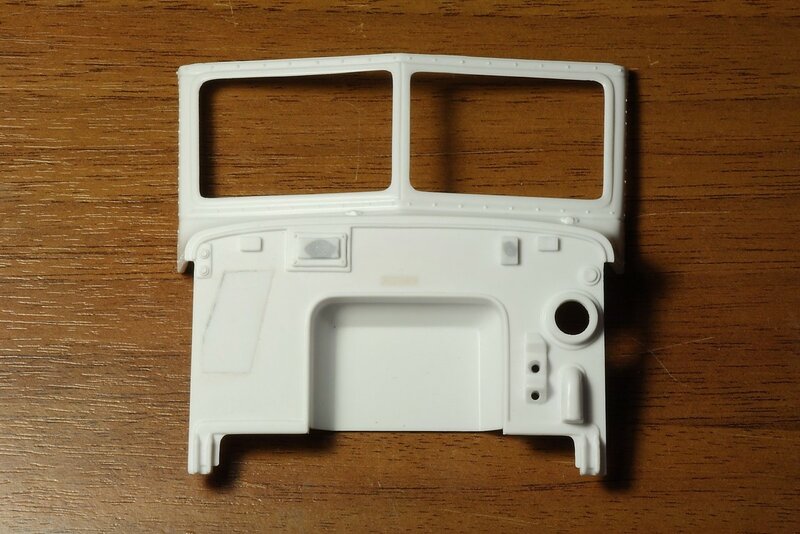   A filling of voids in cylinders.   The door in a sleeper was opened.   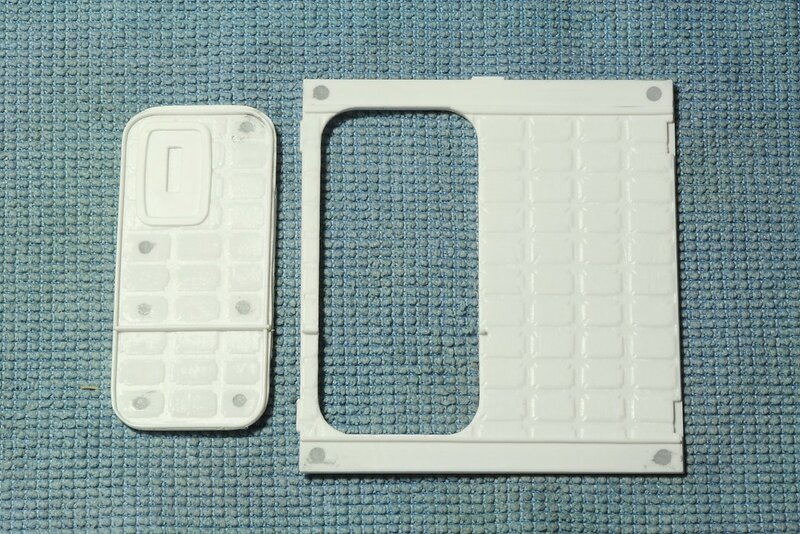 There will be a girl inside a sleeper.  
__________________
Best regards, Mikhail
|
|
|
|
|
|
03-10-2016, 05:22 PM
|
#3 | |
|
AF Regular
Join Date: Jan 2012
Location: douglas
Posts: 102
Thanks: 0
Thanked 16 Times in 16 Posts
|
Re: 1/24 Peterbilt 379
Is there a detail up set for the girl?
Oh, sorry, model is looking good. |
|
|
|
|
|
03-10-2016, 07:52 PM
|
#4 | |
|
Loser
Thread starter
Join Date: Aug 2007
Location: Moscow
Posts: 1,170
Thanks: 110
Thanked 248 Times in 195 Posts
|
Re: 1/24 Peterbilt 379
kopek: Thank you! This girl was ordered by me on the Shapeways:
http://www.shapeways.com/product/KXL...ionId=57715332 On the next step I have decided to make a more correct front leaf springs. The front ends were cut.  The rear halves were copied in silicone. 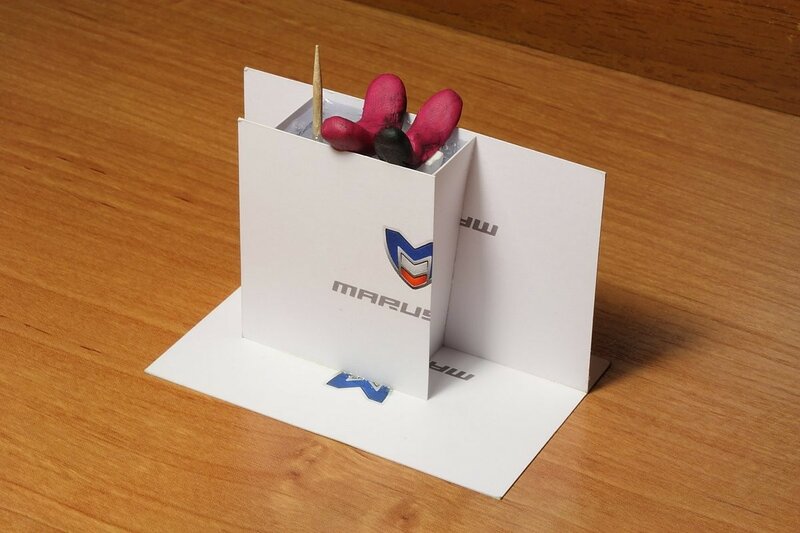  I suddenly found that the earrings are tilted in the wrong direction.   This mistake was fixed.     
__________________
Best regards, Mikhail
Last edited by stratos75; 03-11-2016 at 09:30 AM. |
|
|
|
|
|
03-10-2016, 08:41 PM
|
#5 | |
|
Loser
Thread starter
Join Date: Aug 2007
Location: Moscow
Posts: 1,170
Thanks: 110
Thanked 248 Times in 195 Posts
|
Re: 1/24 Peterbilt 379
The frame. It was the most complex part in this build, because I decided to give it more correct look and stretched it on 20 mm. Here you can see how many works were done.
The openings in crossmembers were added.  The real frame.  I have tried to give them a correct shape after the cutting of the frame.  The quick dry assembly to find the overall length of the truck. I have choosen the last version.      The real crossmember.  The further disassembling and modifying.  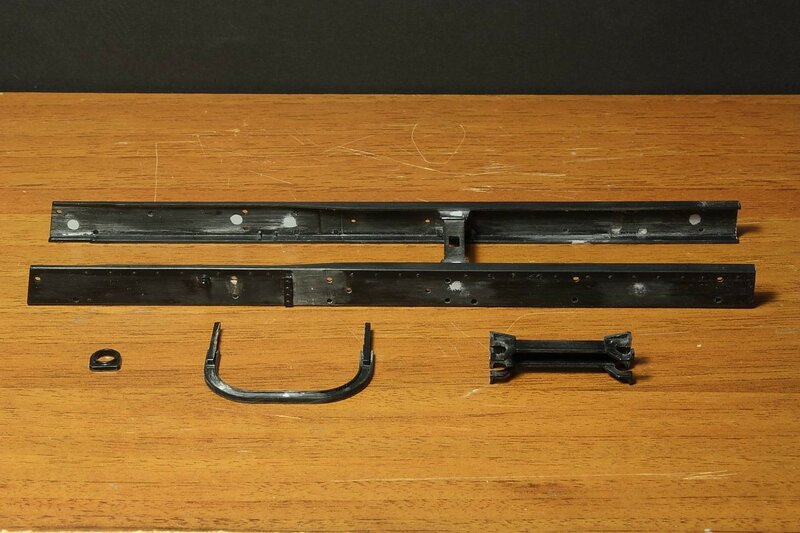          
__________________
Best regards, Mikhail
|
|
|
|
|
|
03-10-2016, 10:37 PM
|
#6 | |
|
AF Enthusiast

Join Date: Jun 2005
Location: Red Lake, Ontario
Posts: 2,519
Thanks: 3
Thanked 28 Times in 28 Posts

|
Re: 1/24 Peterbilt 379
Incredible work, will be following along on this.
__________________
  
|
|
|
|
|
|
03-11-2016, 07:39 AM
|
#7 | |
|
Loser
Thread starter
Join Date: Aug 2007
Location: Moscow
Posts: 1,170
Thanks: 110
Thanked 248 Times in 195 Posts
|
Re: 1/24 Peterbilt 379
This is the fuel tank bracket.
 In a real life it looks like this.  And this is my modification of the kit's bracket.     Then it was copied. 
__________________
Best regards, Mikhail
|
|
|
|
|
|
03-11-2016, 10:05 AM
|
#8 | |
|
Loser
Thread starter
Join Date: Aug 2007
Location: Moscow
Posts: 1,170
Thanks: 110
Thanked 248 Times in 195 Posts
|
Re: 1/24 Peterbilt 379
The rear propshaft. Out of the box.
 With my modifications.  Before and after.  In its place.  The steering rod was made from copper wire.    I have bought the resin front hood. Unfortunately, it haven't matched to the cabin and to the front grille. It was widened and smoothed out by two component filler.     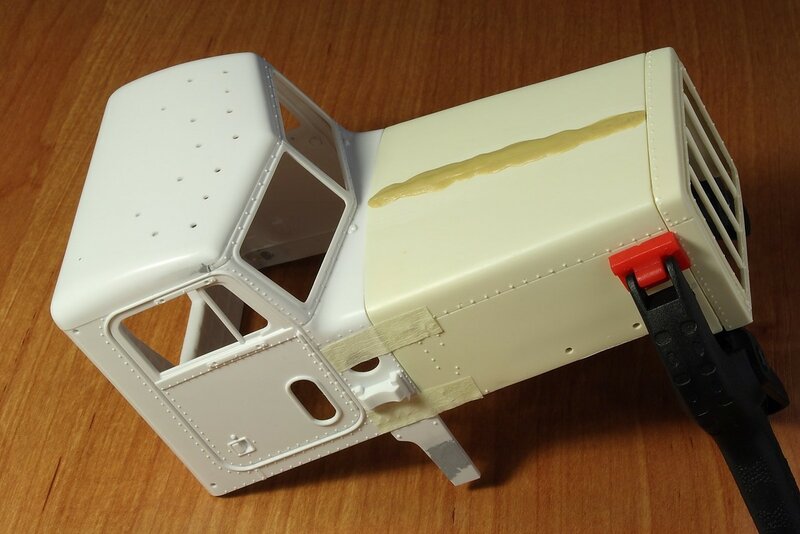  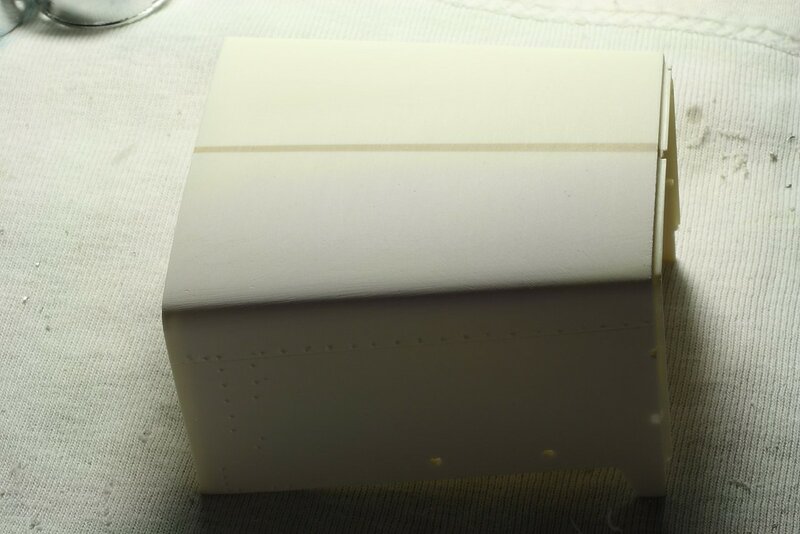   The front grille was modified too.        Later on the rivets will be added to the hood and to the grille. 
__________________
Best regards, Mikhail
|
|
|
|
|
|
03-11-2016, 11:22 AM
|
#9 | |
|
Loser
Thread starter
Join Date: Aug 2007
Location: Moscow
Posts: 1,170
Thanks: 110
Thanked 248 Times in 195 Posts
|
Re: 1/24 Peterbilt 379
The fuel tanks. I want to install a long tanks into my Pete. The standard tanks were extended.
         Then the weld seams were added.     I have bought the Caterpillar 3406 engine. It will be installed in my Pete.   And I plan to change the wheels and tyres from 22.5" to 24.5". I have started to create a 3D model of new wheels.  
__________________
Best regards, Mikhail
|
|
|
|
|
|
03-12-2016, 07:42 PM
|
#10 | |
|
Loser
Thread starter
Join Date: Aug 2007
Location: Moscow
Posts: 1,170
Thanks: 110
Thanked 248 Times in 195 Posts
|
Re: 1/24 Peterbilt 379
It's time to make holes for rivets. I have found useful photos, print one of them and have used it as a template.
 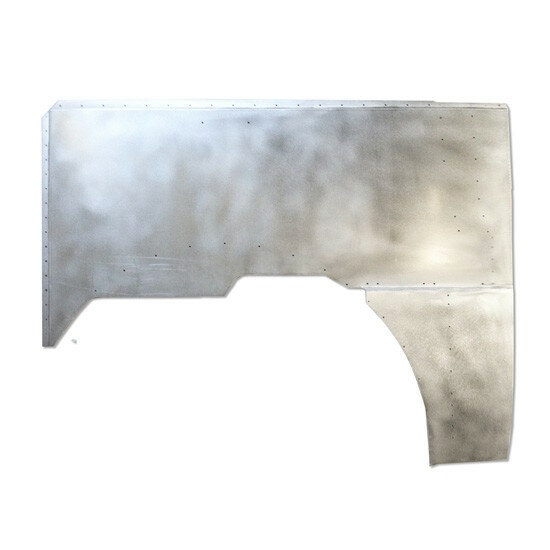  Here is the result. I have used a drill 0.4 mm diameter.  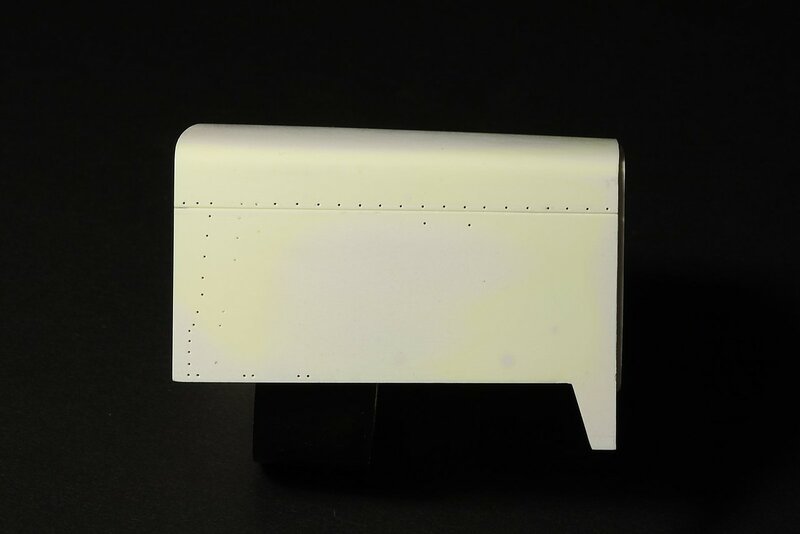
__________________
Best regards, Mikhail
|
|
|
|
|
|
03-18-2016, 03:45 PM
|
#11 | |
|
Loser
Thread starter
Join Date: Aug 2007
Location: Moscow
Posts: 1,170
Thanks: 110
Thanked 248 Times in 195 Posts
|
Re: 1/24 Peterbilt 379
I will use the 0,5 mm rivets for the hood instead of 0,6 mm, which I have choosen earlier. They are matched to the cabin rivets more precize. The left is 0,6 mm and the right is 0,5 mm on this photo.
 The cabin was adjusted, and the front brackets were glued to the frame after some changing. 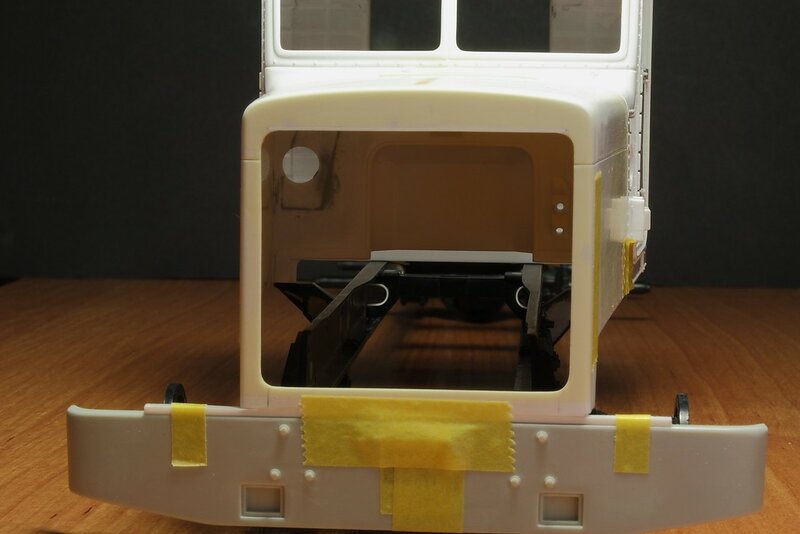  I want to change the door hinges. These steel tubes and the needle of the syringe will be used. 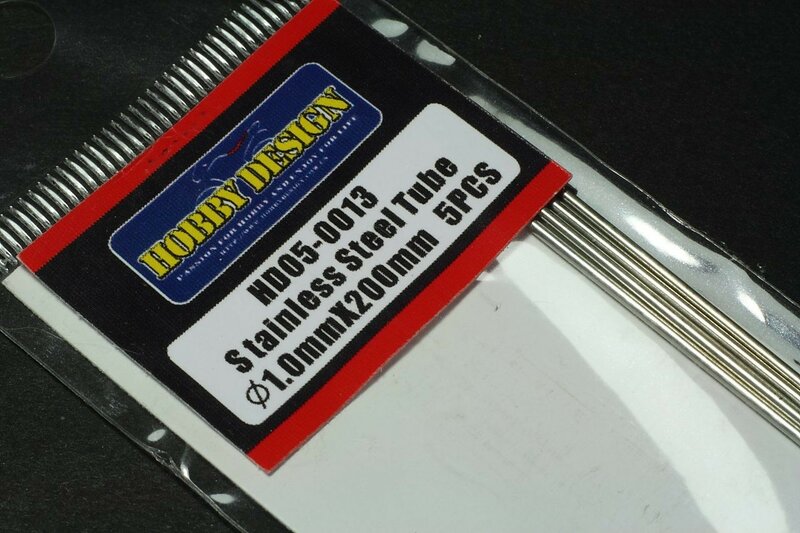  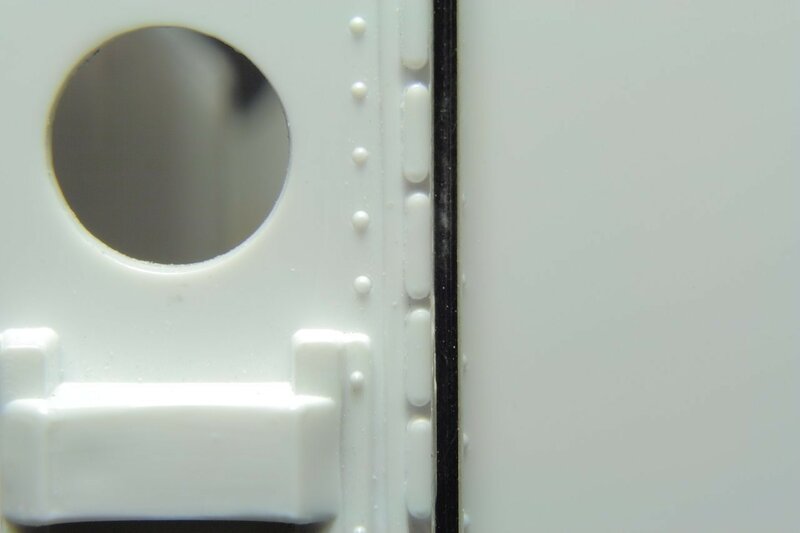
__________________
Best regards, Mikhail
|
|
|
|
|
|
03-20-2016, 11:53 AM
|
#12 | |
|
Loser
Thread starter
Join Date: Aug 2007
Location: Moscow
Posts: 1,170
Thanks: 110
Thanked 248 Times in 195 Posts
|
Re: 1/24 Peterbilt 379
I thought to make the cab to sleeper opening more correct, like this.
 But then I decided to make a wide opening.   This is what we have out from box.  And the rear air suspension.  The suspension should be lowered. I have started to modify it.  The paper template was used for the new opening.   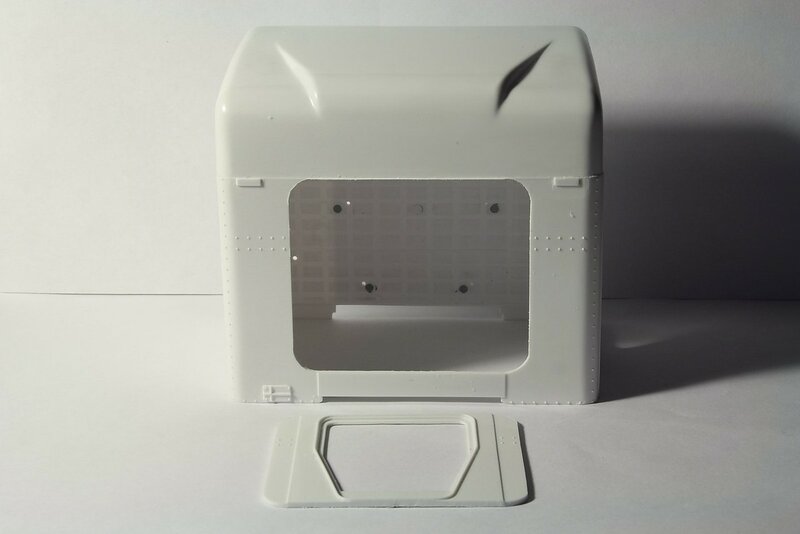 It's time for the cab. The starting point.  And the result. 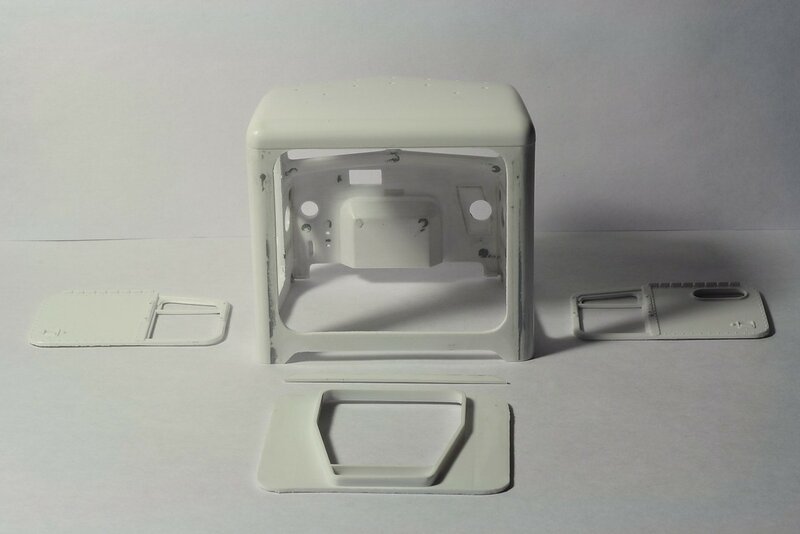  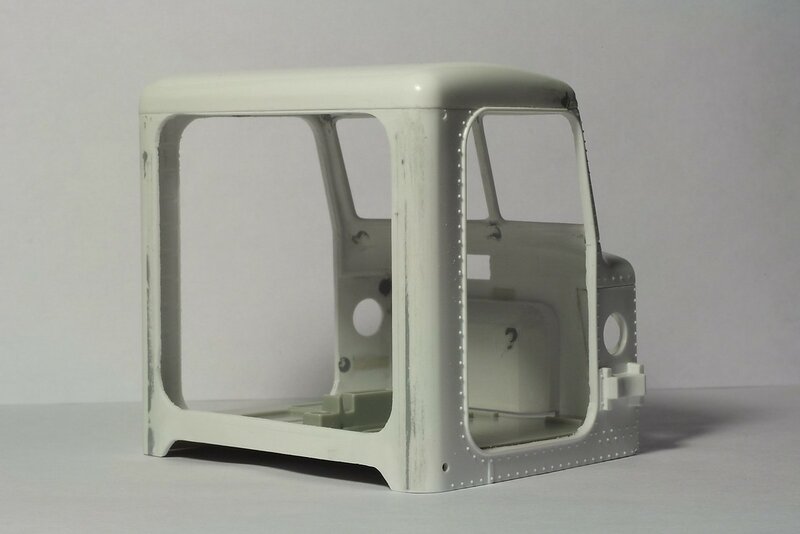
__________________
Best regards, Mikhail
|
|
|
|
|
|
03-21-2016, 01:42 AM
|
#13 | |
|
AF Regular

Join Date: Jun 2008
Location: Tokyo
Posts: 177
Thanks: 4
Thanked 15 Times in 9 Posts
|
Re: 1/24 Peterbilt 379
Well done mate!
Very inspirational work! Great attention to details! Can I just ask what do you use to cut those panels? I mean those cuts looks amazingly straight and sharp.....
__________________

|
|
|
|
|
|
03-21-2016, 04:11 AM
|
#14 | |
|
Loser
Thread starter
Join Date: Aug 2007
Location: Moscow
Posts: 1,170
Thanks: 110
Thanked 248 Times in 195 Posts
|
Re: 1/24 Peterbilt 379
Thank you Thomas!
I use a model knife and etching saws (0,1 mm and 0,15 mm). And, of course, a steel ruler for straight lines.  
__________________
Best regards, Mikhail
|
|
|
|
|
|
03-22-2016, 08:06 AM
|
#15 | |
|
AF Regular
Join Date: Jun 2008
Location: Tokyo
Posts: 177
Thanks: 4
Thanked 15 Times in 9 Posts
|
Re: 1/24 Peterbilt 379
Thanks Mikhail!
I also use PE saw to open up car's doors but I could never get that sharp and clean cut as you do. I should get some lessons from you....  Keep up the good work! I'm looking forward to more updates! Cheers, T
__________________
|
|
|
|
|
|
|
POST REPLY TO THIS THREAD |
 |
| Thread Tools | |
|
|

