|
|
|

|
|
| Search | Car Forums | Gallery | Articles | Helper | AF 350Z | IgorSushko.com | Corporate |
|
| Latest | 0 Rplys |
|
|||||||
| WIP - Motorbikes Post topics for any "Works In Progress" motobikes projects in this sub-forum. |
 |
 Show Printable Version | Show Printable Version |  Email this Page | Email this Page |  Subscribe to this Thread
|
|
|
Thread Tools |
 11-11-2012, 10:27 AM
|
#1 | |
|
AF Regular
Join Date: Jun 2006
Location: Kuching, Sarawak
Posts: 456
Thanks: 37
Thanked 2 Times in 2 Posts
|
Malboro Ducati Desmosedici 2004 (Loris Capirossi) (Wet Race Specs)
Hi guys,
It's been a while since I last made a kit since I've completed Andrea Dovizioso's Team Scot kit. I've always wanted to make a bike that has a wet race specs. After looking up references, I've decided to make the Malboro Ducati 2004 kit with the wet race specs. Though my work wouldn't be as good as the other threads that I've seen but I've learned something about the colouring scheme. When I've had a look at other works, I see that these guys painted the parts yellow first before before painting the red so that the red colour scheme look more stunning. I should've shown the finished result after painting the parts with TS-16 (yellow) first then followed up with TS-49 (bright red). Anyway, these are the wet tyres that I've ordered in HLJ. The brand that time when I ordered is Model Factory Hiro (MFH). The workmanship looks fine to me but I need to do some work on the wheels.  If you look at the default tyres provided by the kit & the MFH tyres, you might notice that the default tyres has the lining which is easier to insert while the MFH tyres don't have the lining at the middle like the default tyres. 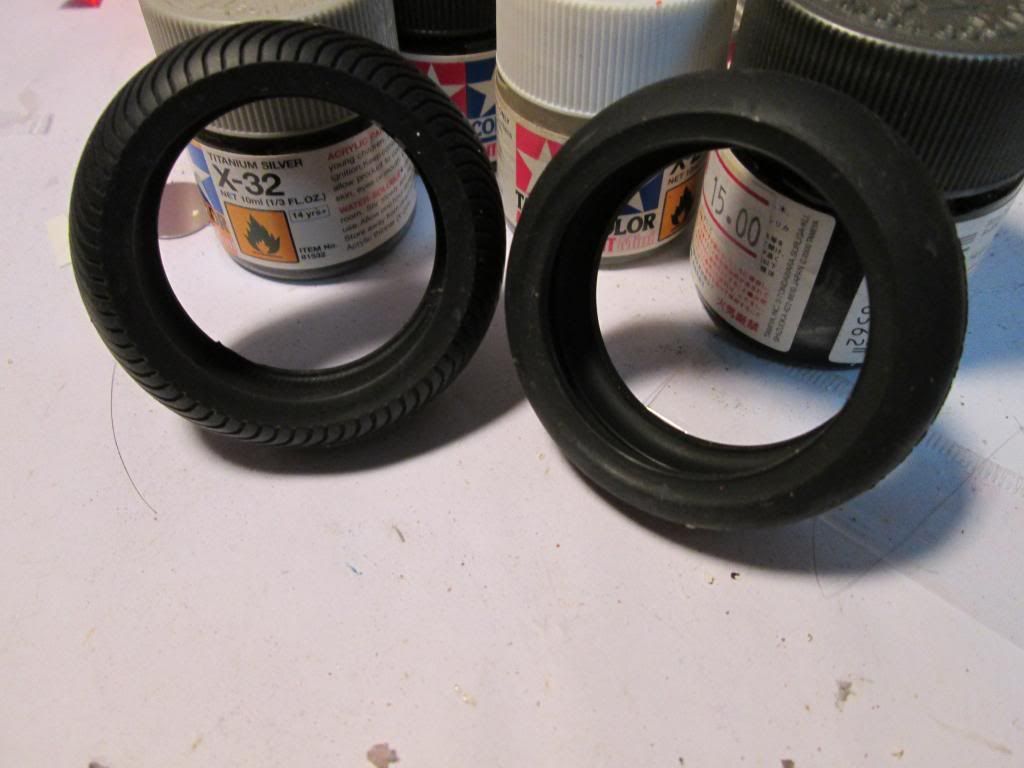 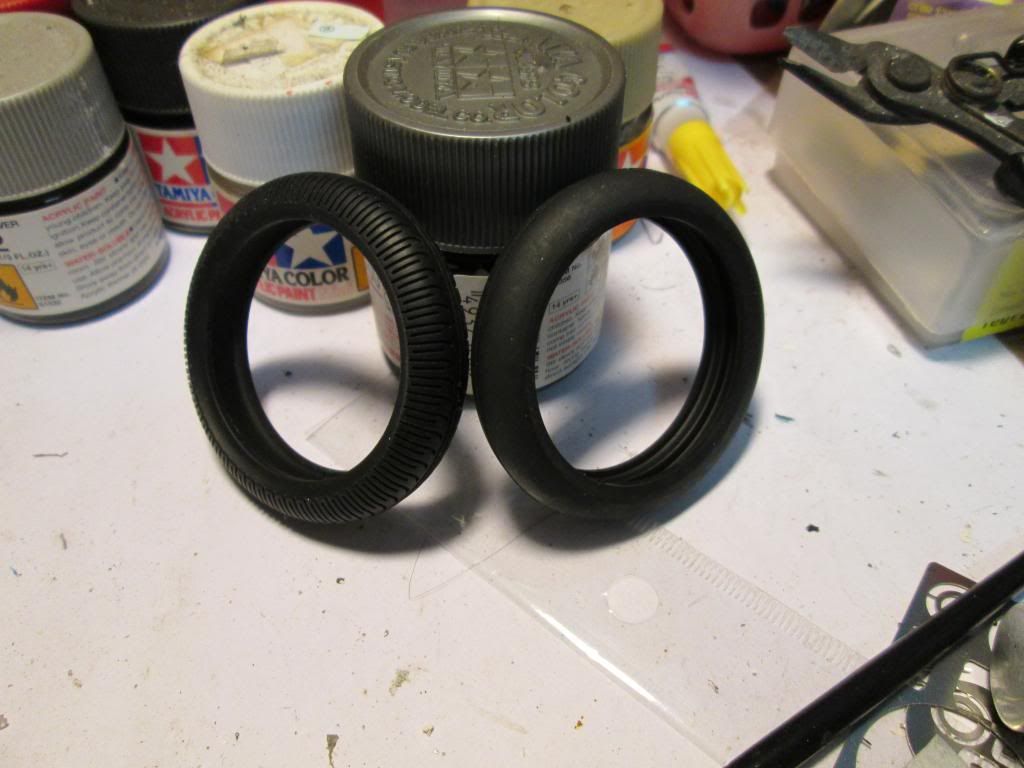 I need to have to work on the wheels by sanding the extended part off. The result after taking half an hour to sand off the excess of each wheels. But somehow, I accidentally sanded off the side when I sand off the excess. At the same time, I've made some work on the brake disc. I got this brake disc from our fellow forum mate, miguel s. 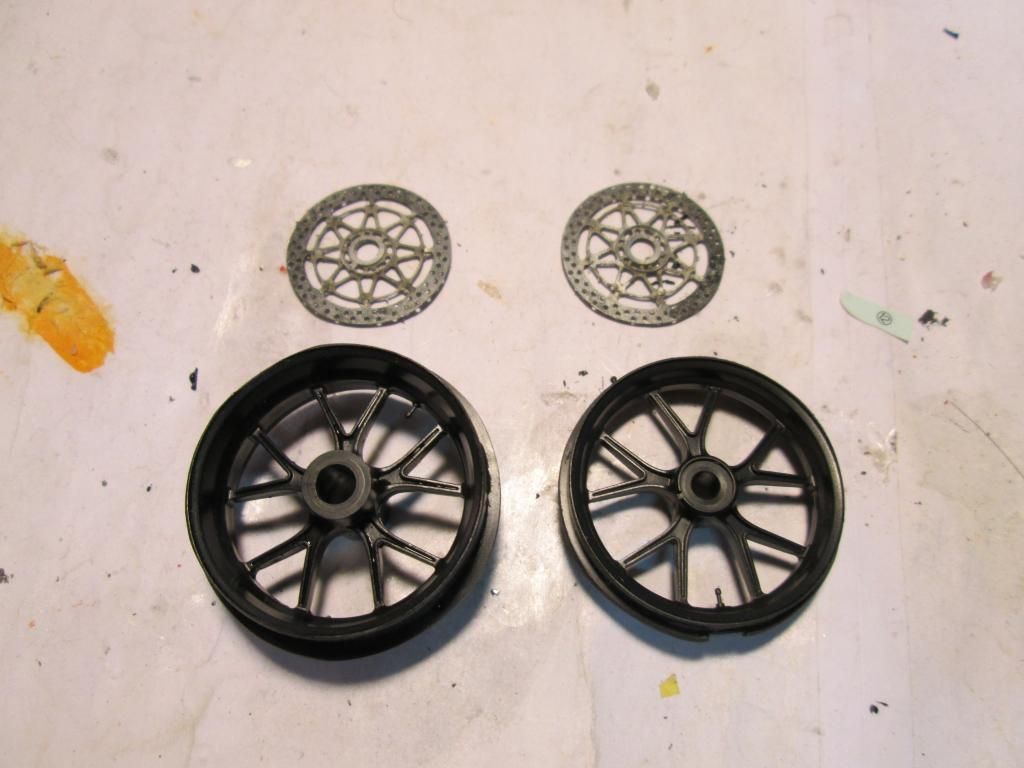 After managed to sand off the excess, the wheels finally fits like a glove. 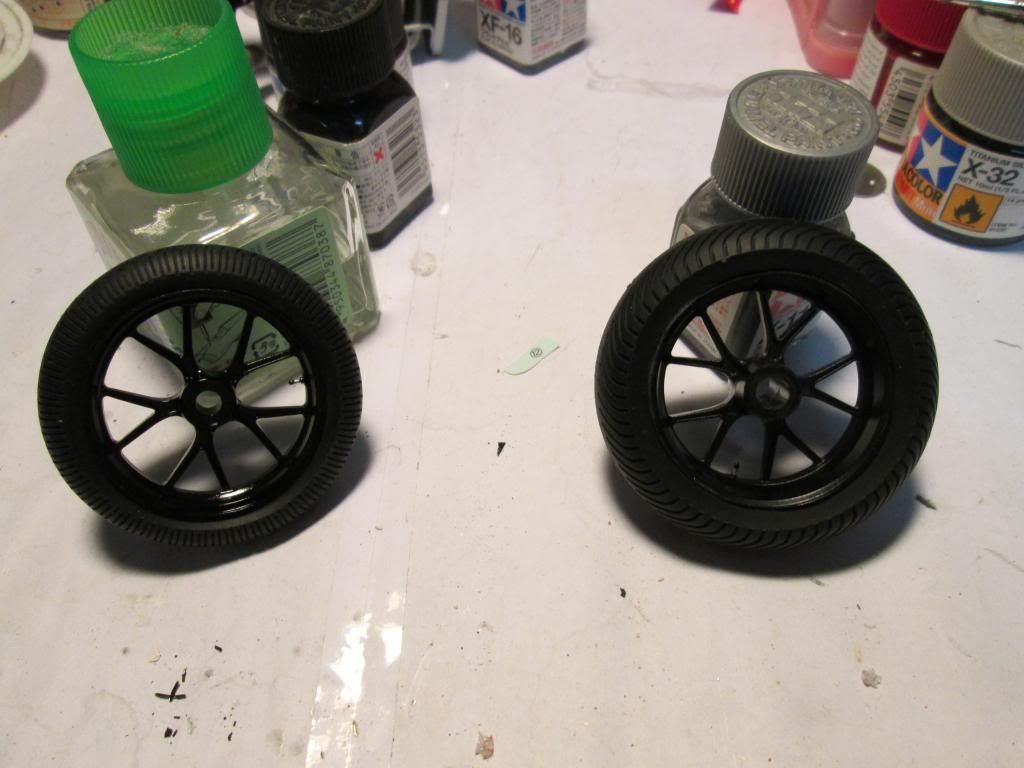 There's one thing I've discovered especially this is my first time using a set of tyres that are not provided to the kit. It takes a while to get the Michelin sticker to really stick on the tyres. It took me a while to get it stick. I'm not sure if you noticed it or not at the photo below, but the Michelin at one side of the front tyre is slightly cracked unfortunately. At the same time on the photo below, after trying to test fit especially this is also my first time making a wet brake disc which is different the other previous p/e brake disc I've used, finally I've managed to make it fit. 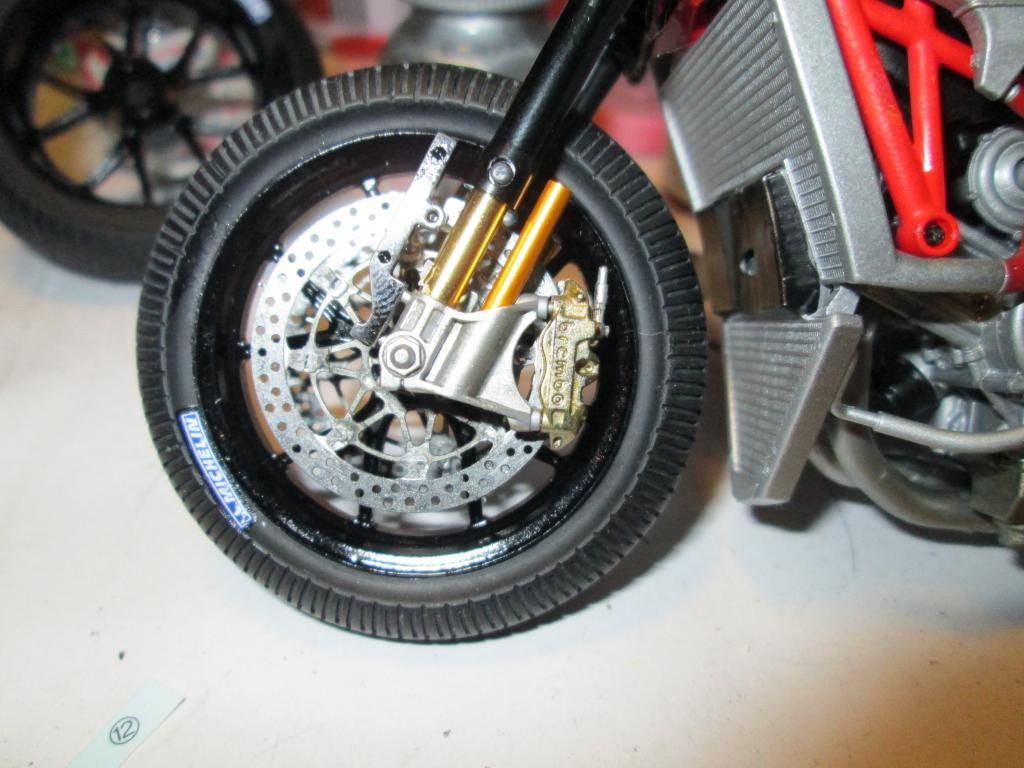 This is my progress so far... 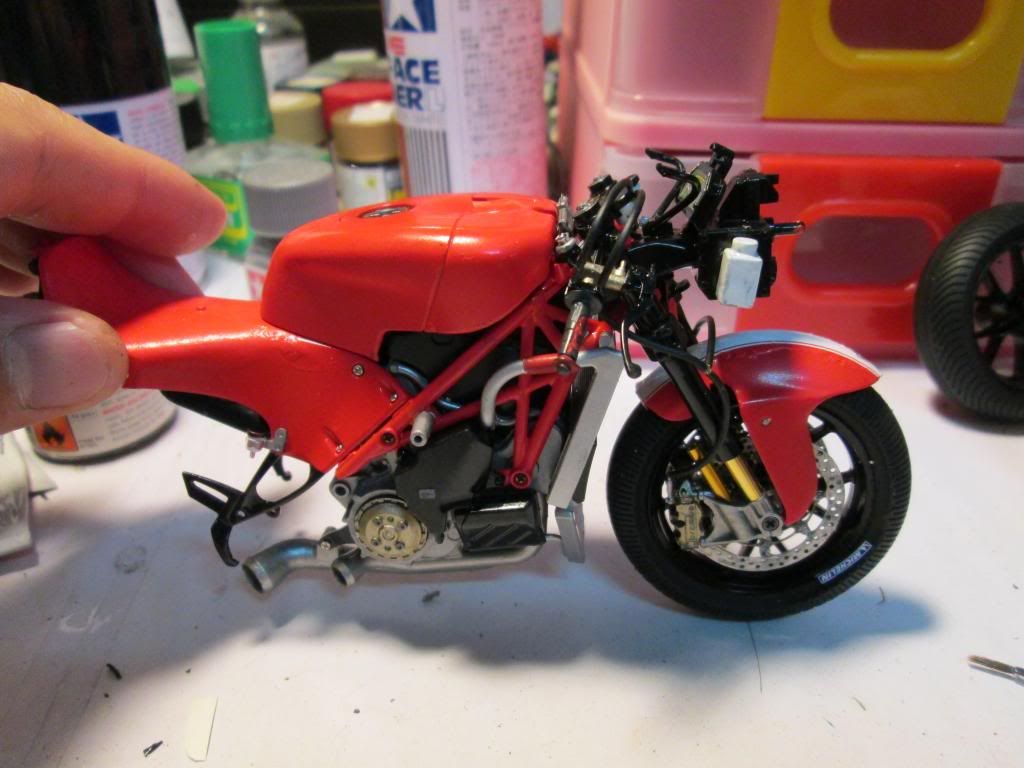 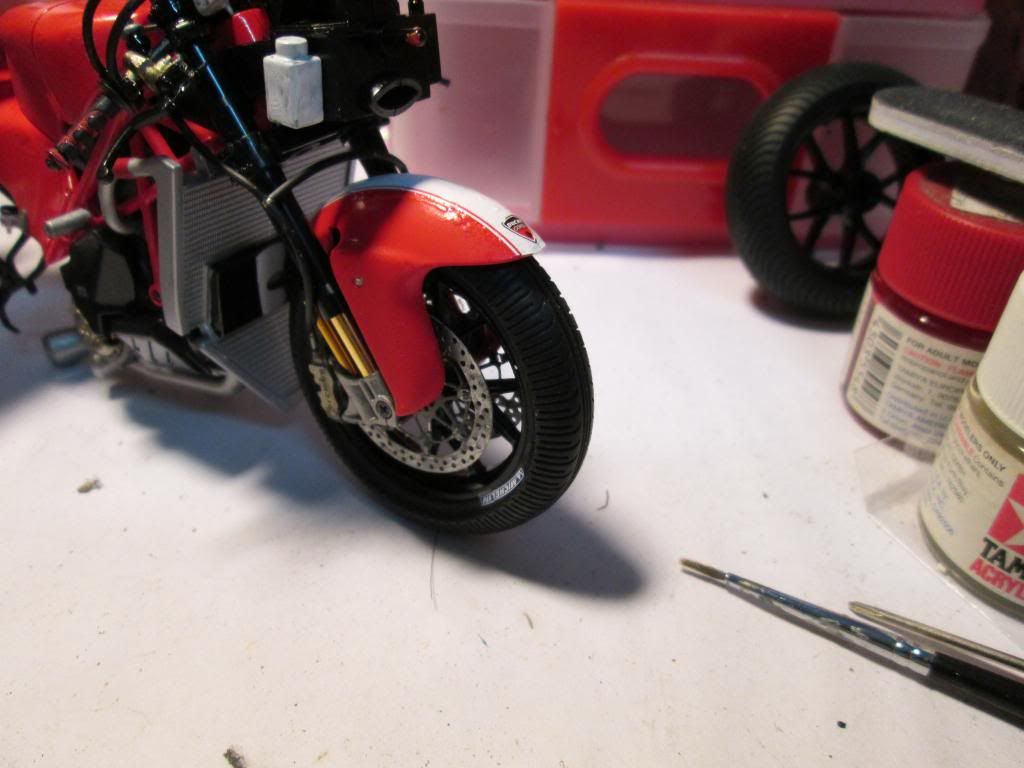 That'll be it for the time being. Hopefully I got time to finish the work by then. Adrian |
|

|

|
| The Following User Says Thank You to ace91 For This Useful Post: |
miguel s (11-11-2012)
|
|
11-11-2012, 02:34 PM
|
#2 | ||
|
AF Regular

Join Date: Jun 2008
Location: mallorca
Posts: 122
Thanks: 9
Thanked 9 Times in 9 Posts
|
Re: Malboro Ducati Desmosedici 2004 (Loris Capirossi) (Wet Race Specs)
Quote:
its nice to see the discs on you bike. I know its a hard work to fit it , you do an excelent work with it. i follow your work
__________________

|
||
|
|
|
| The Following User Says Thank You to miguel s For This Useful Post: |
ace91 (11-14-2012)
|
|
11-14-2012, 10:31 PM
|
#3 | |
|
AF Regular
Thread starter
Join Date: Jun 2006
Location: Kuching, Sarawak
Posts: 456
Thanks: 37
Thanked 2 Times in 2 Posts
|
Re: Malboro Ducati Desmosedici 2004 (Loris Capirossi) (Wet Race Specs)
Gracias, miguel s.
It took me a while to study & understand the brake disc for wet race layout. Your experiment is really good. Keep it up. Here are the photos of the bike without the fairings attached. As I do not have anymore green wire to put, I have to use the stock wire provided by the kit. Only if Tamiya follows Hasegawa kits that is giving us the transparent wire so that we can either colour it with clear red or green for the wire depending on the placement. 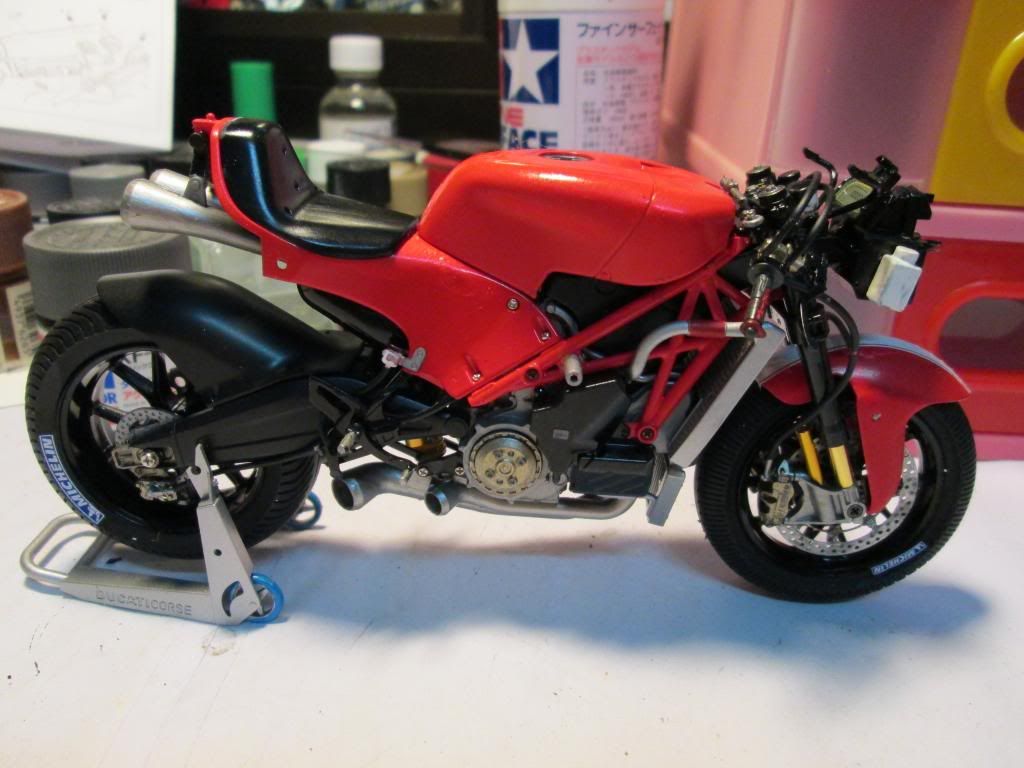 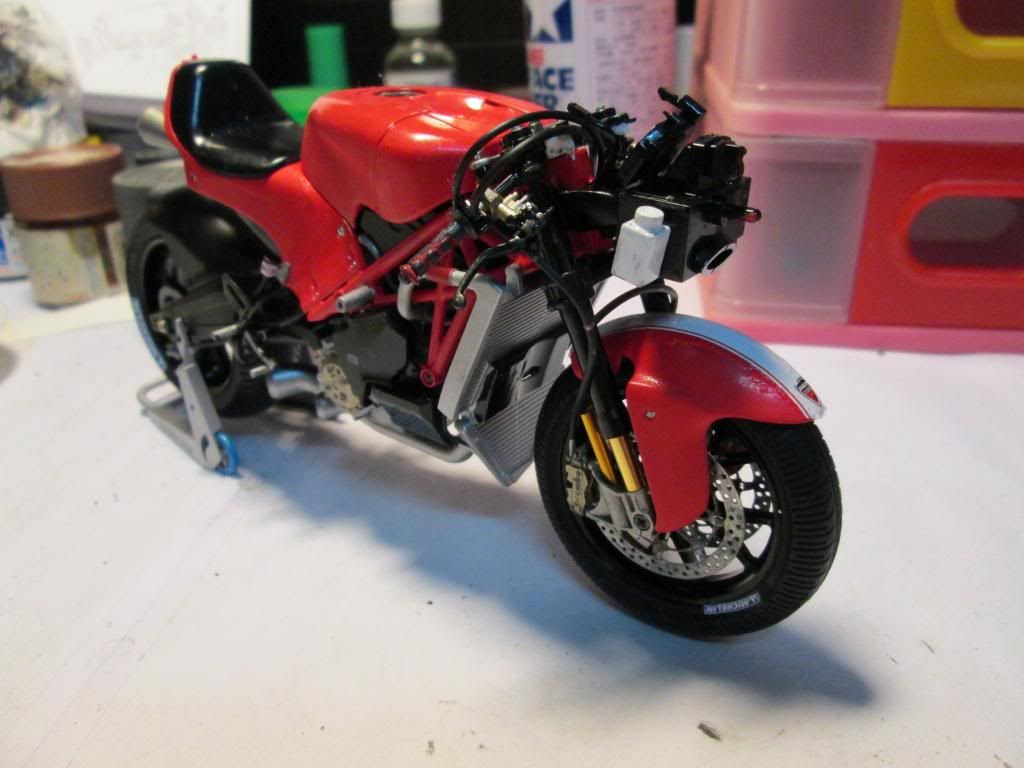 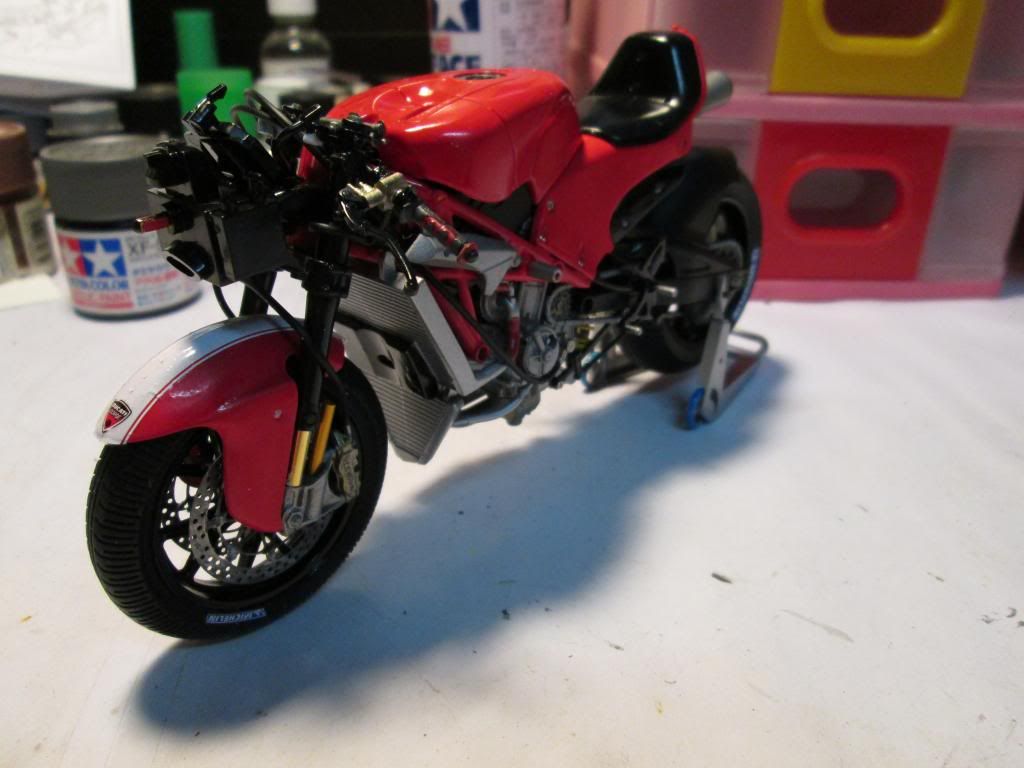 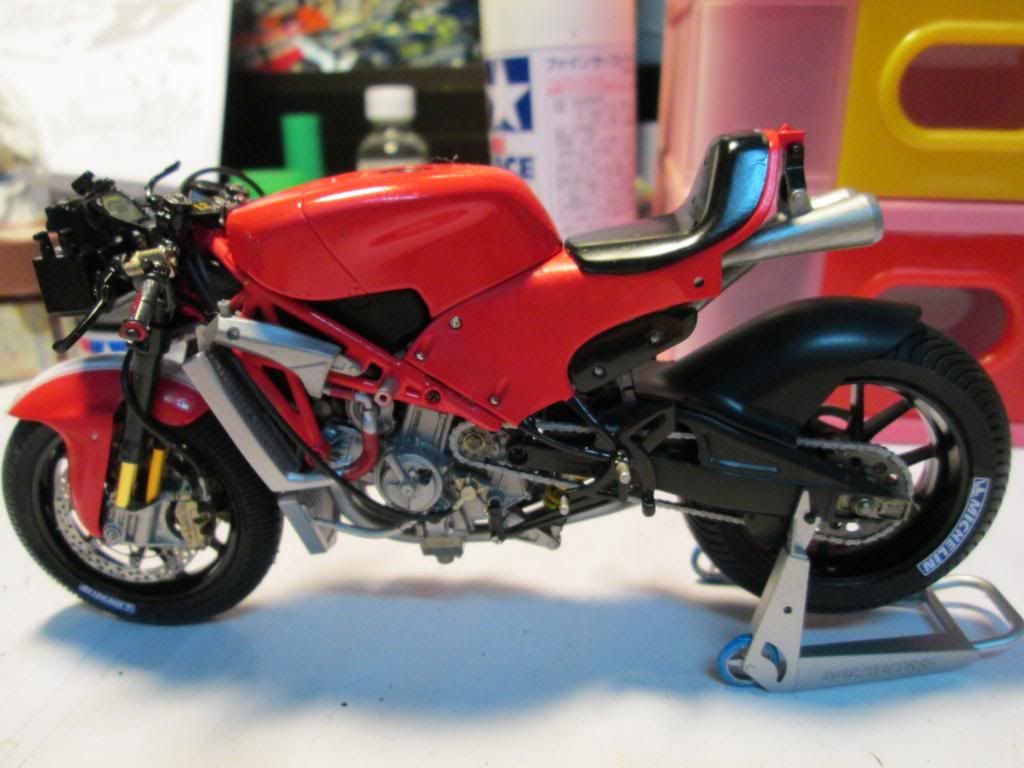 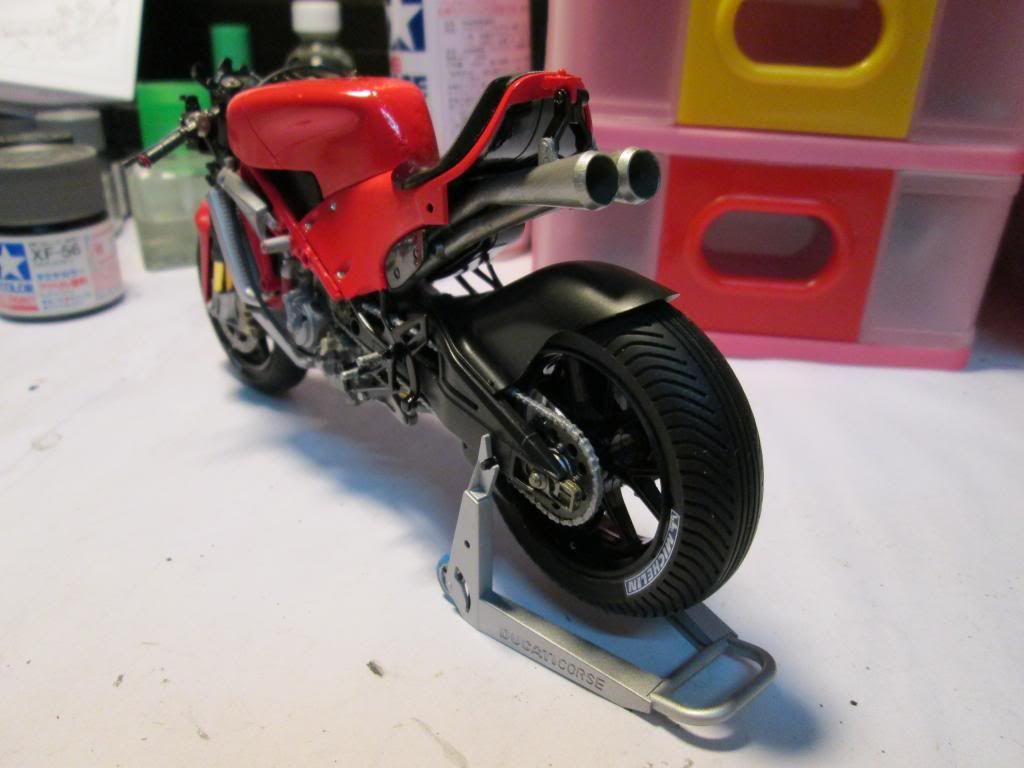 Here are the fairings after colouring them with yellow as base coat before colour them red. 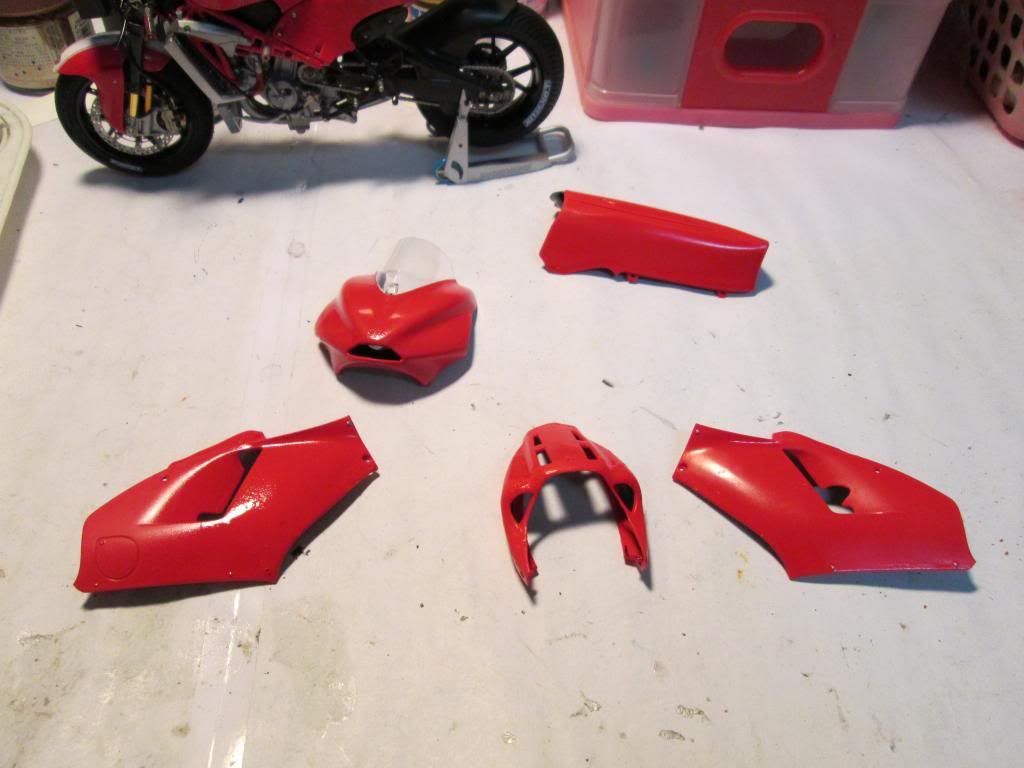 After taking some time to place the decals, here are the photos of the completed bike. The Malboro decal that I used is Hobby Design. Though it has some cuts for it on the fairing part but the one on the right side of fairing have to cut the line otherwise it'll be one whole piece rather than any typical decal piece with cuttings as you see in Tabu Design, Studio 27, etc. The size of the decal on fairings are kind of a little oversize here cause if you can see a photo or two, you can see the excess of the decal on the fairing at the edge there. The Hobby Design Malboro set has missed out one part that is the 3 small Malboro parts that are placed on the screen. Luckily I have some extra from the Museum Collection set that I've used on my previous Desmo bike & they have 6 pieces of the small Malboro part instead of usual 3 pieces.  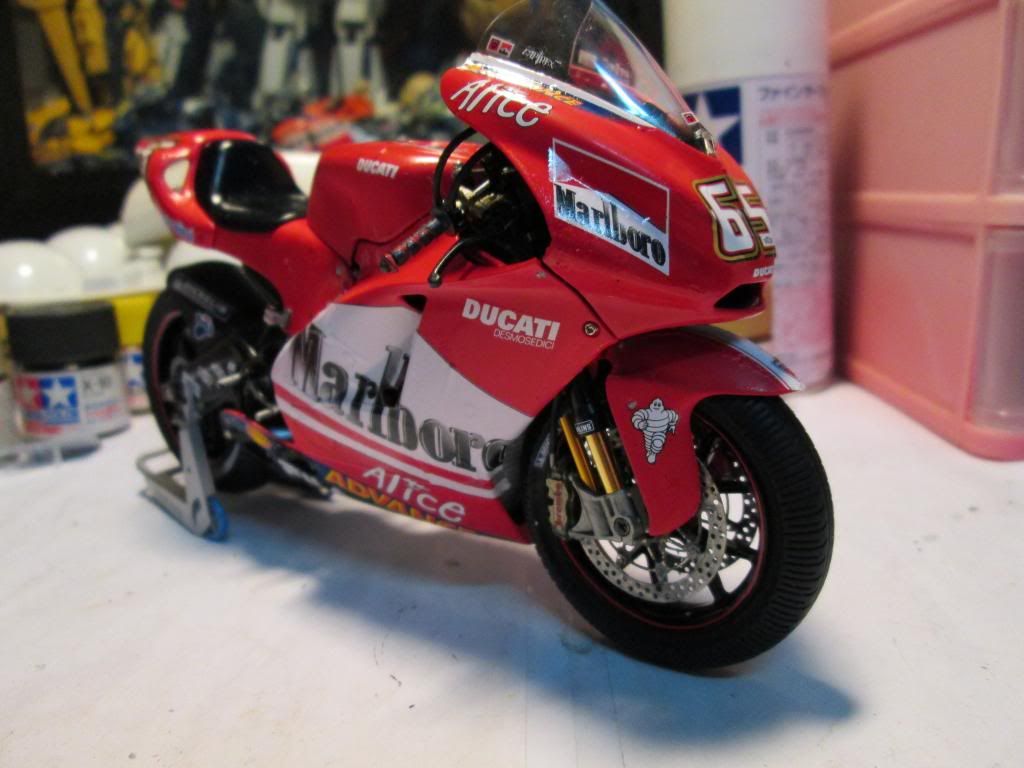 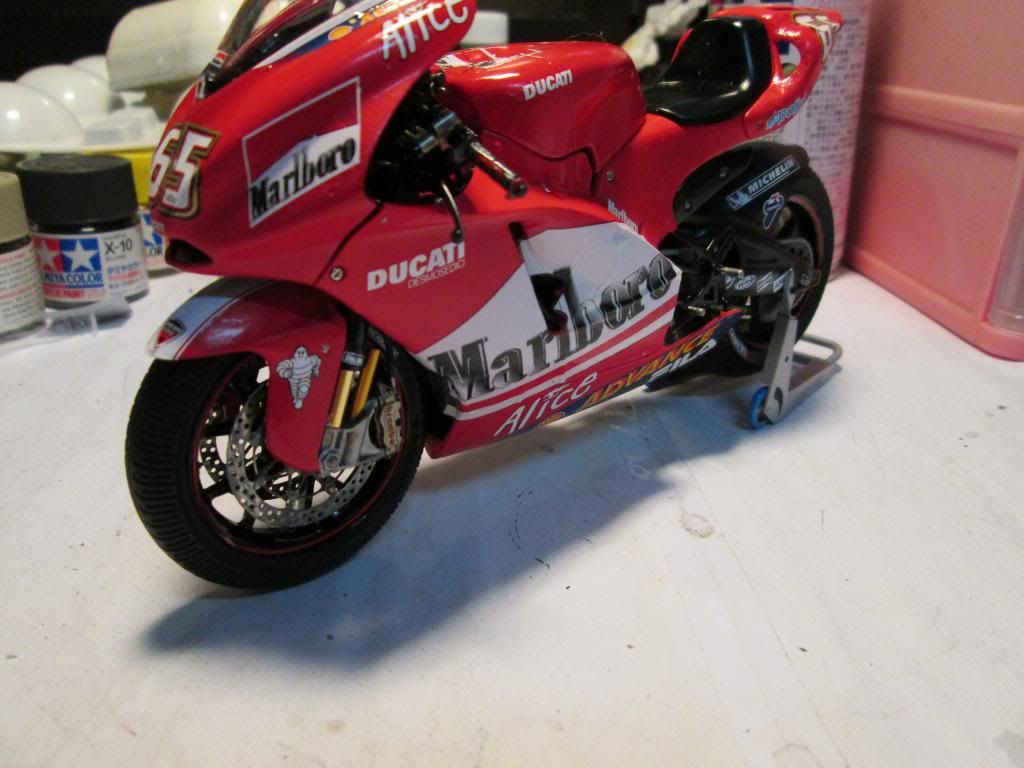 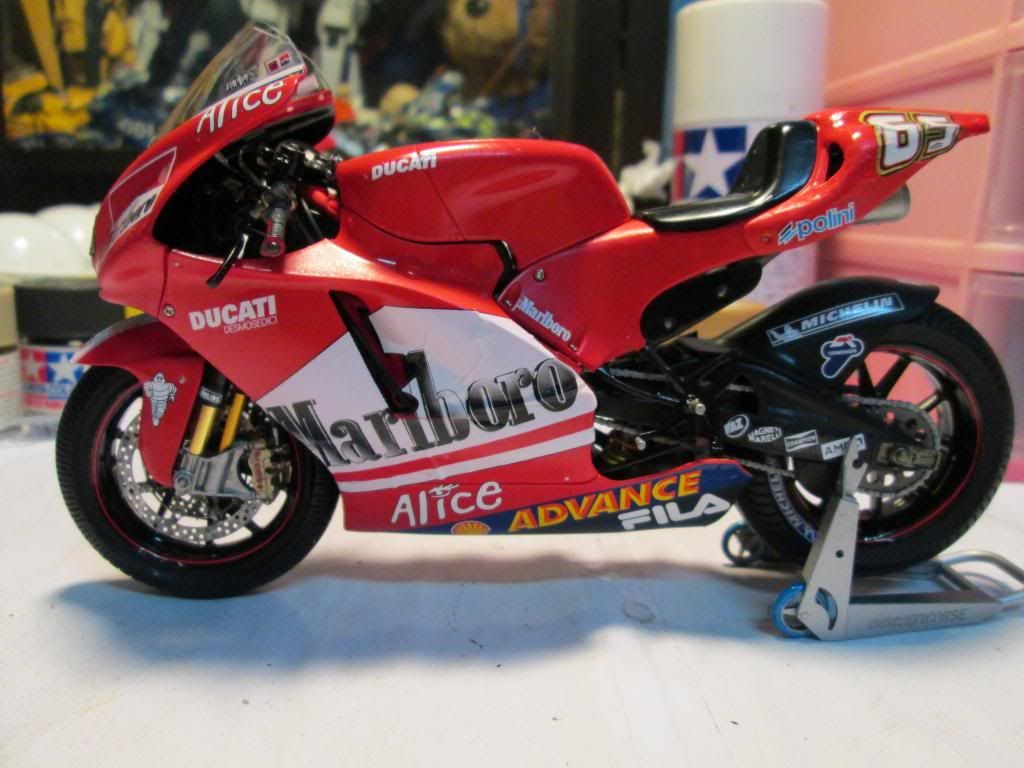 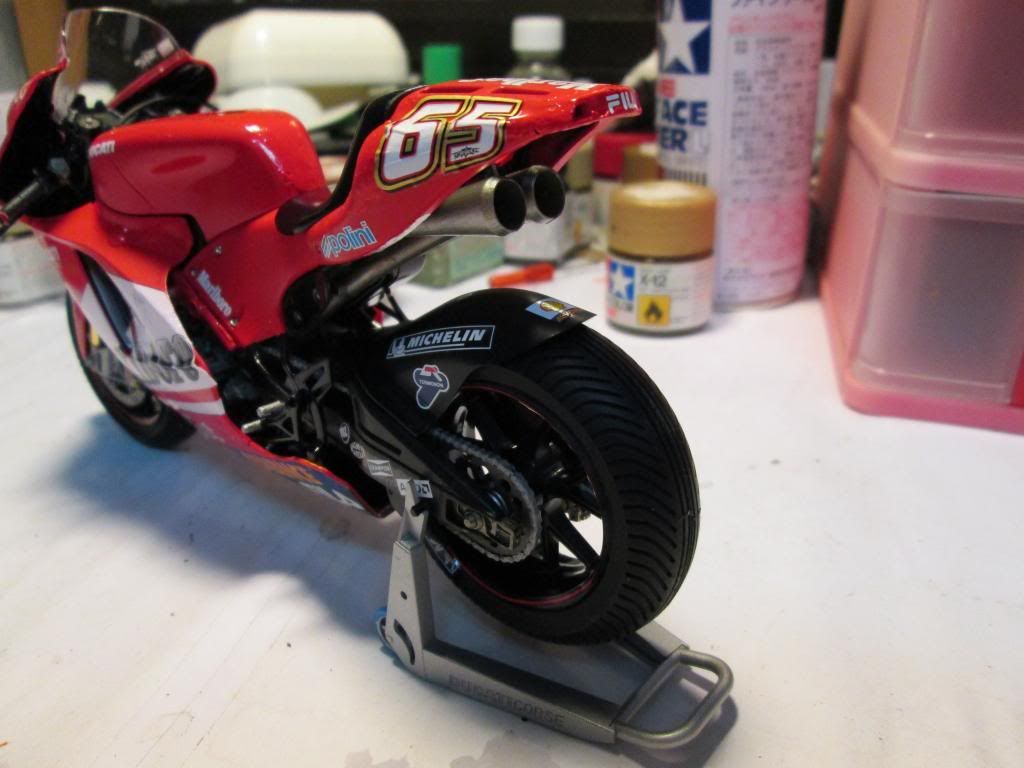 Comments & suggestions are welcome. Adrian |
|
|
|
|
|
|
POST REPLY TO THIS THREAD |
 |
|
|


