|
|
|

|
|
| Search | Car Forums | Gallery | Articles | Helper | AF 350Z | IgorSushko.com | Corporate |
|
| Latest | 0 Rplys |
|
|||||||
| WIP - Motorbikes Post topics for any "Works In Progress" motobikes projects in this sub-forum. |
 |
 Show Printable Version | Show Printable Version |  Email this Page | Email this Page |  Subscribe to this Thread
|
|
|
Thread Tools |
 07-17-2012, 12:36 PM
|
#16 | |
|
AF Enthusiast
Join Date: May 2009
Location: Tucson, Arizona
Posts: 1,469
Thanks: 12
Thanked 126 Times in 120 Posts
|
Re: Fujimi Kawasaki ZX-10R Eva 02 RT Trick Star 2011
Adrian - your skills are really improving - this is a difficult kit to build and yours is coming along well. Do not expect the fit and finish results of a Tamiya kit - the tee you are talking of is included in the Top Studio detail kit for the brake lines. One thing Adrian - when I raced superbikes here in the USA in the late 90's we used two separate lines from the master cylinder to each front caliper. we had a double banjo fitting at the master and two separate kevlar lines going to the left and right front calipers. Not sure why they use a tee fitting in MotoGP - maybe it's a weight issue? is there some way you can make the tee from styreen? - John
|
|

|

|
|
07-18-2012, 08:44 AM
|
#17 | |
|
AF Regular
Thread starter
Join Date: Jun 2006
Location: Kuching, Sarawak
Posts: 456
Thanks: 37
Thanked 2 Times in 2 Posts
|
Re: Fujimi Kawasaki ZX-10R Eva 02 RT Trick Star 2011
Thanks John,
As I reached the final stage that is putting the fairings, I didn't think that it needed quite a lot of patience trying to attach them. But then, I think I attached the fairing though it's not properly as we see how other modellers build but here is the photo when I tried to put up the fairing. 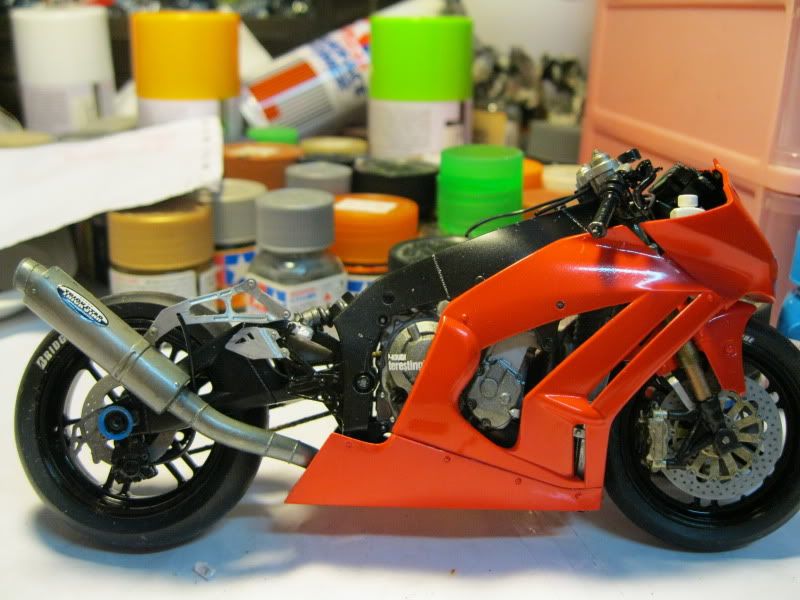 Unfortunately, as I didn't place cement on the tail that is fused with the seat cowl along with fuel tank (Don't mean to say 'fused' unlike Tamiya & Hasegawa version where the seat & the fuel tank are separate part) came off when I've been trying patiently to place the fairings, the part where it hold the exhaust broke as seen in the photo below. Noticed the grey dot on the 2nd hole? That is one of the joint which is broken.    Now this is my concern, after patiently attaching the fairing in one spot, it's kind of a little loose fit unless if the side fairings are screwed to the nose like Tamiya version. As there's space between the nose & the side fairing as seen in the photo below, & I'm not good at cutting the decal to be in line with the fairing like how I see the other bloggers' work, I would like to have some suggestion from you guys on how to handle situation like this....    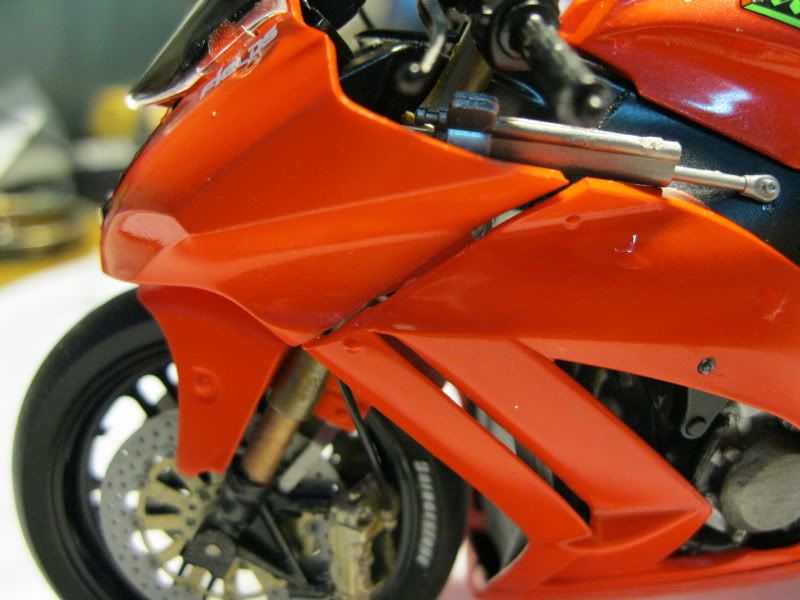 Noticed the space between the nose & the side fairing? This is when I'm not sure how to do this as I'm not experienced enough to do such thing. Didn't even think that decal placement can be really testing the patience type especially the stripe at the fuel tank area as it took up a lot of my energy trying to put it right. Anyway, I'll take a break on this for a while & try to continue the work later. Adrian |
|
|
|
|
|
07-18-2012, 12:24 PM
|
#18 | |
|
Blarg! Wort Wort Wort!
Join Date: Mar 2006
Location: Quezon City
Posts: 2,120
Thanks: 64
Thanked 101 Times in 100 Posts
|
Re: Fujimi Kawasaki ZX-10R Eva 02 RT Trick Star 2011
you could try to place tamiya masking tape over the part you want to put the decal on, trim it, then make a negative/mirror part of it. apply the mirror part to the back of the decal (which you should've trimmed flush earlier) you want to put so that you know where to cut. hth

__________________
olly olly oxen free |
|
|
|
|
|
08-13-2012, 11:56 AM
|
#19 | |
|
AF Regular
Thread starter
Join Date: Jun 2006
Location: Kuching, Sarawak
Posts: 456
Thanks: 37
Thanked 2 Times in 2 Posts
|
Re: Fujimi Kawasaki ZX-10R Eva 02 RT Trick Star 2011
Hi guys,
I've done what I've could especially the final assembly of the fairings. But unfortunately, I've tried but failed to place the fairings to the nose and trying to attach them properly. Man, that part is really getting on my nerves. Anyway, I'll place this kit aside till my mind is much clearer & maybe hopefully can find a solution on the final part. I'll be making the 4th Hasegawa kit that is Kopron Team Scot Andrea Dovizioso's version. All this while I've wanted to have a Kopron Team Scot bike in my cupboard along with having Dovizioso's and it was like 'Wow! My thoughts have come true' I'll be ready for challenges ahead in making Dovizioso's bike especially what I see is the nose fairings as there are 2 colours in one place. But whatever it is, I'm mentally prepared that Hasegawa bikes is harder than Tamiya kits after making 3 Hasegawa kits. Adrian |
|
|
|
|
| ||||||||||||||||||||||||||||||||||||||
|
POST REPLY TO THIS THREAD |
 |
|
|


