|
|
|

|
|
| Search | Car Forums | Gallery | Articles | Helper | AF 350Z | IgorSushko.com | Corporate |
|
| Latest | 0 Rplys |
|
|||||||
| WIP - Motorbikes Post topics for any "Works In Progress" motobikes projects in this sub-forum. |
 |
 Show Printable Version | Show Printable Version |  Email this Page | Email this Page |  Subscribe to this Thread
|
|
|
Thread Tools |
 12-04-2012, 07:43 AM
|
#1 | |
|
AF Regular

Join Date: Jan 2007
Location: newcastle
Posts: 138
Thanks: 0
Thanked 0 Times in 0 Posts
|
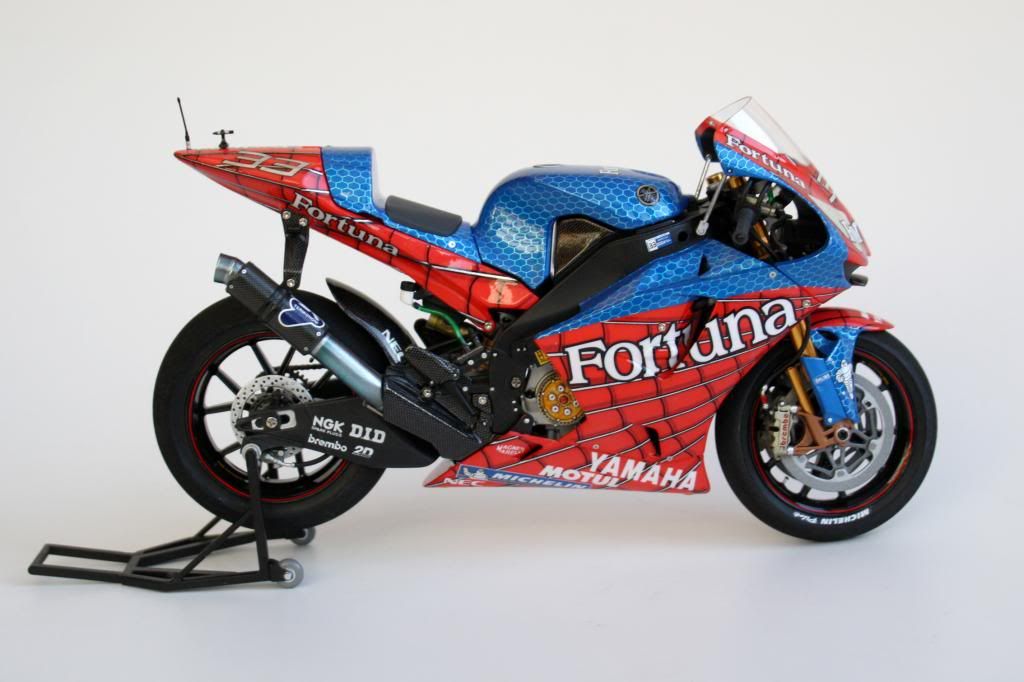
Yamaha M1 2004 melandri Spiderman bike
Hi guys, been a long time, I reckon around 3 years since my last build, basically down to having our little boy and moving house!! I have been chomping at the bit to get started on a new model. I bought all the necessary bits for this bike back then, so the paints have been sitting there for around 2-3 years, so I was a bit worried they would have gone off!..we will see. To be honest I must be mad attempting this bike after such a long break as I have never tackled a decalling job quite so demanding, this should be fun! It is going to consist of the base 2004 Tamiya kit, the front fork detail set, Crazy modellers Spiderman decals and zero paints, plus various other little details along the way. It won't be mega detailed, only little bits here and there where visible. Really it is a challenge to see how I cope with the challenging paint scheme! I Started in my usual way, collecting as much visual reference as possible and hints from previous attempts by other modellers to help me along the way. Firstly I snipped off and cleaned up all the parts and sort of arranged them into basic colour sets to help me when painting them, as I prefer to airbrush all the bits for a smoother finish. Here are some initial shots of my progress so far, well actually these were a few weeks ago, but have only got round to posting them now, enjoy, and any feedback welcome. Cheers Colin
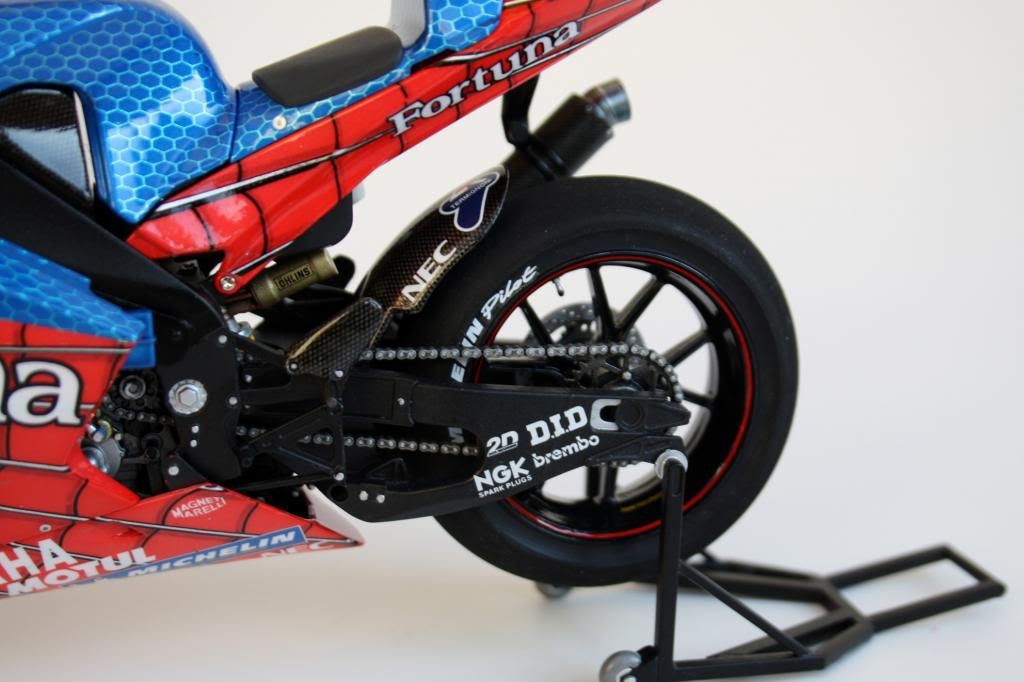
Some early progress: 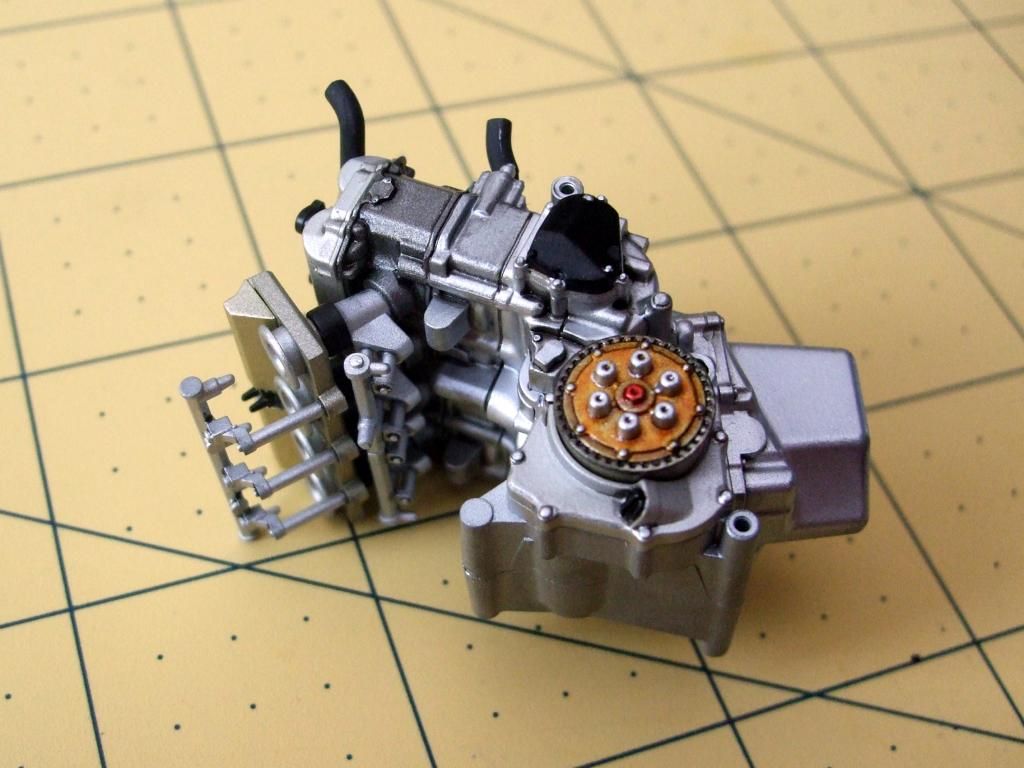     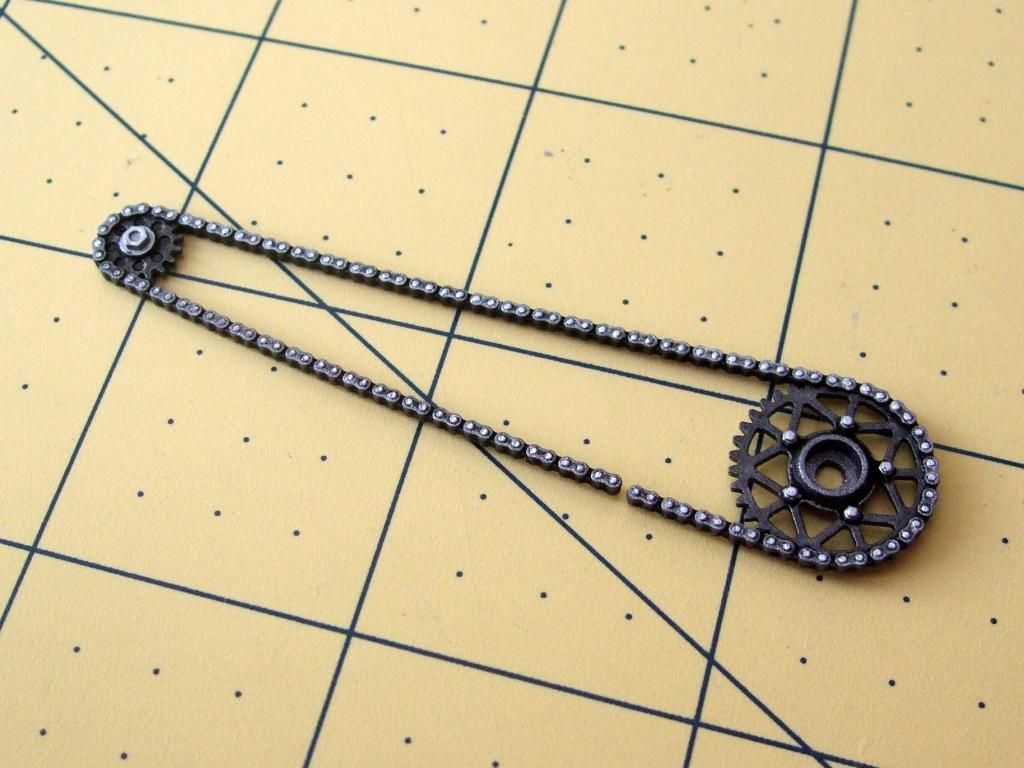 Chain has been painted and weathered with thinned black oil paint and also some tamiya smoke clear which gives it a bit of a oily sheen 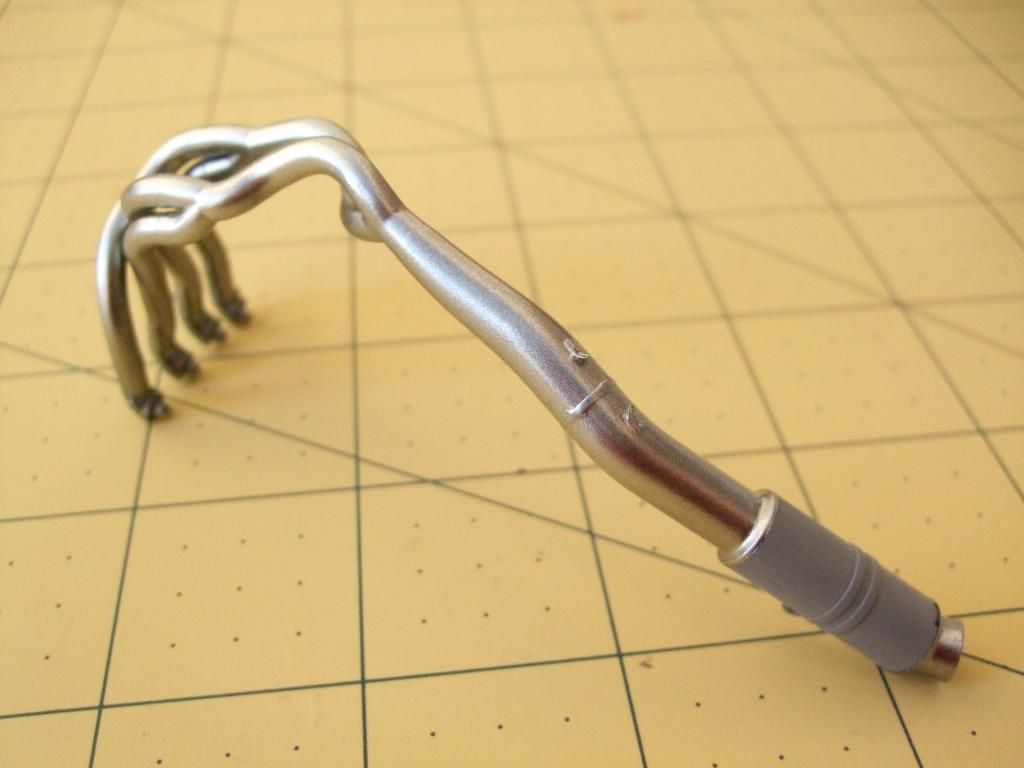 exhaust was painted gloss black then alclad chrome applied reader for staining, I have added the spring hooks onto this ready for the tiny springs when finished, I have done them in one area where they will be visible when bike is complete. Few more update pics... 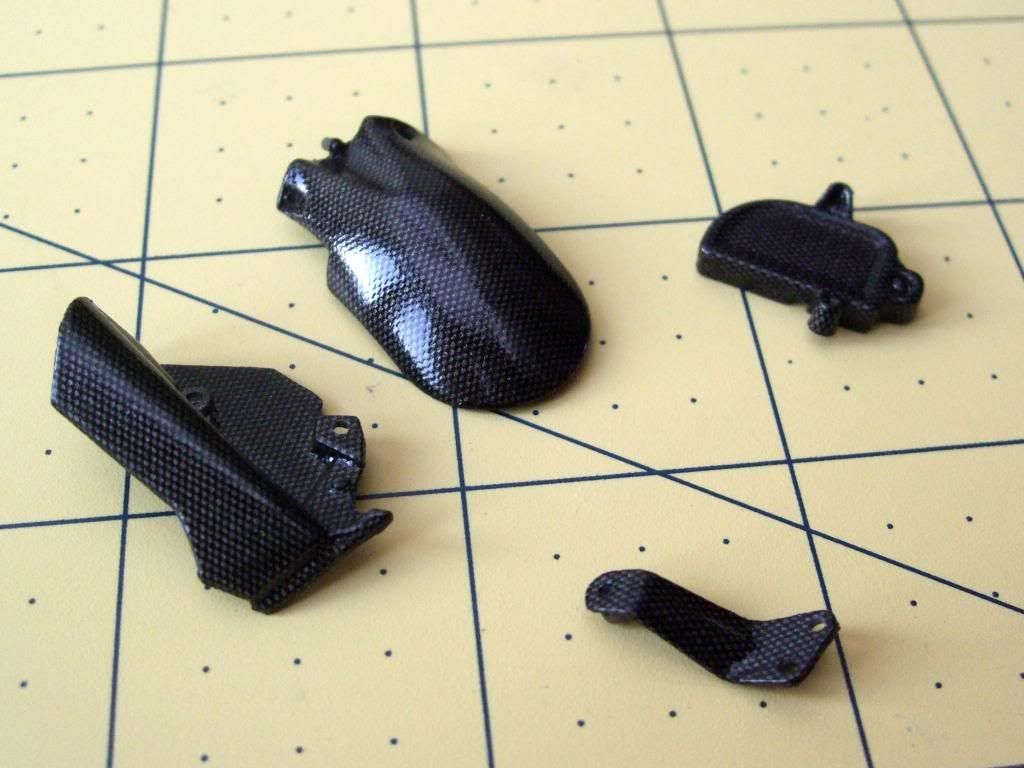 Some of the carbon fibered parts, these were created using my own decals which I printed onto clear decal paper, the part was painted met grey first, cleared, then decal applied, then pattern was knocked back slightly with black to give a more subtle effect. Another light coat of clear was applied, ready for a final coat of 2K 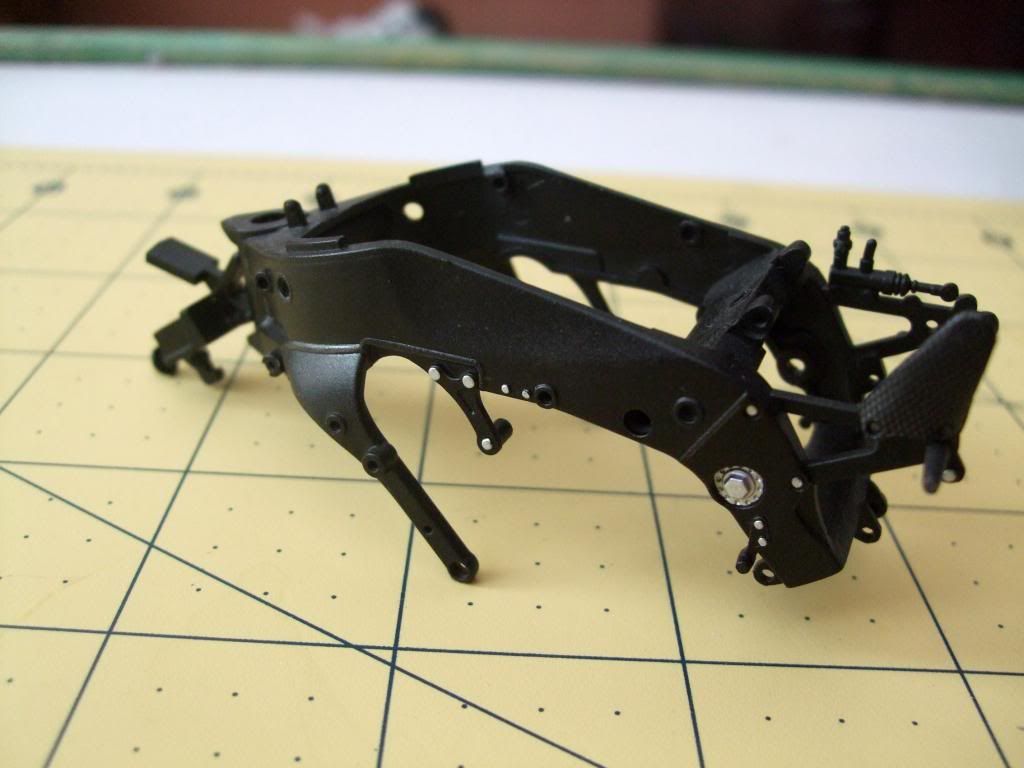 Frame painted with zero semi gloss black, this stuff gives a nice smooth finish, well as smooth as your undercoat and sanding!! 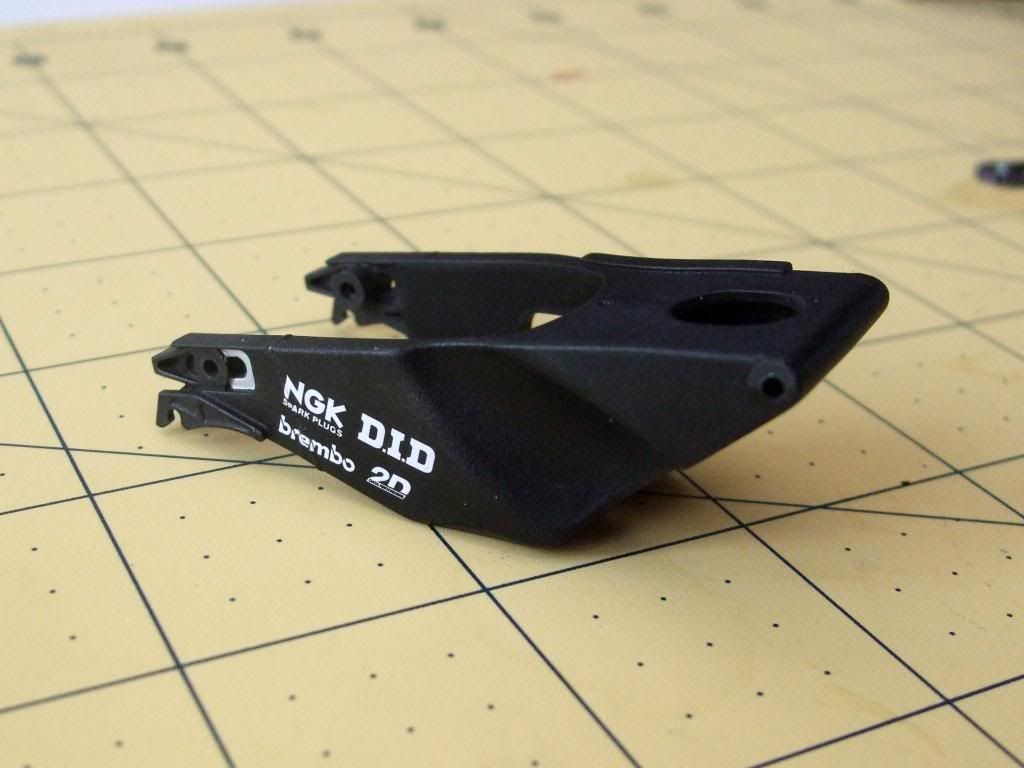 Swing arm has been filled on the rear and painted as the frame, decals applied then a light coat of matt varnish, which looks more like semi gloss. this kills the sheen on the decals so they look like they have been painted on. I have painted the exhaust now, adding a couple of springs in places that will be visible. It was painted alclad chrome, then masked and heat staining etc created with tamiya clear blue and smoke. 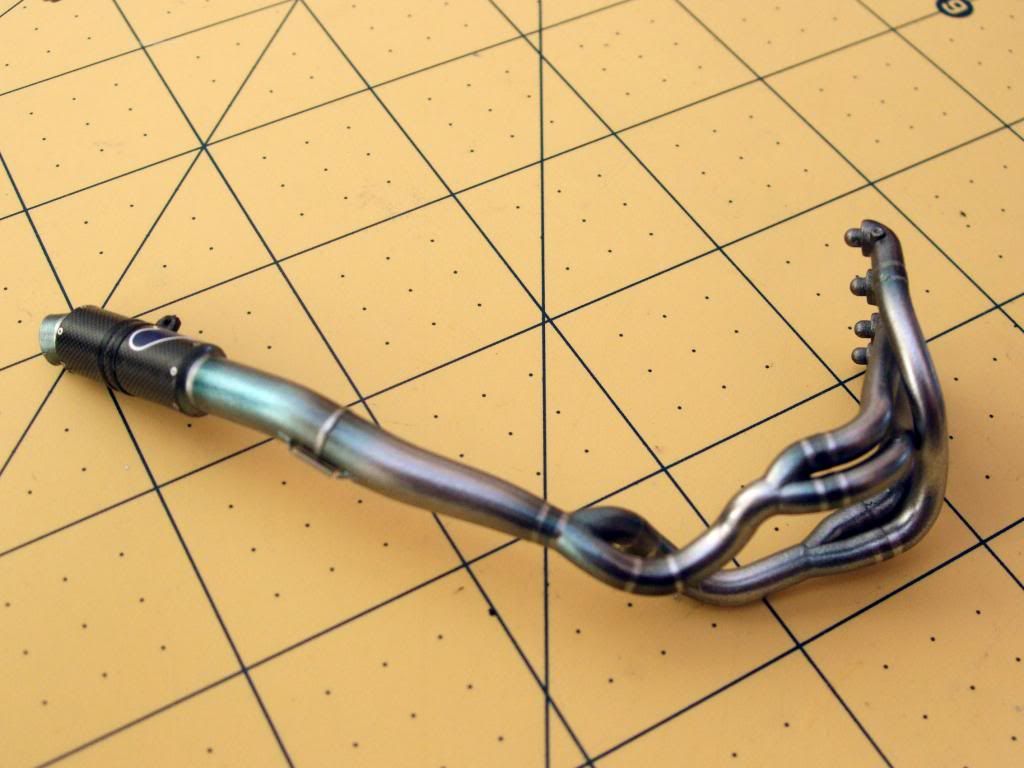  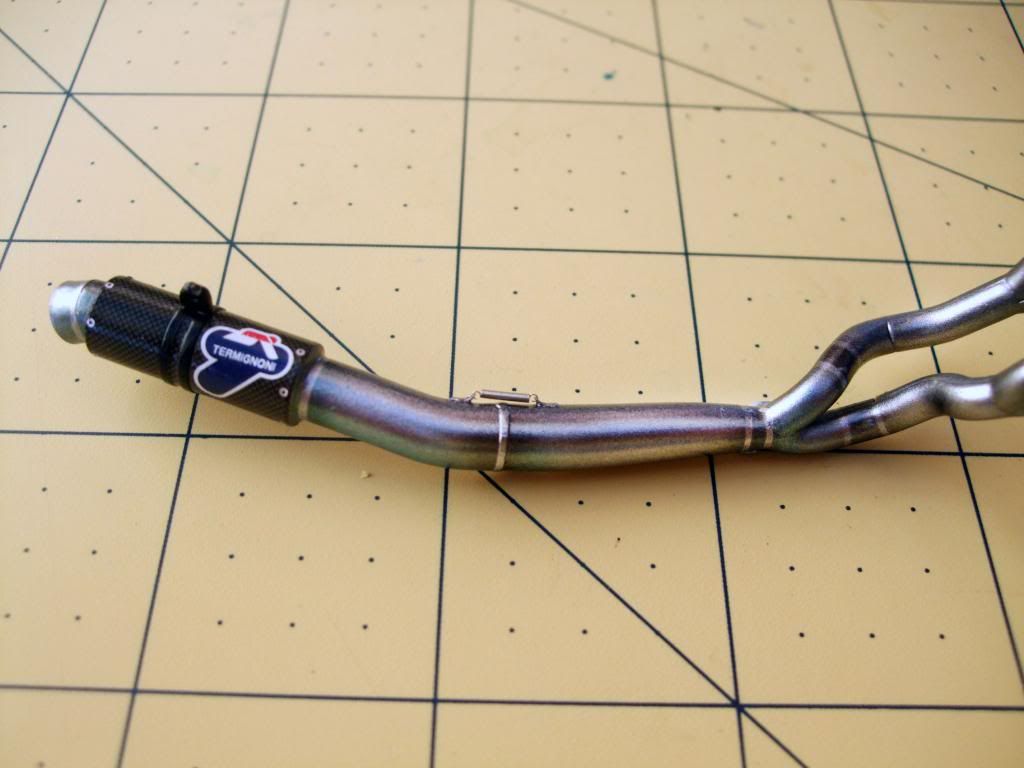 Also assembled swing arm... 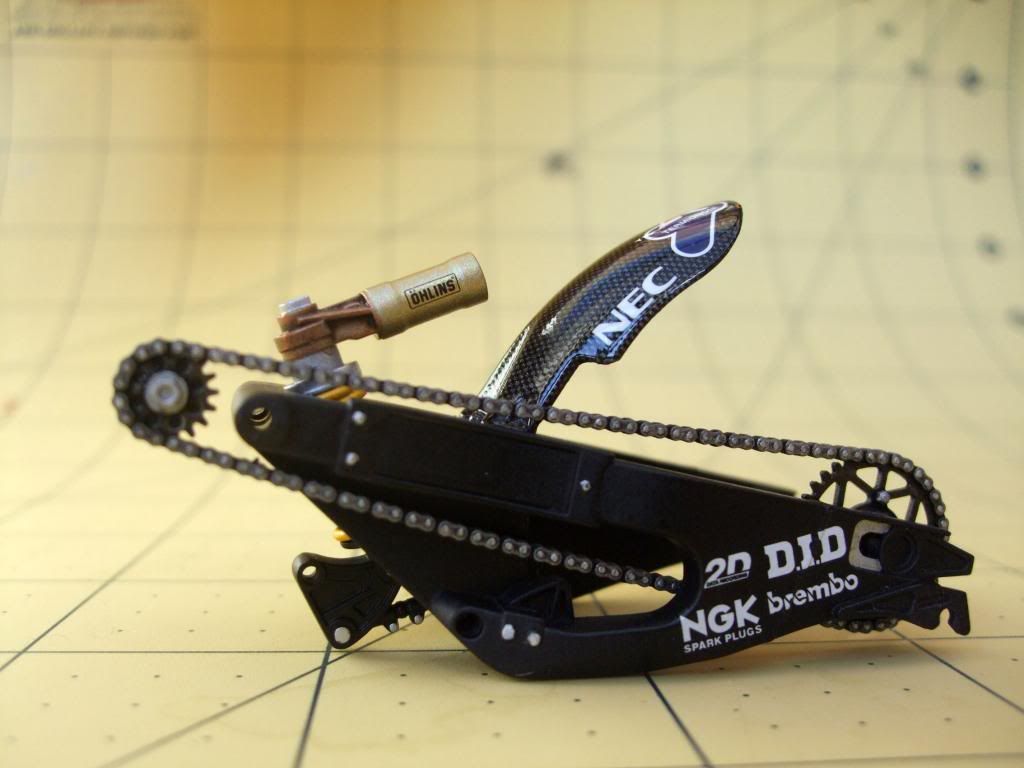 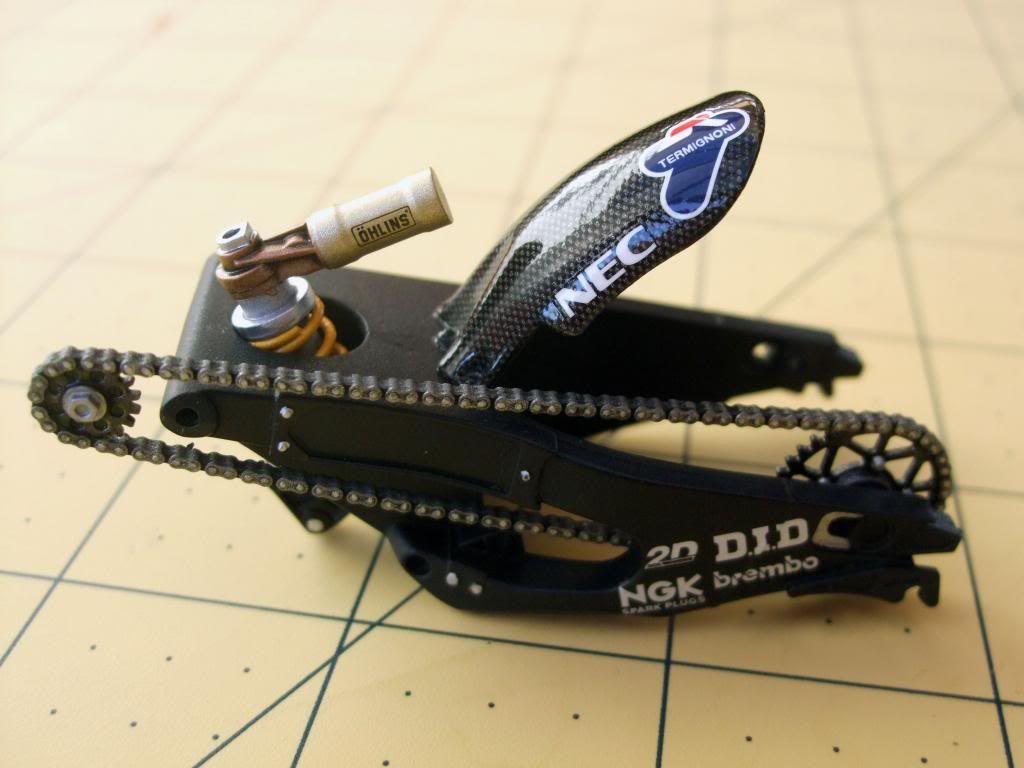 I have Started the bodywork..... As suspected, this was very challenging to paint and decal, especially after such a long break from modelling, fortunately my paints that I purchased 3 years ago all performed great so that was a relief. Unfortunately I was a bit lazy when taking pics and didn't take any progress shots on the painting of the bodywork. But i'll put the process in words: I debated wether the blue would spray directly over the red and give the desired colour after reading conflicting previous builds, after my own test I came to the conclusion that after spraying red the parts would then need masking and spraying with white before the blue could be applied, this to me gave a much better blue. So firstly the red was sprayed over white undercoat. Then the masks were cut for the blue areas, then sprayed white (zero brilliant white) then sprayed blue till the desired depth was reasched. The blue parts such as the seat and tank were simply sprayed blue from the start. After the painting was done, I gave a quick coat of 2k clear before decalling, will describe any issues I had with decals next to relevant shot. it mostly went to plan I think! 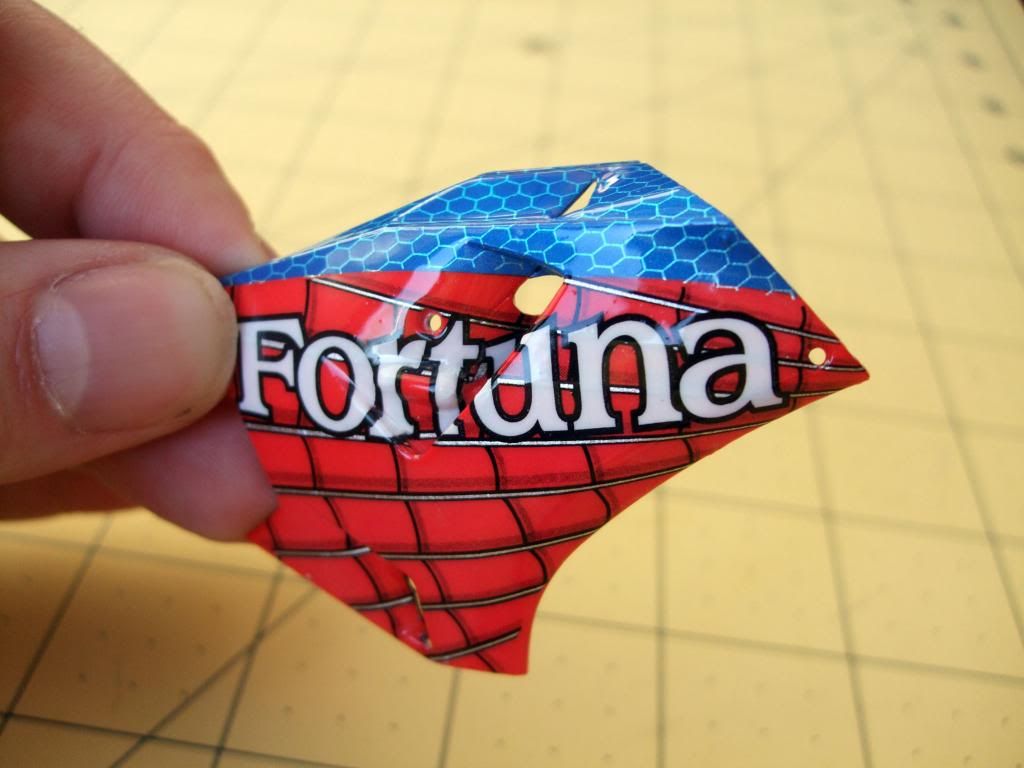  I thought these would be the most challenging parts to decal, they were difficult, but easy compared to tank. firstly the web was applied then the honey comb and finally the logos over the top, these decals took quite a bit of moulding around contours, they are quite tough and withstand quite a bit of rubbing, however on the downside, Microsol has much less effect than it does on cartograph decals, which pretty much melt down really well. However with patience and plenty of microsol and burnishing with cotton buds, they went down good! 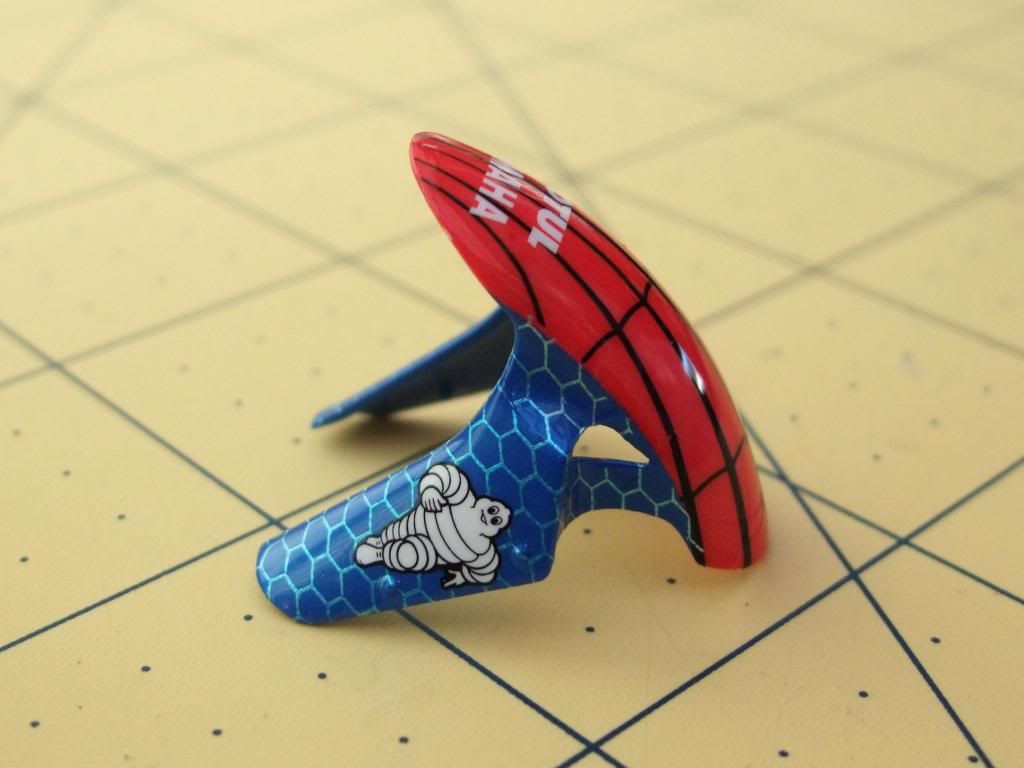 the web was slightly tricky to bend round top and make webs meet up accurately, but they looked good.  Probably the easiest part to decal, just a little care has to be taken when joing the parts together as they sometimes don't meet up perfectly, leaving a slight gap on the bends hides these very well. 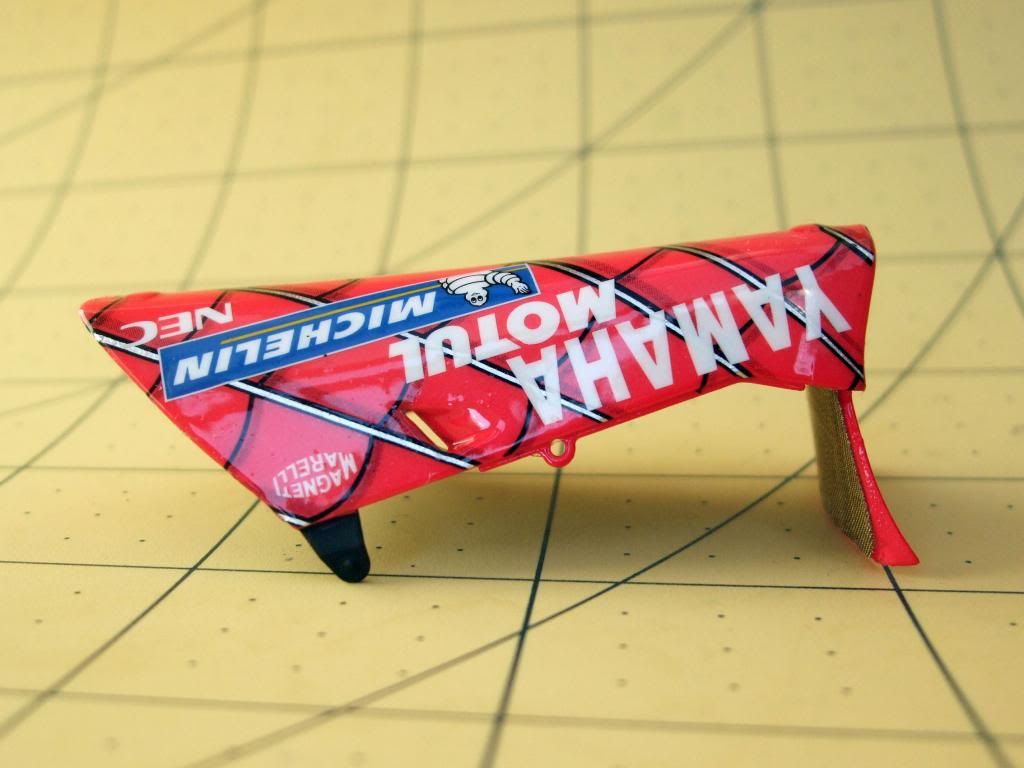 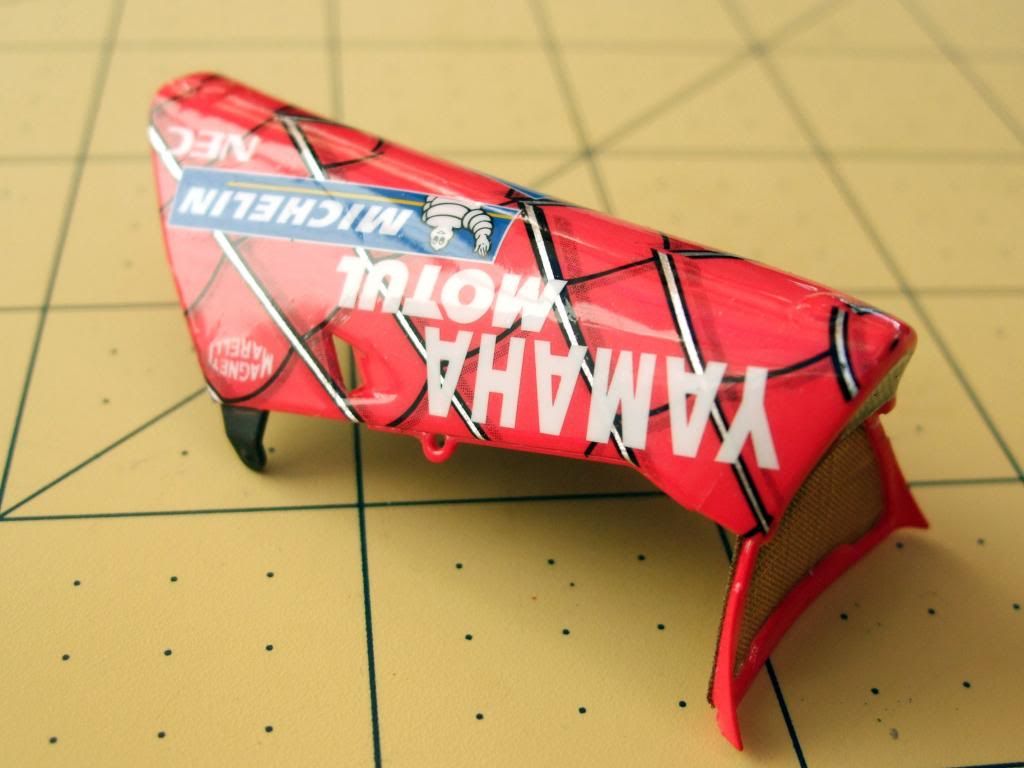 Again, these were relatively easy just a bit of care making sure the webs roughly line up with the side panels is necassery when positioning, I actually forgot to do this on one side, fortunately the match up was pretty good, but well worth a check as you do it. 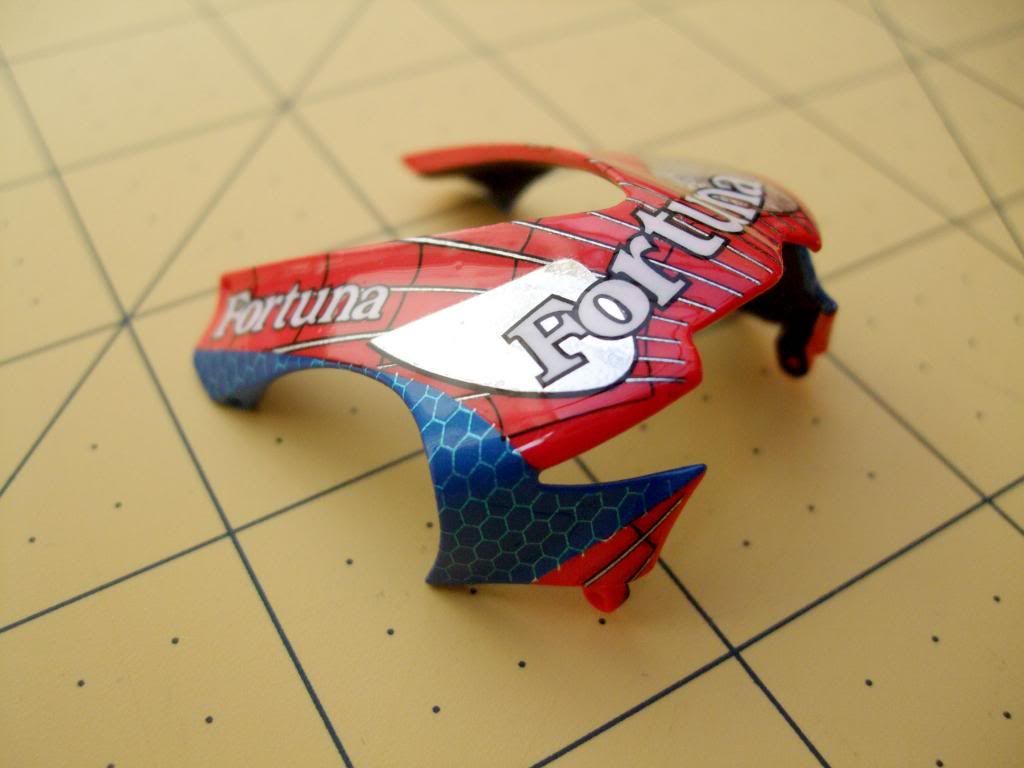 Like the lower fairing, make sure the webs match up with the middle fairings where they meet for best results. This part was quite difficult to mask accurately, and I really had my fingers crossed that the decals married up with the paint work, they did just about. 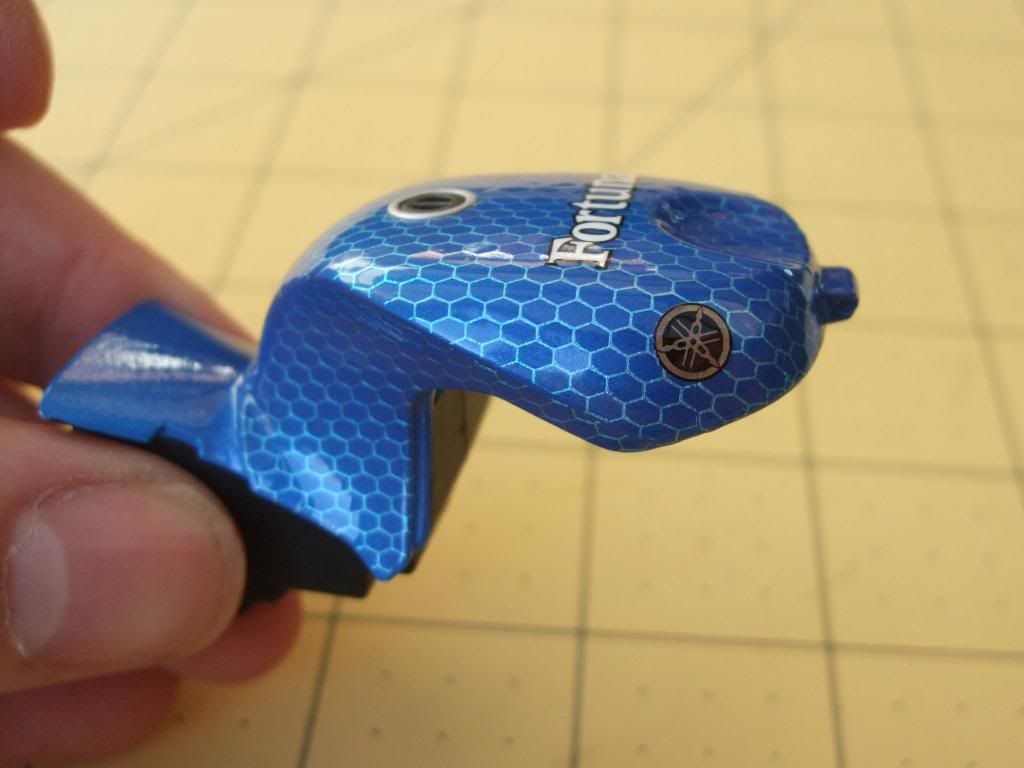  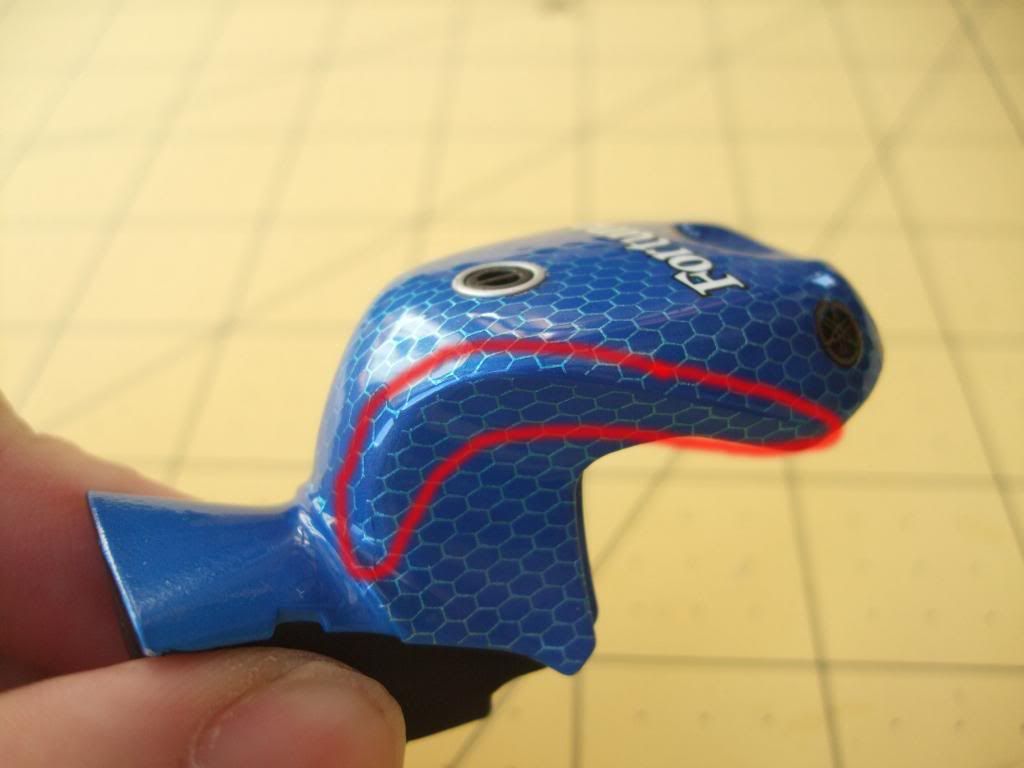 This was surprisingly the part I had most trouble with, partly due to the effort needed to tease the decals around the bends, I had a bad moment when I tried dipping some of it in boiled water to get it shrink on, big mistake which very nearly cost me the whole decal! fortunately I only needed to cut back a small corner of the decal and patch up with spare honeycomb. (thankfully there are plenty of spare bits for this pattern. The second issue was where the indented side bits meet up with the top that bends round the back of the tank. These decals end up running in opposite directions and do not marry up. Again the best way around this is to leave a gap of 1mm or so just under the contour lip, you really cannot tell there is an issue, I have tried to highlight this on the pics. 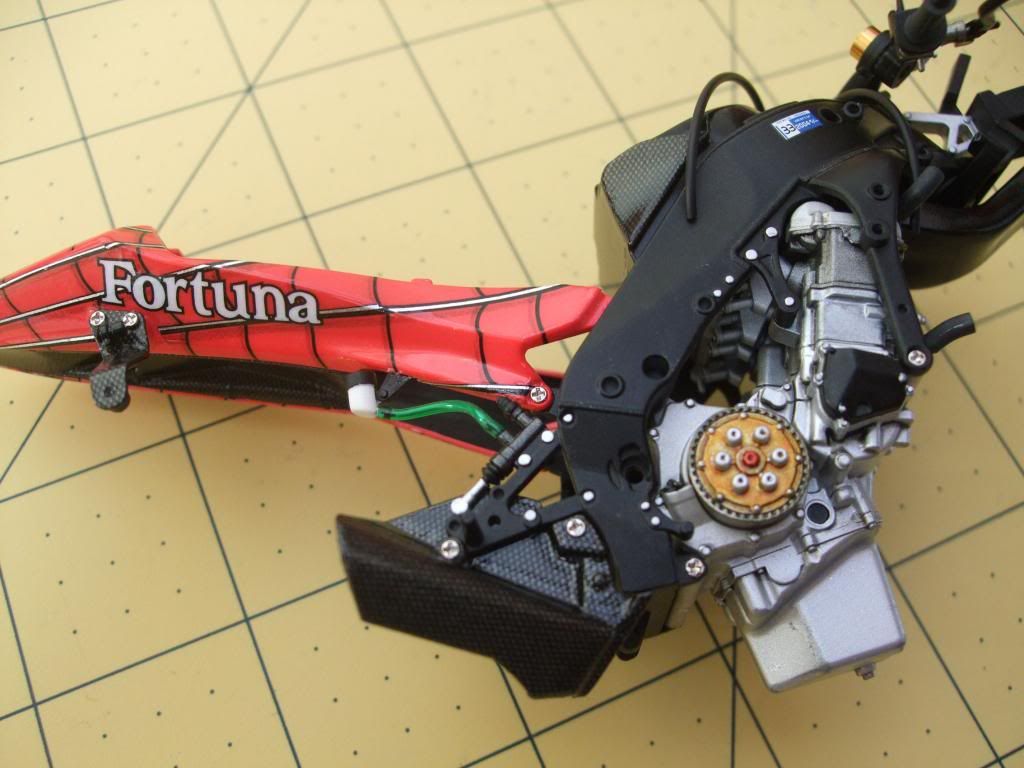 Rear part again although fiddly like the rest of it went smoothly. Once the parts were fully decalled, I gave them a second coat of 2k to deal them and allow for wasking of the blue parts, and then sprayed with tamiya clear blue to knock back the silver honey comb pattern to the desired strength, the photos actually show the pattern a little stronger than it looks to the naked eye, I was quite happy with this. Finally a 3rd coat of 2k was applied to give a lovely smooth gloss finish, and I must say once this was dry, I was very relieved, the decalling was 3 or 4 nights neck breaking work! |
|

|

|
|
12-04-2012, 09:48 AM
|
#2 | |
|
AF Enthusiast

Join Date: Oct 2004
Location: x
Posts: 1,135
Thanks: 17
Thanked 49 Times in 46 Posts
|
Re: Yamaha M1 2004 melandri Spiderman bike
Looking excellent so far - this has been a popular subject and with good reason!
|
|
|
|
|
|
12-16-2012, 11:32 AM
|
#3 | |
|
AF Regular
Thread starter
Join Date: Jan 2007
Location: newcastle
Posts: 138
Thanks: 0
Thanked 0 Times in 0 Posts
|
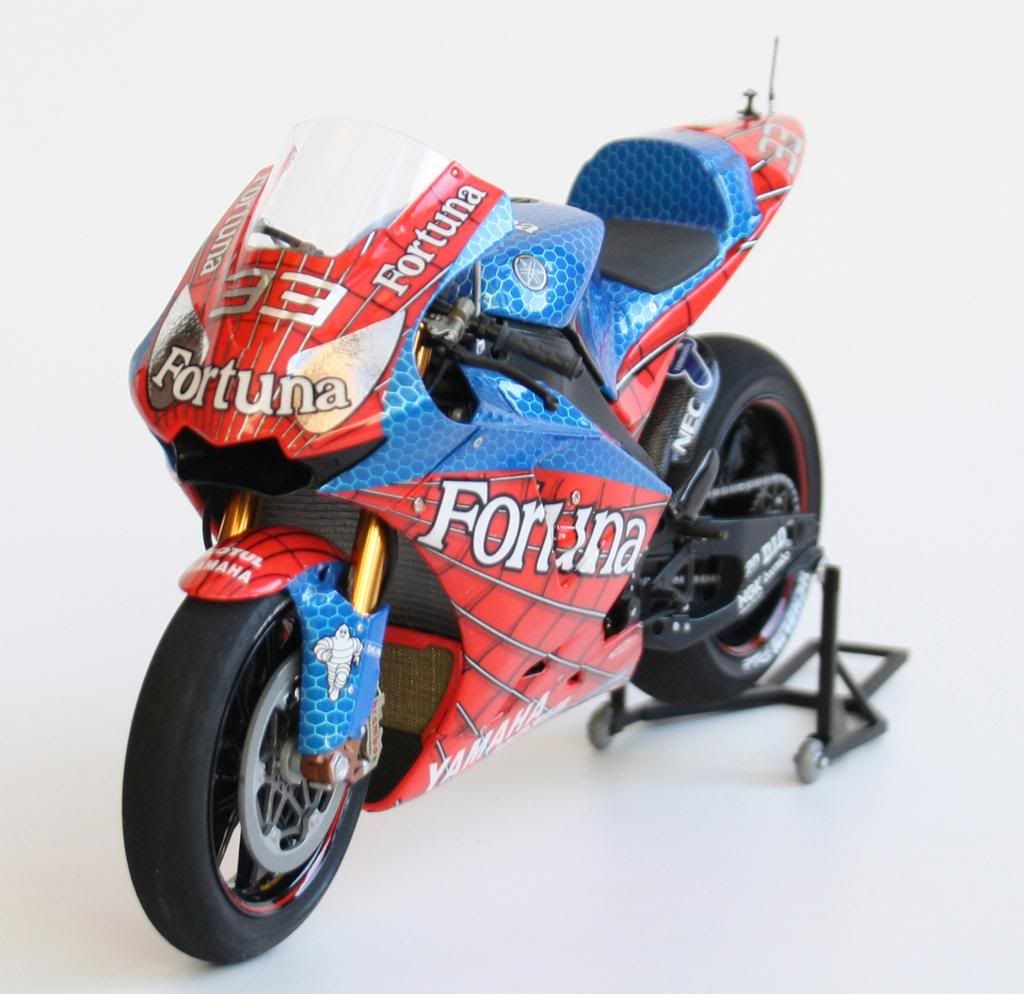
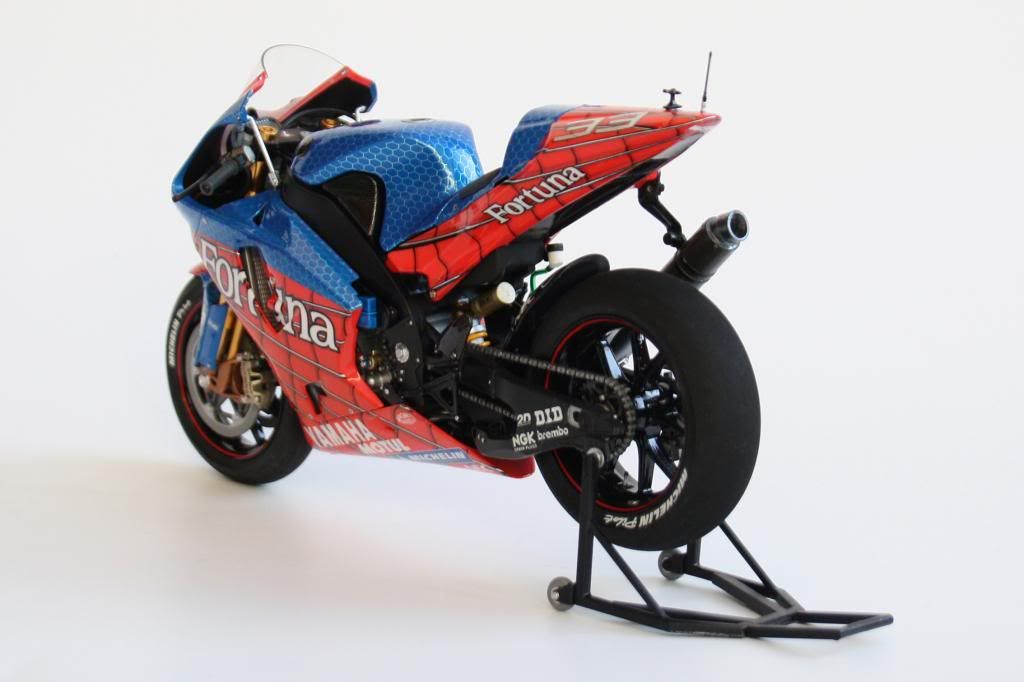
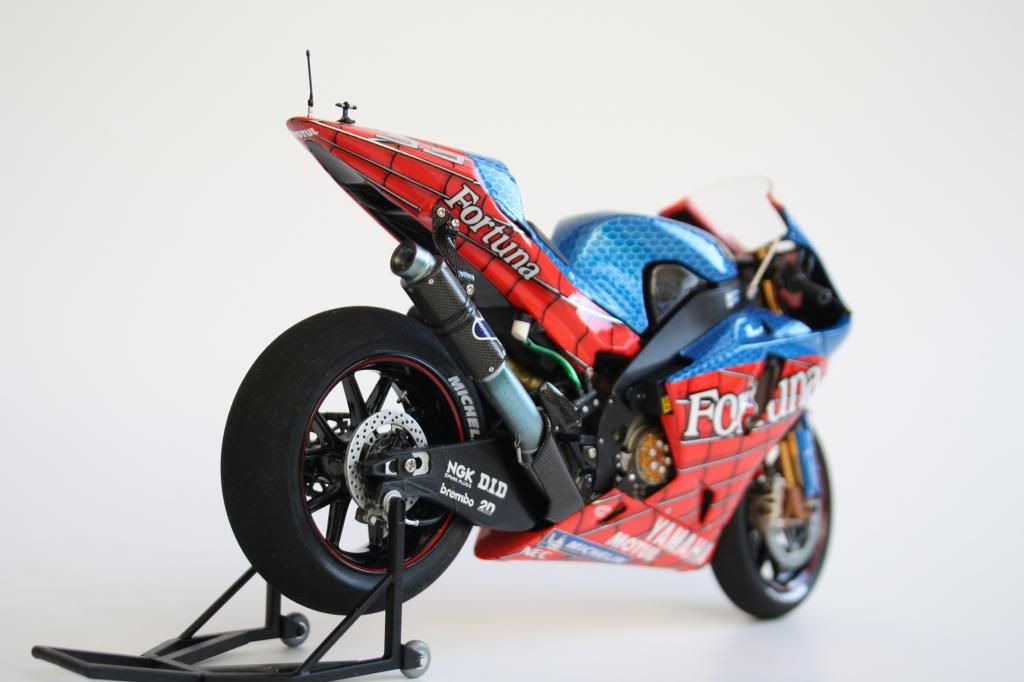
Re: Yamaha M1 2004 melandri Spiderman bike
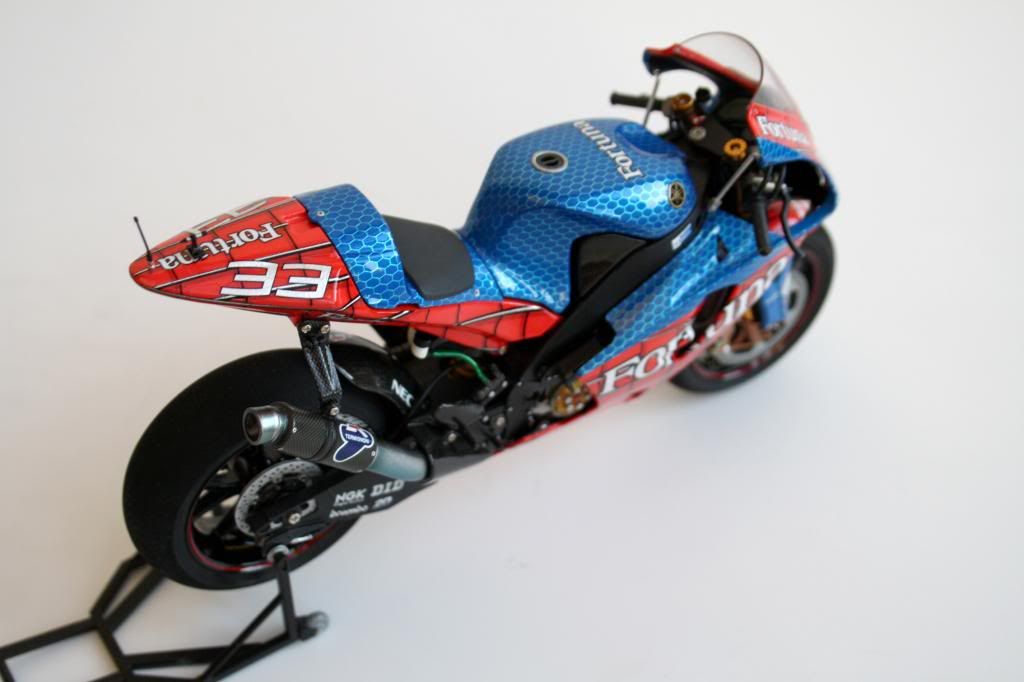
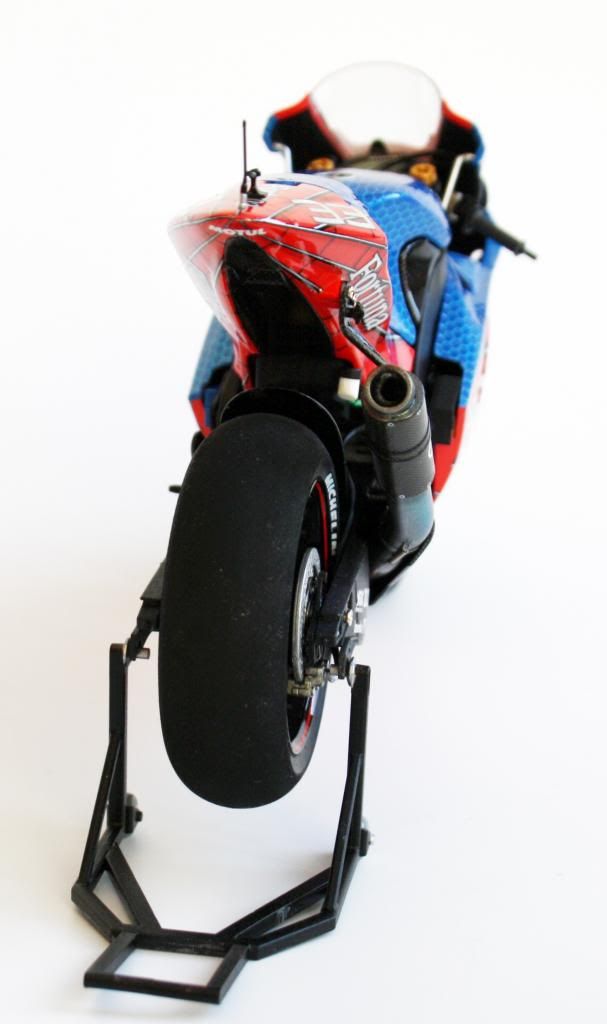
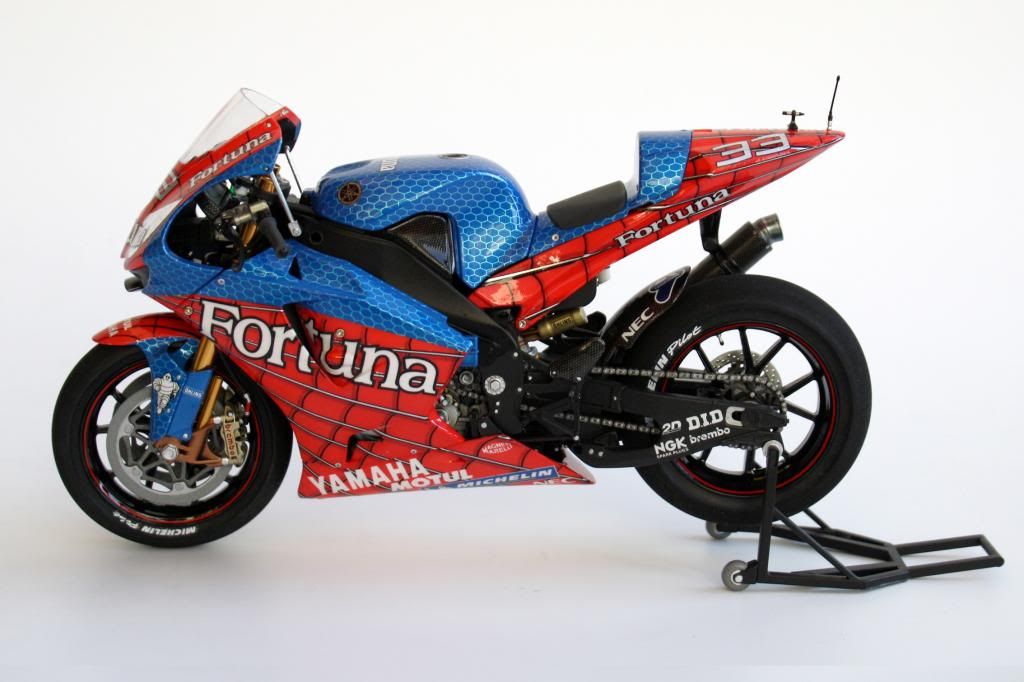
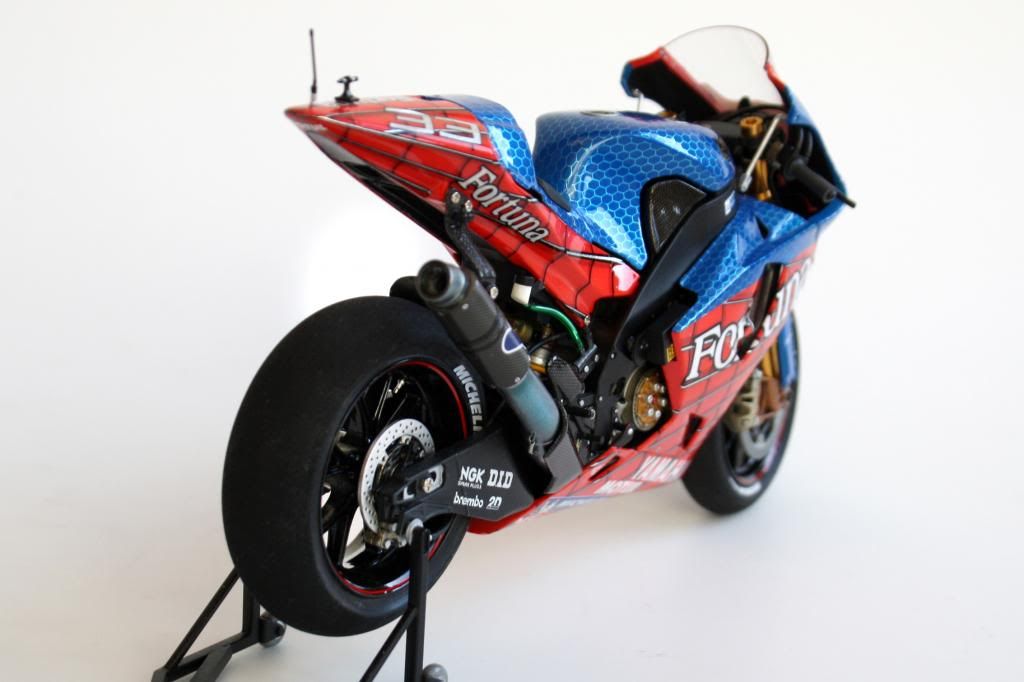
Here are my final shots of the finished model, quite happy with the model in the end, still love this livery.
         |
|
|
|
|
|
12-16-2012, 06:24 PM
|
#4 | |
|
AF Enthusiast

Join Date: Dec 2009
Location: Hamme
Posts: 535
Thanks: 77
Thanked 21 Times in 17 Posts
|
Re: Yamaha M1 2004 melandri Spiderman bike
Excellent build. Paintjob and decalwork looks amazing. I have this project also on my to do list. What brand of decals did you use for the Spiderman version?
Best regards, Lesley |
|
|
|
|
|
12-16-2012, 10:17 PM
|
#5 | |
|
AF Enthusiast

Join Date: Sep 2010
Location: Vancouver
Posts: 775
Thanks: 56
Thanked 73 Times in 69 Posts
|
Re: Yamaha M1 2004 melandri Spiderman bike
Amazing... Spider-Man!
Great work and nice WIP.
__________________
Christophe. 
|
|
|
|
|
|
12-17-2012, 09:21 AM
|
#6 | |
|
AF Enthusiast

Join Date: Oct 2012
Location: Doornenburg , Netherlands
Posts: 502
Thanks: 80
Thanked 74 Times in 74 Posts
|
Re: Yamaha M1 2004 melandri Spiderman bike
This bike looks super, I'm sure it wasn't easy to get all the decals perfect
__________________
my English is not perfect but hopefully be readable |
|
|
|
|
|
12-20-2012, 04:49 PM
|
#7 | |
|
AF Regular

Join Date: Jun 2008
Location: mallorca
Posts: 122
Thanks: 9
Thanked 9 Times in 9 Posts
|
Re: Yamaha M1 2004 melandri Spiderman bike
not all modelers can apply these decals like you. Well done!!
__________________

|
|
|
|
|
|
12-29-2012, 11:36 AM
|
#8 | |
|
AF Regular

Join Date: Nov 2008
Location: AC
Posts: 118
Thanks: 30
Thanked 21 Times in 11 Posts
|
Re: Yamaha M1 2004 melandri Spiderman bike
very nice decal job, i believe it was a pain to do!^^
The painting on the engine is superb! A nice build  |
|
|
|
|
|
02-01-2013, 09:22 PM
|
#9 | |
|
AF Newbie

Join Date: Jan 2013
Location: Hill City, Kansas
Posts: 51
Thanks: 0
Thanked 9 Times in 8 Posts
|
Re: Yamaha M1 2004 melandri Spiderman bike
I like it! I wanted to try this kit too, but wasn't sure I was up to the decals. After your step by step info, I was probably smart to hold off on this build. I chose Batman instead. He was a lot easier!
|
|
|
|
|
|
03-09-2013, 04:13 AM
|
#10 | |
|
AF Enthusiast
Join Date: May 2009
Location: Tucson, Arizona
Posts: 1,469
Thanks: 12
Thanked 126 Times in 120 Posts
|
Re: Yamaha M1 2004 melandri Spiderman bike
Simply awesome
John |
|
|
|
|
|
|
POST REPLY TO THIS THREAD |
 |
| Thread Tools | |
|
|

