|
|
|

|
|
| Search | Car Forums | Gallery | Articles | Helper | AF 350Z | IgorSushko.com | Corporate |
|
| Latest | 0 Rplys |
|
|||||||
| WIP - Street Post topics for any "Works In Progress" street vehicles projects in this sub-forum. |
 |
 Show Printable Version | Show Printable Version |  Email this Page | Email this Page |  Subscribe to this Thread
|
|
|
Thread Tools |
 12-11-2018, 03:19 PM
|
#31 | |
|
AF Moderator
 
Join Date: Sep 2002
Location: Fort Worth, Texas
Posts: 3,246
Thanks: 31
Thanked 314 Times in 241 Posts
|
Re: Custombilt 379
Nice! Love the light up shifter.
__________________
The client is not always right. - Enzo Ferrari ItalianHorses.net    
|
|

|

|
|
12-15-2018, 11:43 AM
|
#32 | |
|
AF Regular
Thread starter
Join Date: Feb 2009
Location: Moscow, Russia
Posts: 294
Thanks: 5
Thanked 14 Times in 14 Posts
|
Re: Custombilt 379
Drilled old wheel nuts
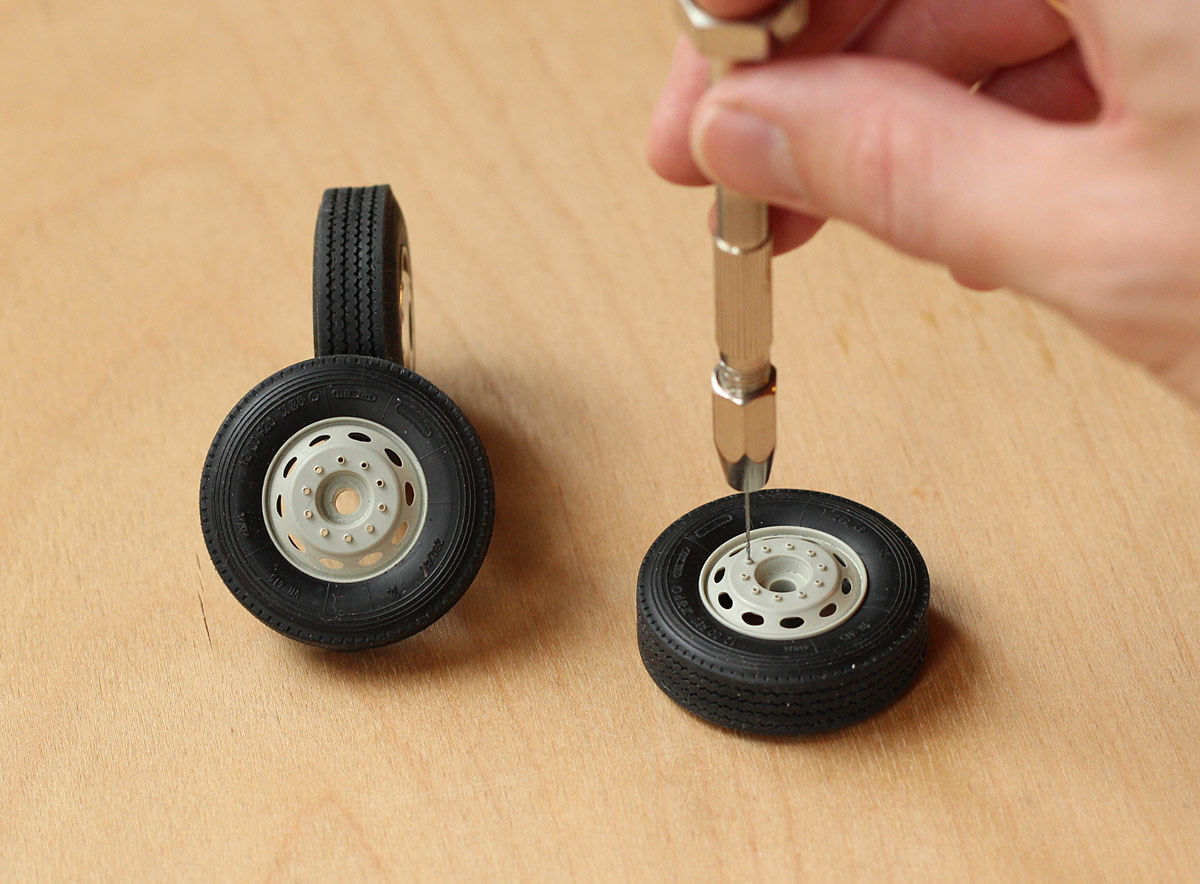 And made a conductor to glue new nuts to new studs 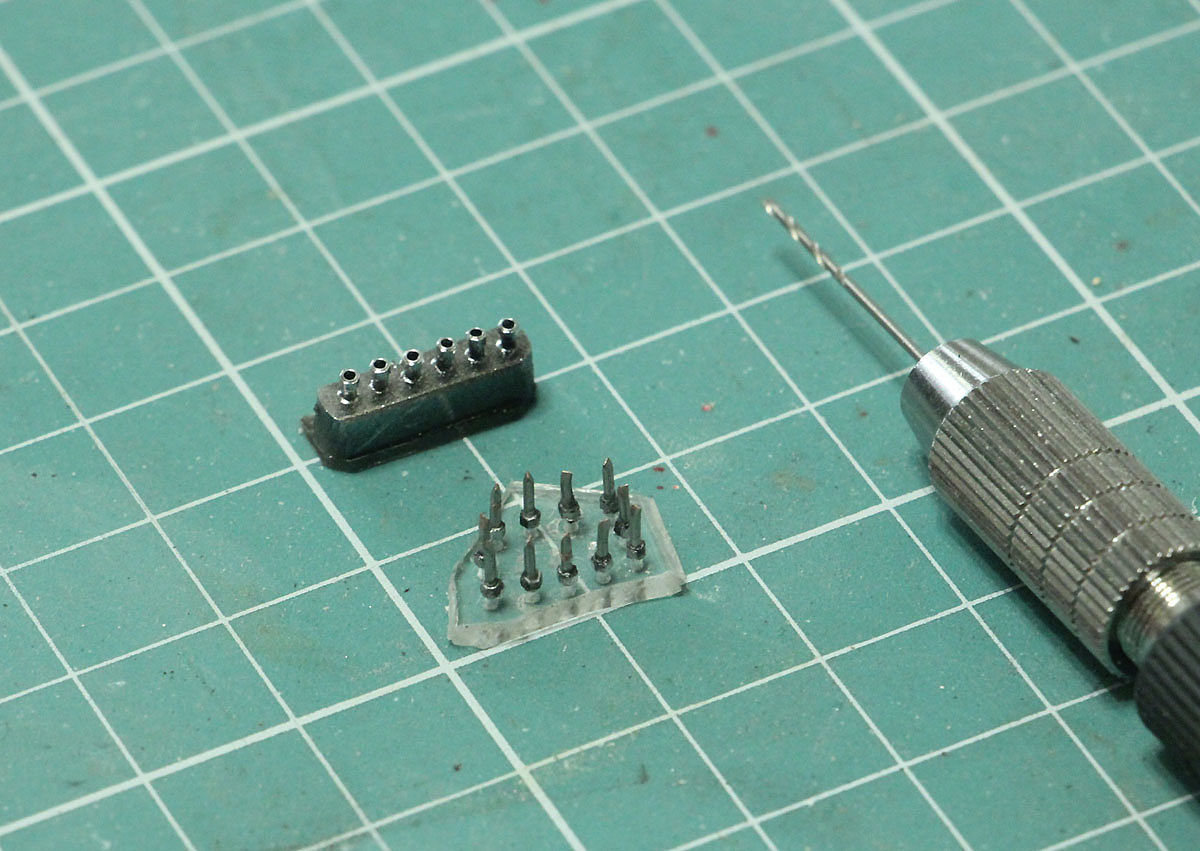 And got this 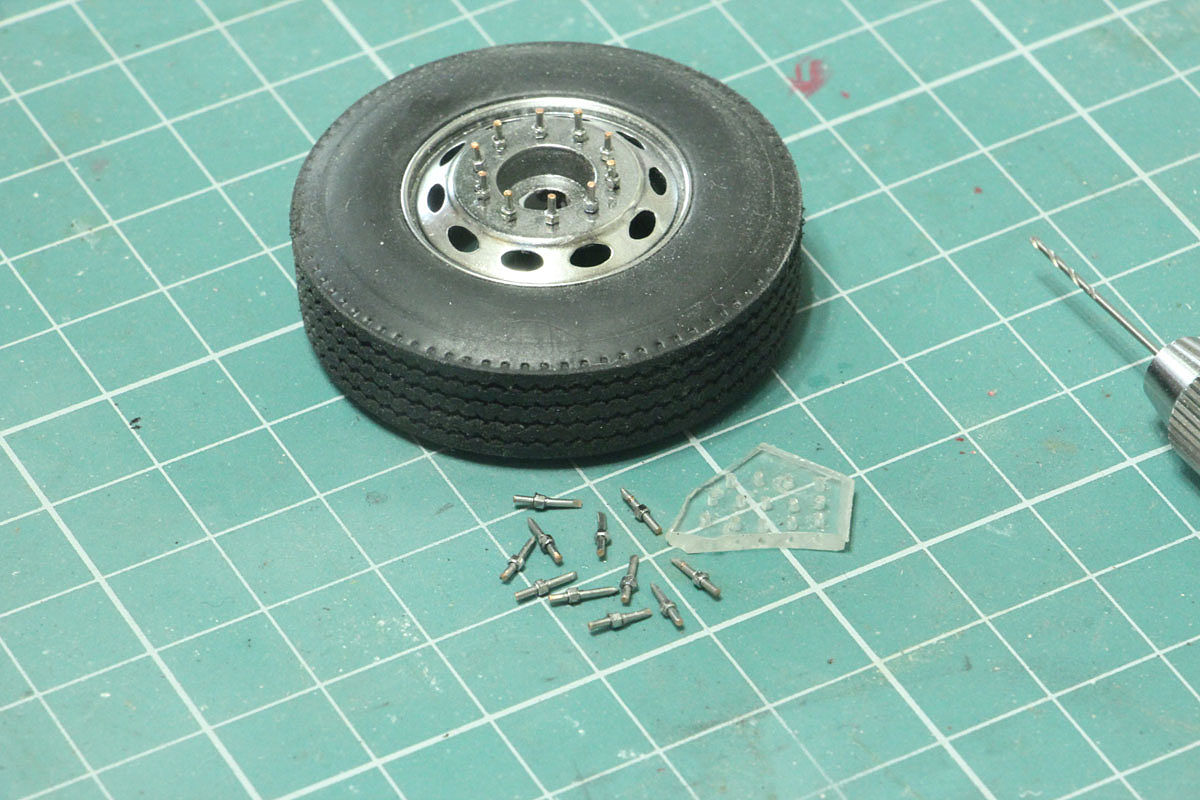 Second rim added to trailer wheels 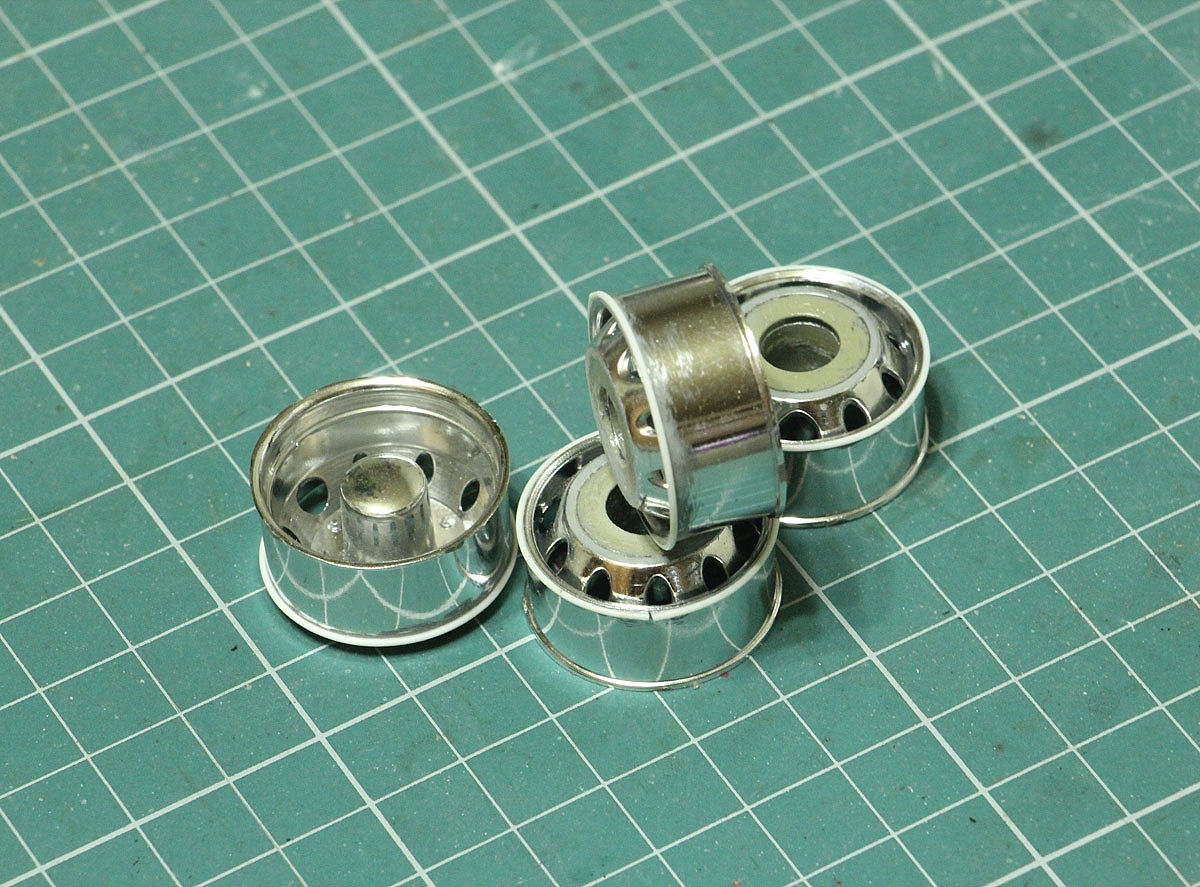 The walls of the living module were cut out of candy box. They are hard enouth and I don't have to cut out windows. 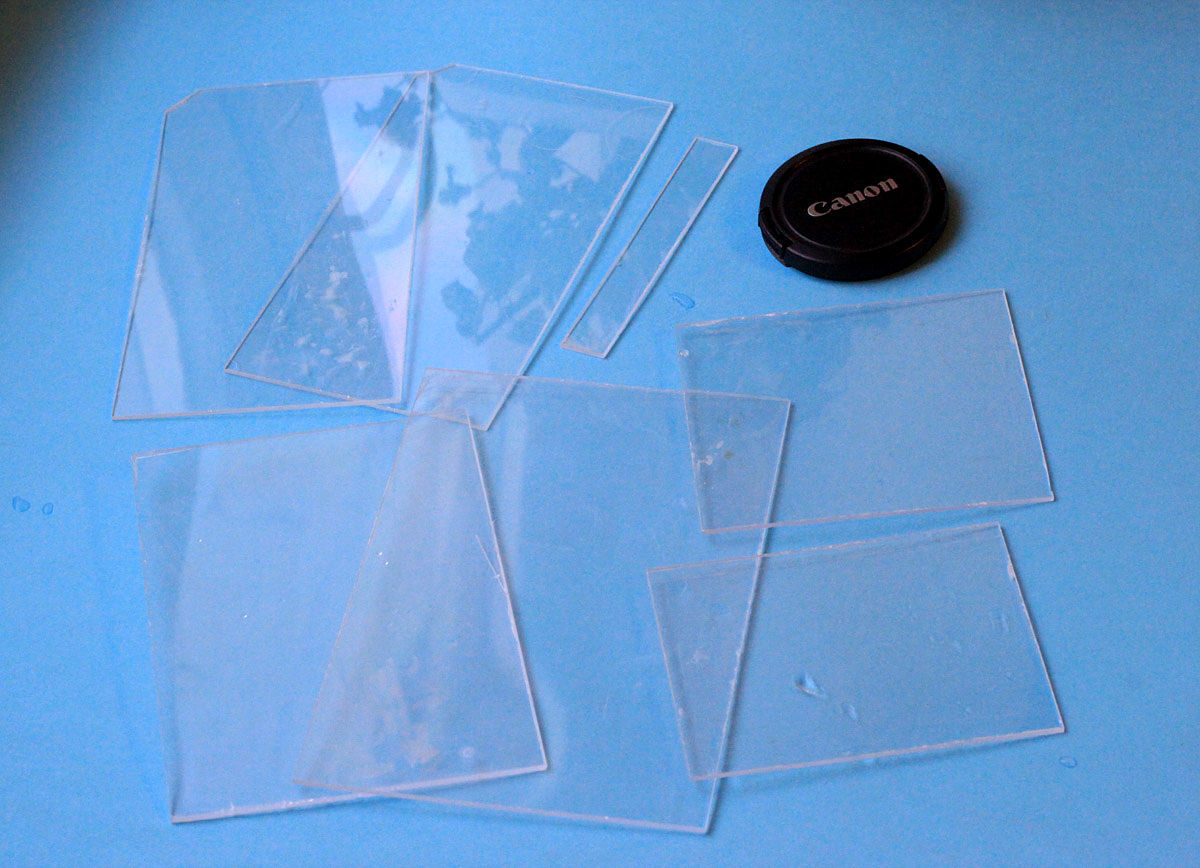 Rectangular tube was used as taillights surraunder, chromed later 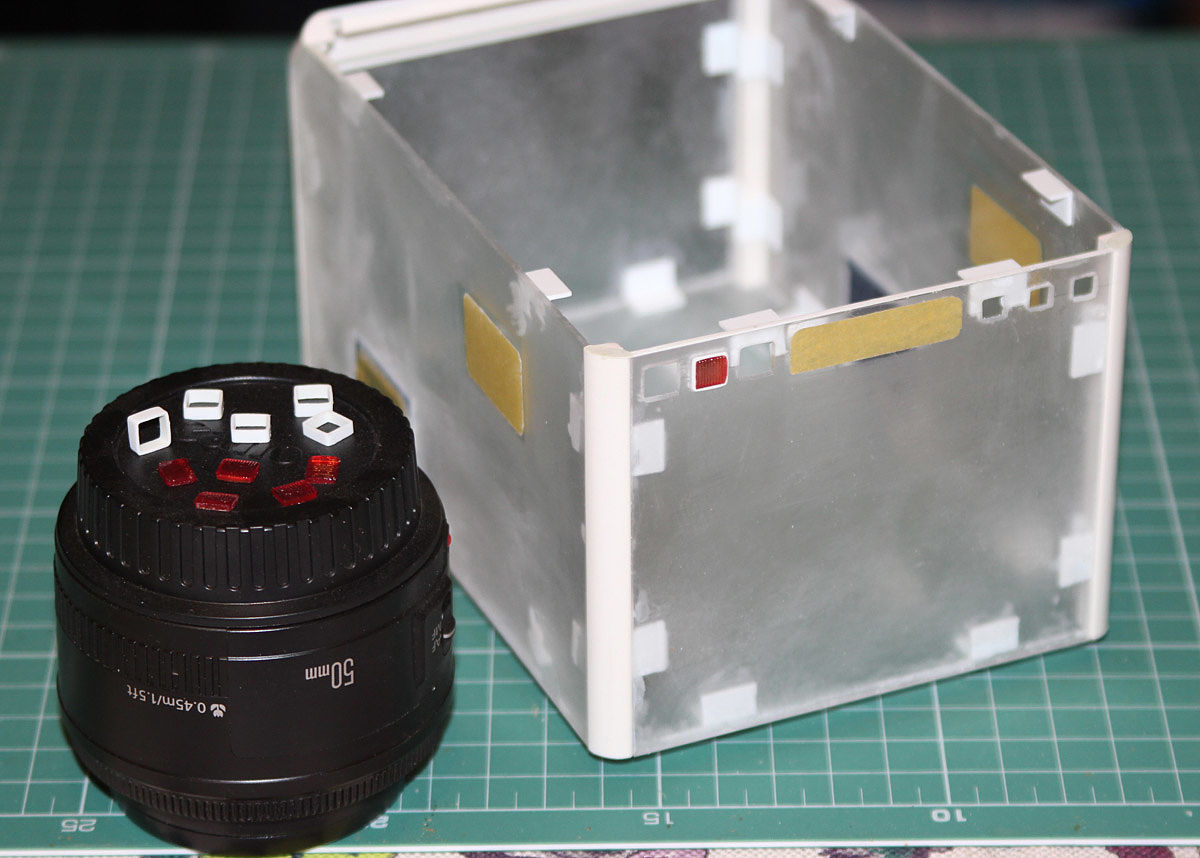 Stock sleeper walls cut for hatch inserts into living module  Tease are window frames 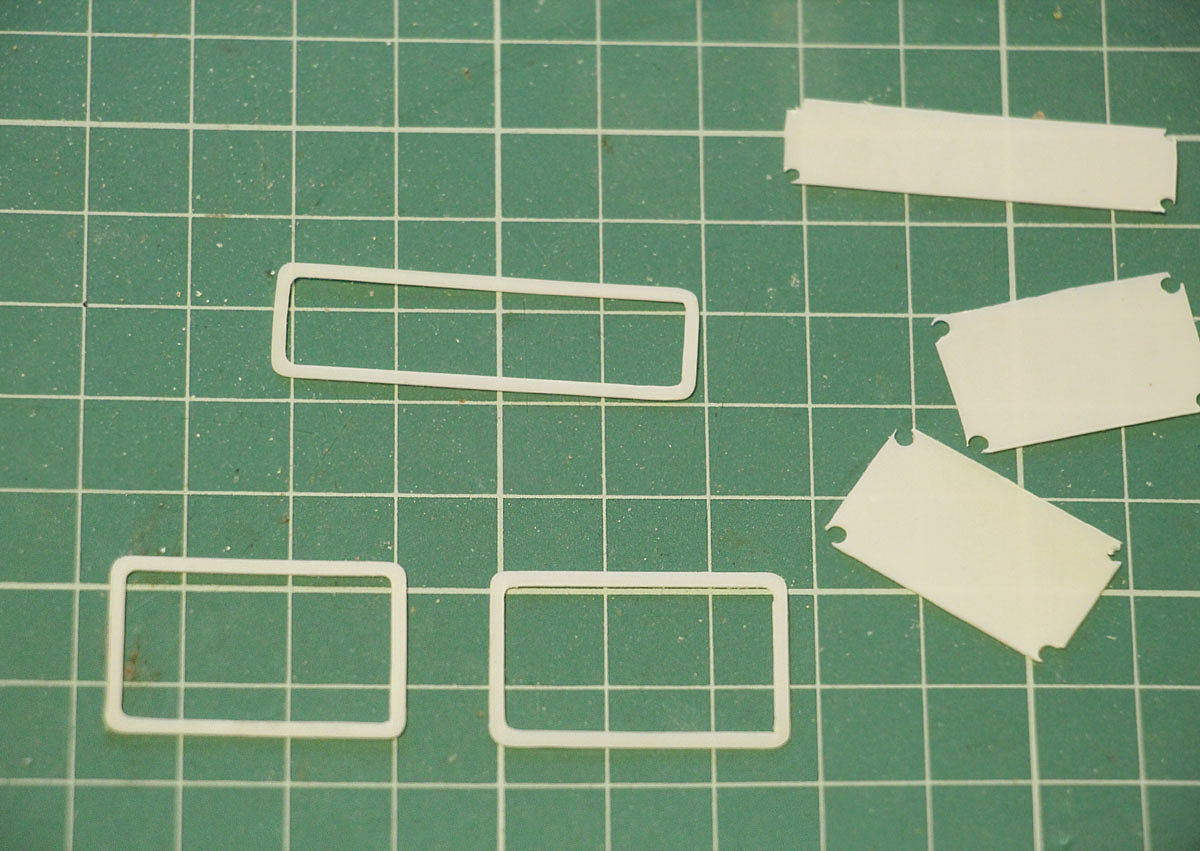 Tool boxes and steps 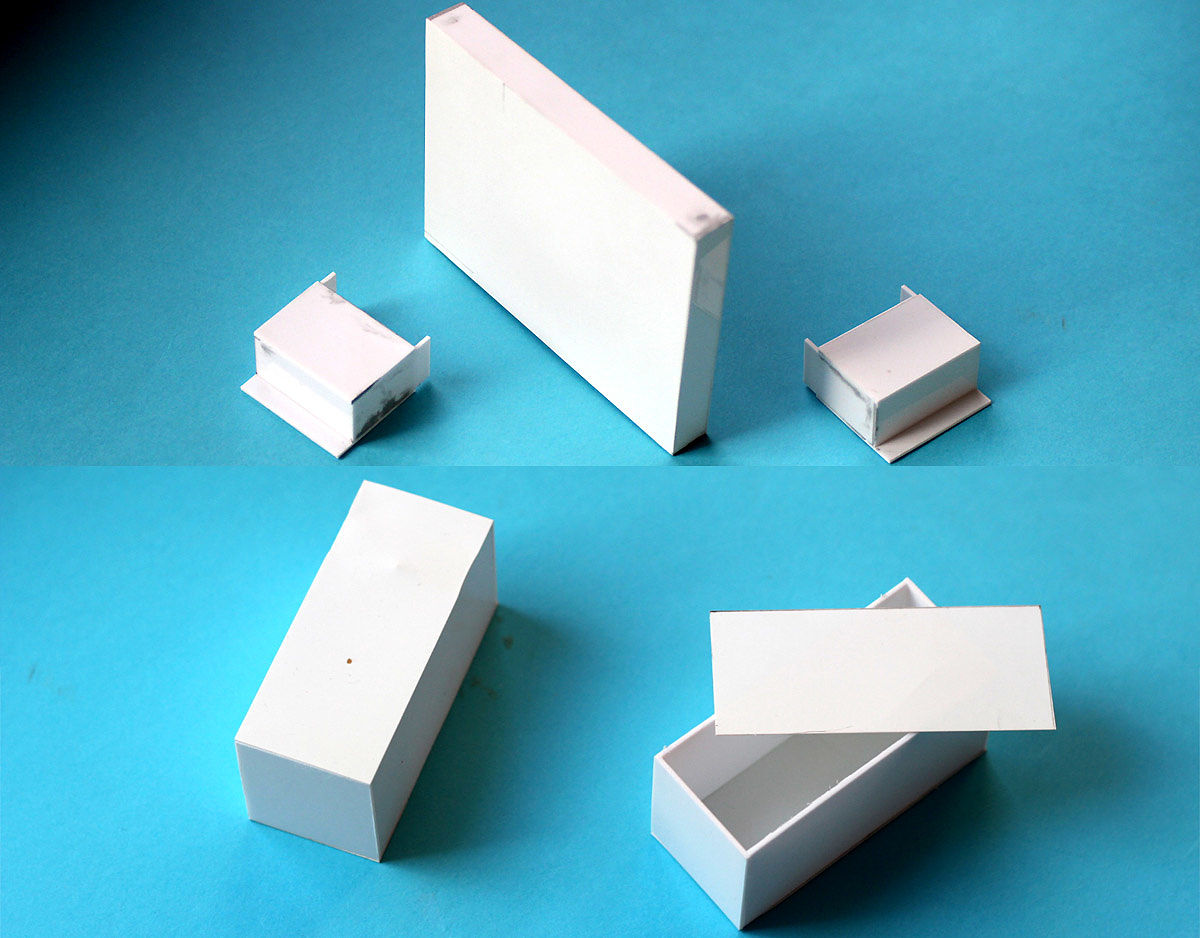 with frames 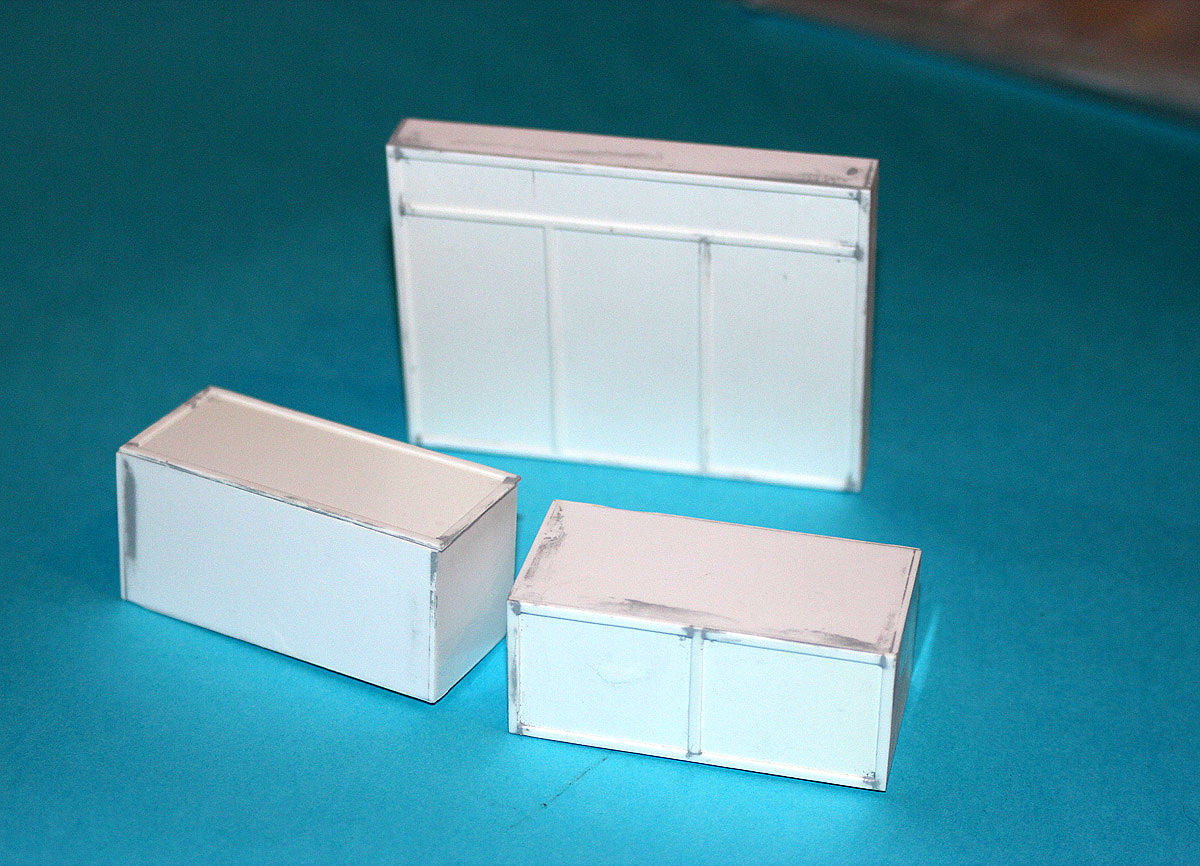 Diamond doors 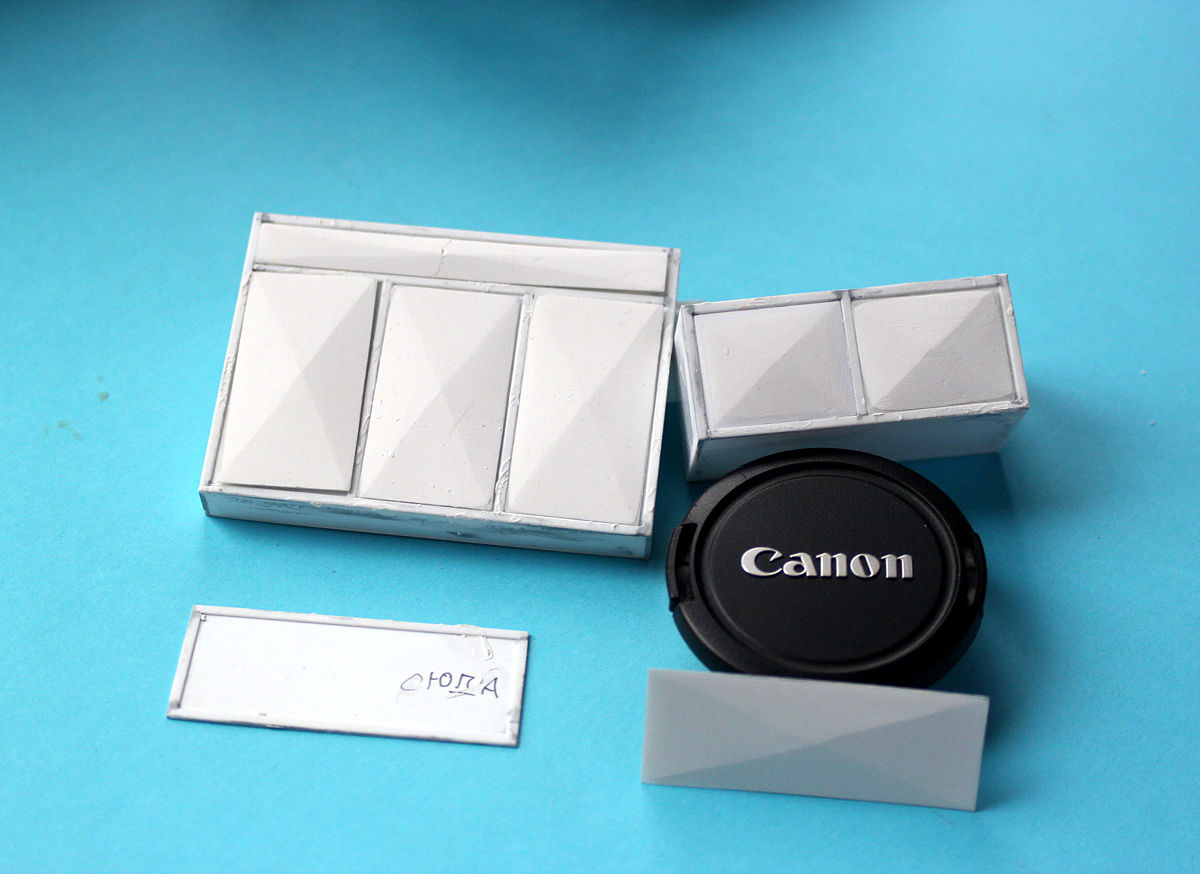 Driver box can be opened to operate different LED circuits. 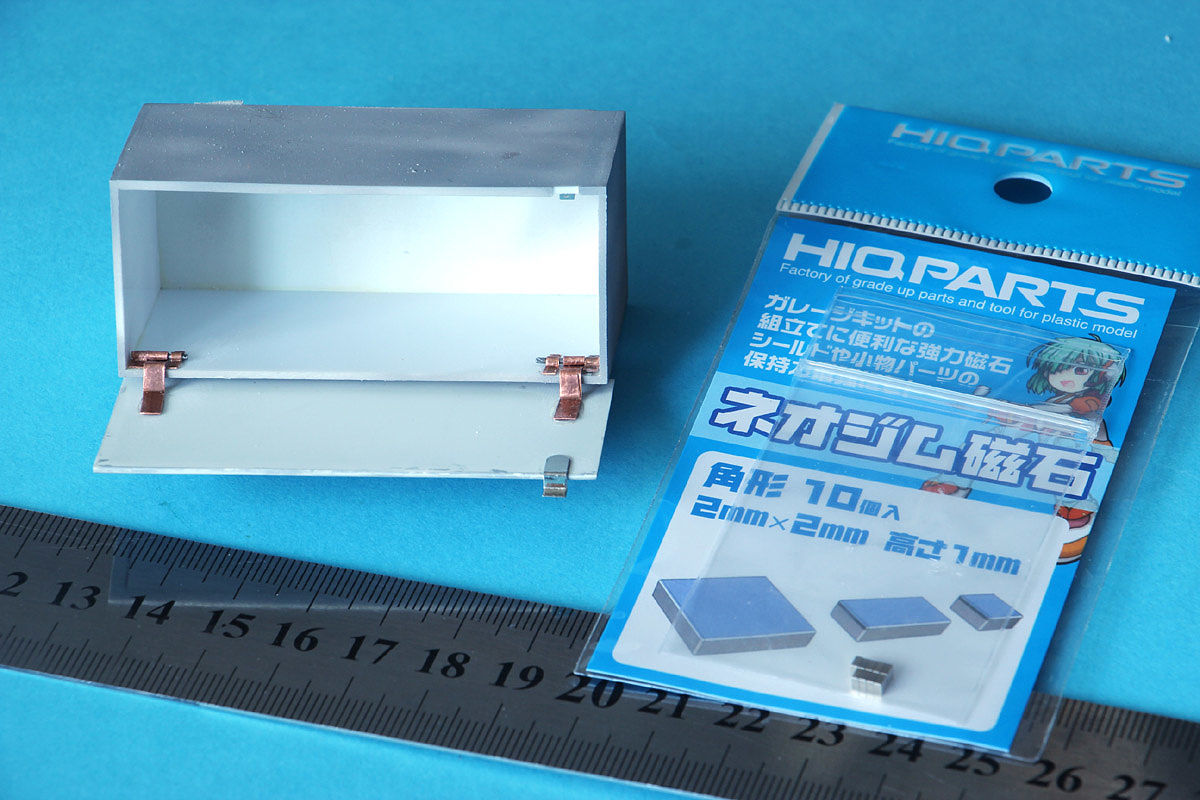
__________________
 "Precious and fragile things Needs special handling.." "Precious and fragile things Needs special handling.."
|
|
|
|
|
|
12-15-2018, 12:29 PM
|
#33 | |
|
ItaloSvensk

Join Date: Mar 2009
Location: Marstrand
Posts: 3,383
Thanks: 1,077
Thanked 296 Times in 270 Posts
|
Re: Custombilt 379
Really amazing job here...
__________________
Paolo - LoveGT40 Modelworks website www.alsoldatino.com my YT channel : https://www.youtube.com/channel/UCIp..._as=subscriber FB: https://www.facebook.com/alsoldatino |
|
|
|
|
|
12-20-2018, 12:28 PM
|
#34 | |
|
AF Regular
Thread starter
Join Date: Feb 2009
Location: Moscow, Russia
Posts: 294
Thanks: 5
Thanked 14 Times in 14 Posts
|
Re: Custombilt 379
A little more
Rear double wings 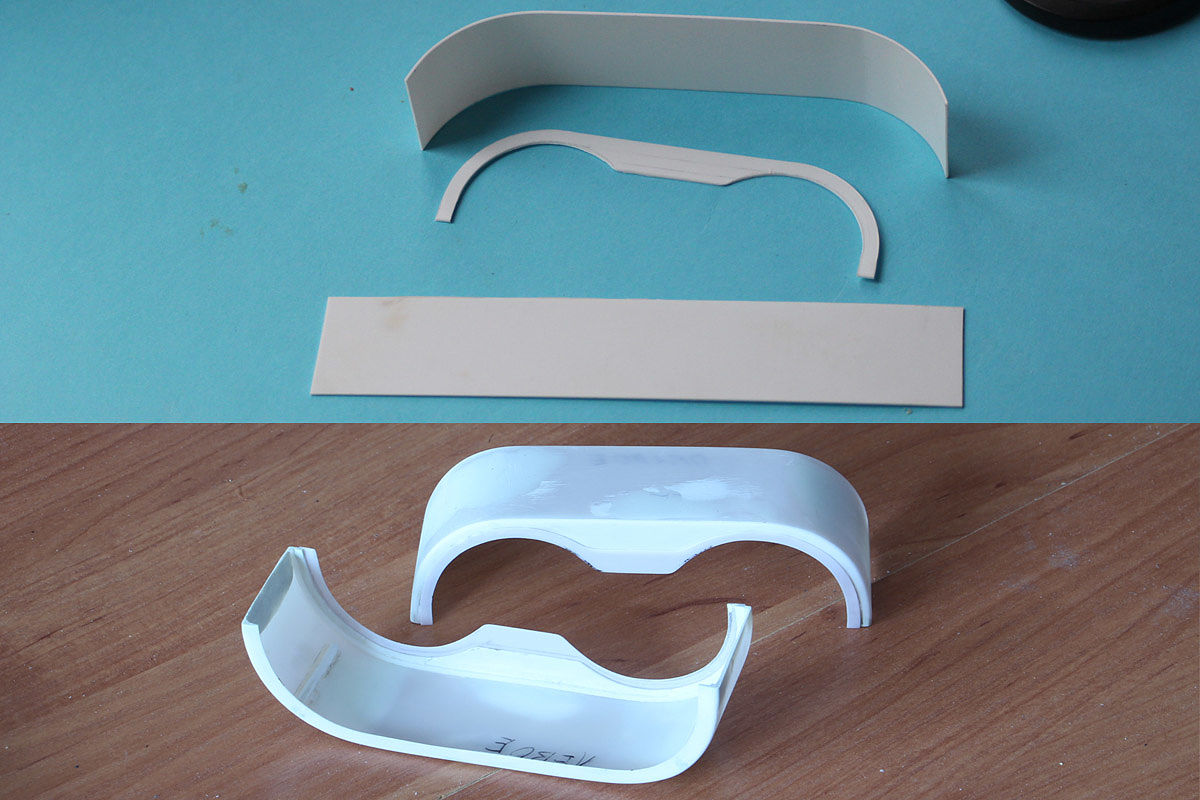 Rear bumper 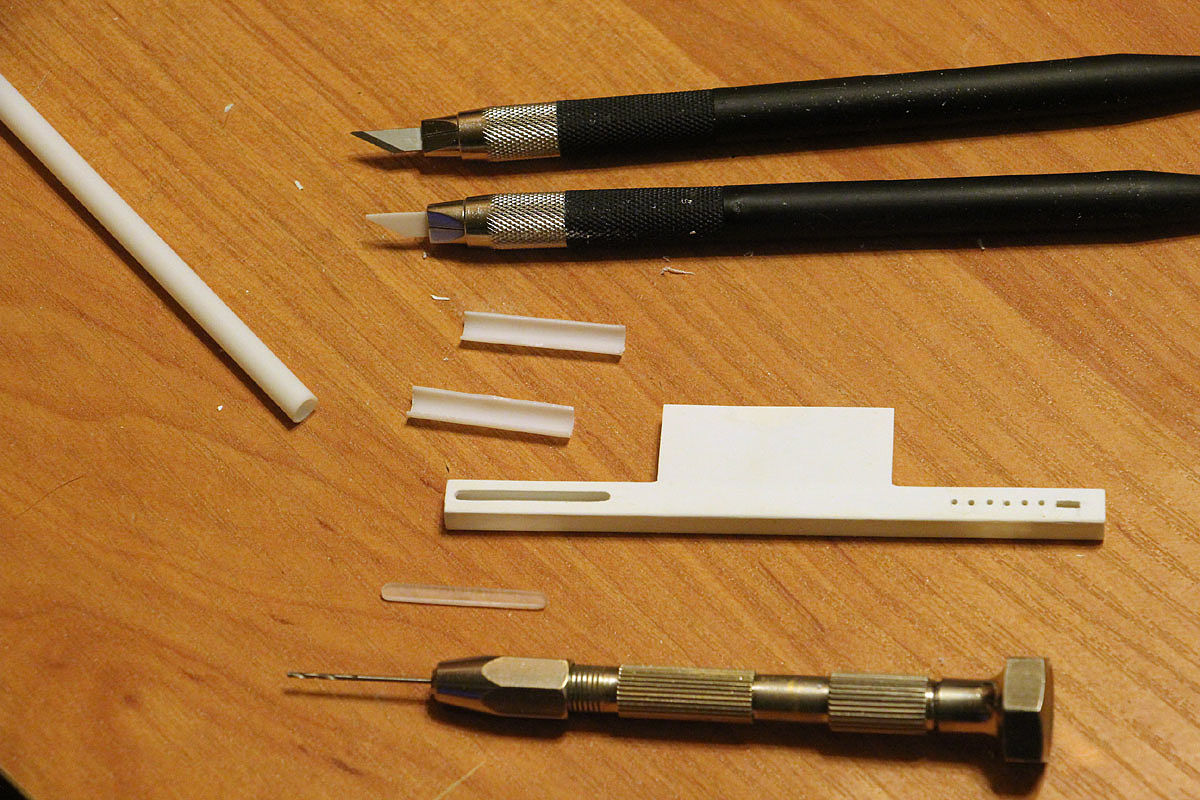 Air filters 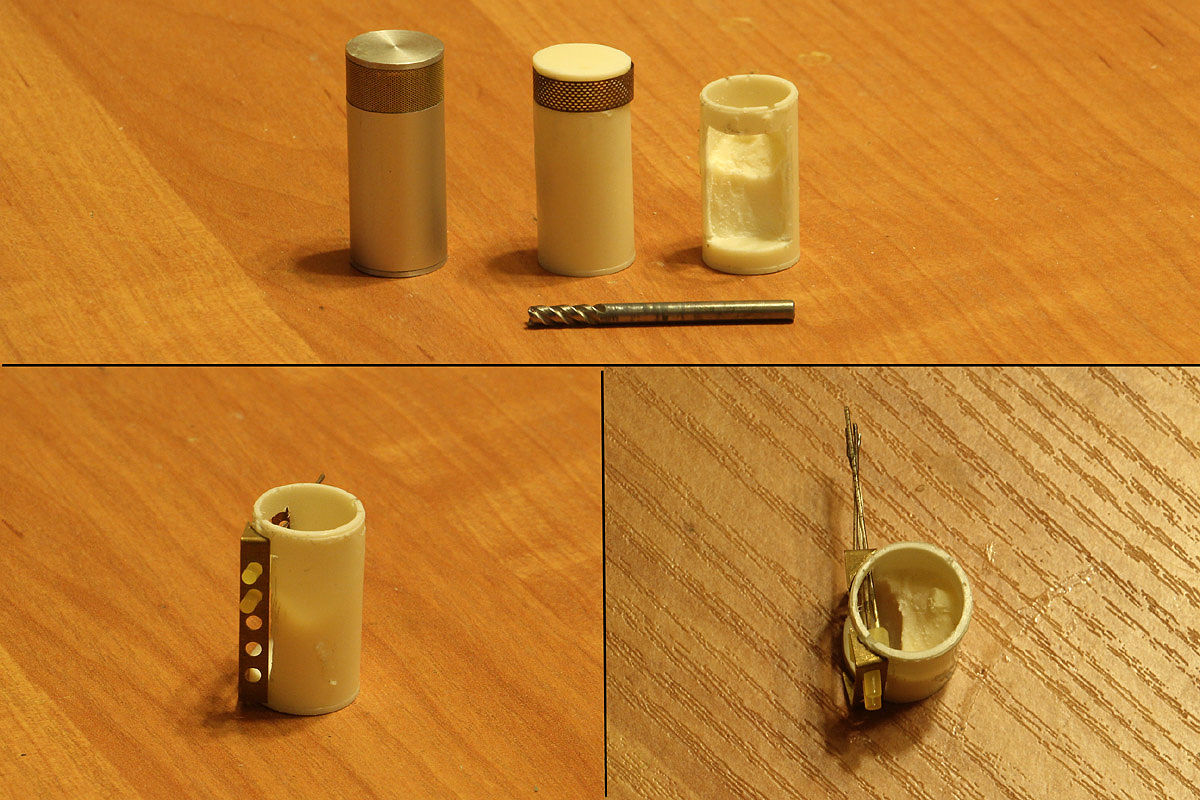 Exhaust pipes 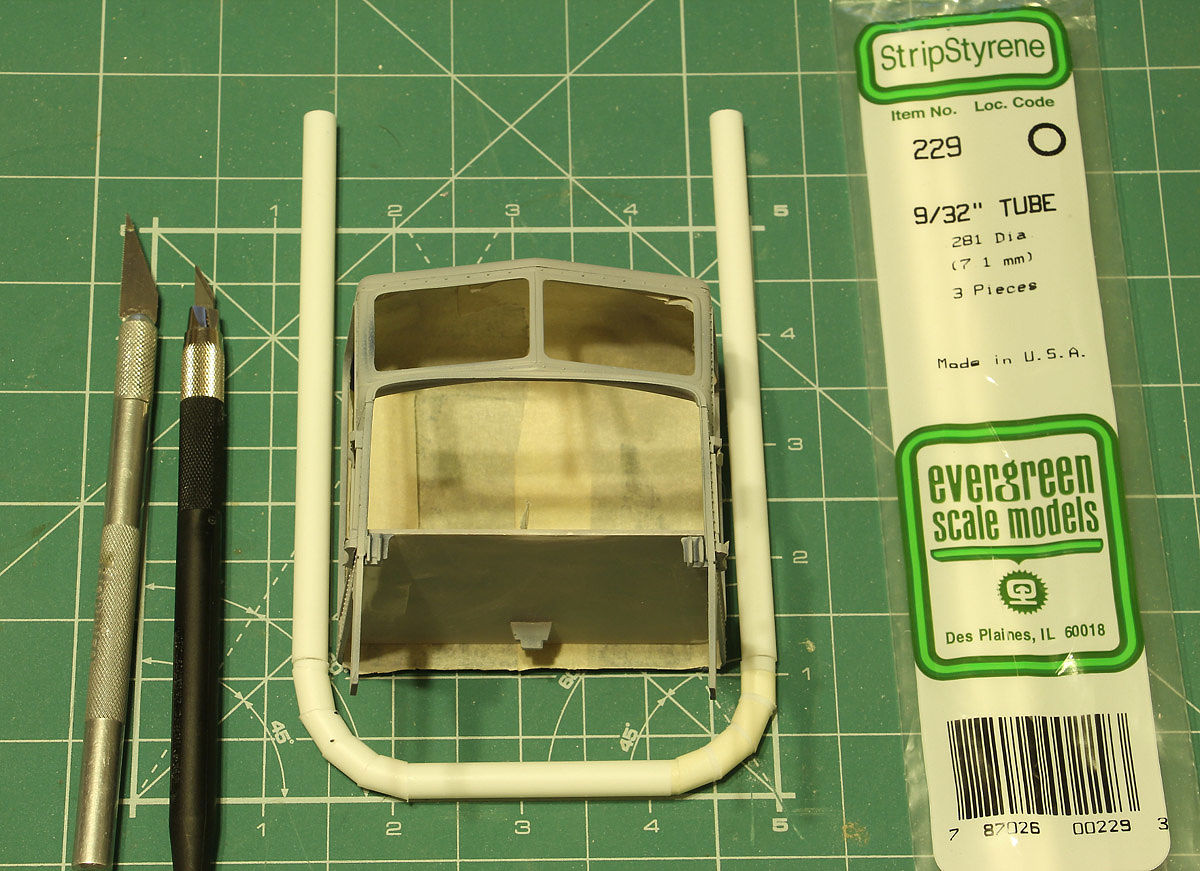
__________________
"Precious and fragile things Needs special handling.."
|
|
|
|
|
|
12-20-2018, 02:23 PM
|
#35 | |
|
AF Moderator
Join Date: Sep 2002
Location: Fort Worth, Texas
Posts: 3,246
Thanks: 31
Thanked 314 Times in 241 Posts
|
Re: Custombilt 379
Super cool!
__________________
The client is not always right. - Enzo Ferrari ItalianHorses.net
|
|
|
|
|
|
12-20-2018, 03:35 PM
|
#36 | |
|
AF Regular
Thread starter
Join Date: Feb 2009
Location: Moscow, Russia
Posts: 294
Thanks: 5
Thanked 14 Times in 14 Posts
|
Re: Custombilt 379
Thank you, Alex!
Kind of you! 
__________________
"Precious and fragile things Needs special handling.."
|
|
|
|
|
|
12-30-2018, 10:09 AM
|
#37 | |
|
AF Regular
Thread starter
Join Date: Feb 2009
Location: Moscow, Russia
Posts: 294
Thanks: 5
Thanked 14 Times in 14 Posts
|
Re: Custombilt 379
I guess it's time to finish WIP
Trailer was increased in hight 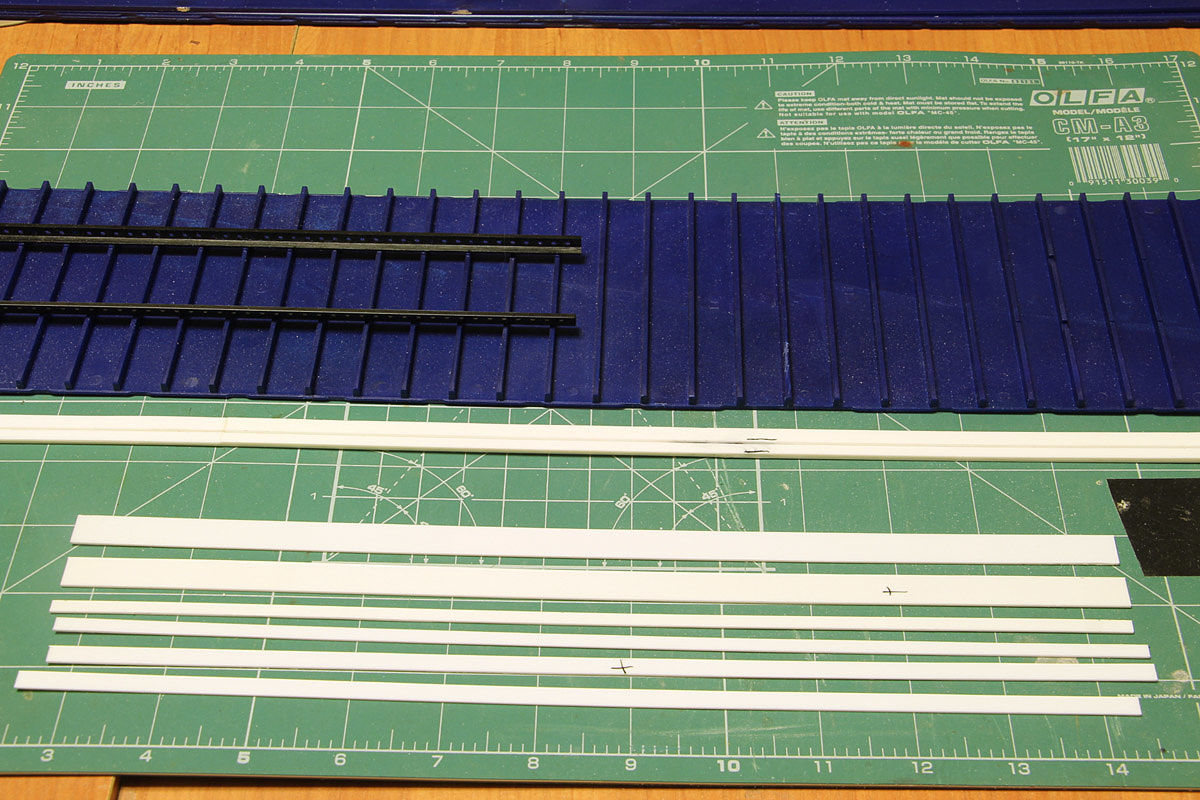 The gates made openable to accept two 12V rechargable batteries 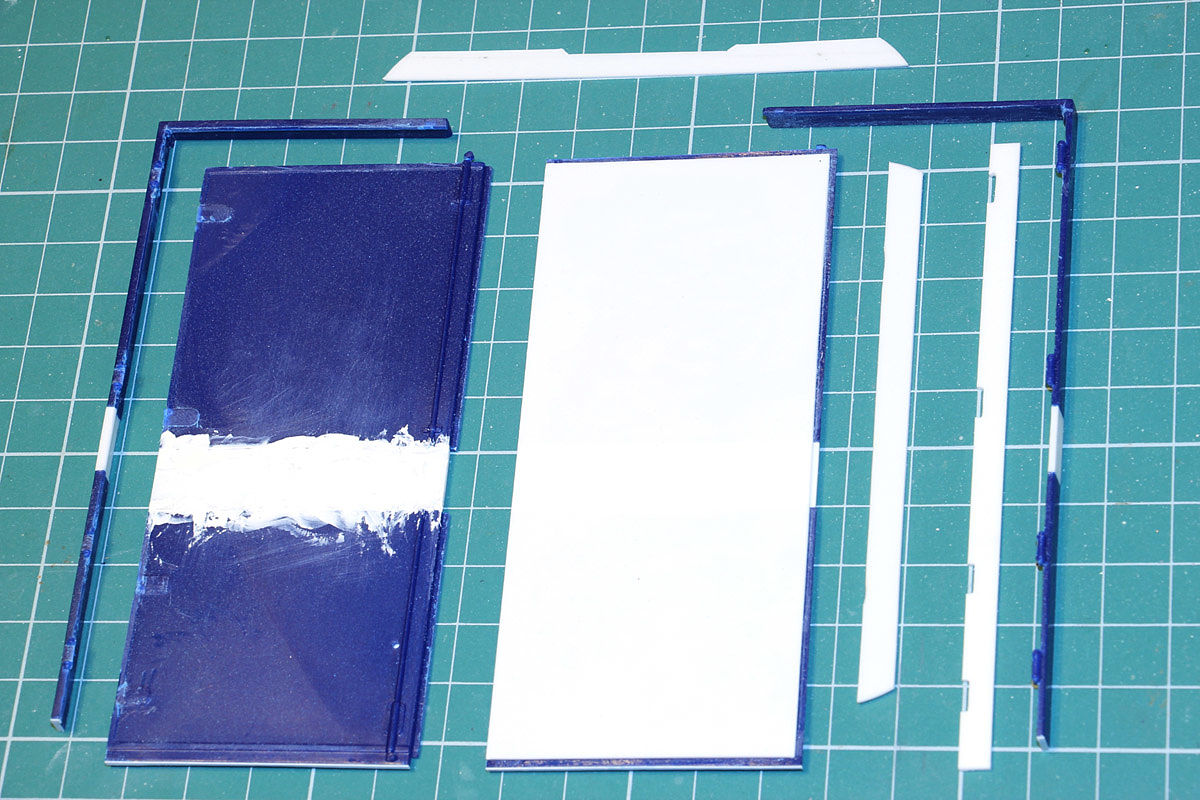 I made my own trailer lenses and remade under run bar 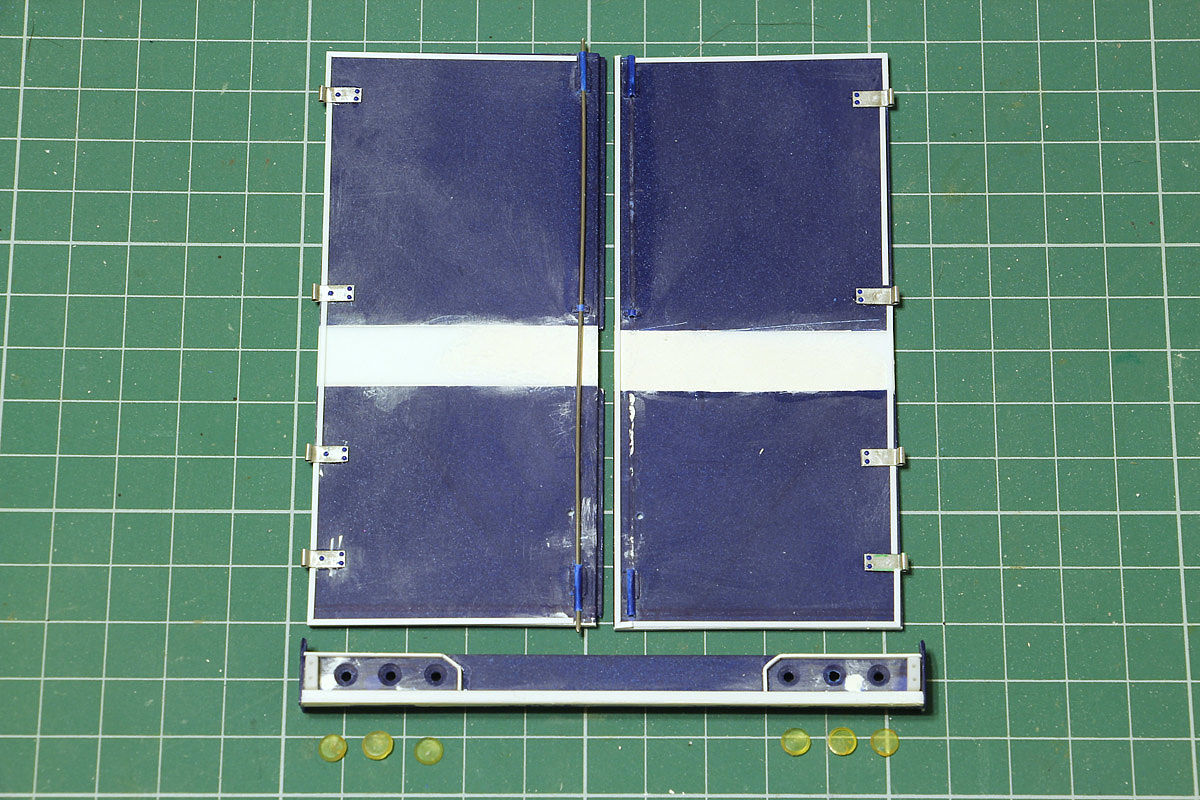 I used Water tank from Italeri Accessories and remade brackets to suit trailer ribs 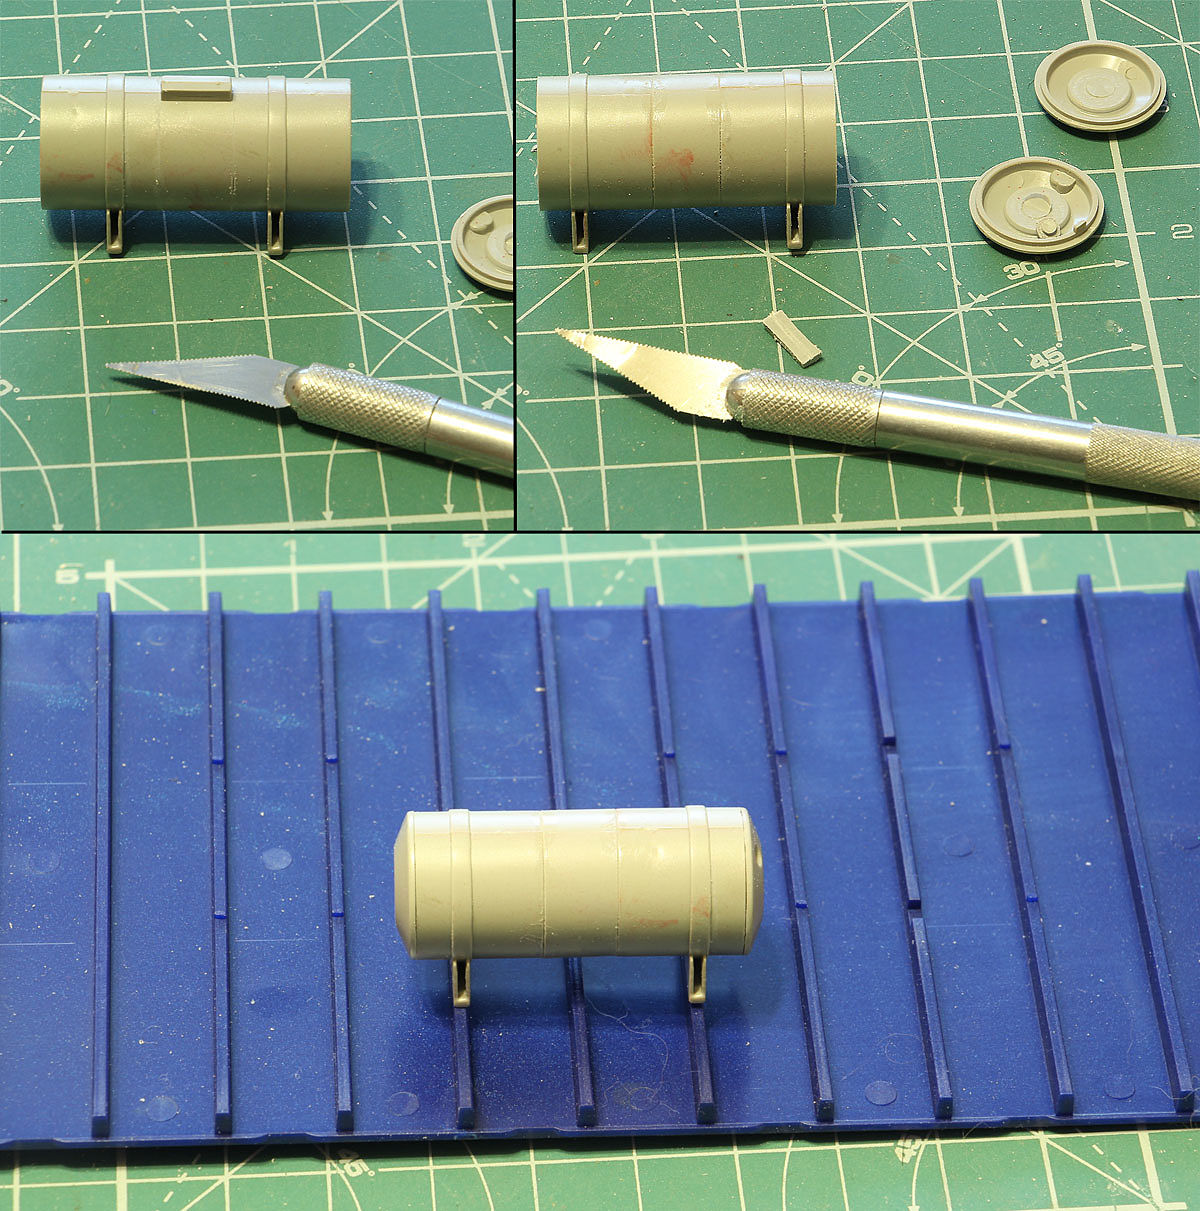 Trailer bogie frame cut in two pieces, so trailer got spread axles 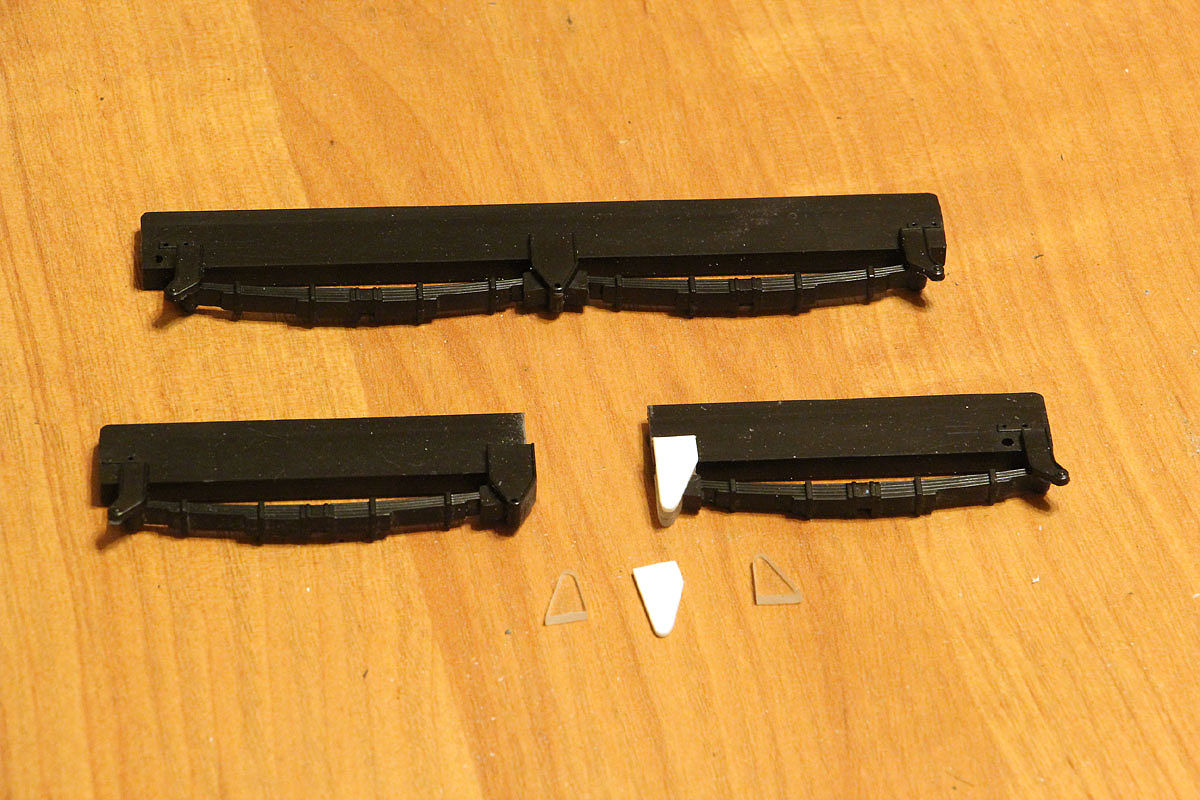 Also front frame got new spring brackets and crossmember, plus both axles changed to brass tube. 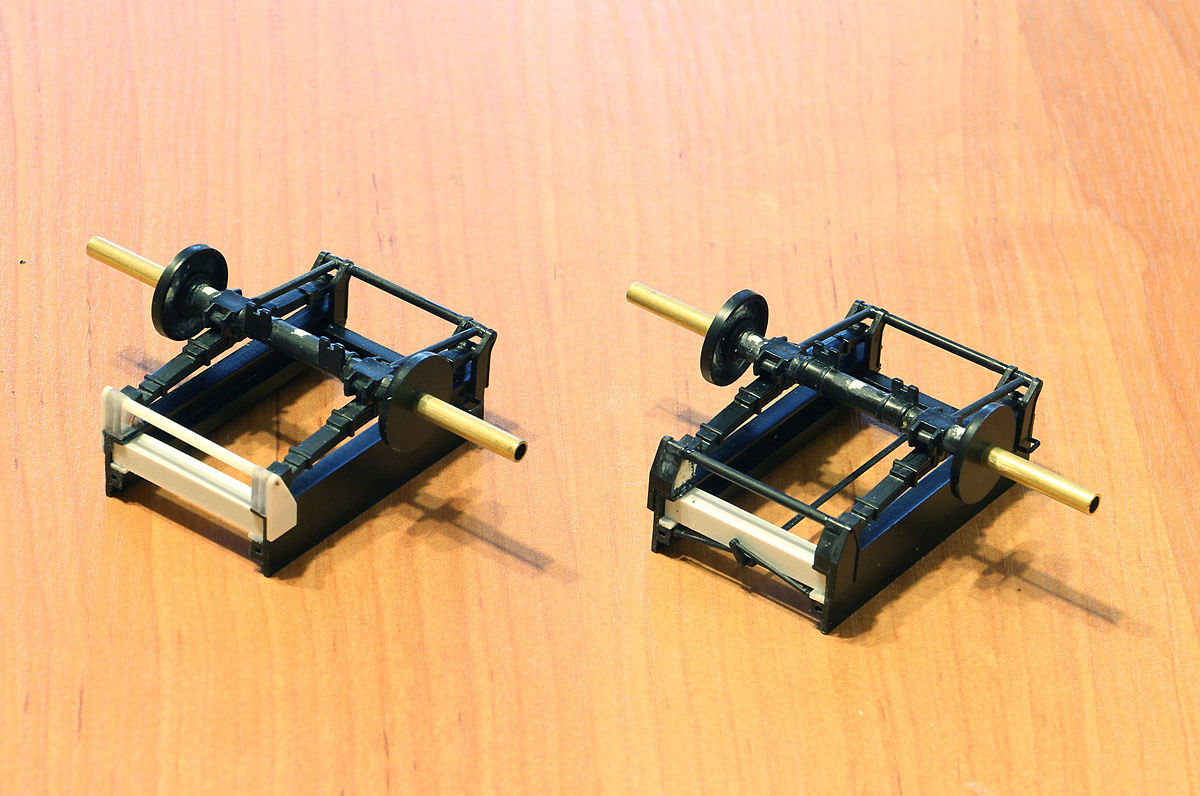 Altered brakes 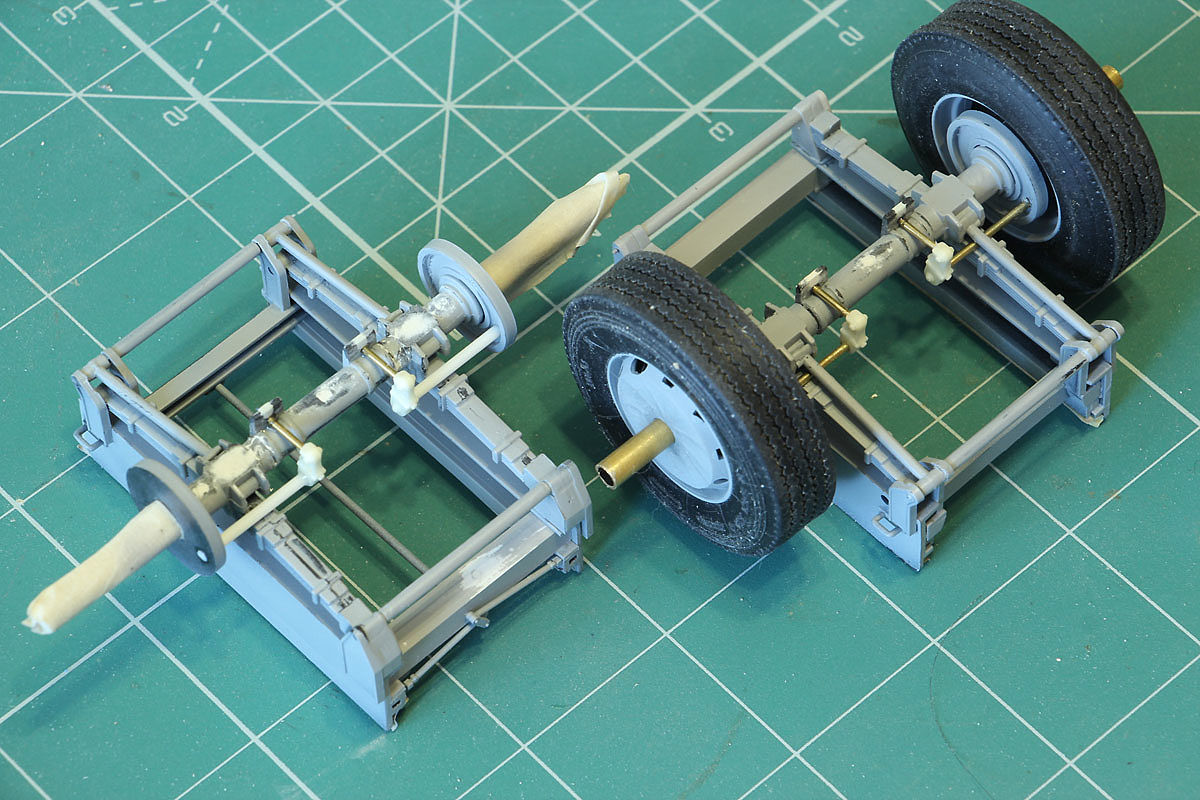 Brake system receivers made from Evergreeen tube + plumbing 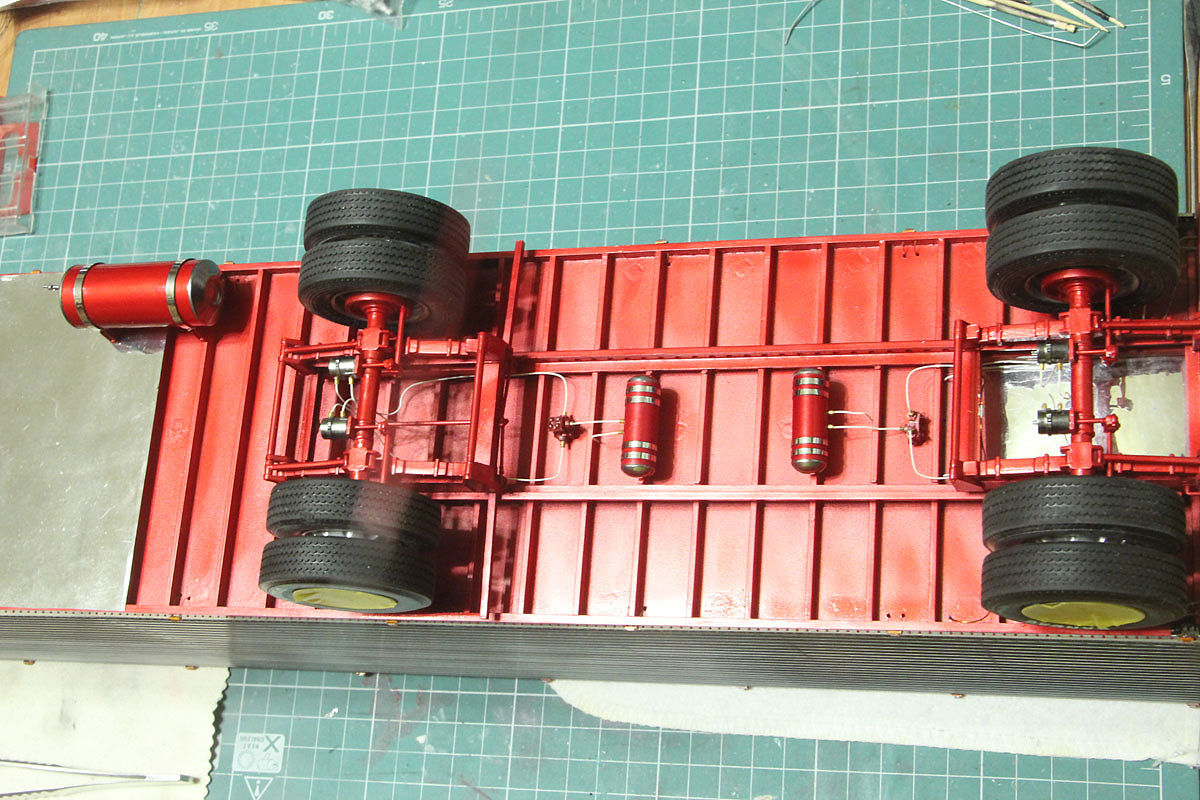 Next I used this jig to solder wires to 151 LEDs (10 air filter LEDs got their own legs) 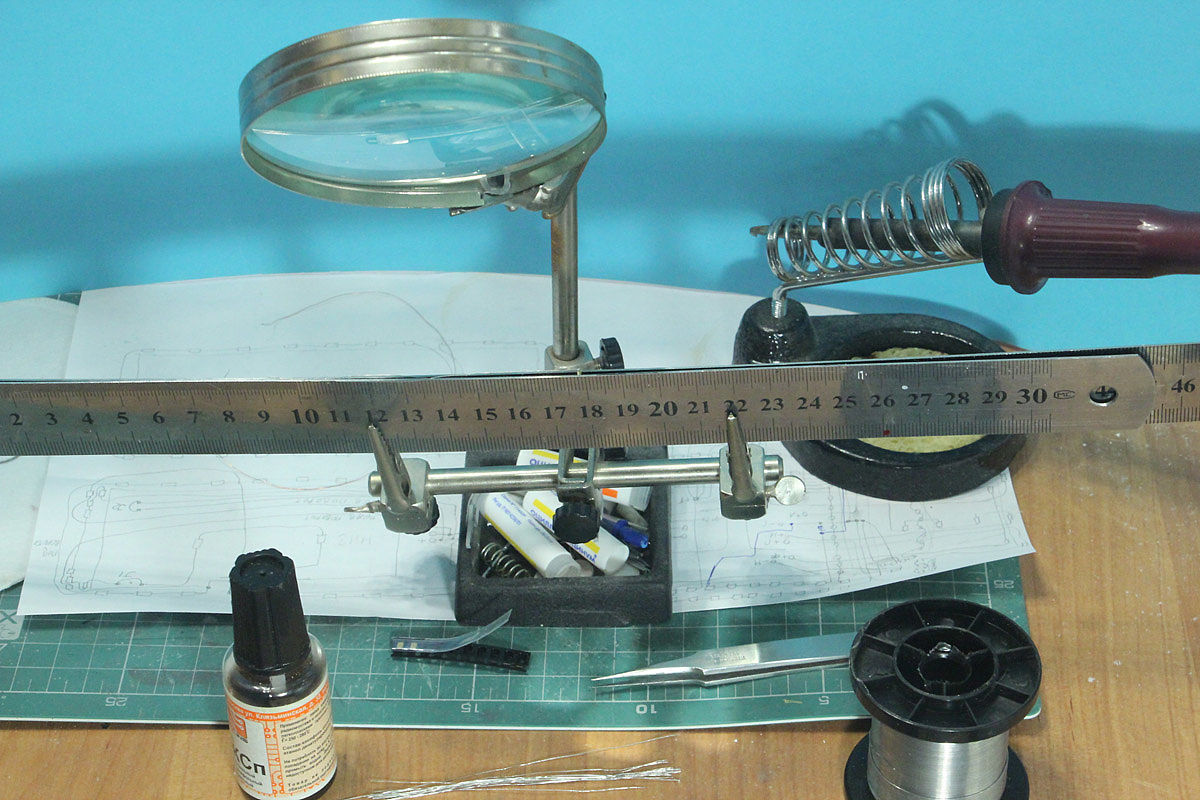 To put, turn and take a LED from a jig I used sharp tweezers 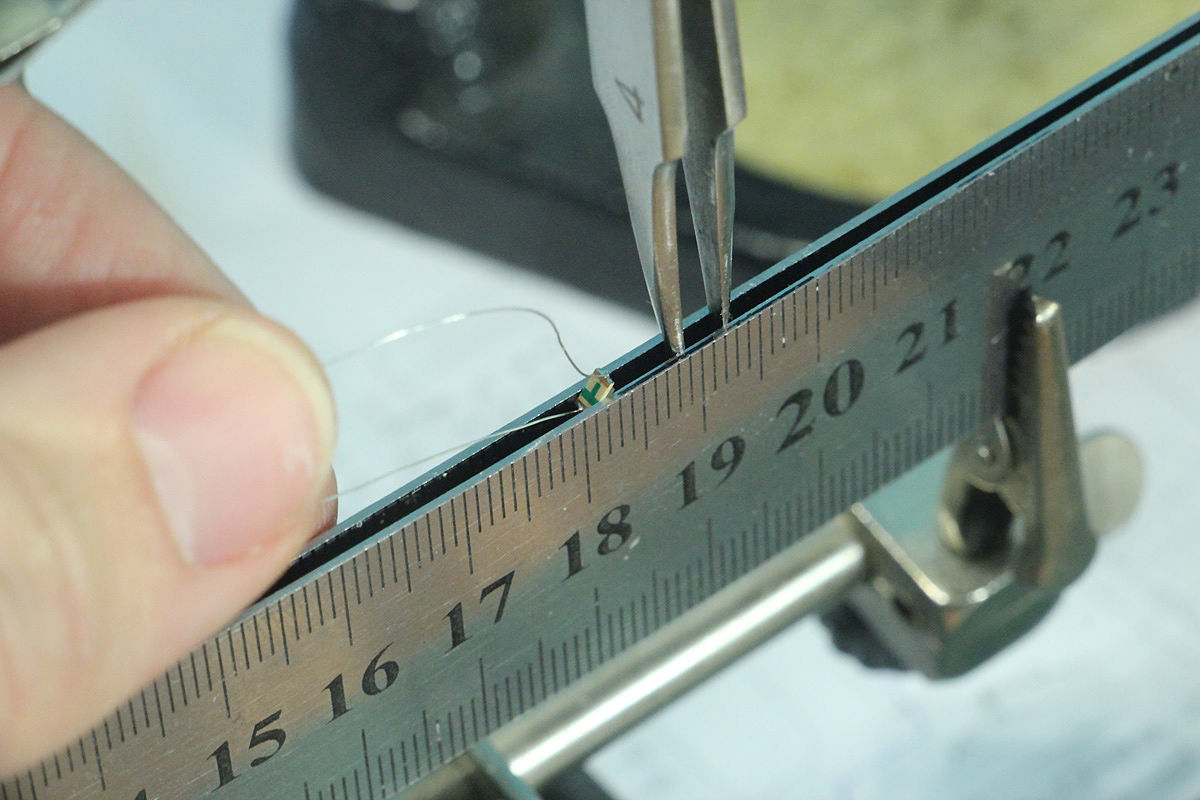 Now see how the Dash glows 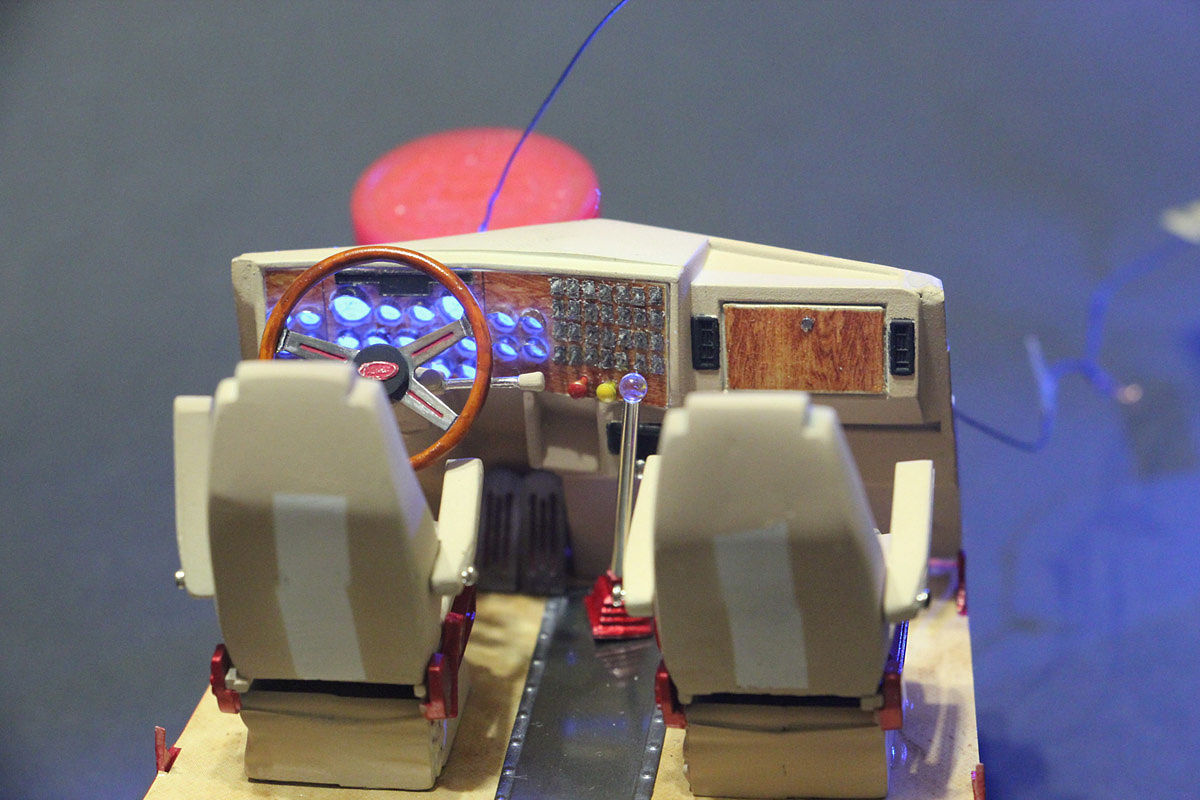 Note here bottom lights near the pedals. 4 lights driver side and 5 - on passenger side  Here you can see, that current from batteries goes through "pnevmatic" wires to tail truck bumper and connector behind it 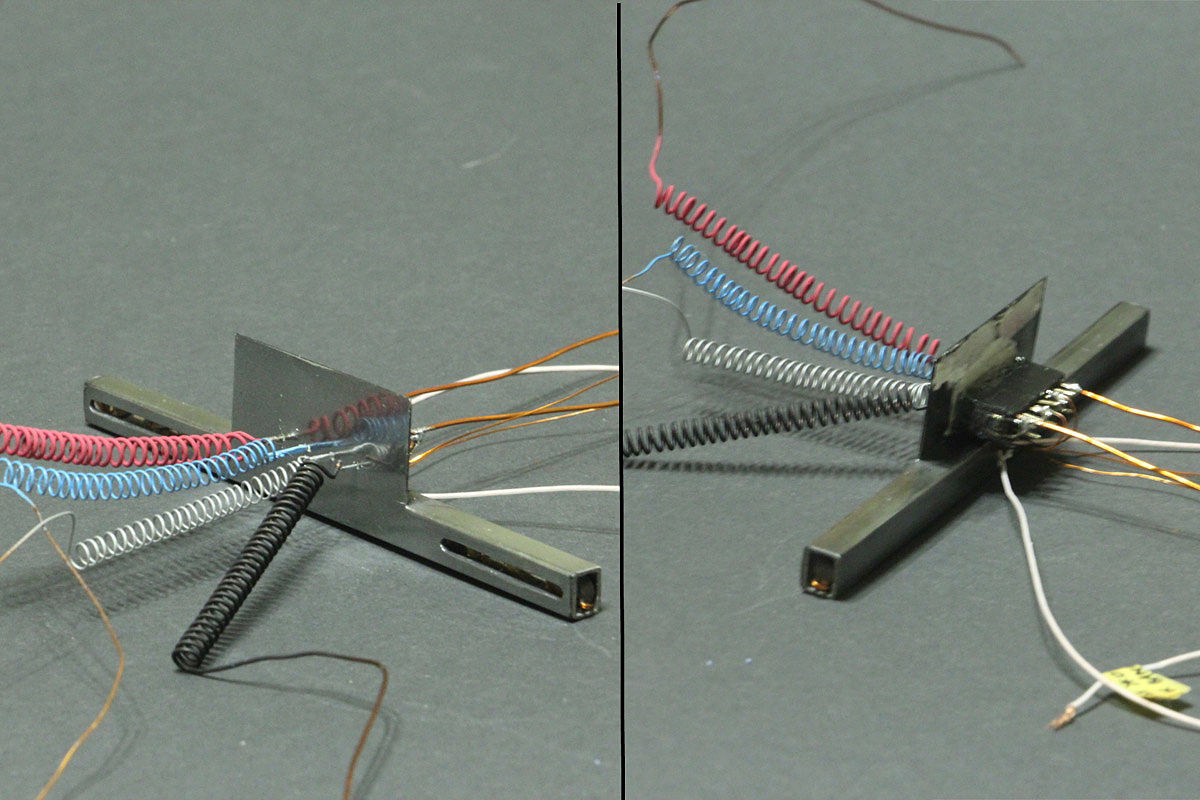 The wireing of the cab. Note place between firewall and dashboard: it covered with foil for maximum light output 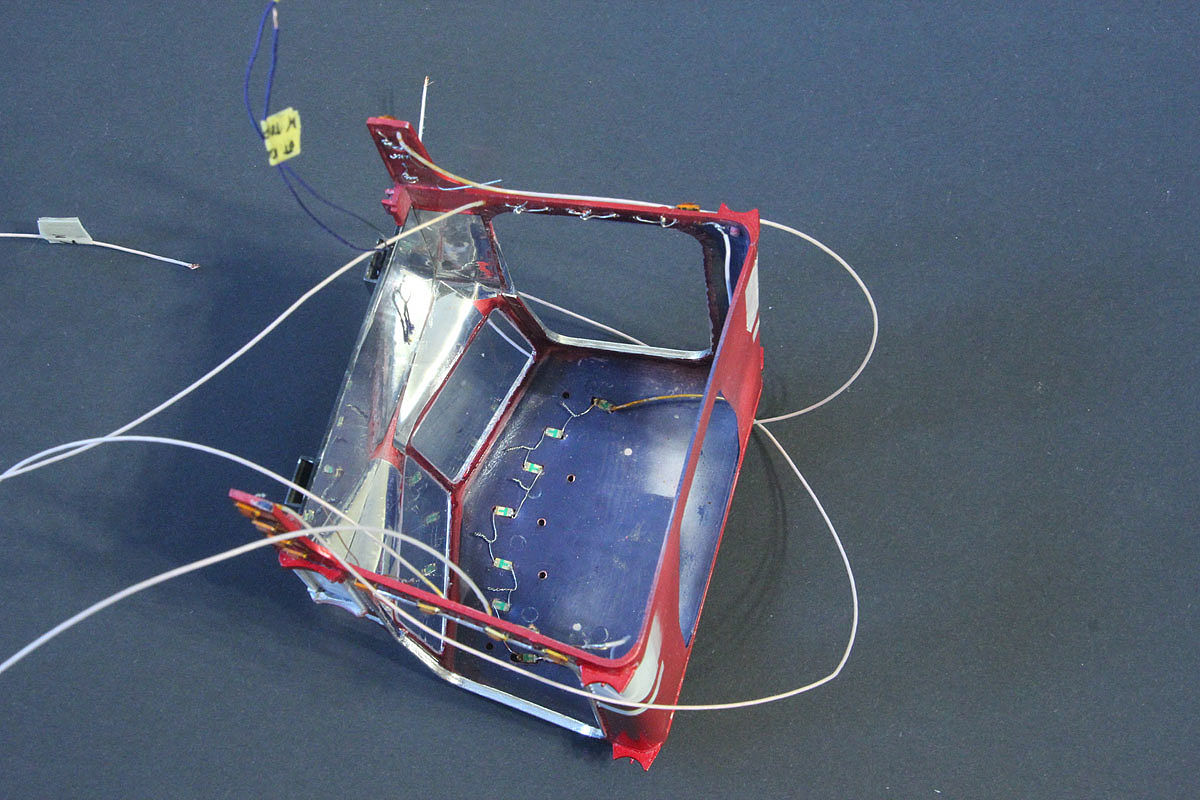 The sleeper keeps all wire chains, plus flashing lights circuit board, plus 3 connectors for 9V batteries (alternative power source, if trailer is not connected) 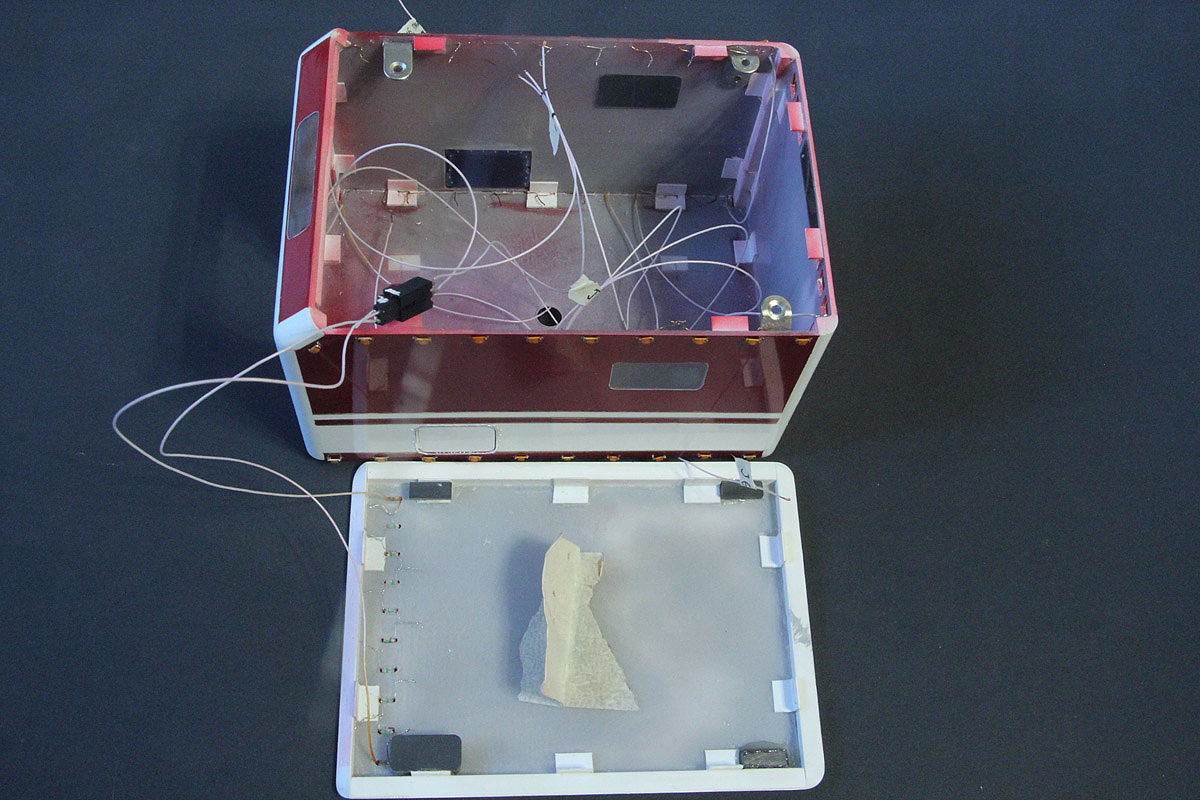
__________________
"Precious and fragile things Needs special handling.."
|
|
|
|
|
|
12-30-2018, 11:12 AM
|
#38 | |
|
AF Regular
Thread starter
Join Date: Feb 2009
Location: Moscow, Russia
Posts: 294
Thanks: 5
Thanked 14 Times in 14 Posts
|
Re: Custombilt 379
Paintig was TS-2828 over white Tamiya primer
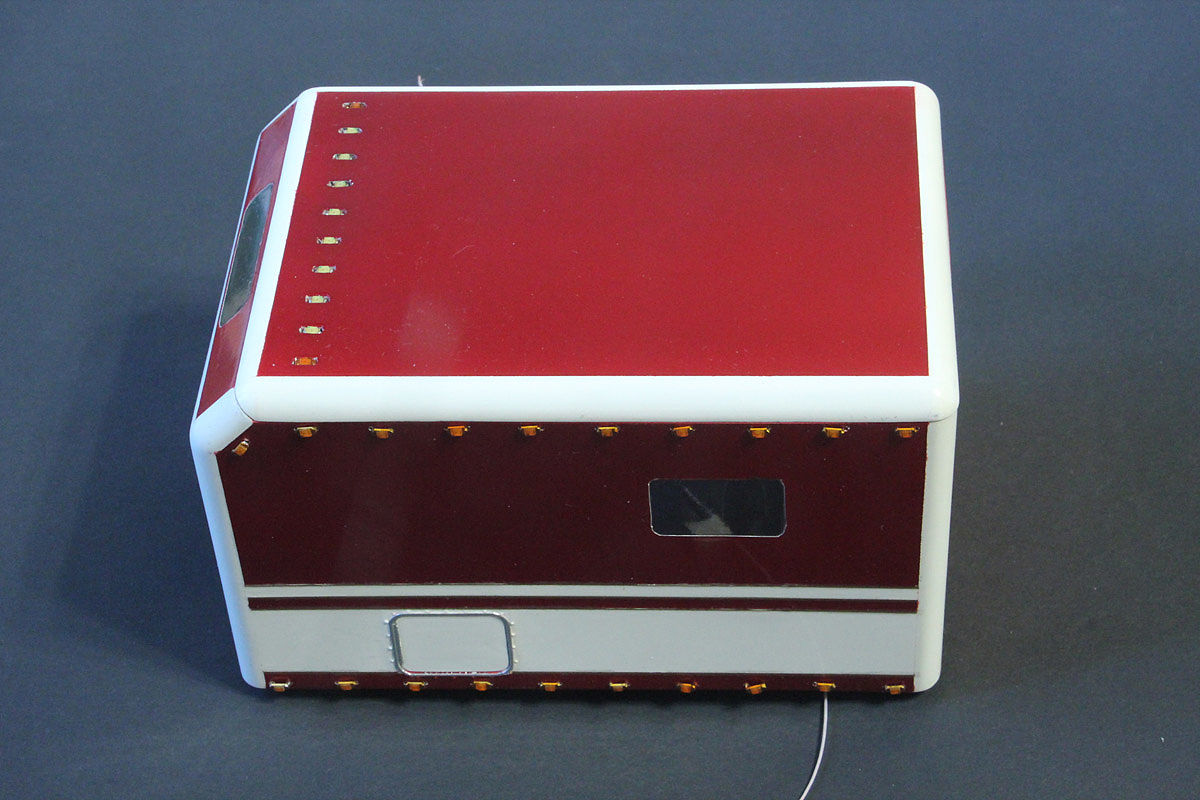 Interrior sprayed with a mix of Tamiya's ХF-78 и ХF-2but before that preshading was made in deepenings. Wooden inserts on the doors, ceiling and steering wheel - painted in several steps: Modelmaster - Wood - with airbrush, x-26 and XF-10 - by brush and - X-26 from airbrush in the end. 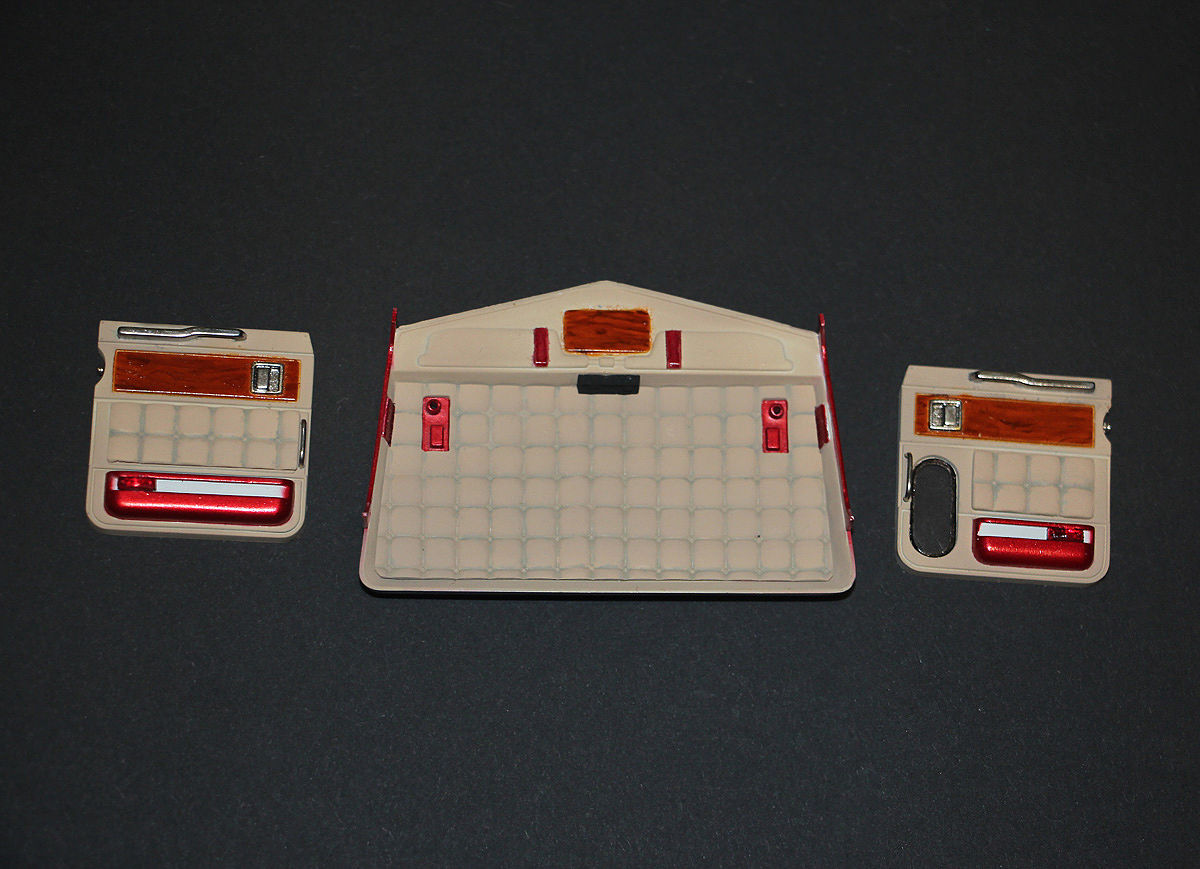 The engine was painted with water soluble ScaleColor paint, color - Fucsia. The block head, oil sump, alternator and pulleys – chromed by Alclad. After painting I added resin nuts and bolt heads into under hood compartment, and etched clamps from Czehc Truck Model. 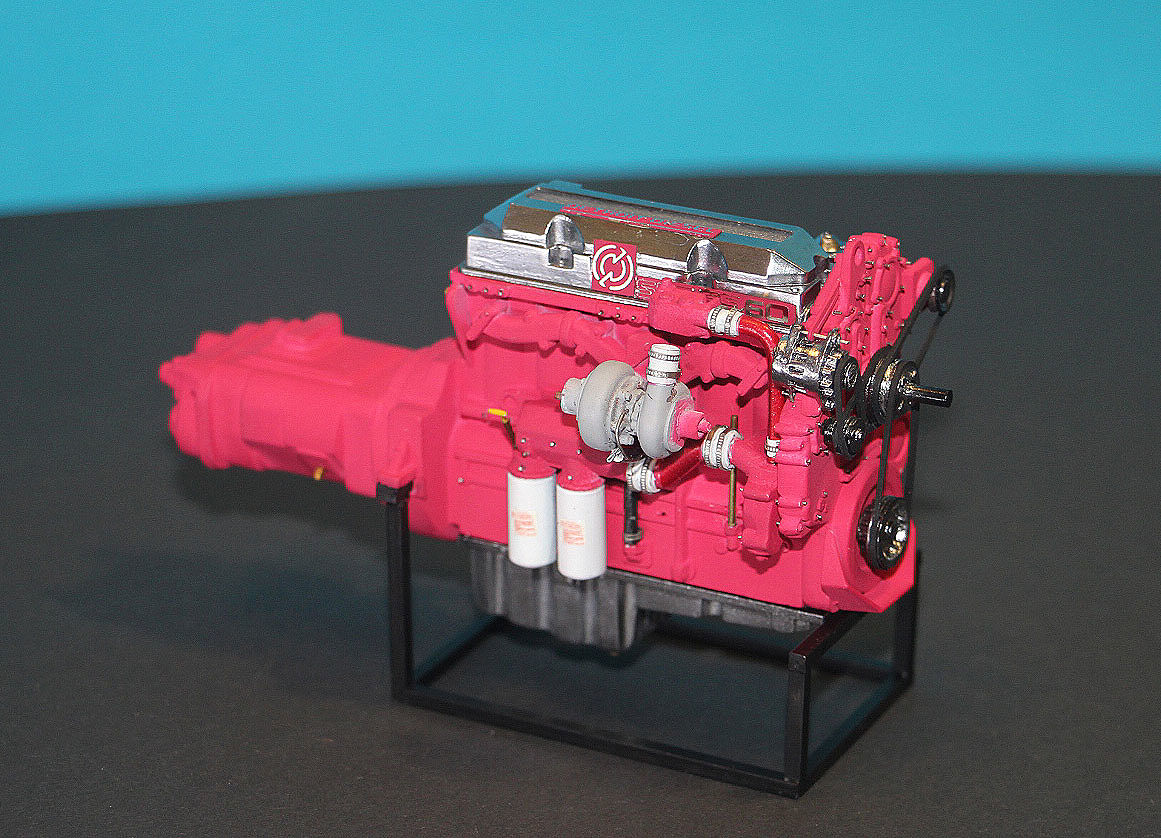 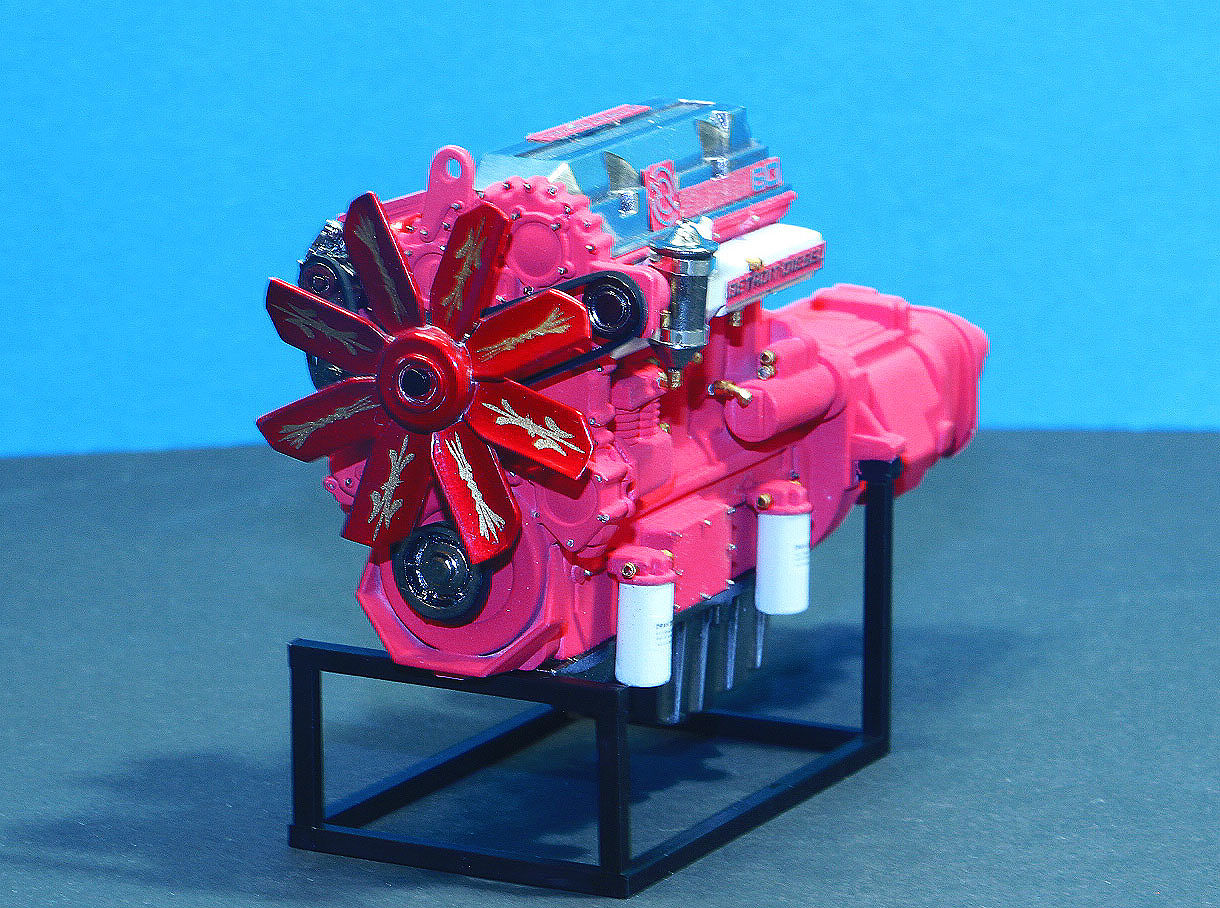 Paint was followed by the decals. These are Golden pin stripes and scrols, as well as the name of the transport company on cab doors, purchased earlier on KFS. Further - clear varnish. After drying and polishing, the door and window openings were covered with model Factory Hiro foil. It more adhesive than BMF, but the reflective ability of it – worse 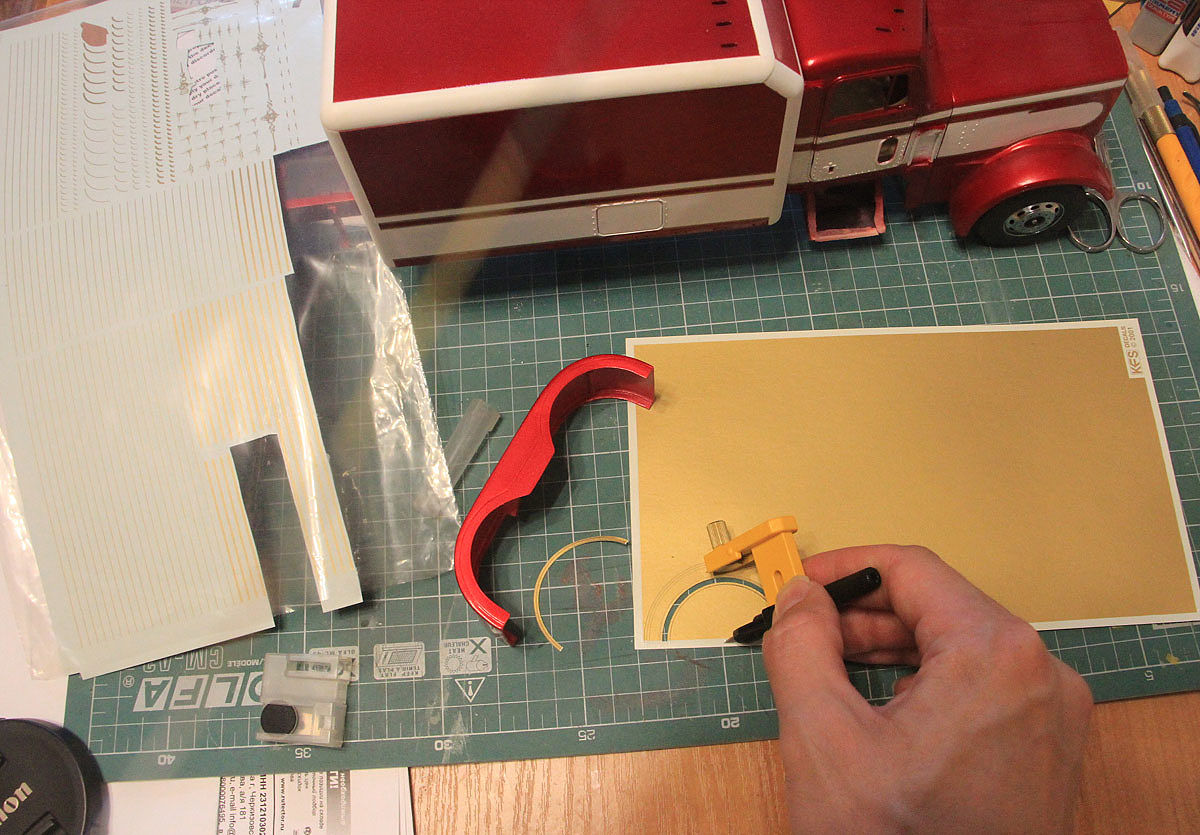 The mudguards are made of black matte Oracl. Finally was able to apply here Pin Up silhouettes. Reflective red and white stripes on the trailer are from "Line O Tape". Bought on eBay. 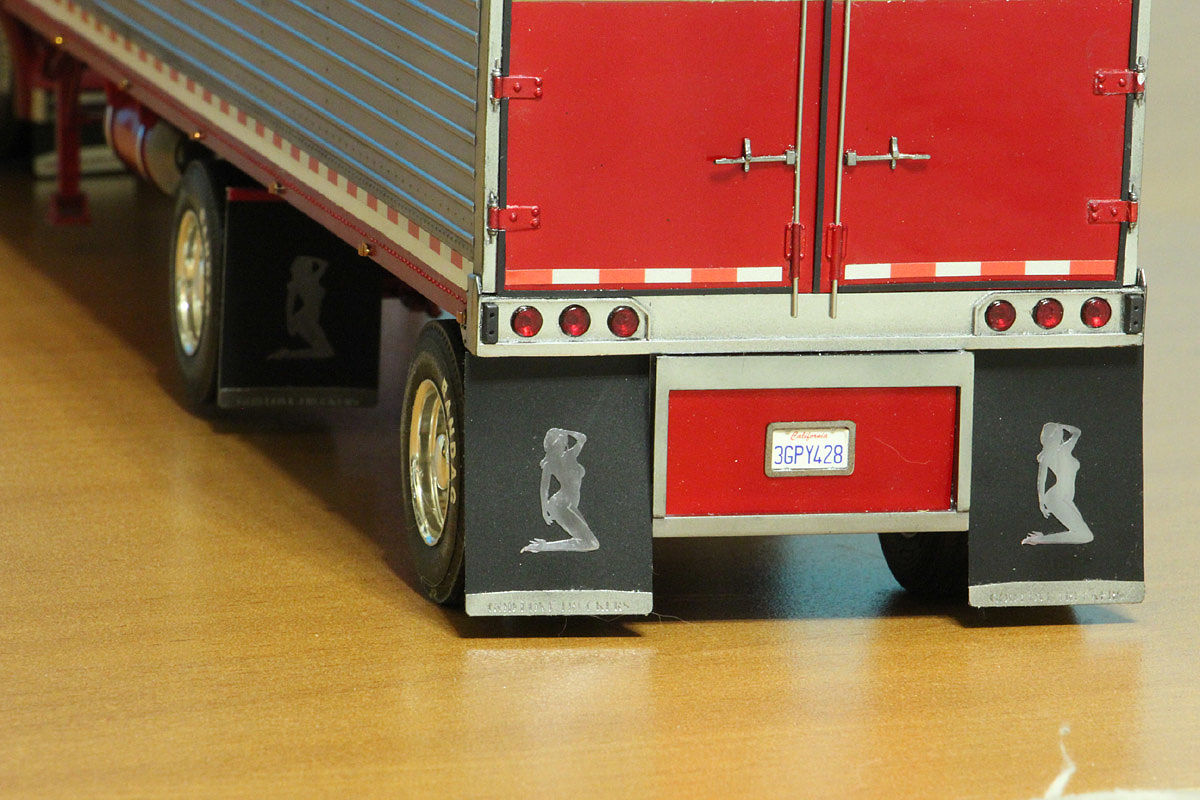 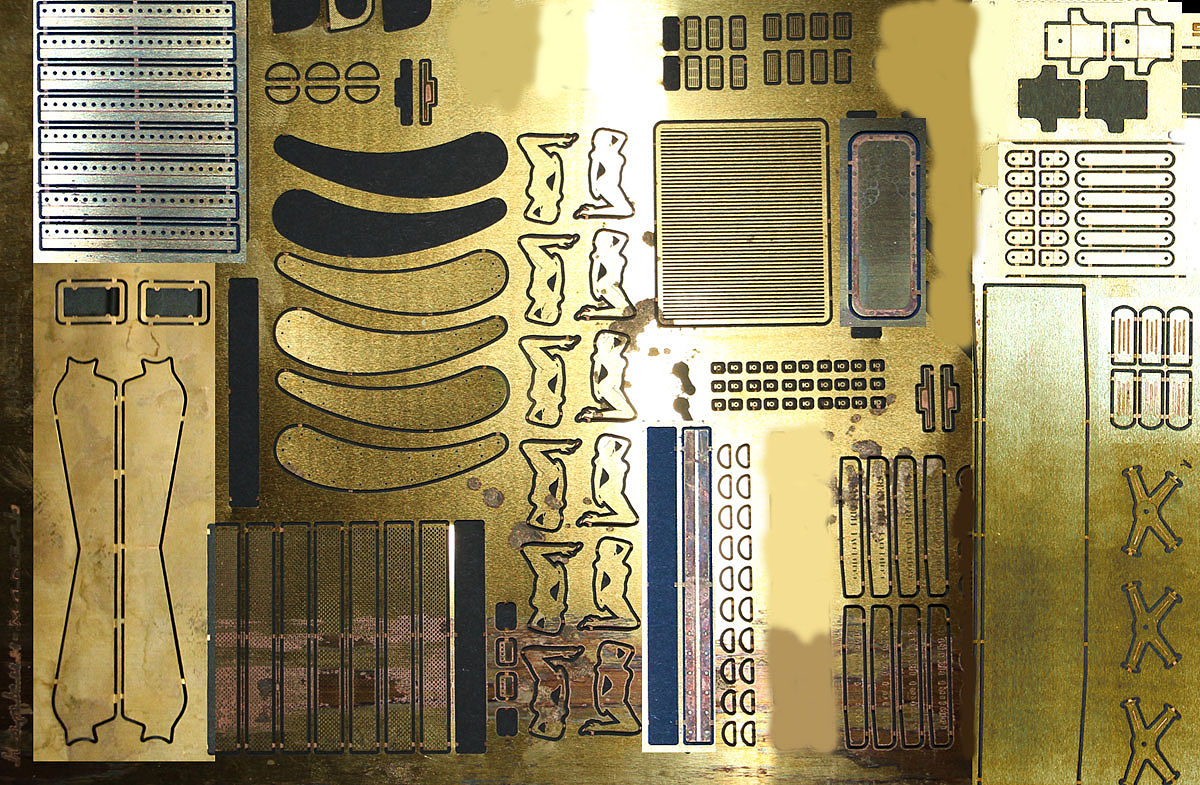 The Swan figurine on the hood was bought on Ausie Models in advance, but sorry, where is the Swan!? It's a dove! Its height is 11mm, it is more suited to the scale of 1: 16. 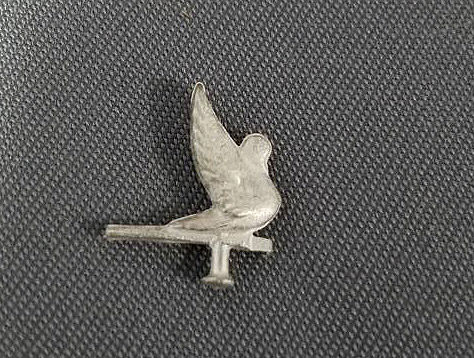 I was have to cut the "Swan's" wings and paws. Reduced to 8 mm. I drilled a 0.8 mm hole in the head and removed the excess with a scalpel. The result was a normal curved neck. The wings are used to represent a single one. A furrow was filed down in the center with a needle file. It turned out two wings. 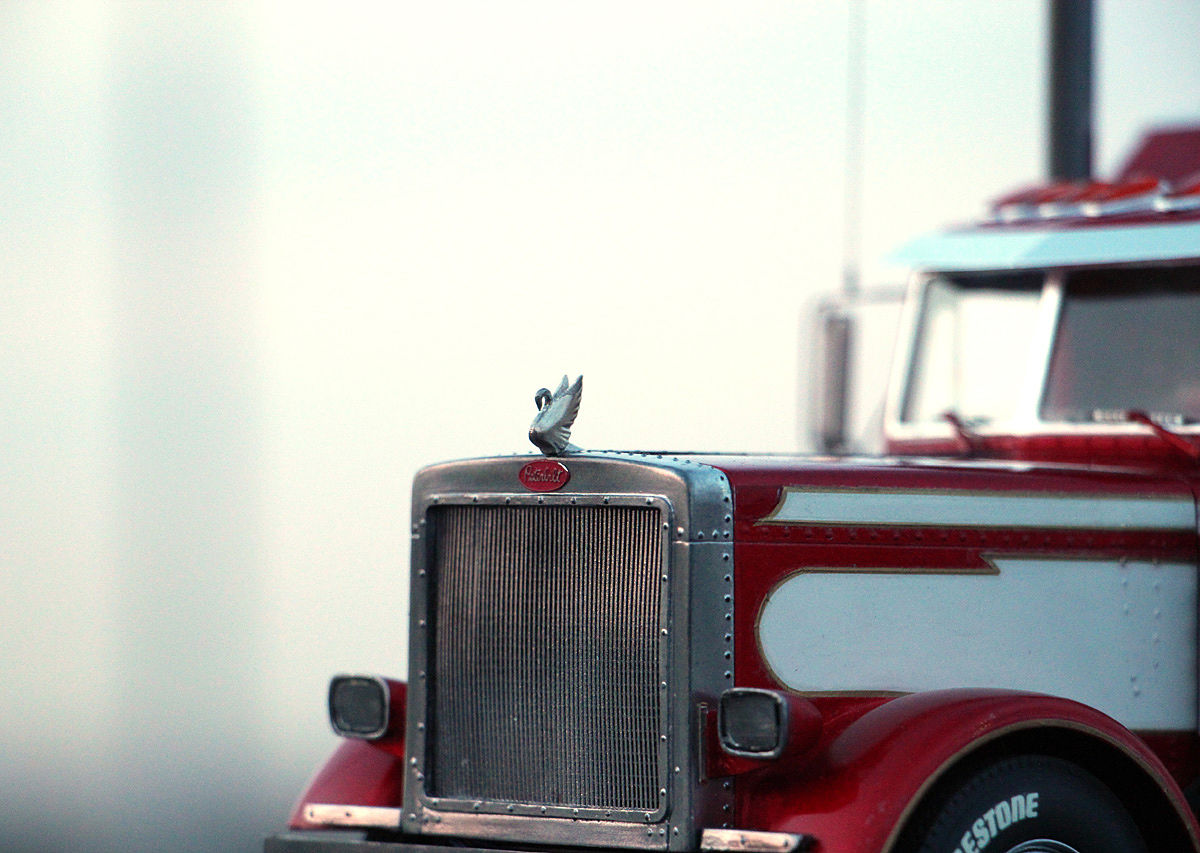 As a result, the construction lasted 8 years with breaks. Not changed / not replaced left, about 10% of the original parts. I had the idea to make the mounting clamps on the fuel and water tanks, but in the end I was worn down and let it go.
__________________
"Precious and fragile things Needs special handling.."
|
|
|
|
|
|
|
POST REPLY TO THIS THREAD |
 |
|
|

