|
|
|

|
|
| Search | Car Forums | Gallery | Articles | Helper | AF 350Z | IgorSushko.com | Corporate |
|
| Latest | 0 Rplys |
|
|||||||
 |
 Show Printable Version | Show Printable Version |  Email this Page | Email this Page |  Subscribe to this Thread
|
|
|
Thread Tools |
 02-11-2010, 01:22 PM
|
#1 | |
|
AF Enthusiast

Join Date: Jun 2005
Location: Fairmont, North Carolina
Posts: 2,551
Thanks: 2
Thanked 0 Times in 0 Posts
|
Spyder Weatherstripping Replacement
As with alot of Spyder owners, I have been suffering with a leaky interior. The problem was the old dry-rotted weatherstripping that seals the top to the windshield frame. I finally bit the $252 bullet and bought the replacement rubber. I tried to get this piece through the dealership but it seems to be unavailable. I lucked up and found it on Ebay though. This is how I performed the process.
Tools: -New weatherstripping -3m Yellow weatherstrip and gasket adhesive -Phillips head screwdriver -Flat head screwdriver -Small Allen wrench The new piece: 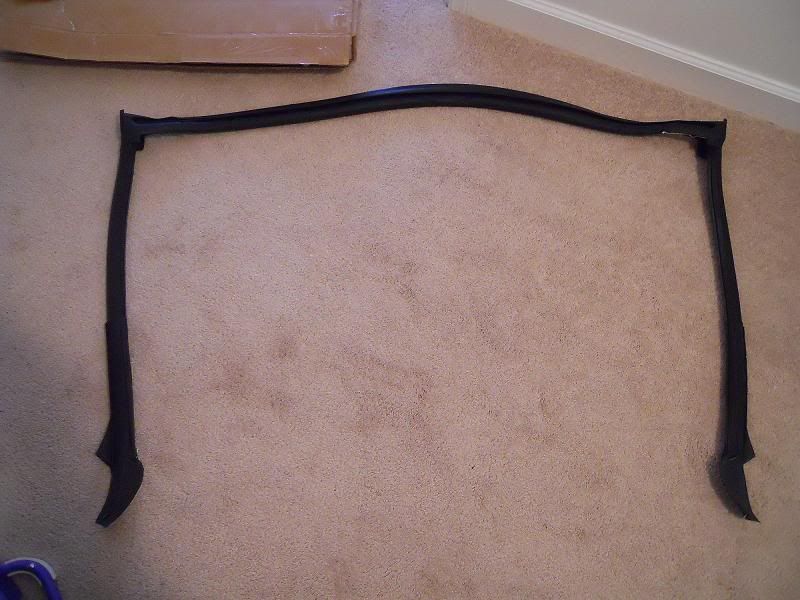 Step 1: Drop the top 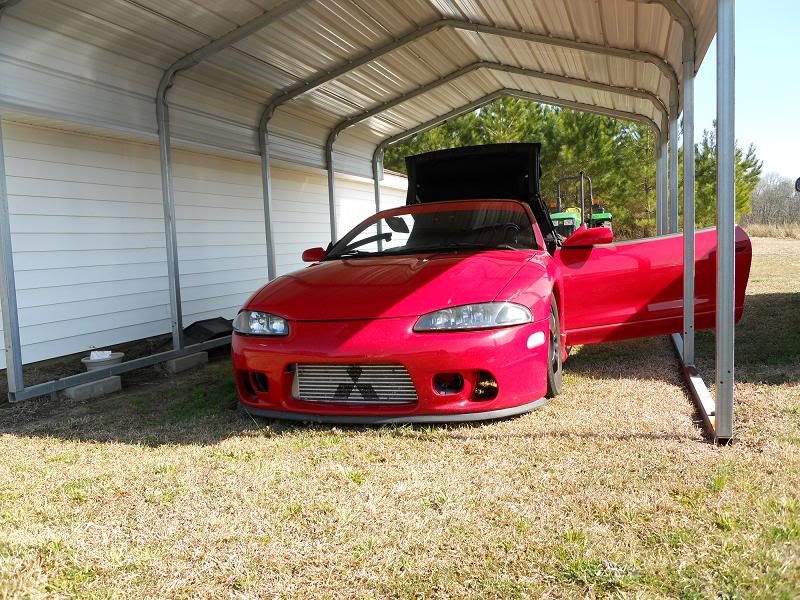 Step 2: You are going to need to remove the upper trim panel. To do this you must first remove the A-pillars, the sunvisors, and the rear view mirror. The visors are simply held up with 2 screws. 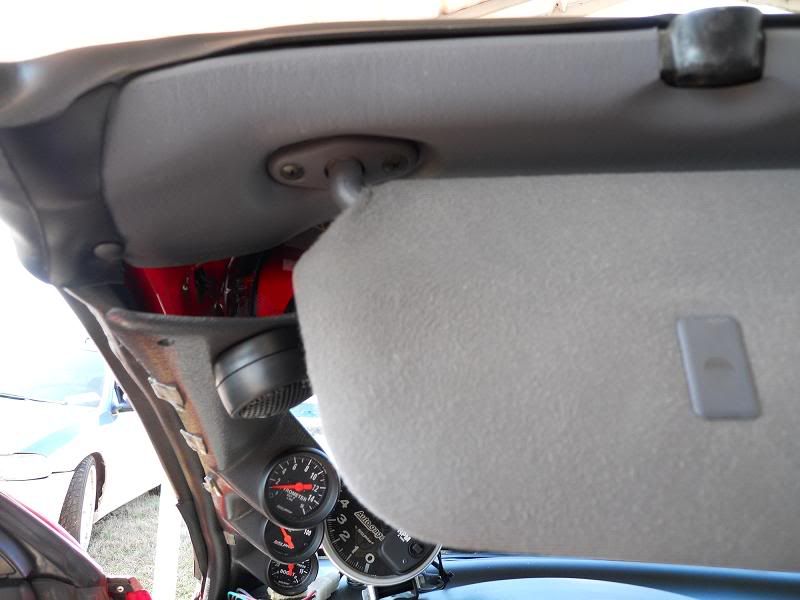 Step 3: Remove the clips holding the rubber to the trim panel. 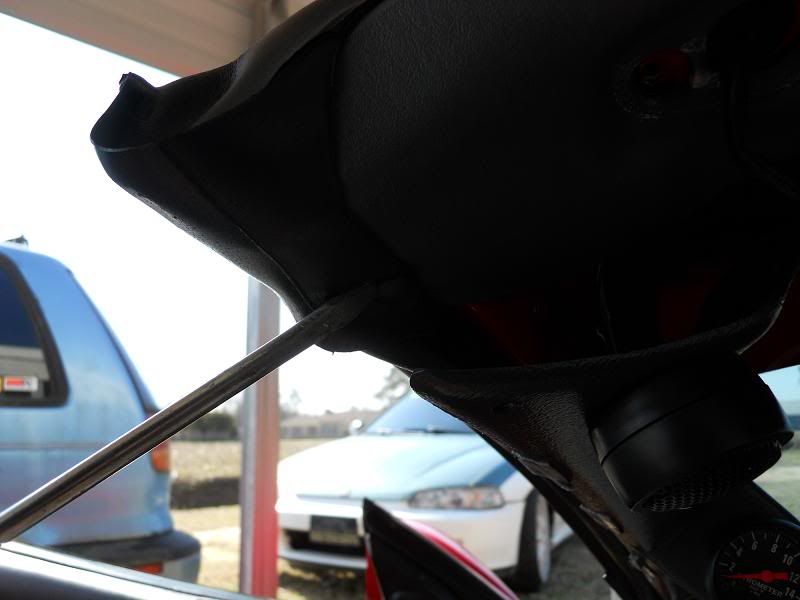 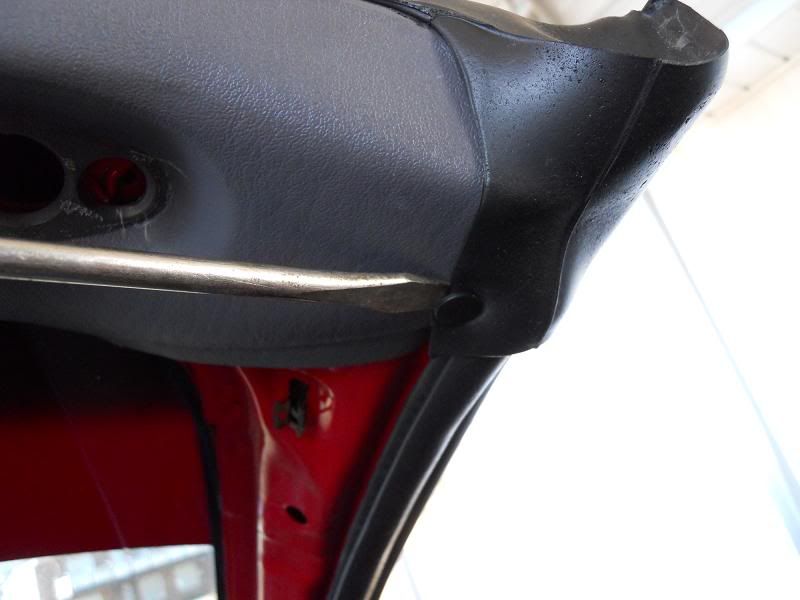 Step 4: Now you can simply pull the panel down and out. It is held on with 4 snap clips. 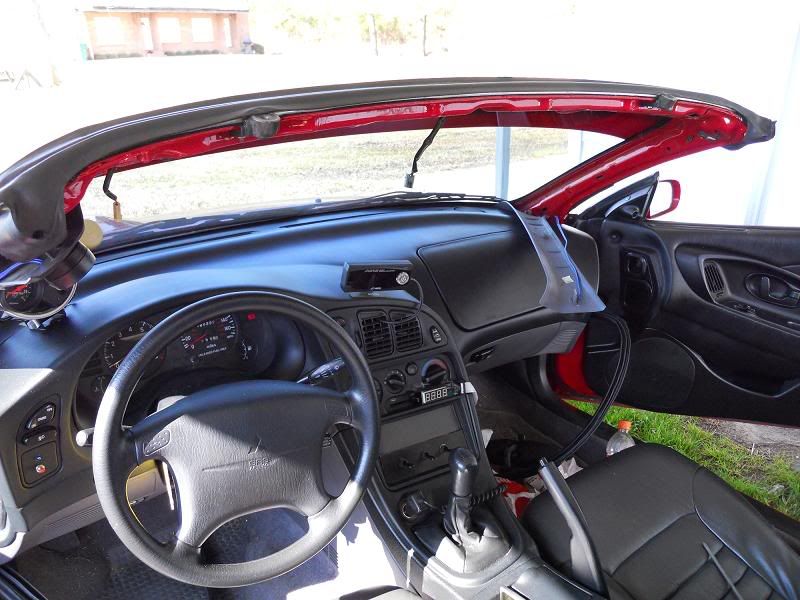 Step 5: Remove all the clips holding the weatherstrip to the car. There is one plastic clip on each corner of the windshield frame 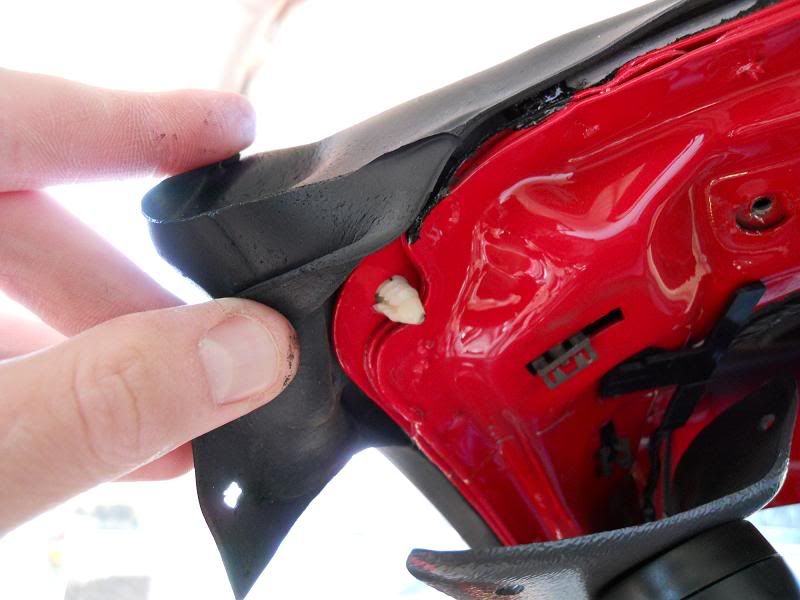 And two plastic clips in each door jamb (one is visible) and one is covered by the rubber 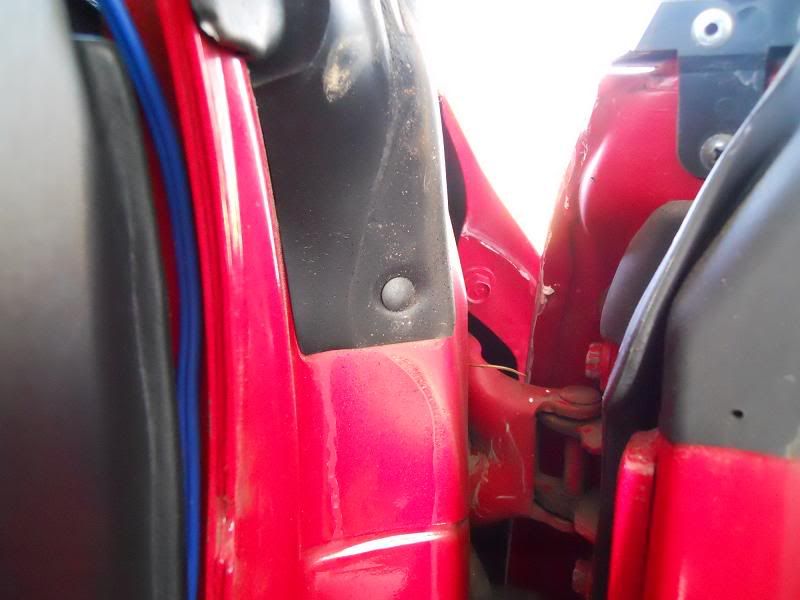 Step 6: You can now remove the old piece. Just pick a corner and start pulling. Notice how the old weatherstripping is attached to the car. 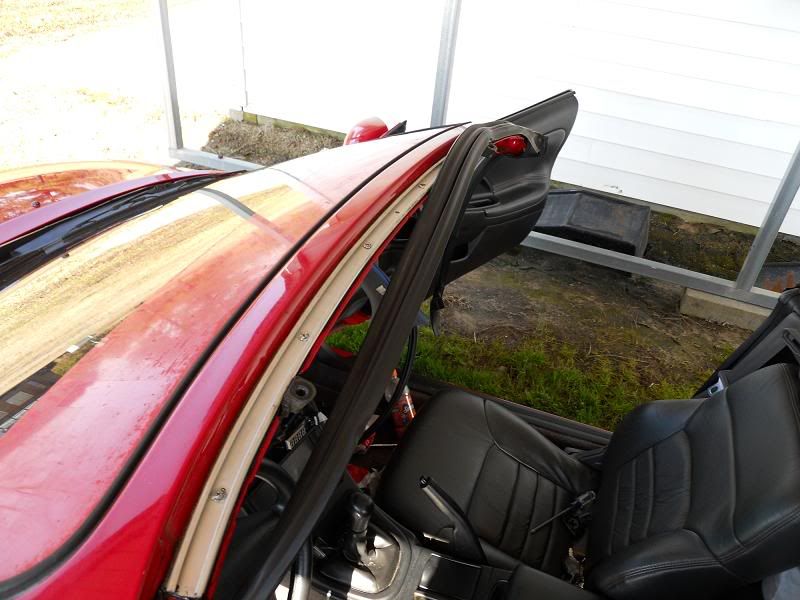 Removed 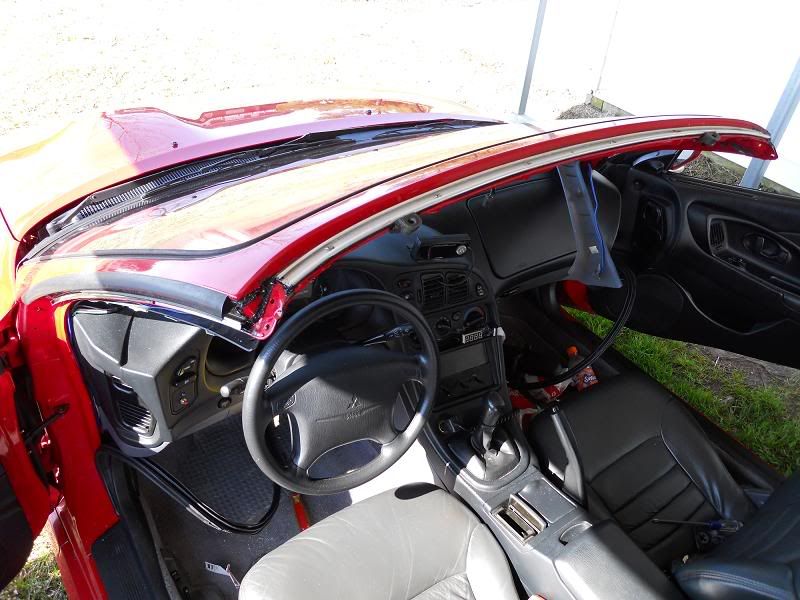 Step 7: You must now install the new part. Again, notice how the rubber attaches to the car. There is a (chrome) piece that is slotted. The rubber is flared out on the bottom at each side. You must force the flared edge of the rubber into the slotted track until it seats. Here is a closeup of the slotted track so that you can get an idea of how the rubber fits into place 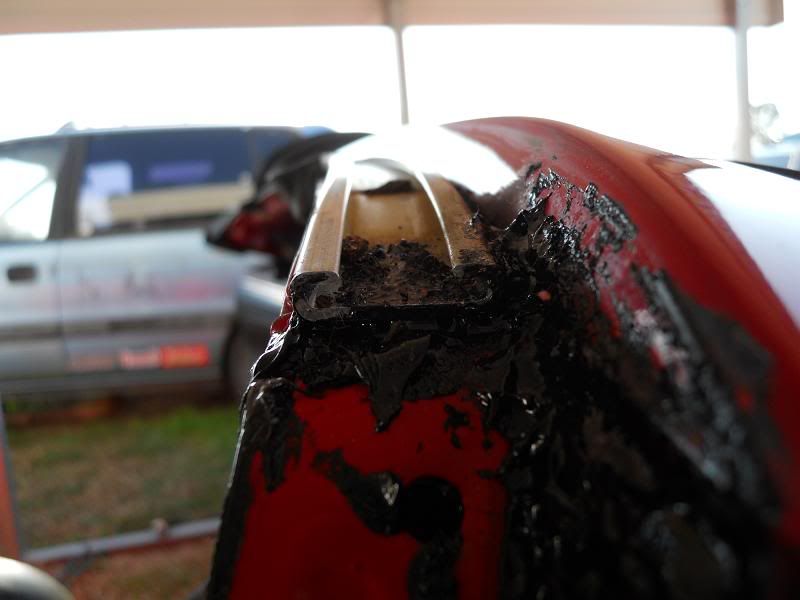 I used a flat head screwdriver to push the weatherstripping down into the groove 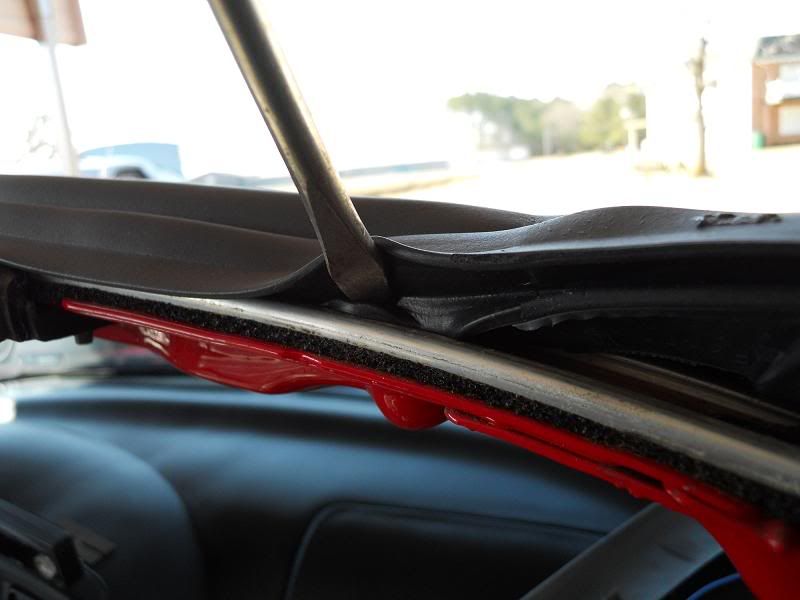 Pick a side to start at, I started with the drivers side. Work the piece into place all the way up until you reach the top corner.  Step 8: At the corner of the stripping there is some adhesive installed from the factory. Also, the car still has the factory black tar looking sticky stuff in place. But for extra piece of mind, I used some 3m adhesive mentioned earlier. 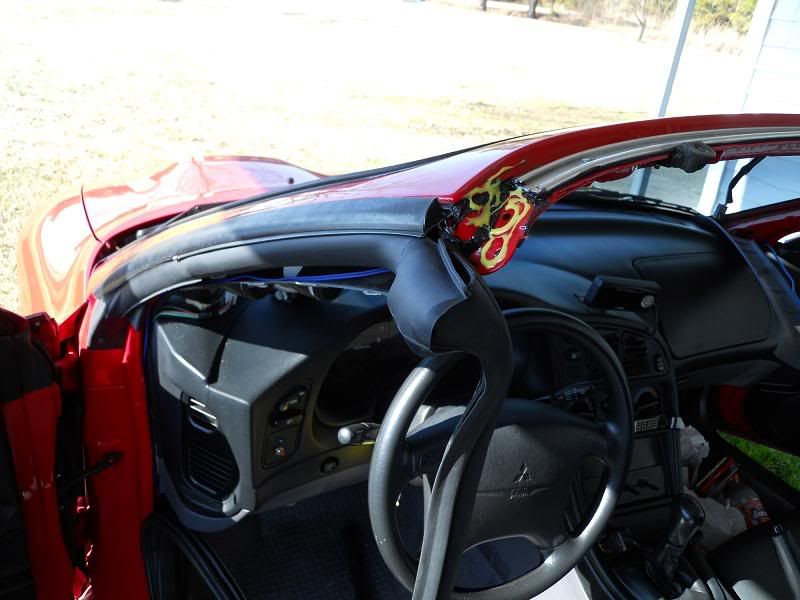 Step 9: Adhere the rubber to the corner and lock in the pre-installed white push clip. 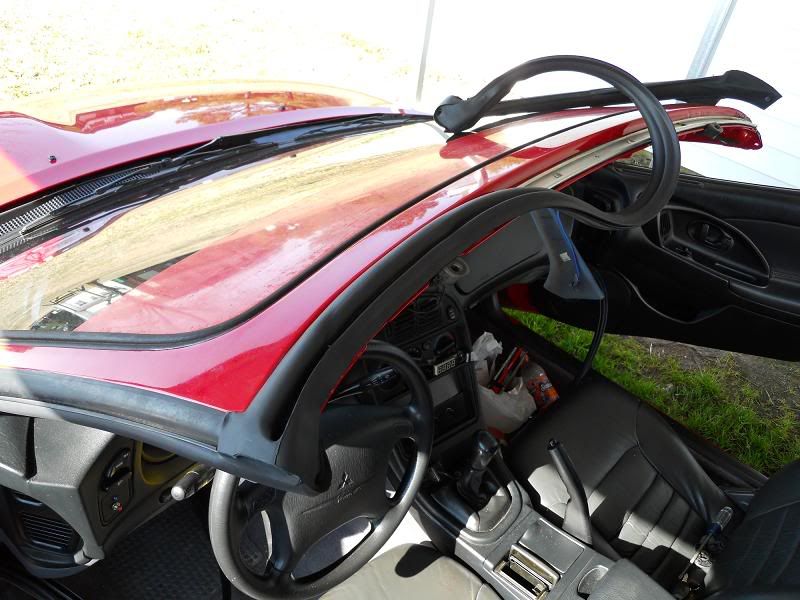 Step 10: Work the piece the rest of the way around the windshield frame 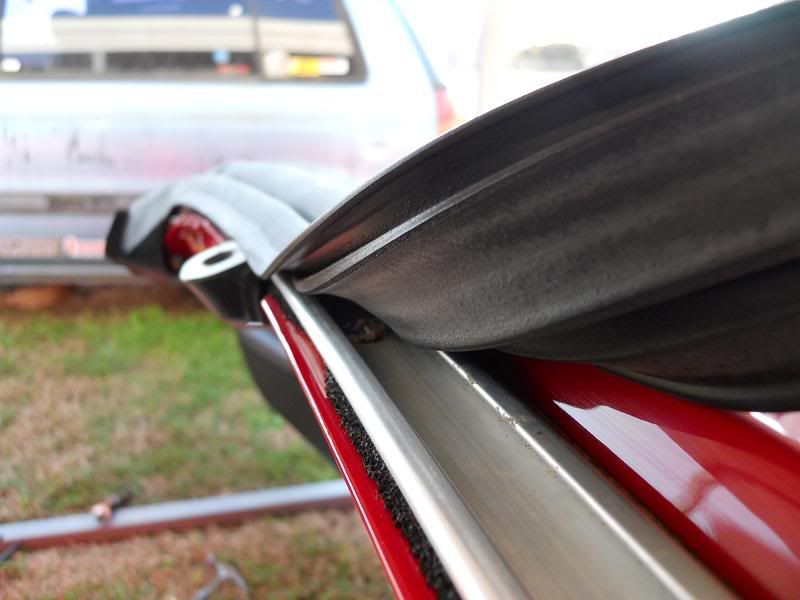 The new weatherstripping installed 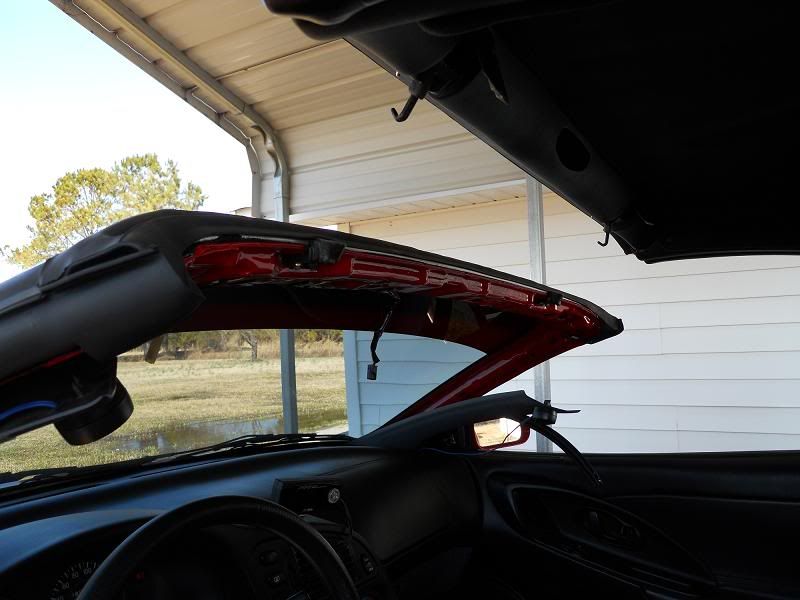  Step 11: Reinstall the interior pieces and attach the black clip at each corner to the upper panel.  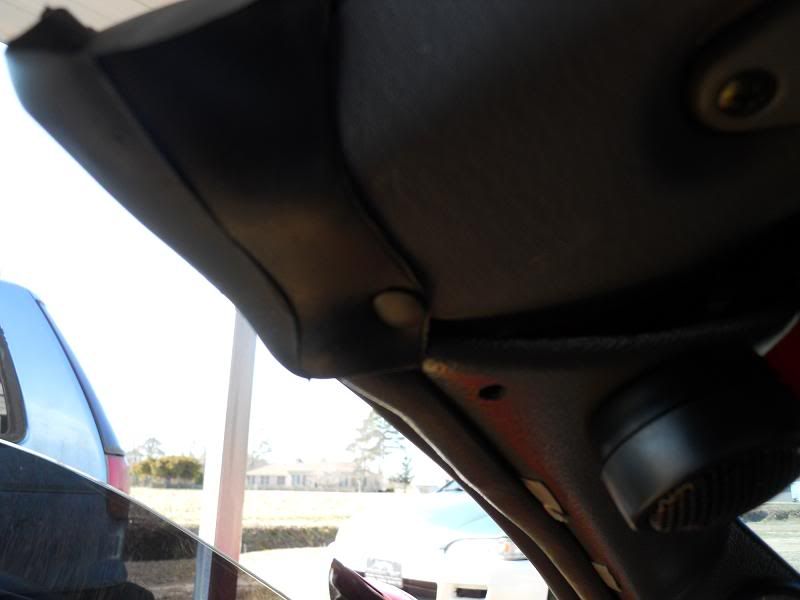 Step 12: Give the adhesive ample time to dry. Close the top and adjust the two latches. The latches are threaded and easily adjusted by turning them, but you must first loosen a small allen head set-screw. And you're done. Enjoy your dry butt. 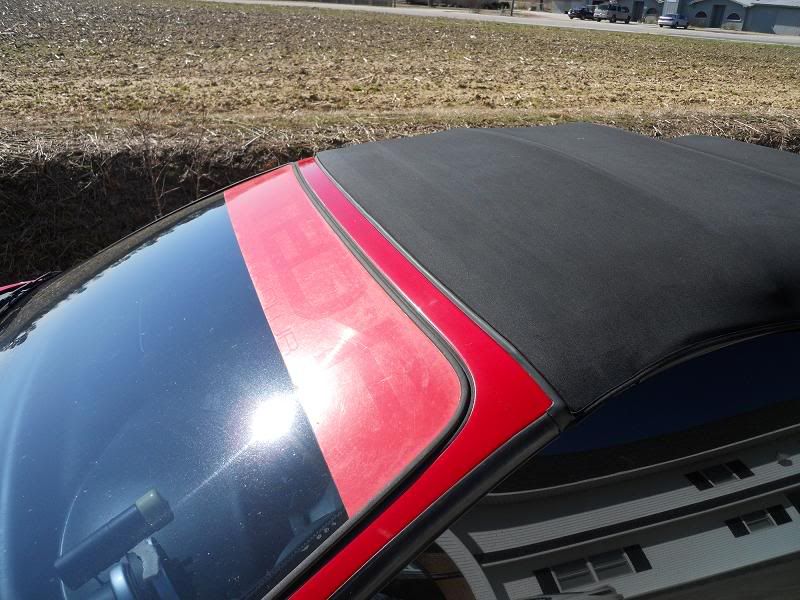
__________________
Caleb vanilla gorilla '99 Spyder 2.4 5-speed - Red/black,14b,slow '96 Eclipse GST 5-speed - Paint www.myspace.com/ballsoutperformance |
|

|

|
|
02-11-2010, 02:23 PM
|
#2 | |
|
Dave is THAT guy
 
Join Date: Nov 2003
Location: Chicago, Illinois
Posts: 6,868
Thanks: 2
Thanked 7 Times in 6 Posts


|
Re: Spyder Weatherstripping Replacement
Moved to tech article. Looks great. Very descriptive and lots of pics. A+ rated!
__________________
2013 Chevy Sonic 1LZ Daily Driver, 1.4L Turbo, 6spd 75 Monte Carlo SBC 400 6.6L, Aluminum heads, Hurricane Intake... 12 Chevy Sonic 1LZ 1.8L - Traded 01 Pontiac Grand Am SE - RIP 95 Eagle Talon ESi-T 5spd - RIP 88 Oldsmobile Cutlass Ciera- RIP |
|
|
|
|
|
02-14-2010, 10:05 PM
|
#3 | |
|
Holset powered 420a

Join Date: May 2005
Location: Florence, South Carolina
Posts: 4,434
Thanks: 1
Thanked 14 Times in 12 Posts
|
Re: Spyder Weatherstripping Replacement
awesome write up man
__________________
98 Eclipse GS Turbo Megasquirt 2 - Holset HY35 Turbo - Built motor - P&P Head and Intake - 3" Turbo back - FMIC - Greddy RZ BOV - Walbro 255 - Aeromotive AFPR - 650cc Injectors - Fidanza Flywheel - Zoom clutch - 13" Cobra Front Brakes - AEM WB - Devilsown meth injection - 3.55 Final Drive gear ratio 1981 Chevy Scottsdale 1987 Nissan 300zx - Chump Car 2001 BMW 325i - DD |
|
|
|
|
|
|
POST REPLY TO THIS THREAD |
 |
|
|

