

|
| Search | Car Forums | Gallery | Articles | Helper | AF 350Z | IgorSushko.com | Corporate |
|
| Latest | 0 Rplys |
|
|||||||
| WIP - Street Post topics for any "Works In Progress" street vehicles projects in this sub-forum. |
 |
 Show Printable Version | Show Printable Version |  Email this Page | Email this Page |  Subscribe to this Thread
|
|
|
Thread Tools |
|
|
#1 | |
|
AF Enthusiast
Join Date: Oct 2004
Location: H.B., California
Posts: 3,531
Thanks: 11
Thanked 101 Times in 96 Posts
|
California Cruiser
This is an original issue of the í76 kit by Revell Iíve had in my collection since it was brand new. The box art on this kit was pretty cool looking, (photos of the real vehicle), but this one is a little rough due to a leak we had in the attic many years ago. And the decals are not going to be usableÖ
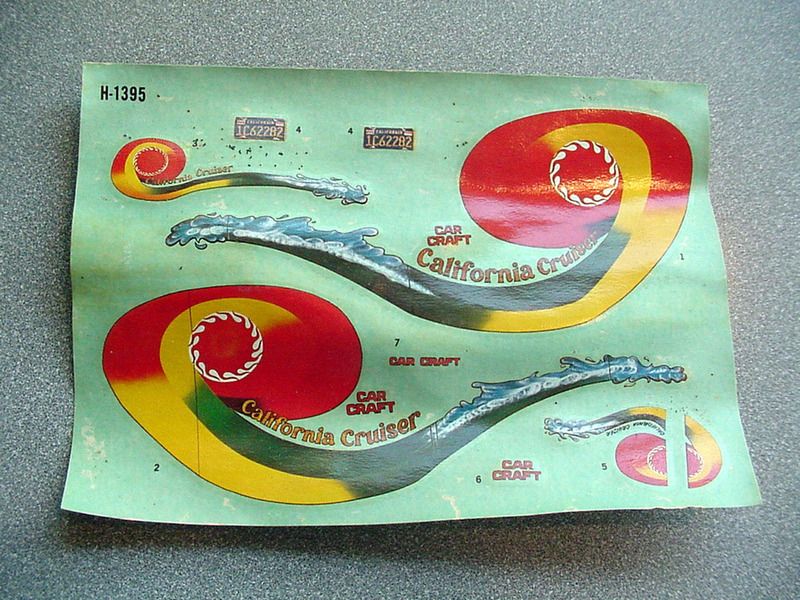 Fortunately I filed an extra set of original decals away, just in case. They are a little yellowed now so Iíll sun bleach them. 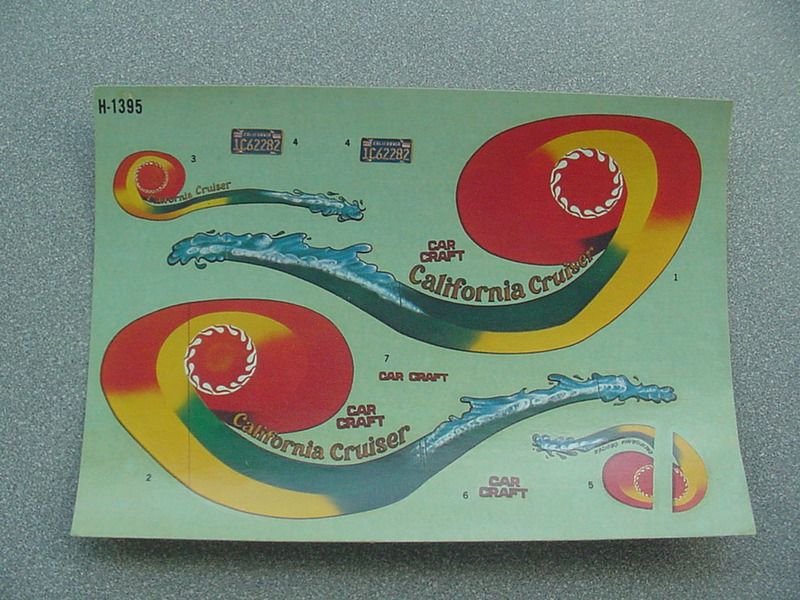 The body is warped, but not too badly to use. 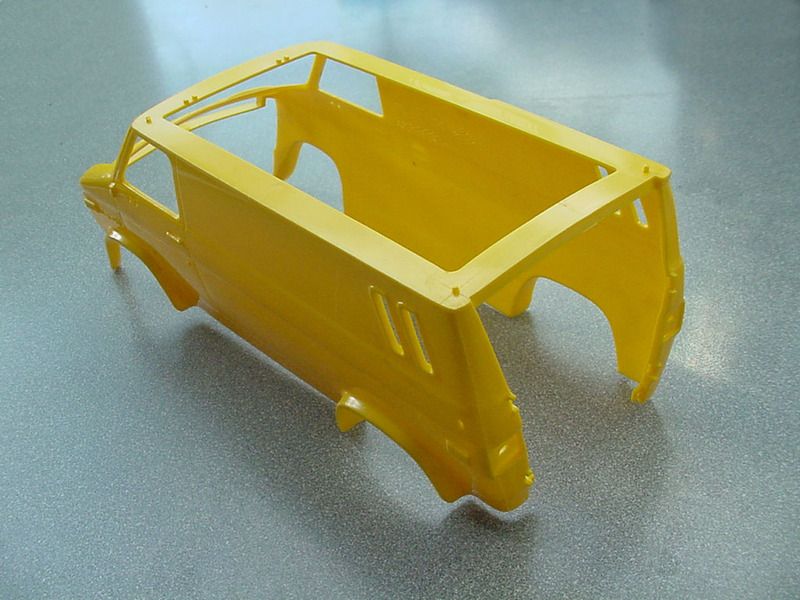 I put a piece of sheet styrene in as a spreader and left the body in the sun for several days. 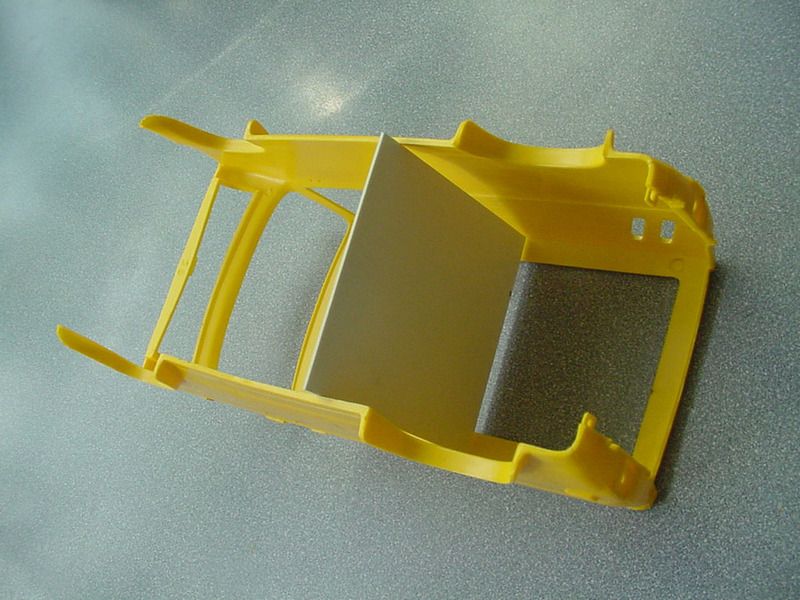 |
|
|
|

|
|
|
#2 | |
|
AF Enthusiast
Thread starter
Join Date: Oct 2004
Location: H.B., California
Posts: 3,531
Thanks: 11
Thanked 101 Times in 96 Posts
|
Re: California Cruiser
The engines/transmissions are pretty weak on detail and overall accuracy in this series of kits. Since it will be barely visible once the van is done it isn’t too big of a deal. Plus I’m building this for the nostalgia of the kit, and fun...
I had a spray can of Intermediate Blue handy, close enough to Corporate Blue for this one… Sprayed the trans silver and brush detail painted the rest. 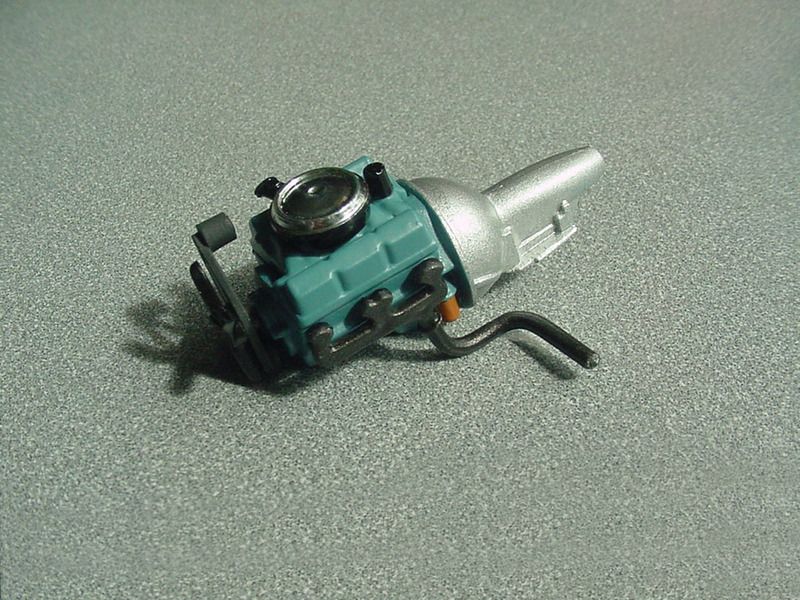 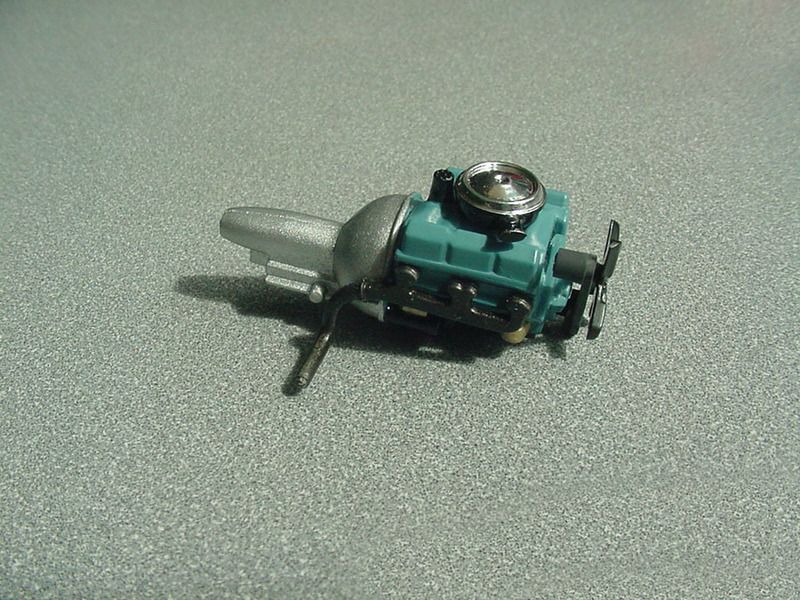 |
|
|
|

|
|
|
#3 | |
|
AF Enthusiast
Thread starter
Join Date: Oct 2004
Location: H.B., California
Posts: 3,531
Thanks: 11
Thanked 101 Times in 96 Posts
|
Re: California Cruiser
I’ve never run into this before. Thin CA makes the plastic fall apart/shatter. Just the smallest application and pieces break/fall away on their own. I’ve seen something similar to it with CA accelerator on stressed parts, but his is not the same. I had to replace most of the front suspension parts, and then fix a couple of those once I realized it was the CA doing it.
I assembled the frame as the instructions show, but I did not cement the front of the leaf springs to the frame or the lower ends of the rear shocks to the axle so I can adjust to get all four wheels on the ground if needed. 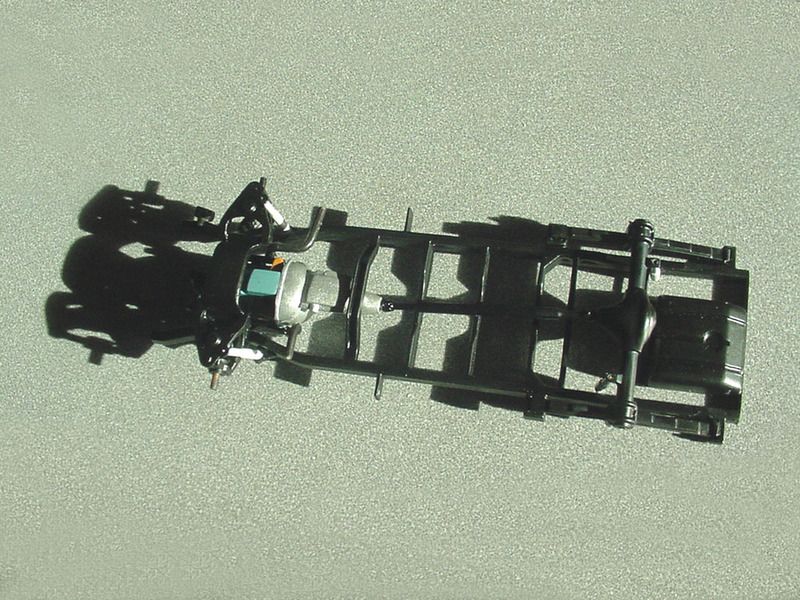 The frame is pretty true, so I used it to straighten out the floor pan which was warped, although not as bad as the body. 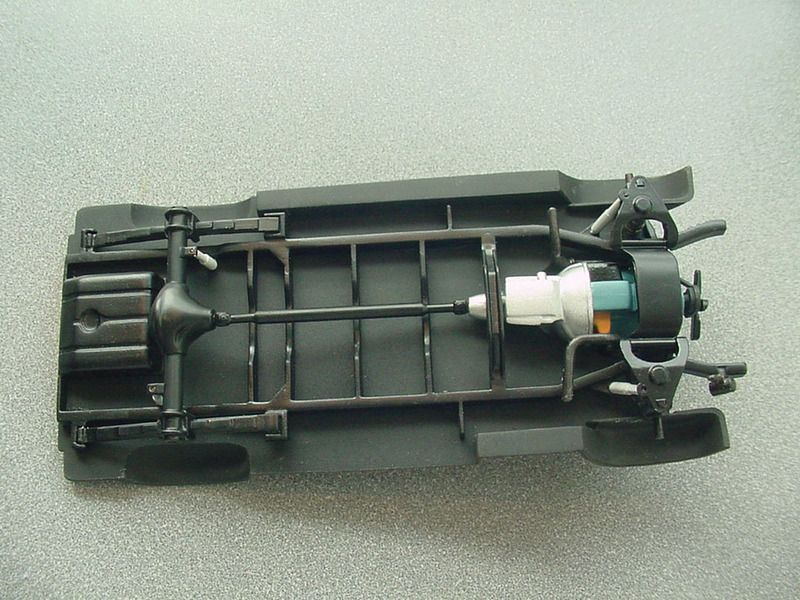 |
|
|
|

|
|
|
#4 | |
|
AF Enthusiast
Join Date: Feb 2003
Location: Falun
Posts: 1,165
Thanks: 0
Thanked 8 Times in 8 Posts
|
Re: California Cruiser
This will be a blast from the past!
I think this was the first Revell car kit I built as a teenager. It didn't survive moving around so it finally disapeard during one of my moves to a new apartment and today I think I only have the wheels and maybe the engine left. /Niclas |
|
|
|

|
|
|
#5 | |
|
AF Enthusiast
Thread starter
Join Date: Oct 2004
Location: H.B., California
Posts: 3,531
Thanks: 11
Thanked 101 Times in 96 Posts
|
Re: California Cruiser
I decided to reinforce the body from the inside with some sheet styrene. Unfortunately as soon as the CA hit the yellow plastic it too cracked in multiple places. And it wasn’t even stressed. The Zap-a-Gap green label CA works fine on this plastic, it is the Hobby People house brand thin CA that is causing the problems.
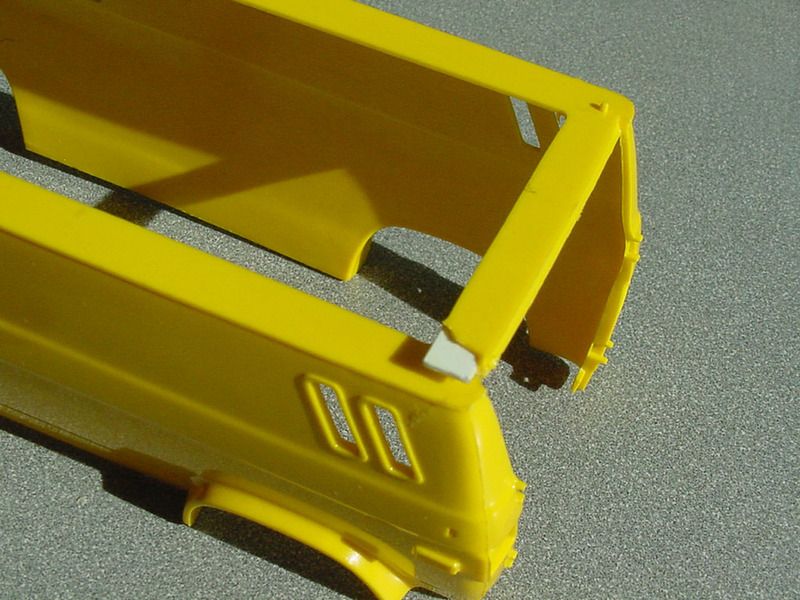 I repaired the top areas and cemented the rear valence in at the same time. I went very heavy with the gap filling CA with no cracking issues. 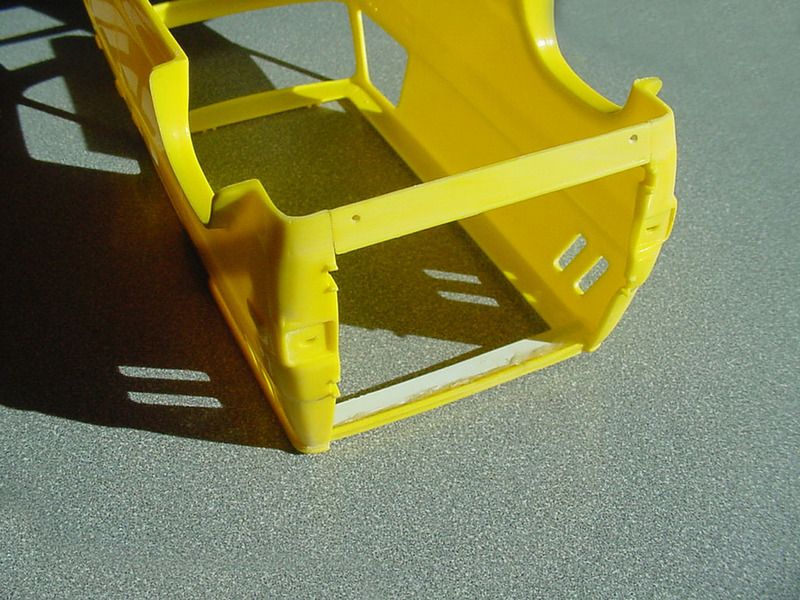 (The instructions call for the valence and front spoiler to go on after the chassis is installed in the body, but the photos of the real van show those seams are filled smooth.) Plus the addition of those two parts really strengthens the body. 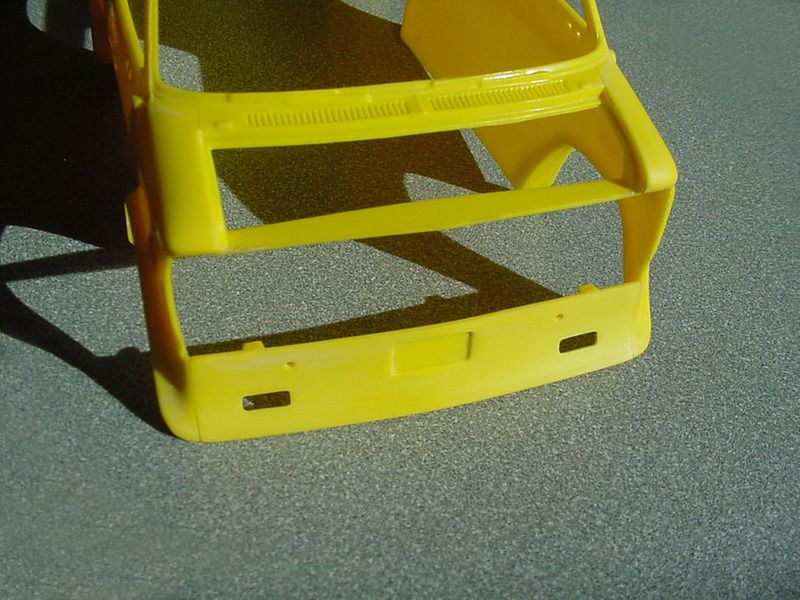 |
|
|
|

|
|
|
#6 |
|
AF Enthusiast
Thread starter
Join Date: Oct 2004
Location: H.B., California
Posts: 3,531
Thanks: 11
Thanked 101 Times in 96 Posts
|
Re: California Cruiser
|
|
|

|
|
|
#7 |
|
AF Enthusiast
Thread starter
Join Date: Oct 2004
Location: H.B., California
Posts: 3,531
Thanks: 11
Thanked 101 Times in 96 Posts
|
Re: California Cruiser
|
|
|

|
|
|
#8 |
|
AF Enthusiast
Thread starter
Join Date: Oct 2004
Location: H.B., California
Posts: 3,531
Thanks: 11
Thanked 101 Times in 96 Posts
|
Re: California Cruiser
|
|
|

|
|
|
#9 | |
|
AF Enthusiast
Thread starter
Join Date: Oct 2004
Location: H.B., California
Posts: 3,531
Thanks: 11
Thanked 101 Times in 96 Posts
|
Re: California Cruiser
I used gauge and radio decals I drew for the 2007 IPMS Convention decal sheet for the dash. The wood grain is freehand painted. I added a more modern (90’s era) DIN mount stereo where the CB would go according to the instructions. I’ll move the molded CB to the overhead panel, where they already engraved another CB…
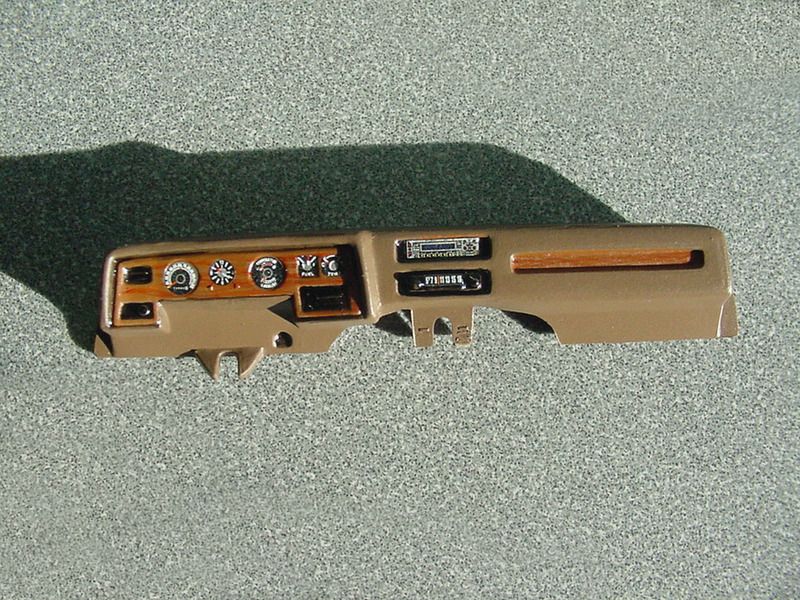 |
|
|
|

|
|
|
#10 |
|
AF Enthusiast
Thread starter
Join Date: Oct 2004
Location: H.B., California
Posts: 3,531
Thanks: 11
Thanked 101 Times in 96 Posts
|
Re: California Cruiser
|
|
|

|
|
|
#11 |
|
AF Enthusiast
Thread starter
Join Date: Oct 2004
Location: H.B., California
Posts: 3,531
Thanks: 11
Thanked 101 Times in 96 Posts
|
Re: California Cruiser
|
|
|

|
|
|
#12 | |
|
AF Regular
Join Date: Oct 2009
Location: Carbondale, Illinois
Posts: 459
Thanks: 0
Thanked 2 Times in 2 Posts
|
Re: California Cruiser
I don't know what this is from but it's turning out pretty sweet!!
Nice details too.
__________________

|
|
|
|

|
|
|
#13 | |
|
AF Enthusiast
Thread starter
Join Date: Oct 2004
Location: H.B., California
Posts: 3,531
Thanks: 11
Thanked 101 Times in 96 Posts
|
Re: California Cruiser
I was a little apprehensive about the decals being so old. I sun bleached them and all the yellowing went away as expected.
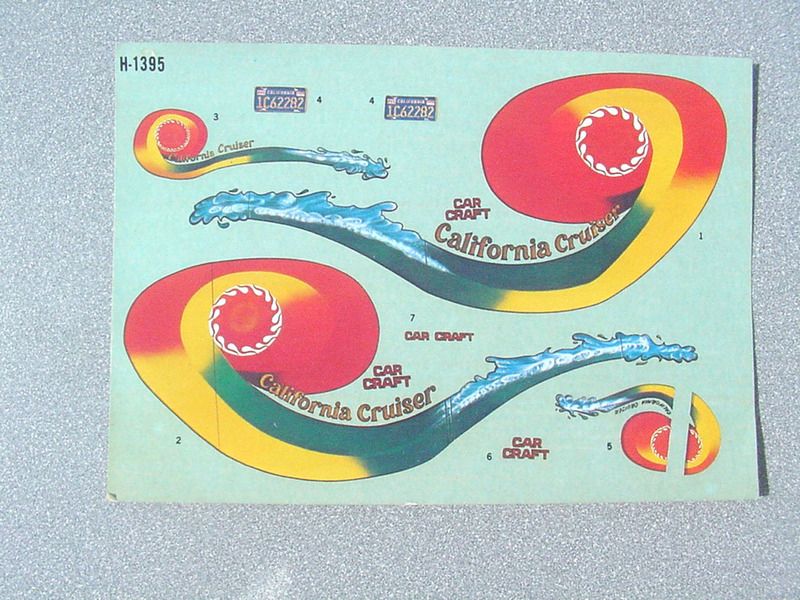 But I was more concerned with them being brittle. I was pleased when they not only released from the paper quickly and even more so when they all slid off without cracking. They responded well to a little decal solvent too. 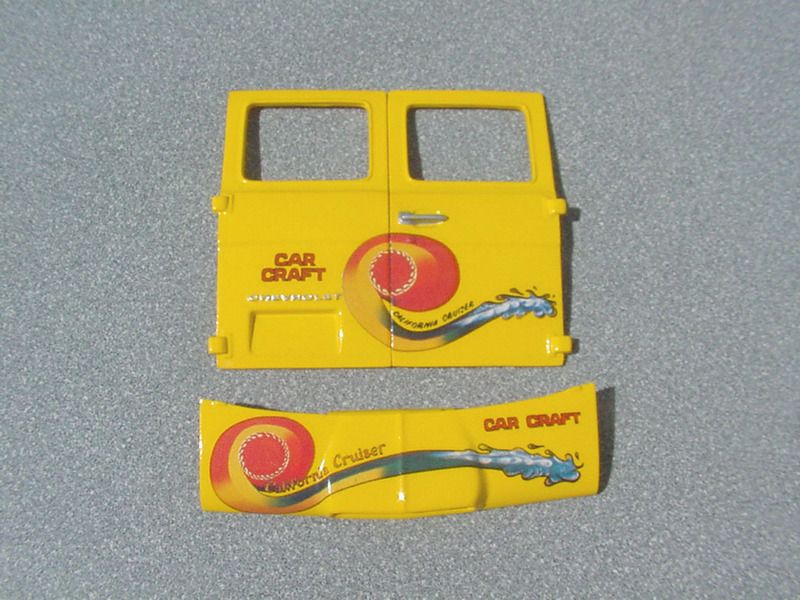 The door lines are printed on the decals, not a big problem for the driver’s side… 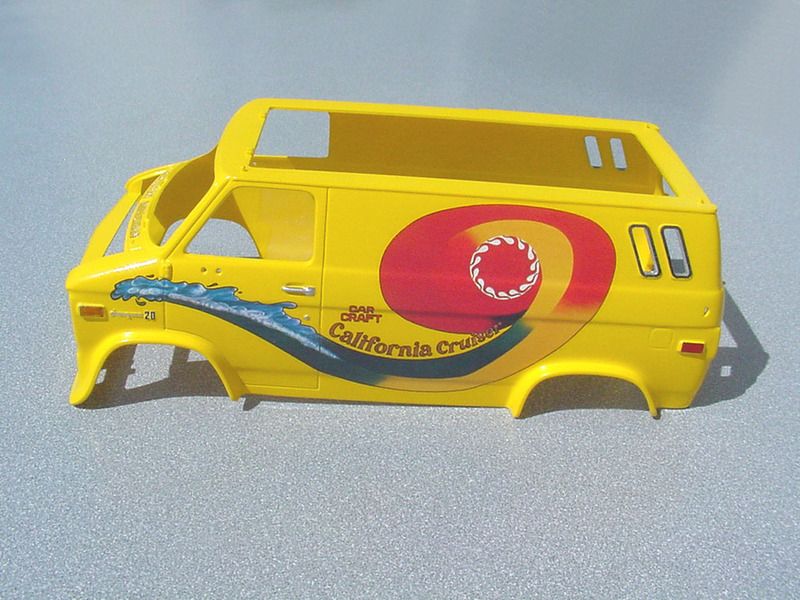 But on the passenger side they don’t line up and are overall too long. I cut the decal at the front door line and moved the section on the front fender back to line it up with the molded in door line. But the other lines will have to be as they are since the design doesn’t allow for any adjustment without it looking worse. 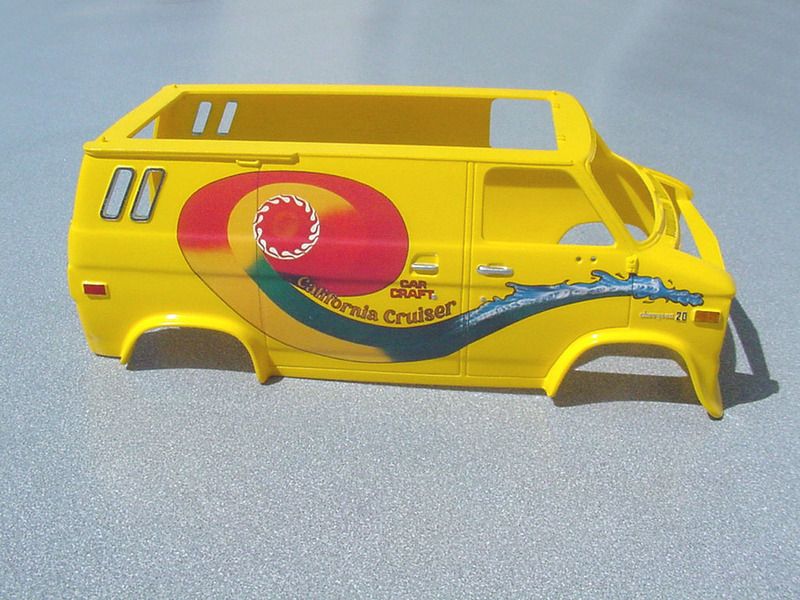 |
|
|
|

|
|
|
#14 |
|
AF Enthusiast
Thread starter
Join Date: Oct 2004
Location: H.B., California
Posts: 3,531
Thanks: 11
Thanked 101 Times in 96 Posts
|
Re: California Cruiser
|
|
|

|
|
|
#15 |
|
AF Enthusiast
Thread starter
Join Date: Oct 2004
Location: H.B., California
Posts: 3,531
Thanks: 11
Thanked 101 Times in 96 Posts
|
Re: California Cruiser
|
|
|

|
|
 |
POST REPLY TO THIS THREAD |
 |
|
|