|
|
|

|
|
| Search | Car Forums | Gallery | Articles | Helper | AF 350Z | IgorSushko.com | Corporate |
|
| Latest | 0 Rplys |
|
|||||||
| Diecast Car Modeling Discuss and show diecast vehicles that you have modified, or that you have collected. |
 |
 Show Printable Version | Show Printable Version |  Email this Page | Email this Page |  Subscribe to this Thread
|
|
|
Thread Tools |
 11-13-2019, 01:56 AM
|
#1 | |
|
AF Newbie
Join Date: Nov 2019
Location: Ferrara
Posts: 59
Thanks: 1
Thanked 0 Times in 0 Posts
|
1/8 VW GOLF GTI MK2 stance project - COMPLETED
Hi to everybody.
My name is Francesco and I'm from Italy and 41 years old. I knowed this forum by some link of italian people that are registered in this beatiful forum I saw and read some fantastic and awesome topic....and the modelling level here is very very high....i love modelling but i'm a newbie/beginner level I love models and my only scale is 1/8, my favourite model are F1, WRC and self made tuned. My model are: Mclaren Mp4/4 1988 Ayrton Senna F1 World Champion 1/8 Kyosho (completed but restoring mode) Golf II GTI 1/8 Tuned project in progress Hachette collection (first version now dismantled to remade the project) Lancia Delta WRC 1991 1/8 Hachette (completed) Lamborghini Countach 1/8 Saleem Hutach next project Porsche 911 RS 2/7 Track day next project Subaru impreza S9 WRC 2003 Solberg/Mills 1/8 historical next project Ferrari 312 T4 J. VIlleneuve 1/8 historical Project Ferrari F40 Competizione 1/8 in progress Here some pics of my finished and current work Mp4/4 finished in first attempt....but now full dismantled for resto mode 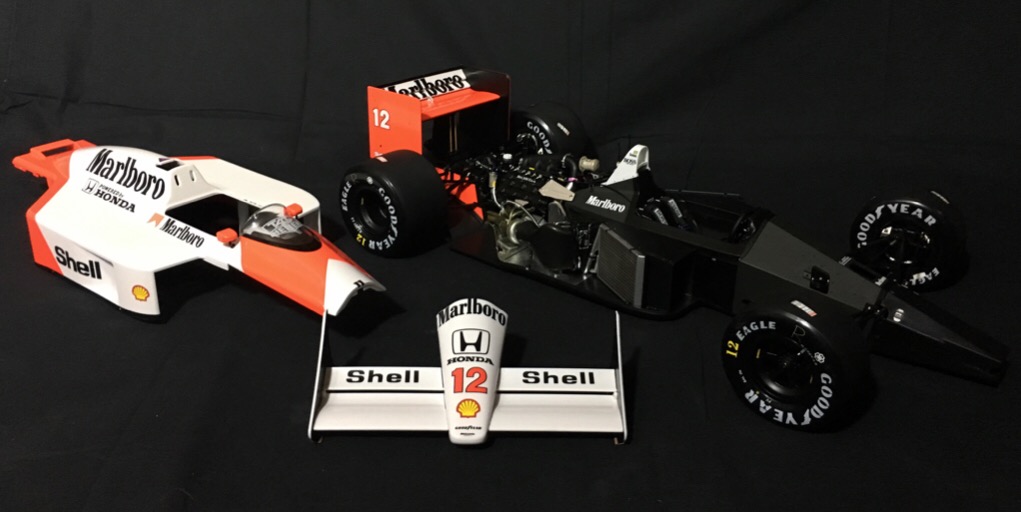 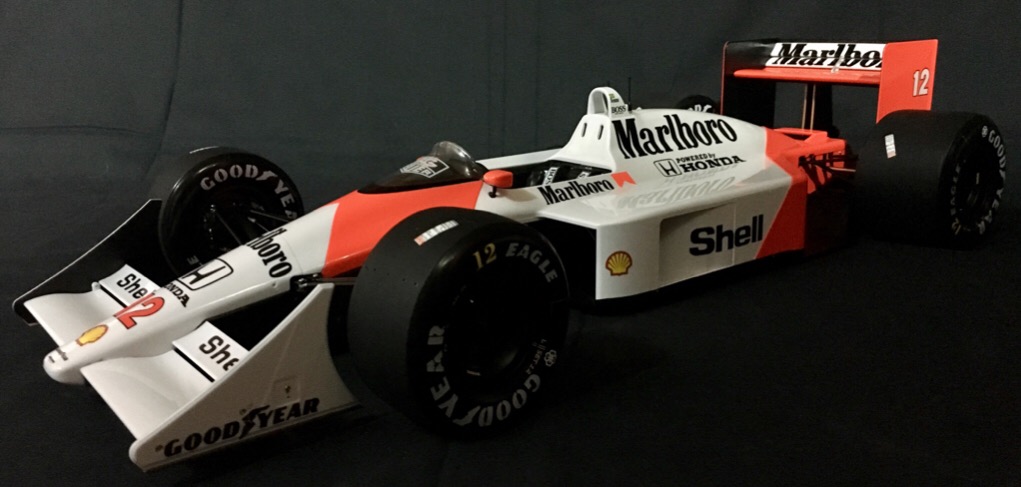 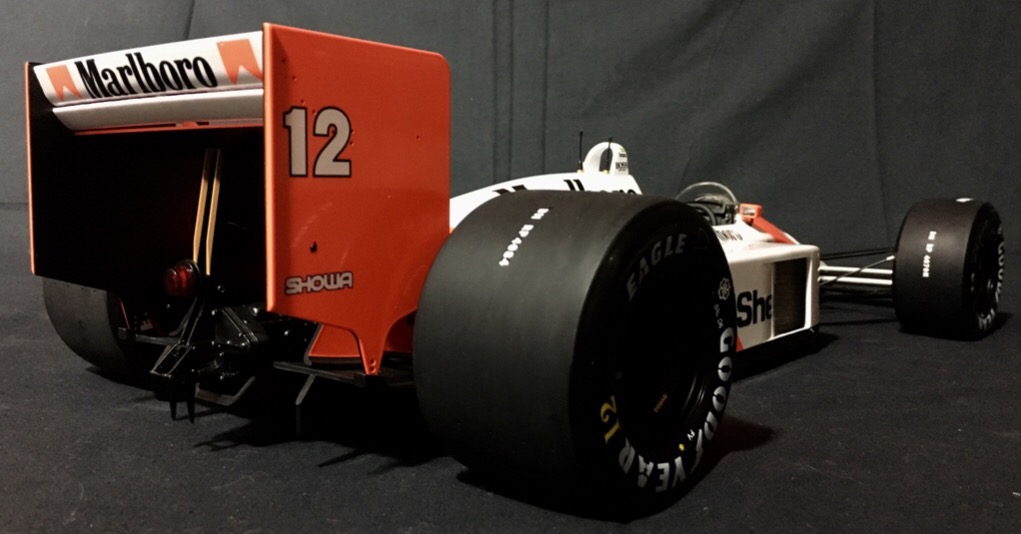 Golf II Gti Tuned project....form next post i start this new build diary 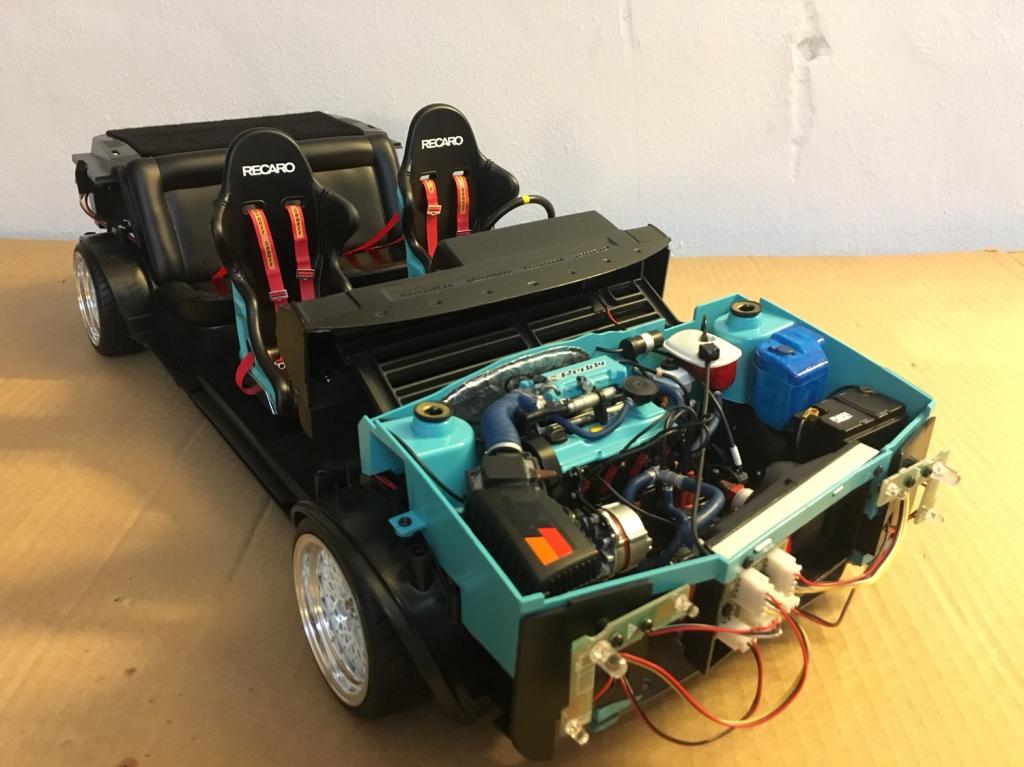 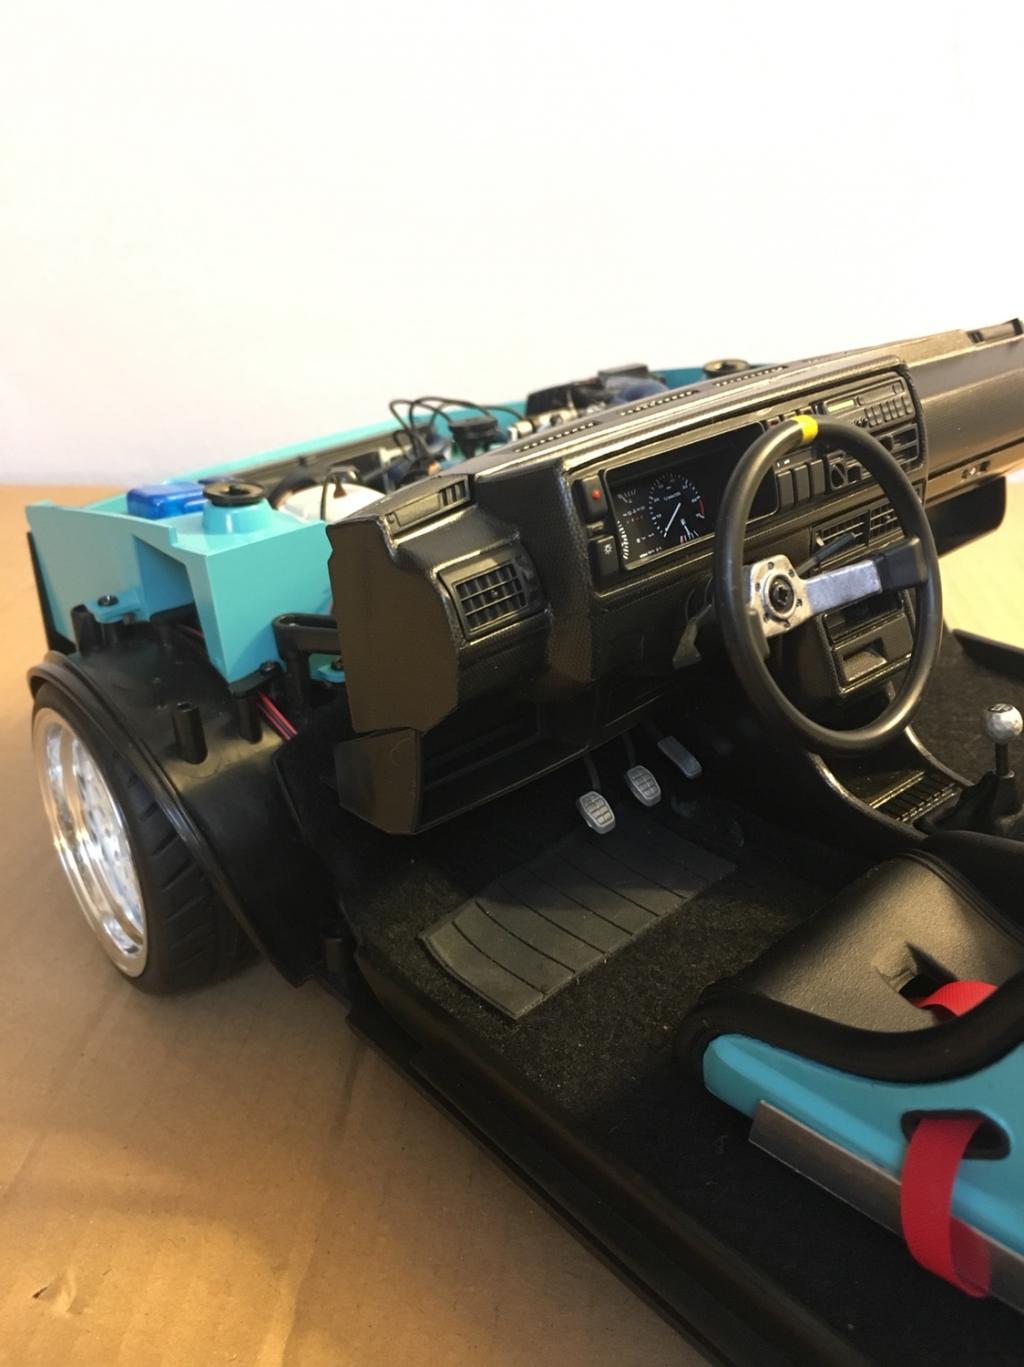 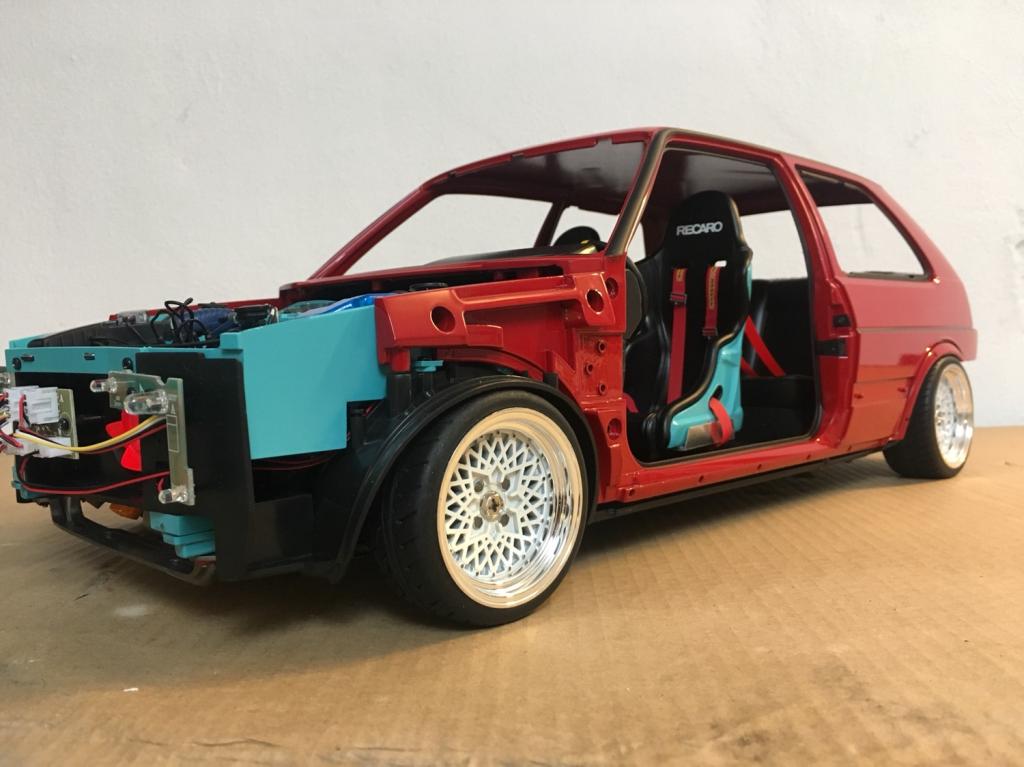  Delta Wrc 1991 Biasion/Siviero: my real first completed mode    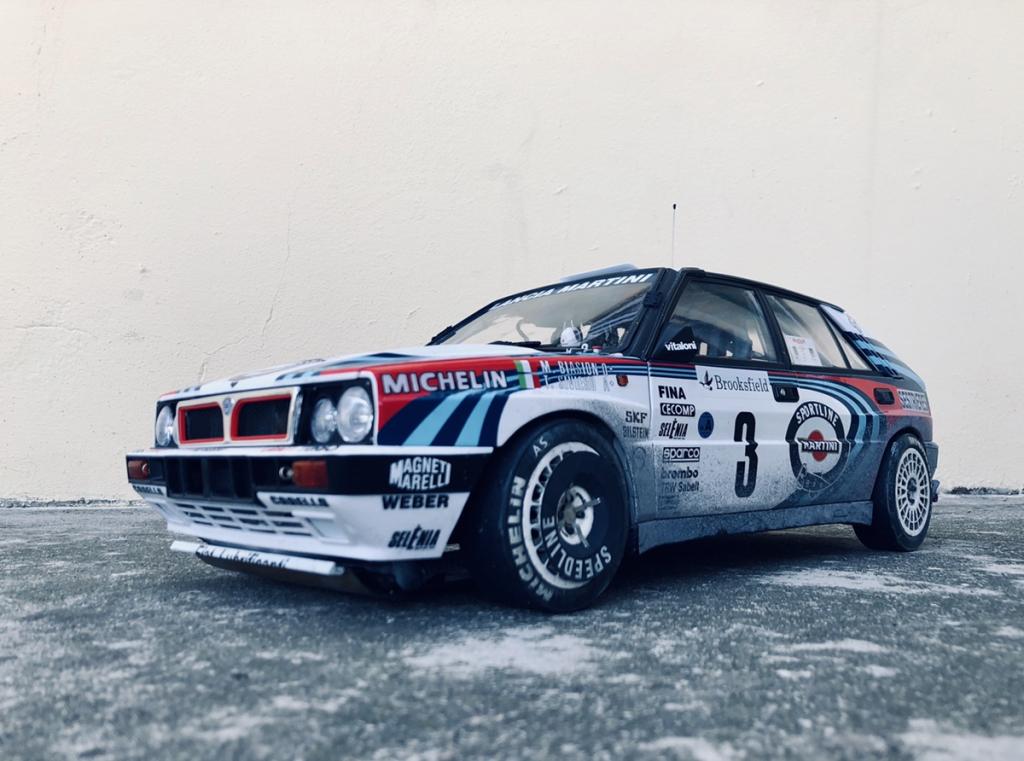  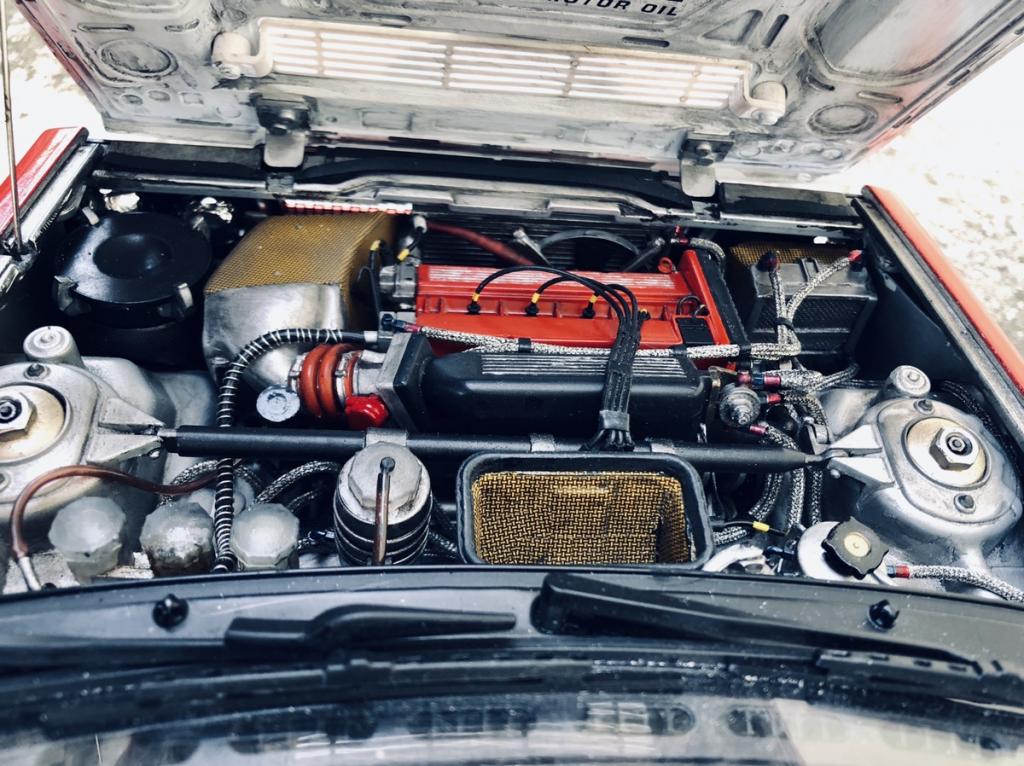 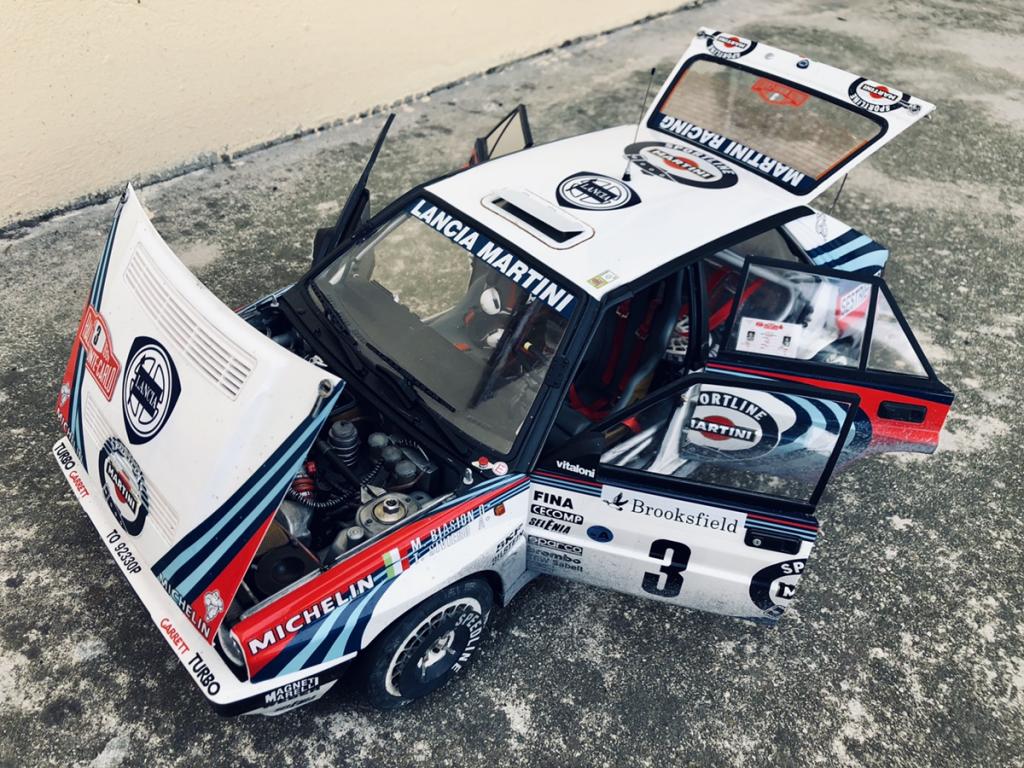 Last edited by Frah2o; 05-04-2020 at 06:44 AM. |
|

|

|
|
11-13-2019, 06:21 AM
|
#2 | |
|
AF Newbie
Thread starter
Join Date: Nov 2019
Location: Ferrara
Posts: 59
Thanks: 1
Thanked 0 Times in 0 Posts
|
Re: 1/8 VW GOLF GTI MK2 stance project - An italian job
I've stated this project 1 year ago, but i must leave it for another timeline project
Finally in the last 3 months i re-started the work on my gti. Watching the staus, i'm not satisfy of the result reached Ive started a tuned/stanced project but i decided to remade it with extra details to try to add more realism to my model. Here the status     The engine kit i think is a PB engine Here i started to work on block. I made hole for engine lift I scribed the head that was absent I now repainted the block in iron mica, the head will be painted in allumium block.          |
|
|
|
|
|
11-13-2019, 10:40 AM
|
#3 | |
|
AF Newbie
Thread starter
Join Date: Nov 2019
Location: Ferrara
Posts: 59
Thanks: 1
Thanked 0 Times in 0 Posts
|
I repainted the head with tamiya silver leaf, and whole gearbox and differential in gloss alluminium
I added the missing wire from distributor to ignition coil and i full remade the plug wire with red cable (like Magnecore) I repainted in green the gearbox cap like on my 1:1 GTI. In the future i'll put a decal vw logo on the gearbox cap. I dediced to fill the inside wheel arch with milliput to give more deep and cover the flat and toy look plastic                             |
|
|
|
|
|
11-14-2019, 01:11 AM
|
#4 | |
|
AF Newbie
Thread starter
Join Date: Nov 2019
Location: Ferrara
Posts: 59
Thanks: 1
Thanked 0 Times in 0 Posts
|
Re: 1/8 VW GOLF GTI MK2 stance project - An italian job
I started the work on engne bay.
The kit give engine bay separeted from chassis. I "welded" the engine bay and i started to rebuilt the spar that was all wrong in the model (just notched the chassis) FInally i try a first check for the inside clearence between chassis and and engine.                    |
|
|
|
|
|
11-15-2019, 12:49 AM
|
#5 | |
|
AF Newbie
Thread starter
Join Date: Nov 2019
Location: Ferrara
Posts: 59
Thanks: 1
Thanked 0 Times in 0 Posts
|
Re: 1/8 VW GOLF GTI MK2 stance project - An italian job
I continued the work on engine bay. With fiber bond iI filled the self made side pods.
I self made a new water tank bracket with alu stripe and I filled the hole on side strut. With the help of Lego bricks I made the missed servobrake and i made a new fitting sistem on engine firewall. I started to selfmade (just finish the final shape) a new clutch lever on gearbox to replicate the future clutch cable (totally missed in the kit)                            [IMG]https://uploads.tapatalk- cdn.com/20190715/27ca834021b116a5cf3fa3af9dd80287.jpg[/IMG]  |
|
|
|
|
|
11-15-2019, 06:43 AM
|
#6 | |
|
AF Enthusiast

Join Date: May 2005
Location: Canberra
Posts: 604
Thanks: 0
Thanked 39 Times in 38 Posts
|
Re: 1/8 VW GOLF GTI MK2 stance project - An italian job
Lovely attention to detail Francesco.
|
|
|
|
|
| The Following User Says Thank You to malscar For This Useful Post: |
Frah2o (11-16-2019)
|
|
11-15-2019, 08:31 AM
|
#7 | ||
|
AF Newbie
Thread starter
Join Date: Nov 2019
Location: Ferrara
Posts: 59
Thanks: 1
Thanked 0 Times in 0 Posts
|
Quote:
Thanks to much Malscar, I try to do my best. Last edited by Frah2o; 11-16-2019 at 12:32 AM. |
||
|
|
|
|
11-16-2019, 03:12 AM
|
#8 | |
|
AF Newbie
Thread starter
Join Date: Nov 2019
Location: Ferrara
Posts: 59
Thanks: 1
Thanked 0 Times in 0 Posts
|
I coated in primer the engine bay to highlight the faults.
I decided to eliminate the wiper tank. I'll fitted an extra engine oil cooling radiator. I remade a modified radiator and i self made a first version of cooling duct.                 |
|
|
|
|
|
11-18-2019, 04:51 AM
|
#9 | |
|
AF Newbie
Thread starter
Join Date: Nov 2019
Location: Ferrara
Posts: 59
Thanks: 1
Thanked 0 Times in 0 Posts
|
I checked the clearence between bonnet and radiator duct...It's too near. I decided to remade a new shape of duct.
I added joint to radiator for future braided hose I start to modified the inside high beam projector to create a Venturi duct for cooling the extra radiator. I removed the fluted glass and i fitted a metal mesh. Before to finish this work I need to work the headlight for fit the mesh properly. At the moment it's all           |
|
|
|
|
|
11-19-2019, 01:12 AM
|
#10 | |
|
AF Newbie
Thread starter
Join Date: Nov 2019
Location: Ferrara
Posts: 59
Thanks: 1
Thanked 0 Times in 0 Posts
|
Before to proceed with other engine or gearbox details, i remade whole engine mount system.
The kit has only 1 (the gearbox and also is not completed) of 3 engine mount. I remade with my best for my skills, the 3 engine mount. I reinforced the front struts and i used a modified lego brick to match the right angle for front mount The rear (timing belt side) was totally missing. I self made an alu bracket. The two rear engine mount are fixed on subframe to make easier the future fitting of subframe and arms.                            |
|
|
|
|
|
11-20-2019, 01:36 AM
|
#11 | |
|
AF Newbie
Thread starter
Join Date: Nov 2019
Location: Ferrara
Posts: 59
Thanks: 1
Thanked 0 Times in 0 Posts
|
Before continuing with engine bay (missing some ribs on firewall to be replicated) I make some adjustment work.
The oil sump is missing of a parts of block. With styrene I did the new piece (in the next days ill paint with color of block) The timing cover is missing of the rear cover.....with styrene i did also this. My attention was to the air intake sistem. I dont like the oem filter, so i decided to try to replicate the CDA of bmc (that I have really fitted on my Gti mk3) I modified the intake hose. With lego bricks i made the MAF sensor and I used the upper control unit from the 1/8 kit. I finally made the futur carbon box of CDA. With help of PataFix i fitted all the new system to check clearence and space. Next step will be: - fully moulding with putty of hoses and air box - repainting and use shrink tube for part of hoses - carbon coating of filter box - new bracket to fix the new airbox.                   |
|
|
|
|
|
11-21-2019, 01:34 AM
|
#12 | |
|
AF Newbie
Thread starter
Join Date: Nov 2019
Location: Ferrara
Posts: 59
Thanks: 1
Thanked 0 Times in 0 Posts
|
Ido my best to give more deep to firewall.
With self made paper template i draw the mouldings. After cheking the size, ill made with styrene and then i fixxed A fast primer coat to check....i think is quite good and looks like the real firewall Finally i check clearence with engine an bodyshell....at the moment is good and it's all           |
|
|
|
|
|
11-22-2019, 12:48 AM
|
#13 | |
|
AF Newbie
Thread starter
Join Date: Nov 2019
Location: Ferrara
Posts: 59
Thanks: 1
Thanked 0 Times in 0 Posts
|
I continued the extra add on engine.
The engine (particularly the gearbox) kit is missing of some detail. I add the check hole for timing on flywheel...then i painted it in green I replicate a single gear linkage (as like a Delta hf integrale that i build few months ago) I finished extra detail on clutch leverage I started to fix timing cover, alternator (which i added a cable) and water pump. I need fitted these elements to adjust the mistake of the kit for cooling and wiring. I covered with bare metak foil the spark plugs to imitate the original.                 |
|
|
|
|
|
11-23-2019, 01:13 AM
|
#14 | |
|
AF Newbie
Thread starter
Join Date: Nov 2019
Location: Ferrara
Posts: 59
Thanks: 1
Thanked 0 Times in 0 Posts
|
1/8 VW GOLF GTI MK2 stance project - An italian job
I did my personal best to replicate the clutch cable.
With metal wire I did the first visible section. With a drinking straw, shrink and rubber wire I replicated the clutch cable. The oil level is orrible from the kit, I remade by myself I remade the hydraulic joint on the head (i added 2 slot for sensor and future wiring) Finally i started the work on pulley, i separated them from the printed belt. Ill made a belt from shrink or elastic.                       |
|
|
|
|
|
11-26-2019, 12:45 AM
|
#15 | |
|
AF Newbie
Thread starter
Join Date: Nov 2019
Location: Ferrara
Posts: 59
Thanks: 1
Thanked 0 Times in 0 Posts
|
I continued the work on engine.
I remade the support/radiator of oil filter. I also add 2 extra joints for extra custom radiator. The injectors-fuel rail is very poor from the kit. I added a lego brick to simulate the fuel pressure regulator and 2 joints for fuel lines. I also added 4 tube that want remember the 4 injectors. Finally i painted the rail in metallic red and titanium gold the regulator. To match the 4 injectors to right size i filled the gap between the duct. I selfmade the vapors oil canister with lego brick, i coated it with bare metal foil; i added the hose level and joint to connect to other joint on rocker cover. I also fitting the new metal coolant pipes adding the missing hose to waterpump. I fitted the engine starter and finally I fitted the inlet manifold. Just some pics in the engine bay to control the fitting and clearence.                                  |
|
|
|
|
|
|
POST REPLY TO THIS THREAD |
 |
|
|


