Hello again...
Following Ian's question about vac-forming, I did some digging around online and found some interesting videos on YouTube, plus a few links to useful sites. It's not something I have considered doing on previous projects, but I'm beginning to think it could be useful here - I just have to think of enough parts I can make to justify the effort of putting a set-up together! Hmm...watch this space.
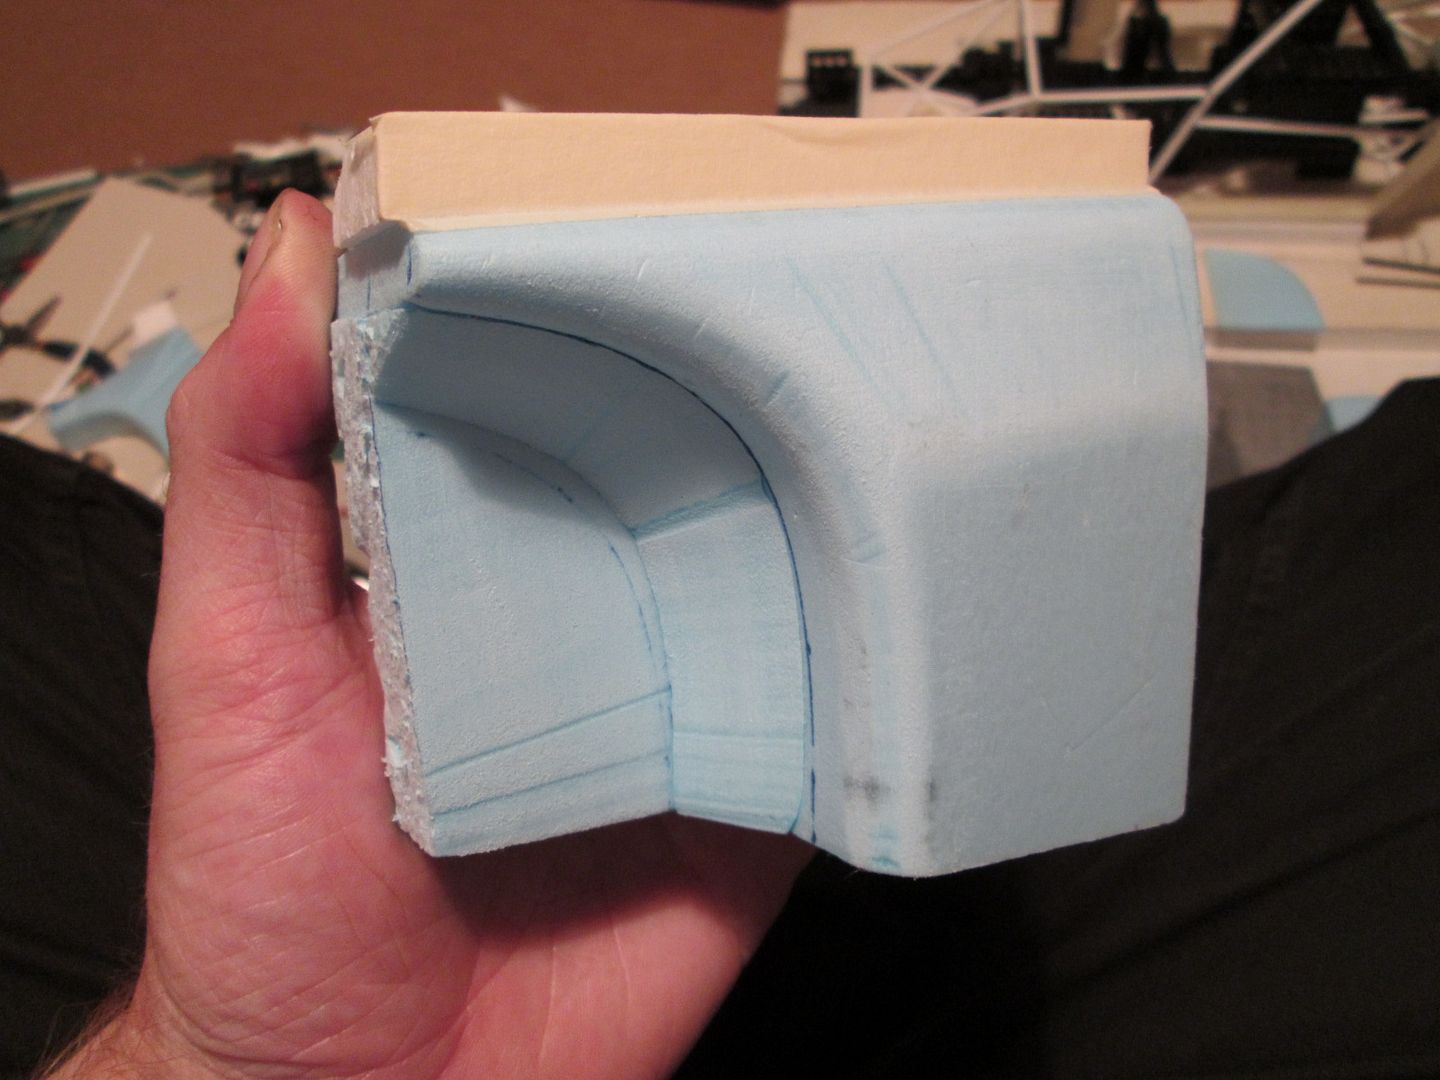
Anyway, back to the 935. Before I trimmed any of the existing front door-frame panels further, I wanted to make the front inner wings. The original mk1 mould couldn't be re-used as I wanted to change one or two measurements and angles, but with some cardboard and blue foam it wasn't a problem to make two fresh moulds:
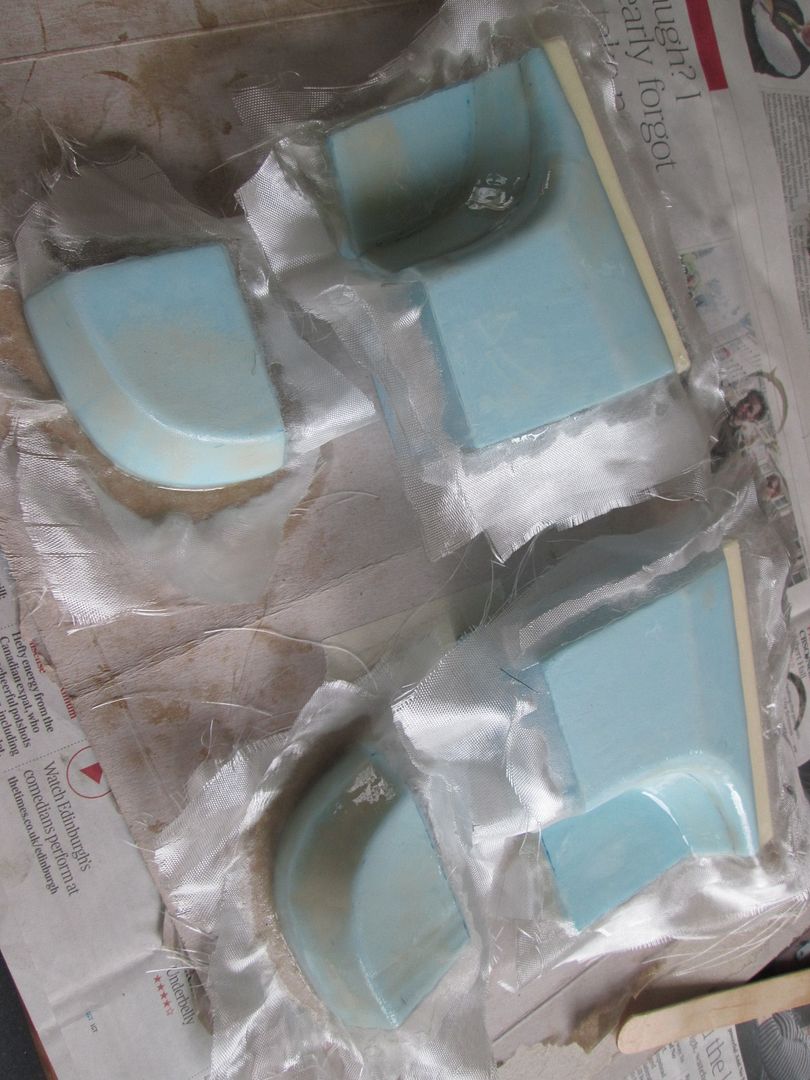
...and the opposite side, after a little filler to smooth out the surface:

To give myself a little insurance (and to make sure I had enough parts to lay-up in one go) I cleaned-up the two chunks of foam cut from the wheel-arches and would cover them in fibreglass too. If I need to make any modifications to the positioning of the arches, I can use these panels and graft them onto the outer sections. Here's everything after a couple of layers of 1oz cloth:
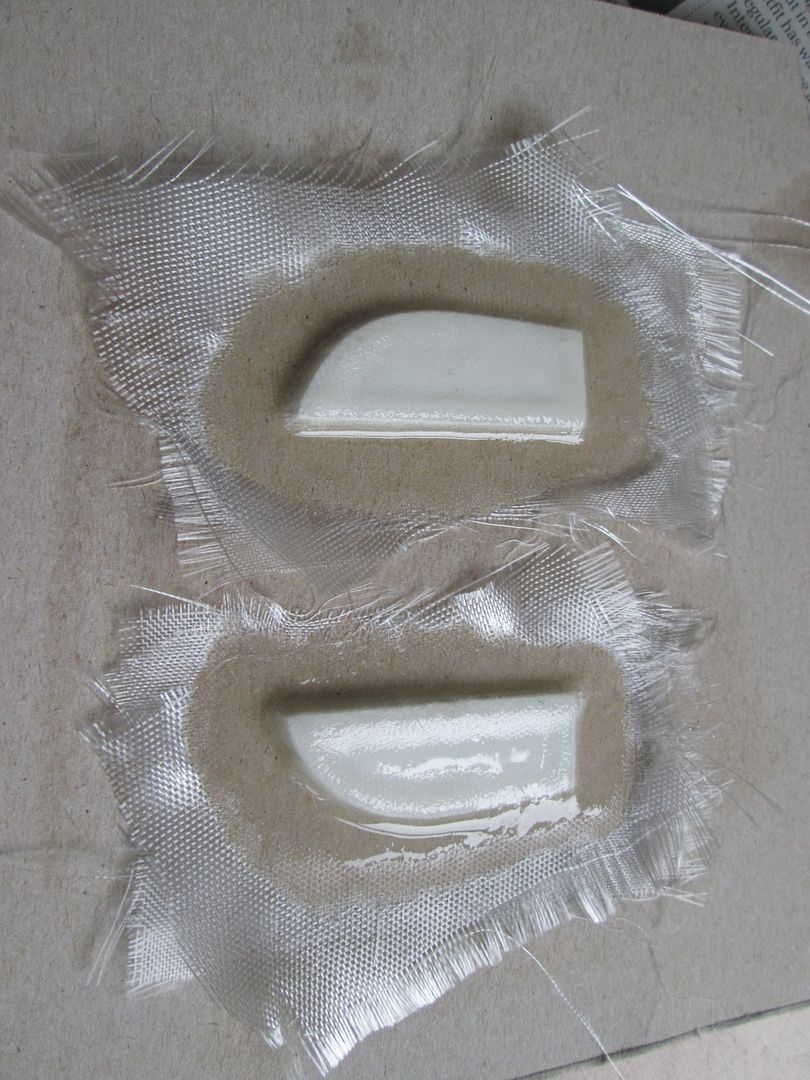
I'm also laying-up a pair of small detail parts to attach to the rear of the door opeings - these will create the depression where the door-latch mechanism sits. The problem with making these small parts in fibreglass is that even with the finest 0.6oz cloth it is still difficult to get crisp, sharp edges. I'm sure that once they're off the moulds I'll have to do quite a lot of re-working and filling to get them back into shape...which isn't a problem as they'll be painted!
So, I'll continue adding layers to these parts through the next few evenings, and while I'm doing that I'll be working on the next batch of moulds - hopefully so I can fibreglass
them during next week. First up, here's the seat:

It started as two chunks of 50mm thick foam - I cut simple cardboard templates, as usual, to get the outer edge, then used the long strip shown above to start taking some of the width from the sides. Unfortunately, the size of my hot-wire tool put a limit on where I could cut, so a lot of the final shaping had to be done by hand with emery cloth:

To get a little extra width across the shoulders I've added the two small foam sections you can see above - these will need some filler and more smoothing to get the required shape. Then, the shell should really have a moulded edge added, so I'll have to work out a practical way to do that - probably a combination of cardboard and filler.
Next on the list will be the dashboard top, and probably the rear parcel-shelf / firewall - again, it's a question of using up each batch of resin / hardener mix before it starts to go-off in the pot!
So, that's it for tonight. If the front wing panels are off the moulds at the weekend I should be able to continue trimming and start putting the front end of the chassis together - including the bulkhead. Again, apologies if it's all been a bit repetitive recently, but I promise that despite the apparent lack of progress, 'normal' service will be resumed soon enough!
All the best!
SB