After studying the door for a while I was getting the sinking feeling that I'd have to find a different door to make this work. There are some significant differences, but it is possible! Disassembling the door takes longer than the pillar, but overall I would say this part is simpler.
For the door I'm switching over to the passenger side.
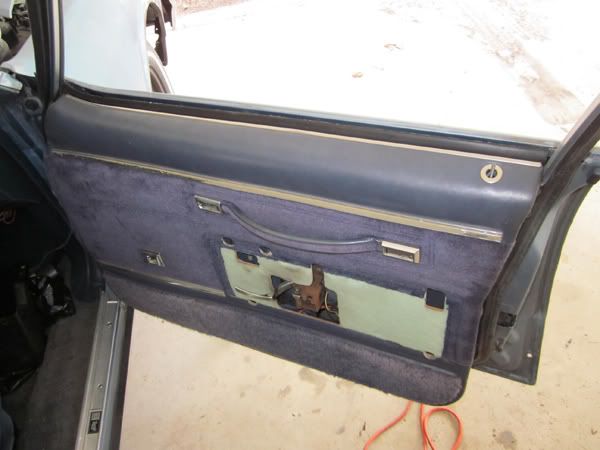
Take off the armrests etc. and get down to the door panel off.
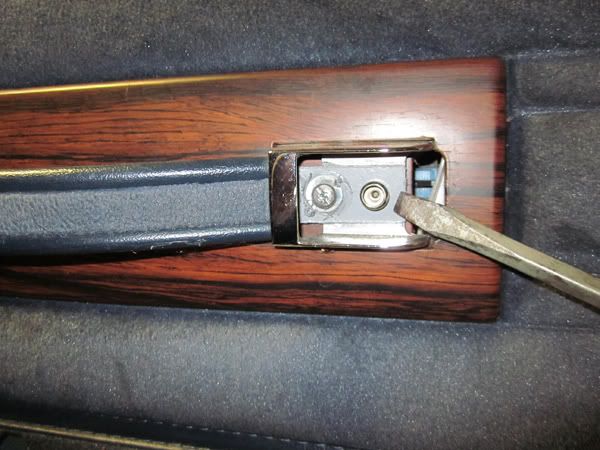
Something different about the later door pulls are the snap on inserts. Just pop them off.
I could tell these door panels had been off before, random assortment of fasteners, and the passenger side was missing the jute padding layer. From the factory the door pulls were riveted on. A 1/4 drill bit will take care of them.
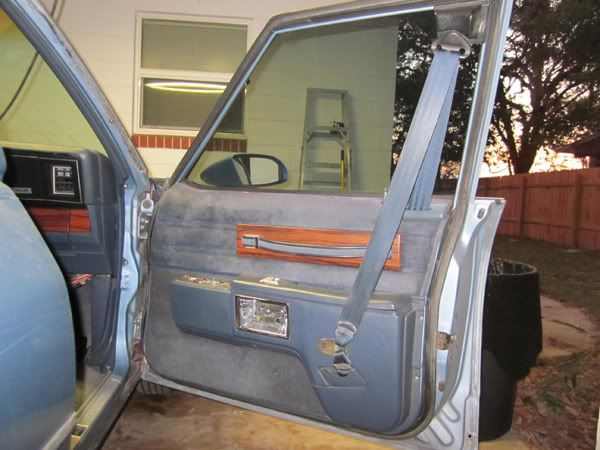
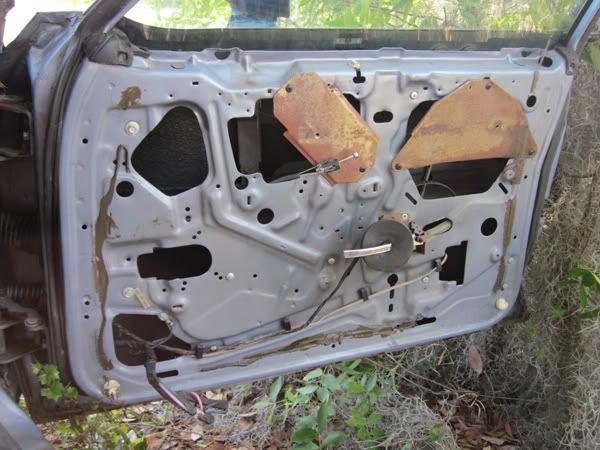
Here is a side by side of the pre '90 door and '90 door
Pre '90:
and '90
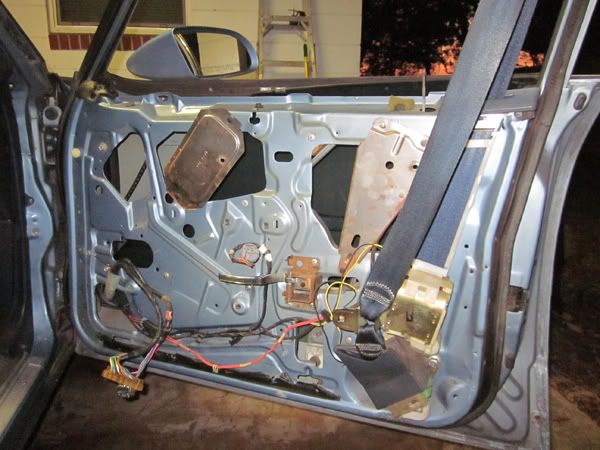
Key differences:
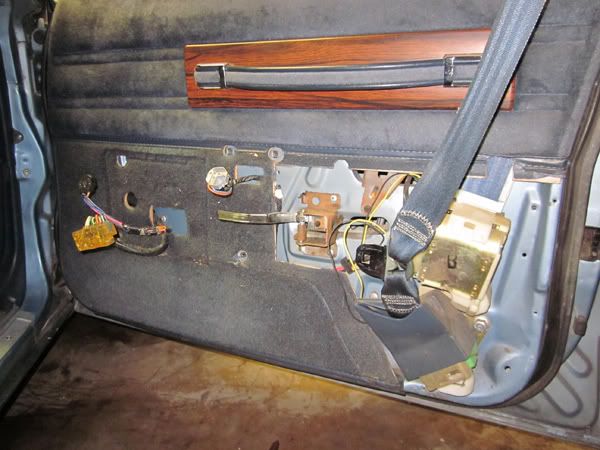
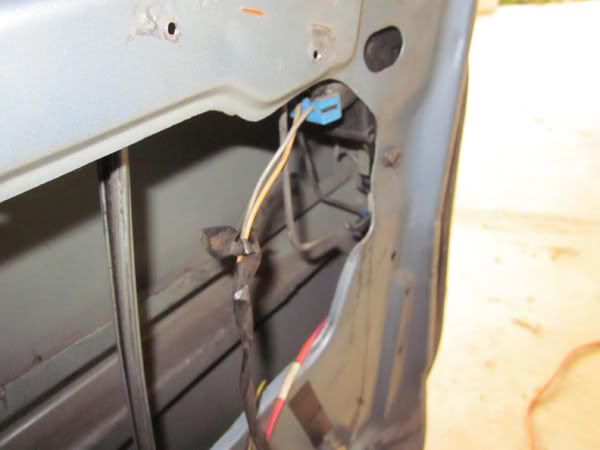
1. Wiring
Retractor lockup in the '90 is controlled electronically instead of mechanically, so there are 2 sets of wires in the harness that lead to it. (black and yellow) These will get taped up and left in the door.
Also since the extra bulge on the door limited access to the side of the seat, the power seat controls were moved to the door as well. Trying to decide whether to cut a place for them in my new/old panel or route them under the carpet back to the seat.
2. Power door lock actuator
Pre-90 this was in the lower outside corner of the door. You can see the two rivets in the first pic. This was moved up above the latch to make way for the seat belt assembly. Why does it matter? See #3...
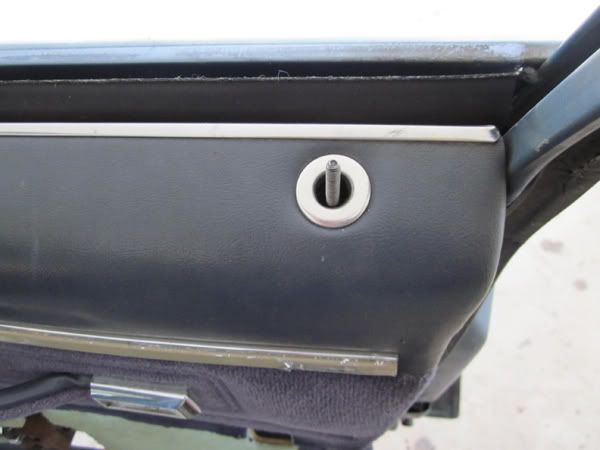
3. Door lock knob location.
The place on top of the door panel where the knob was designed to go obviously interfered with where the seatbelt needed to come out of the door. It was moved forward of the belt. Will have to modify the linkages to the actuator to put it back. This was one of the more obnoxious things to me with this system, as you can't rest your arm in the window without the knob digging into your forearm.
Moving on...
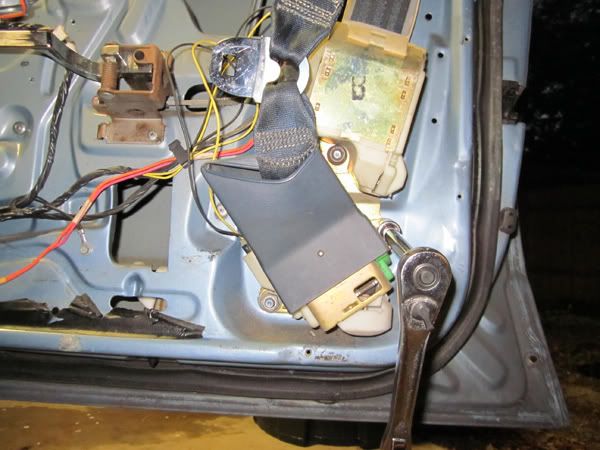
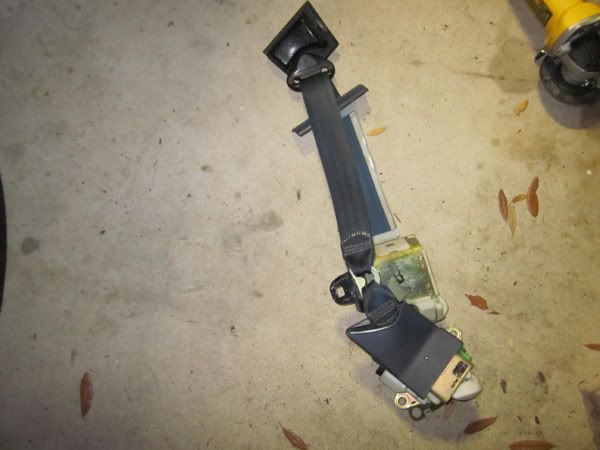
Door panel off, now removing the seatbelt assembly.
Its held on with 3 nuts, pretty simple.
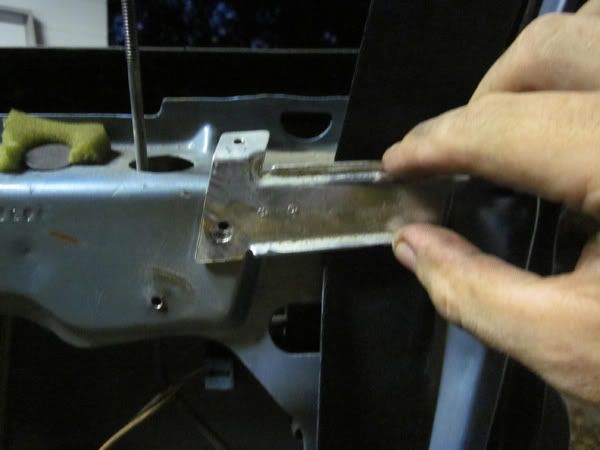
The belt is secured to the door with this metal bracket at the bottom of the window. Huge rivets, taken care of with the grinder.
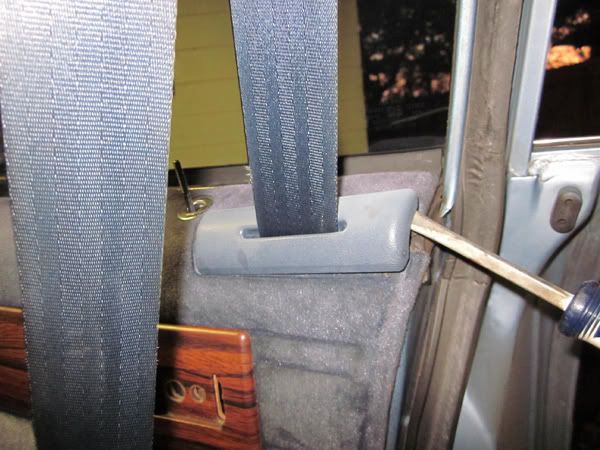
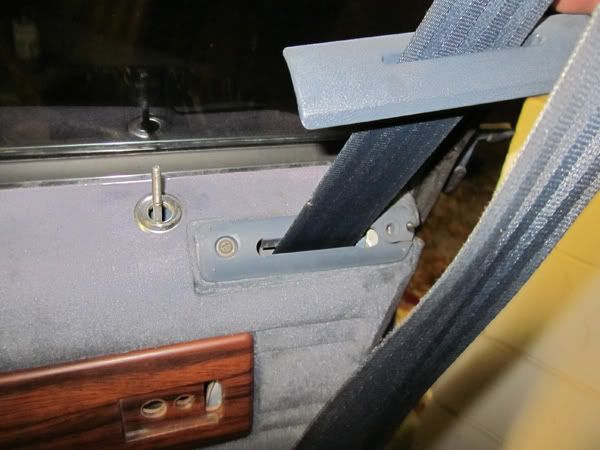
The top loop/striker in the window is a little more tricky.
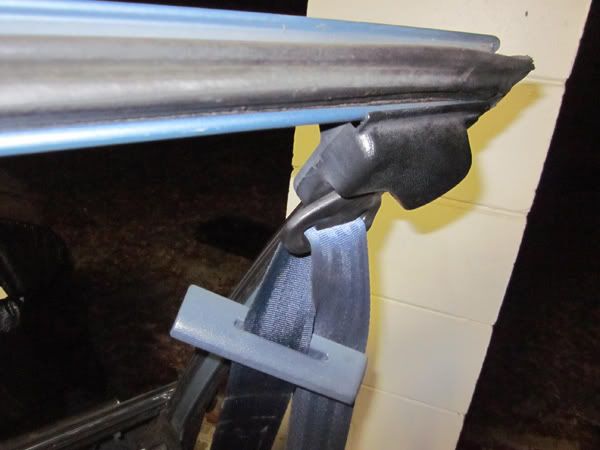
The plastic cover pops off from the outside revealing 3 bolts: 2 top, 1 side.
You can remove the nuts, but at least the side bolt has to come out to remove the loop/striker. I'll be taking out all 3 anyway and filling the holes.
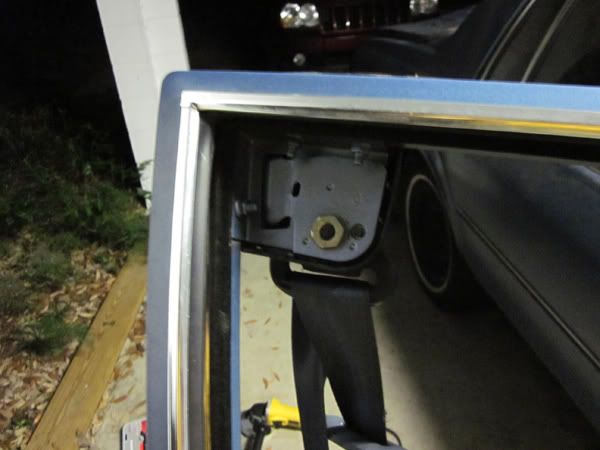
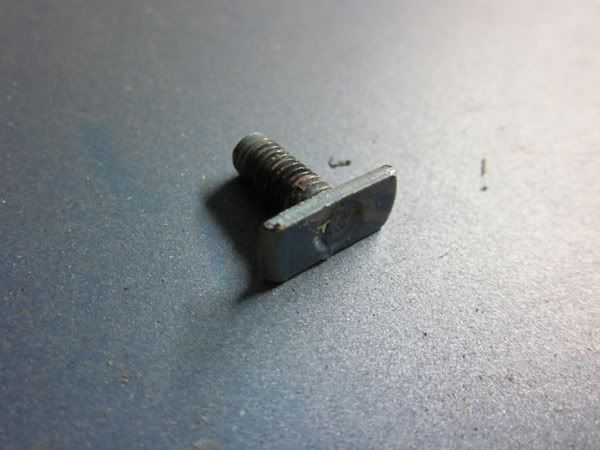
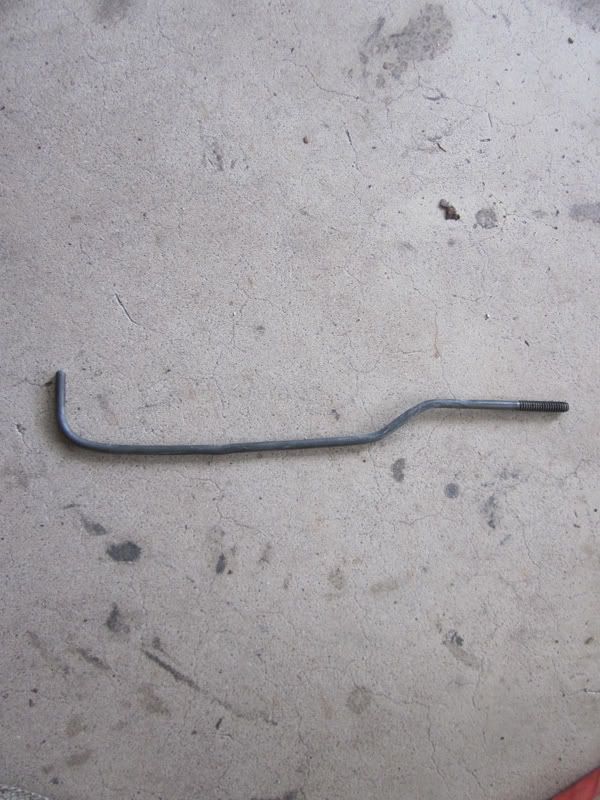
To get them out you have to pull back the weatherstripping outside and rotate the bolt correctly to pull it out of the channel.
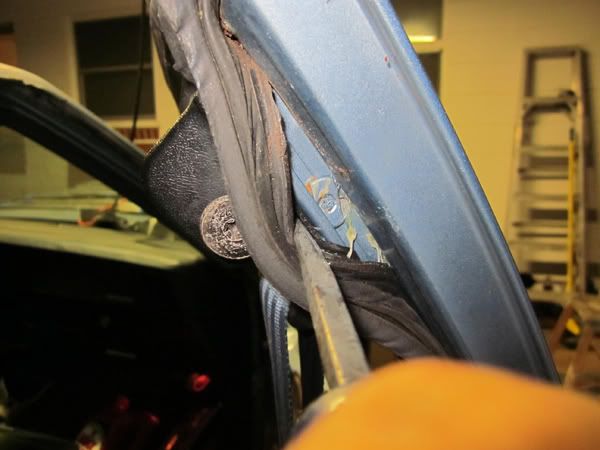
The little bugger
Now you should have your complete 90 seatbelt assembly ready for ebay.
(seriously, somebody let me know if you want them)
Heres a crude diagram showing how the lock knob was relocated in the door.
The red is the actuator, green the door latch and blue the linkage.
As it was originally:

I decided to cut the linkage after the actuator and flip that piece after some rebending to the other side of the actuator.
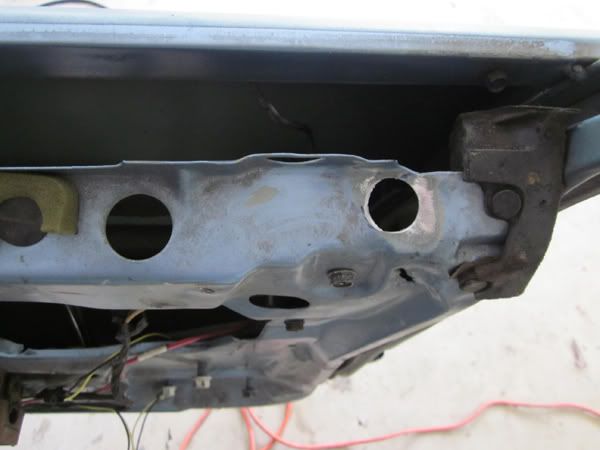
Before I could make my bends I had to cut the new hole in the door. Used the new panel to line it up. It pretty much goes in the flat sloped part at the end of the door. New hole on the right:
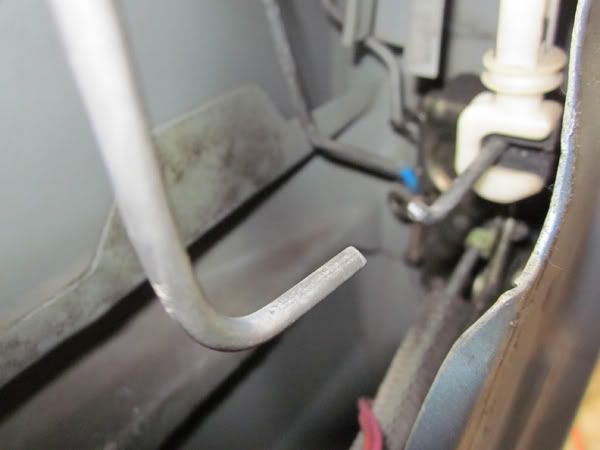
Bent up the linkage, trial and error.
There was room on the actuator to slide in both pieces of linkage. Heres how its laid out now:

Test fit the door panel.
Beautiful
Thats the bulk of it. I'll finish the minor details after the interior is redone, door clips etc. but this piece of lame engineering from GM is officially deleted.
Hope this helps anyone else contemplating this mod. Its not too difficult, especially if you can get your hands on the interior pieces. Thanks for reading.