Ok, like many of you I am terrible at buying new kits and then starting them before finishing any of the many that are already on my desk so here is my latest purchase.
Italeri MV Agusta F4 (750) 2004 Special Parts.
This kit is a rebox of the original Protar Swift Kit of the MV Agusta F4 750 but with a different decal set and some slightly different parts to represent a later special edition of the bike.
This being a Swift Kit, it doesn't come with the nice-ish seperate linked chain or the working rear suspension but I'll deal with that later.
First things first.
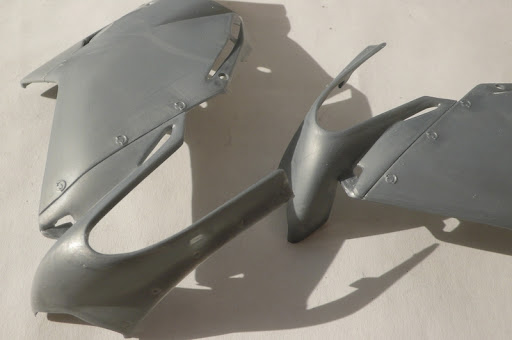
Main cowl.
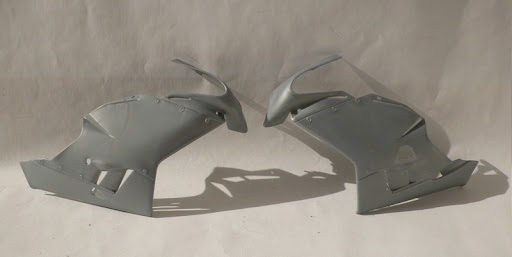
Not bad looking but horrible and quite typical Protar locating for the join
i.e bad...
There were also a few sink holes to deal with
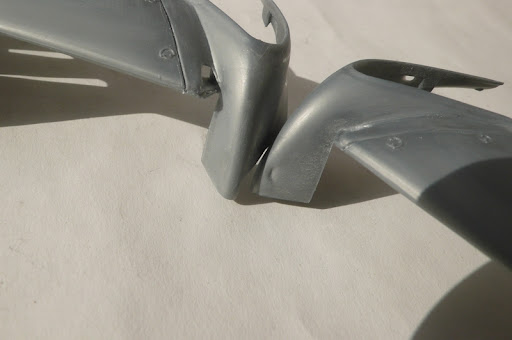
And the molded on pins that hold on the panels will need to removed and replaced.
This is the rear shock assembly.
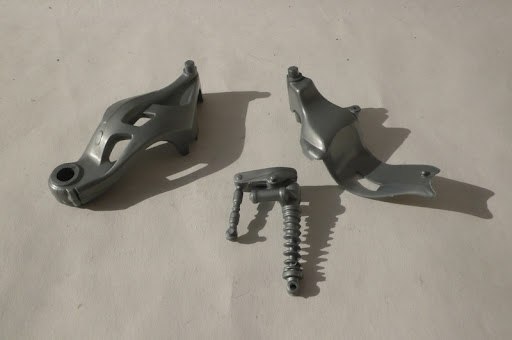
and in place in the rear swing arm.
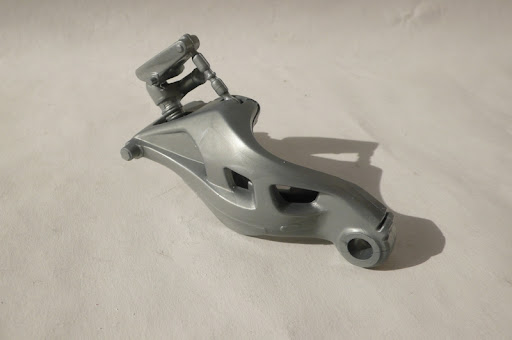
I know that on the original High Quality kit, this came as a multi-part assembly but without that at hand I'll have to seperate the pieces myself and work in a moving solution later. That would also let me get rid of the join line that should be there on the inner face of the swingarm.
Chassis frame.

A not bad representation of the tube frame.
It's not 100% but I've heard that some of the Swift Kits had horribly simplified chassis so I'm glad this isn't too bad.
Here, I've already fixed the two halves together.
Luckily, there's enough flex in the frame to allow me to squeeze in parts afterwards.
The engine.
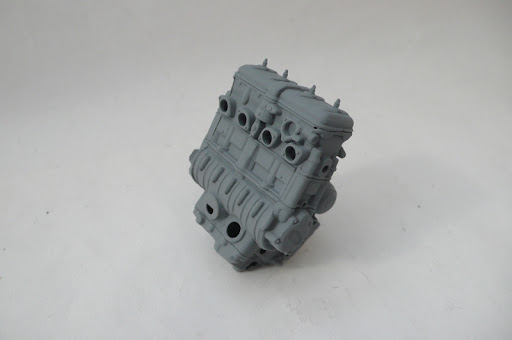
Again, typical of a Protar kit of this period in that there is detail but it all a bit soft and oversized.
Some main bolts are molded as a big lump that needed to carved out and some of the lines were deepend/redefined with a fresh blade tip before primer.
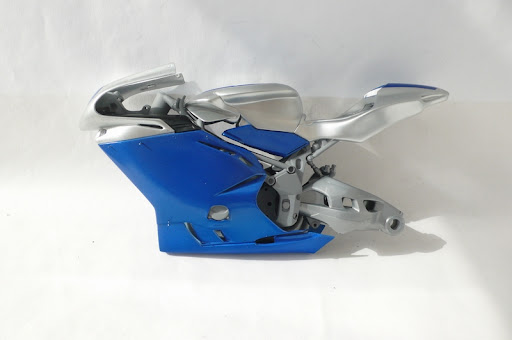
...and because once I opened the box I couldn't keep my hands out of it, I prepped, primed and painted the body panels.

As you can see, I removed the left hand side panel so you can display it that way.
The molded on pins were removed and drilled out so I'll have to make some new better looking pins of my own to hold the panel in place when complete.
The blue stripes are included in kit as decals but they don;t match the blue I was going to use so I used them to make positive masks for when I sprayed the silver. I then made negative masks and sprayed the blue.
Paints are:
Silver = Hycote Double Acrylic Ford Strato Silver
Blue = Tamiya TS-50 Mica Blue
There is also a bit of an error between the seat and upper seat cushion.
I wrongly assumed that the seat would cover up that little bit of body work so left it unmasked.
Alas, I'll have to carefully sand that blue out and possible touch up with some more silver.
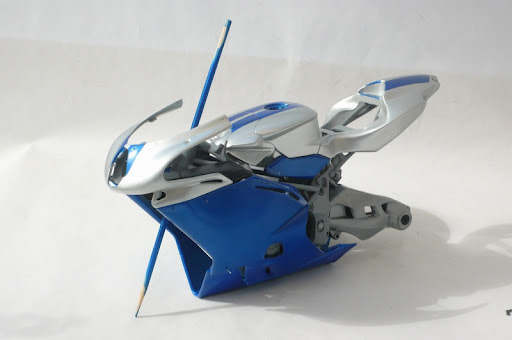
Finally for now, a quick mock up of some parts.