I have seen a lot of ill-executed color changes in my day, so I thought I'd share my method for color changing cars. The benefit: You don't lose any data, so you can change your mind later on!! (Disclaimer, start with a silver car your first time, it's easier!!)
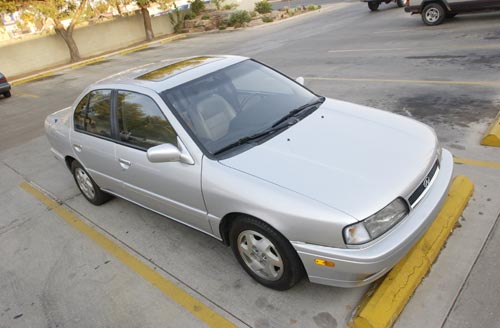
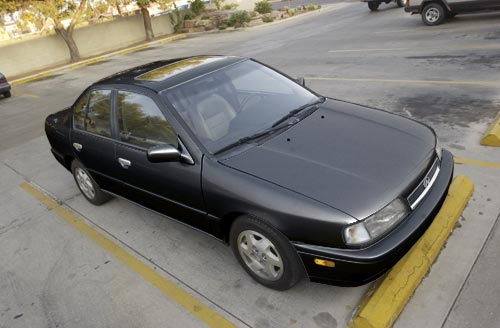
We are going to turn this car:
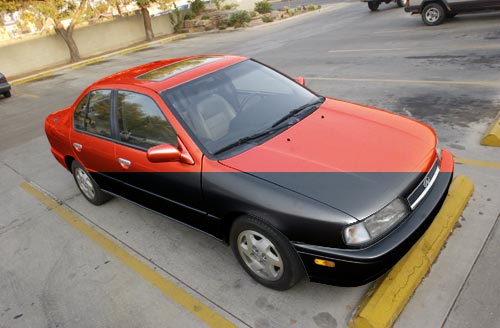
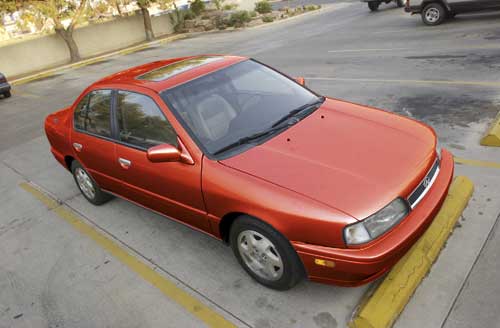
into this car:
For starters, we are going to use a variation of Beefcake's Masking tool tutorial. If you haven't already read it, you should. It's stickied at the top of this forum.
First, I traced around the car using the Magnetic Lasso. It's this one, sometimes hiding under the other Lasso tools.

It works by looking for "edges" in an image and snapping to them. It's the best selection method when you're dealing with high contrast, but it doesn't work so well in my example photo. Here's what I have so far:
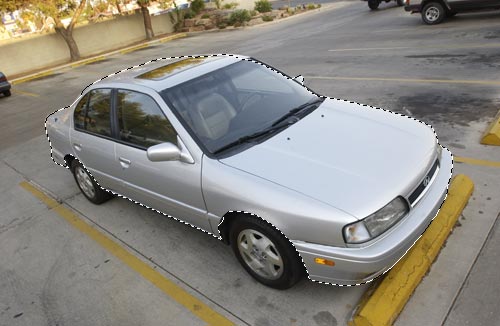
You can see that selection's a little rough, especially around the trunk and roof area.
Now, holding down the ALT (option on Mac) key while using my Magnetic Lasso, I subtract the windows and sunroof and headlights and door handles and anything else that's not part of my paint. (You can also hold down SHIFT to add to the selection.) ALT and SHIFT work this same way with ALL of Photoshop's selection tools.
Here's my new result:
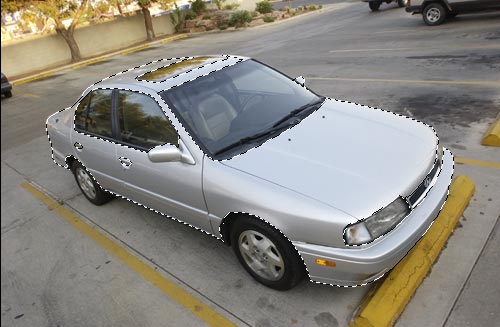
It's still a little rusty, but that's OK. I will fix it up.
Click on your Quick Mask Mode button.
In Quick Mask mode, your selection is displayed as an image, and you can "paint" it on and off. Double-click on your Quick Mask button and set the mask color to White and the percent to 80%. Then, using your paintbrush tool, paint around the edges of your car to fine-tune your selection. I started with this:

and fine-tuned it to this:

Click back to regular mode (the icon to the left of the Quick Mask button). Now, the fun part. I think you need PS7 for this, if you don't have it, PM me and I'll explain how to do without.
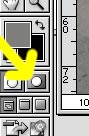
We're going to make an adjustment layer, using our selection. Click the Adjustment Layer button

in the Layer palette, and select "Curves".
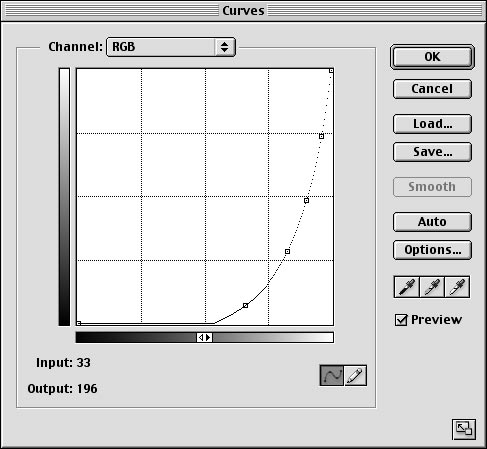
You will see the "Curves" dialog, it looks like this:

First, since the car we're working with is a light color, to do any realistic-looking change we're going to have to darken the paint a lot.
I did this to the RGB curves, added a little blue, changed the layer mode to "Luminosity",
and got this:
Here are the curves I did for RED: (green channel left alone)

and the resulting car:
By double-clicking your adjustment layer, you can change the curves again and again, or you can throw away the adjustment layer and start all over with your original, untouched image. If you see jaggies or spots you don't want colored that ARE getting colored, simply click on the mask icon on your adjustment layer, and "paint on" or "paint off" as you would in Quick Mask mode.
I find this the way to get the most realistic color changes.
BTW, if you're starting with a car that's NOT silver, when you get to the curves part, click the Gray eyedropper and click on your car somewhere. Click around until the car color is "neutralized", then adjust from there.
Questions, comments, think I suck, etc., PM me.